6 Basic Coding Concepts for Vibe Coding Beginners in 2026
Learn six coding fundamentals that help you understand AI-generated code, predict what it will do, and catch problems before they reach users.
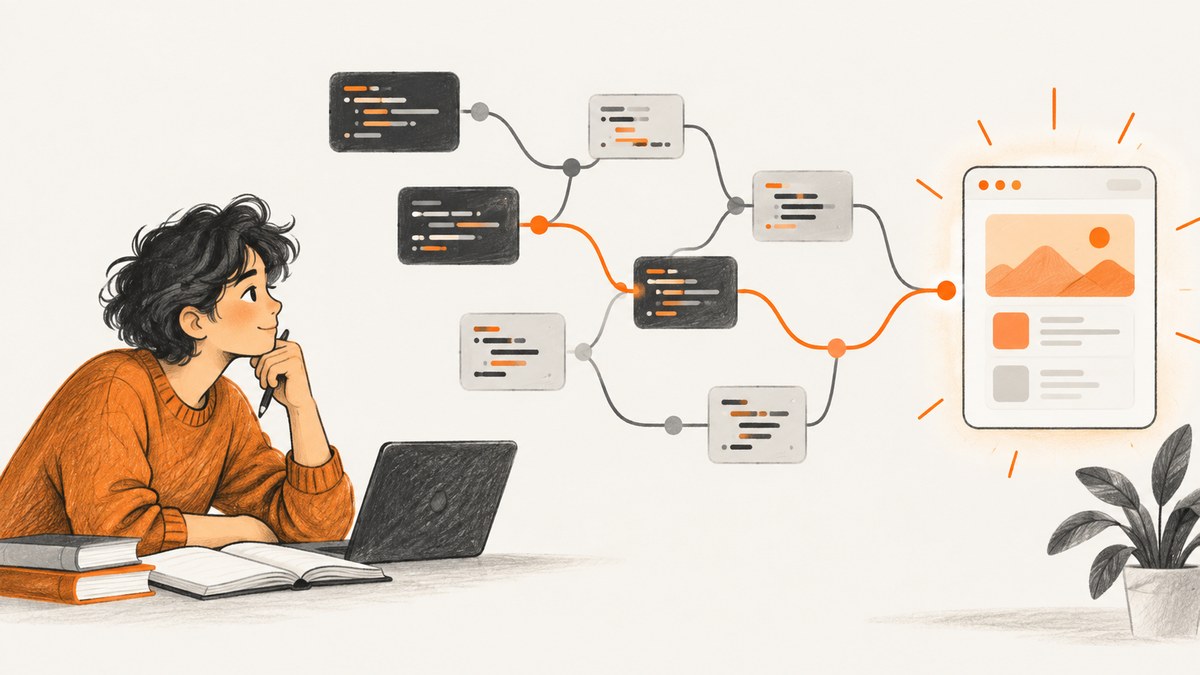
You can describe an app idea to an AI coding tool and get code back without knowing how to write every line yourself. But if you cannot tell what the code is doing, it is hard to notice when it misunderstands you, explain a bug, or decide whether a change is safe.
These six basic coding concepts give you a practical way to read and check AI-generated code: variables and data types, conditionals, loops, functions, collections, and debugging. You do not need to master a language before you start. You do need to be able to ask what a value means, which branch runs, how many times something repeats, and what result a function returns.
Vibe coding means describing what you want to build or change to an AI coding tool, then reviewing and running the result. Microsoft Learn’s beginner module covers that workflow, including prompts, requirements, coding guidelines, and prototyping. Treat the AI as both a code generator and a tutor: ask it to explain a small piece, predict what it will do, then run it and check. [Microsoft Learn: Introduction to vibe coding]
1. Variables and data types: know what a value represents
A variable is a name associated with a value. A data type describes what kind of value it is. For example, a username may be text, an item count may be a number, and a setting such as “is this menu open?” may be true or false.
const userName = "Mina";       // text (string)
let itemCount = 3;             // number
const isSignedIn = true;       // boolean (true or false)

itemCount = itemCount + 1;
In this JavaScript example, const declares a name that will not be reassigned, while let allows reassignment. Other languages use different syntax and rules, but the core question is the same: what value does this name hold, and what kind of value is it?
Types matter because different kinds of values support different operations. Adding two numbers produces a sum; joining two pieces of text produces text. A value that looks like a number might actually be text, especially when it came from a form field. That distinction can cause surprises:
const quantityText = "3";
const quantity = Number(quantityText);
const nextQuantity = quantity + 1; // 4
If the conversion receives text that cannot be read as a number, the result may be invalid. Ask the AI what happens for empty input, spaces, and nonnumeric input instead of assuming every user enters a valid value.
Try this: find a variable used in a feature and ask, “Where is this value set? What type is it? What changes it?” Then trace what happens when it is empty, zero, false, or missing.
2. Conditionals: follow the decision
A conditional lets a program choose what to do based on whether a condition is true. An if statement runs one path when its condition is true; an else can provide another path.
const stock = 0;

if (stock > 0) {
  console.log("Add to cart");
} else {
  console.log("Out of stock");
}
Read the condition first: stock > 0. Since stock is zero, it is false, so the else branch runs. For longer code, make a small table of example inputs and the branch each should take. Include boundary cases such as zero, exactly the limit, and just over the limit.
Look closely at comparisons. > means greater than; >= means greater than or equal. Confusing them creates “off by one” behavior. Also check that the code handles all meaningful cases: if it checks whether a user is signed in but has no path for an expired session, the interface may fail to explain what happened.
Try this: ask the AI, “For input X, which condition is true, and what does the program do next?” Change only the input and trace it again. This makes hidden assumptions visible.
3. Loops: see what repeats and when it stops
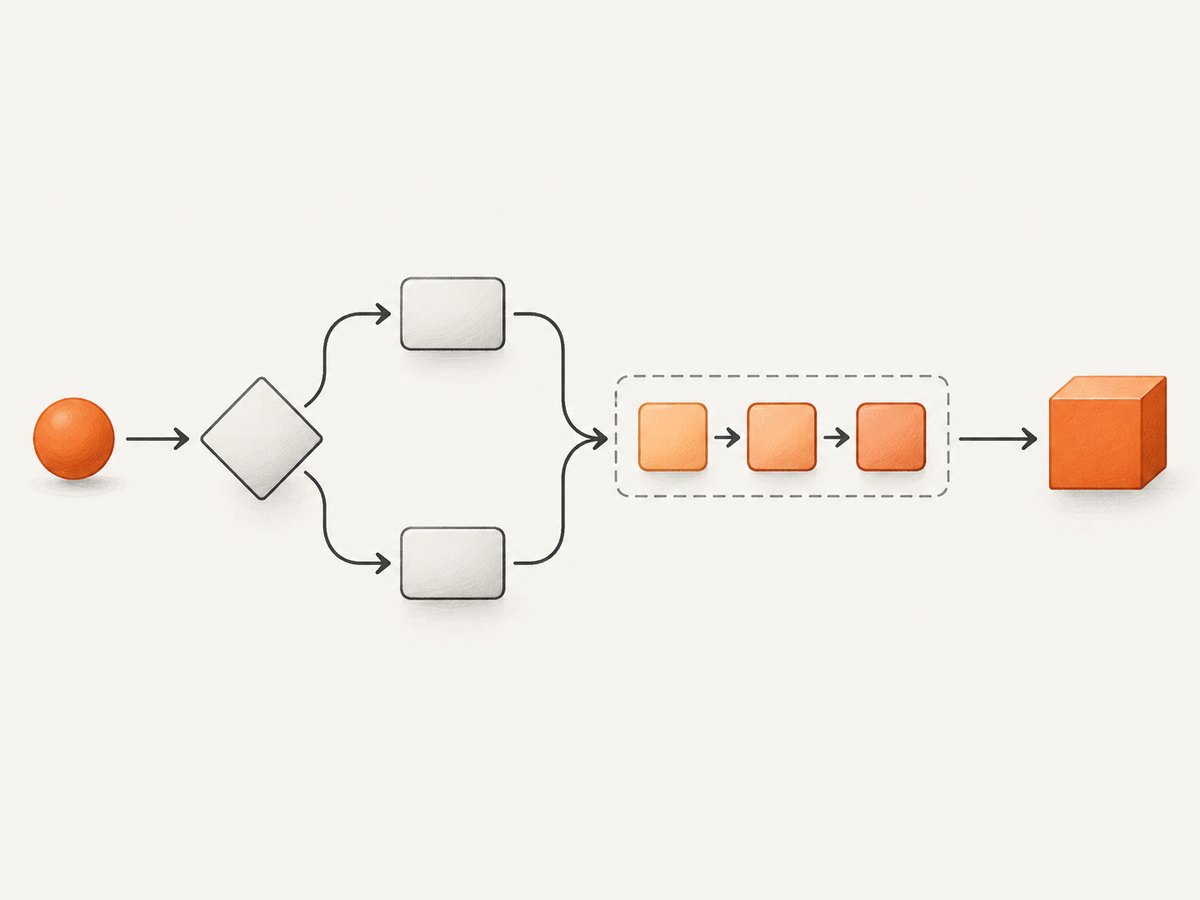
A loop repeats instructions. Apps use loops to render lists, process records, retry work, and perform other repeated tasks. To understand one, identify the starting point, the stopping condition, and how the loop advances.
const names = ["Mina", "Lee", "Sam"];

for (let index = 0; index < names.length; index += 1) {
  console.log(names[index]);
}
The index starts at 0. Each pass prints one name and adds 1 to the index. The loop stops when the index is no longer less than the list length, so it runs three times. Many programming languages count array positions from zero, which means the first item is at index 0, not index 1.
A loop’s stopping condition deserves attention. If nothing changes so the condition can become false, the loop may continue indefinitely. If the condition is false at the start, the body may not run at all. With a list, also ask what should happen for an empty list or a very large one.
Try this: before running a loop, write down how many times you expect it to run for a list of zero, one, and three items. If your prediction and the result differ, inspect the starting value and stopping condition.
4. Functions: understand the named task
A function packages a task under a name so code can call it again. Parameters are inputs supplied to the function; a return value is the result it sends back. AI-generated projects often use many functions to separate actions such as validating a form, fetching data, or formatting a date.
function applyDiscount(price, percent) {
  const discount = price * (percent / 100);
  return price - discount;
}

const total = applyDiscount(50, 10); // 45
Here, price and percent are parameters. Calling the function with 50 and 10 gives it the values it needs; the returned result is 45. A function may instead change something outside itself, such as updating an interface or saving data, and may not return a useful value. Check which it does.
When reading a function, ask: What does its name promise? What inputs does it expect? What does it return or change? What happens if an input is absent or invalid? A name can be misleading, so follow the body when the behavior matters.
Try this: ask the AI to explain one function in plain language, then ask for one normal input and one edge-case input to trace. Keep the explanation focused on that function before asking for a summary of the whole project.
5. Collections: understand arrays and objects
Collections hold related data. An array is an ordered list, where items are accessed by position. An object groups values under named properties. In everyday apps, an array might hold a list of products, while an object represents one product.
const product = {
  name: "Notebook",
  price: 8,
  inStock: true
};

const products = [product, { name: "Pen", price: 2, inStock: false }];

console.log(products[0].name); // "Notebook"
products[0] gets the first array item. .name then reads that object’s named property. This mix of arrays and objects appears in lists, search results, shopping carts, settings, and API responses.
Collections can be empty, contain missing fields, or hold values in an unexpected order. If code assumes every product has a price, a missing price can break a calculation or produce a confusing display. If the app uses a value from an external service, check how it behaves when the service sends no results or an incomplete record.
Try this: ask the AI to show one example of the collection, explain what each position or property means, and describe the behavior when the collection is empty.
6. Debugging and testing: check what actually happens
Debugging is a repeatable way to find and fix a problem. Start with a specific expected behavior, reproduce the actual behavior, inspect the relevant error or code, change one thing, and check again. A broad request to “fix everything” can produce a large rewrite without showing which assumption was wrong.
- Describe the mismatch. Say what you expected, what happened, and what input or action reproduces it.
- Read the error. Note the file, line, and message. A message may point to where a problem surfaced, not where it began.
- Trace the values. Check the inputs, types, condition, loop, or function result involved.
- Make a small change. Ask the AI to explain the proposed edit and why it addresses the observed cause.
- Run the same case again. Confirm the fix, then check a nearby edge case so the change has not broken it.
Testing means checking behavior against expectations. You can begin with manual checks: submit a valid form, then an empty one; open a list with results, then with none. As a project grows, ask the AI how to run its existing tests and what those tests cover. Do not assume a successful build means every user flow works.
GitHub’s official learning guidance describes using Copilot as a tutor and debugging helper, including asking questions in an ongoing chat. Its learning path also includes debugging and security. A documented learning approach is to turn off inline suggestions while practicing, add tutor-style instructions, and ask for explanations; you can choose the amount of assistance that helps you learn. [GitHub: Setting up Copilot for learning to code] [GitHub: Learn to code with GitHub Copilot]
Put the six concepts to work with an AI coding tool
Use this short loop for each feature, from a small interface change to a new data flow:
- State the behavior. Describe what a user does, what should happen, and what should happen for invalid or missing input.
- Ask for a small implementation. Request the smallest change that fits the existing project and ask the tool to name the files it will edit.
- Ask for a walkthrough. Have it identify the relevant variables, types, conditions, loops, functions, and collections.
- Predict before running. Choose a normal case and an edge case. Write down the expected result.
- Run and compare. Check the results against your prediction. If they differ, share the exact input and error with the AI.
- Review risks. Ask whether the change handles empty data, errors, and sensitive information. For anything involving accounts or personal data, ask for a security explanation and review before shipping.
Keep a small glossary of unfamiliar names and decisions. When the code seems too large to follow, ask for one file or function at a time. The goal is not to memorize every syntax rule before building; it is to learn enough to question the behavior and verify the answer.
These six concepts are a useful introductory selection, not a complete curriculum. Operators, input and output, Git, APIs, and security are natural next topics. Harvard CS50 AP’s 2026–2027 material describes functions, conditionals, loops, and variables as foundational building blocks across languages, and also covers types, operators, correctness, design, and style. [Harvard CS50 AP: Curriculum]
Capture your app in a browser
When your feature is visual, a screenshot can make the result easier to inspect or share. You can capture it yourself with a browser automation library such as Playwright. The code below opens a page and saves a full-page PNG.
DIY with Playwright in JavaScript
Start with a JavaScript project, install Playwright, and install its browser:
npm install playwright
npx playwright install chromium
Save this as screenshot.mjs, then run node screenshot.mjs https://example.com:
import { chromium } from "playwright";

const url = process.argv[2] ?? "https://example.com";
const browser = await chromium.launch({ headless: true });
const page = await browser.newPage({ viewport: { width: 1440, height: 900 } });

try {
  await page.goto(url, { waitUntil: "networkidle", timeout: 30000 });
  await page.screenshot({ path: "page.png", fullPage: true });
  console.log("Saved page.png");
} finally {
  await browser.close();
}
This is runnable for pages that can be opened without special access. networkidle waits for network activity to settle, which may never happen on a page with continual requests; if that occurs, wait for a specific selector or use a short, deliberate delay after navigation. Use a selector when you need a particular element:
await page.locator("main article").screenshot({ path: "article.png" });DIY with Python and Playwright
python -m pip install playwright
python -m playwright install chromium
Save as screenshot.py and run python screenshot.py https://example.com:
import asyncio
import sys
from playwright.async_api import async_playwright

async def main():
    url = sys.argv[1] if len(sys.argv) > 1 else "https://example.com"
    async with async_playwright() as p:
        browser = await p.chromium.launch()
        page = await browser.new_page(viewport={"width": 1440, "height": 900})
        try:
            await page.goto(url, wait_until="networkidle", timeout=30000)
            await page.screenshot(path="page.png", full_page=True)
        finally:
            await browser.close()

asyncio.run(main())
DIY with cURL
cURL can download a screenshot from a screenshot API, but it does not render a website itself. If you already have an API endpoint and key, the general shape is:
curl -G "YOUR_SCREENSHOT_API_ENDPOINT" \
  -d access_key=YOUR_API_KEY \
  --data-urlencode url=https://example.com \
  -o page.png
Or skip the browser setup
ScreenshotNeo is a website screenshot API and MCP server. For a one-call capture, use cURL, Python, or Node.js. See the ScreenshotNeo API documentation for configuration and response details.

curl -G "https://api.screenshotneo.com/v1/shot" -d access_key=YOUR_API_KEY --data-urlencode url=https://example.com -o shot.webpimport requests
r = requests.get("https://api.screenshotneo.com/v1/shot", params={"access_key": "YOUR_API_KEY", "url": "https://example.com"}, timeout=90)
open("shot.webp", "wb").write(r.content)const q = new URLSearchParams({ access_key: 'YOUR_API_KEY', url: 'https://example.com' });
const res = await fetch(`https://api.screenshotneo.com/v1/shot?${q}`);
const fs = await import('node:fs/promises');
await fs.writeFile('shot.webp', Buffer.from(await res.arrayBuffer()));ScreenshotNeo removes cookie and consent banners, newsletter popups, and chat widgets before capture; each step can be turned off. Bot checks, blank pages, failed loads, timeouts, and cache hits are not billed, and response headers say which result occurred. Its MCP server provides take_screenshot, get_page_info, and capture_pdf tools for Claude, Cursor, and other MCP clients. The free plan includes 1,000 screenshots a month without a card; paid plans start at $5 for 3,000 shots. Sign up for 1,000 free screenshots a month, with no card.
Screenshot options and practical limits
With a browser library, the main decisions are what to capture, when to capture, and what browser state to use. Start with the defaults, then add only what the page needs.
| Need | Typical Playwright choice | Watch for |
|---|---|---|
| Whole page | fullPage: true |
Long pages can use more memory; lazy-loaded images may need scrolling or explicit loading. |
| One element | locator(selector).screenshot() |
A missing or ambiguous selector fails; wait for it and make it specific. |
| Different layout | Set viewport width and height | Responsive breakpoints change layout; use the dimensions that match the intended device. |
| Wait for content | Wait for a selector, load state, or short delay | Network idle can time out on pages with ongoing requests; a fixed delay can be wasteful or too short. |
| Authenticated page | Provide cookies or a saved browser context | Keep credentials private; do not commit tokens or cookies to source control. |
| Repeatable output | Set viewport, locale, color scheme, and device scale | Fonts, animations, time, and external content can still vary. |
For screenshots that must match a design review, disable or wait for animations, use a stable test account, and wait for the content you intend to show. Keep timeouts bounded and close the browser in a finally block so a failed navigation does not leave a process running.
Troubleshooting screenshots
- Navigation timeout: the site is slow, blocked, or keeps making requests. Increase the timeout only when the page genuinely needs it; otherwise wait for a specific content selector instead of network idle.
- Screenshot is blank or incomplete: capture may have happened before client-rendered content appeared. Wait for a visible selector, check navigation errors, and confirm the page is not a bot check or access-denied page.
- Images are missing: the page may load images lazily as they enter view. Scroll through the page before a full-page capture or wait for the image elements you need.
- Element selector error: the selector matches nothing, matches several unexpected elements, or runs before the page is ready. Inspect the page and wait for a unique selector.
- Layout differs from the browser: set the viewport, device scale, locale, and color scheme explicitly. Check whether the site varies by authentication, cookies, or responsive breakpoint.
- Browser will not launch: the Playwright package may be installed without its browser binary. Run the Playwright browser install command for the browser you selected.
- API response is not an image: inspect the HTTP status and response headers before saving the body as a file. Check the key, URL encoding, account usage, and the API’s error details.
Performance, reliability, and cost
Browser automation includes the cost of launching a browser, loading the page, waiting for its content, and storing or transferring the image. Reuse a browser process for multiple captures when appropriate, but create a fresh context when isolation matters. Limit concurrency to avoid exhausting memory or overloading the target site. Full-page screenshots of very tall pages and high device-scale settings can produce large images.
Reliability depends on the page as well as the script. Third-party scripts, changing content, network errors, bot checks, and consent dialogs can all change the result. Use bounded timeouts, wait for a meaningful page condition, log the URL and failure, and retry only transient failures with a limit. Avoid repeatedly retrying a deterministic access denial.
Playwright itself is an open-source browser automation library; running it means you manage the browser environment and its compute. A hosted screenshot API trades that setup for API usage and its plan limits. ScreenshotNeo’s stated plans are Free: 1,000 per month; Starter: $5 for 3,000; Growth: $15 for 15,000; Pro: $39 for 60,000; Scale: $99 for 250,000; and Business: $249 for 1,000,000. Yearly billing gives two months free, and every feature is on every plan. Choose based on expected successful capture volume and required options; its response headers expose page verdict and billing status.
FAQ
Do I need to learn programming before vibe coding?
No. You can begin with an idea and an AI coding tool. These fundamentals help you understand the result, check edge cases, and give better instructions as the project grows.
Which programming language should I learn first?
Use the language your project or learning material already uses. The concepts here transfer across languages, even though the syntax and exact type rules differ.
Can AI explain unfamiliar code accurately?
Ask for a focused explanation, then compare it with the code and behavior. Generated explanations can also be mistaken; verify by tracing an example and running the program.
Are these six concepts the whole curriculum?
No. They are a starting set. Operators, input and output, version control, APIs, and security are useful next areas, especially when an app handles real users or data.
Sources
- Microsoft Learn: Introduction to vibe coding
- GitHub Docs: Setting up Copilot for learning to code
- GitHub: Learn to code with GitHub Copilot
- Harvard CS50 AP: Curriculum, 2026–2027
- Michels et al., review/preprint on vibe coding, posted 2026-08-20. The authors describe the evidence as developing and the work as submitted for possible IEEE publication.