How to Access Script-Appended Elements in Headless Chrome
Learn why headless Chrome misses JavaScript-added elements and how to wait for, query, and serialize the live DOM reliably.
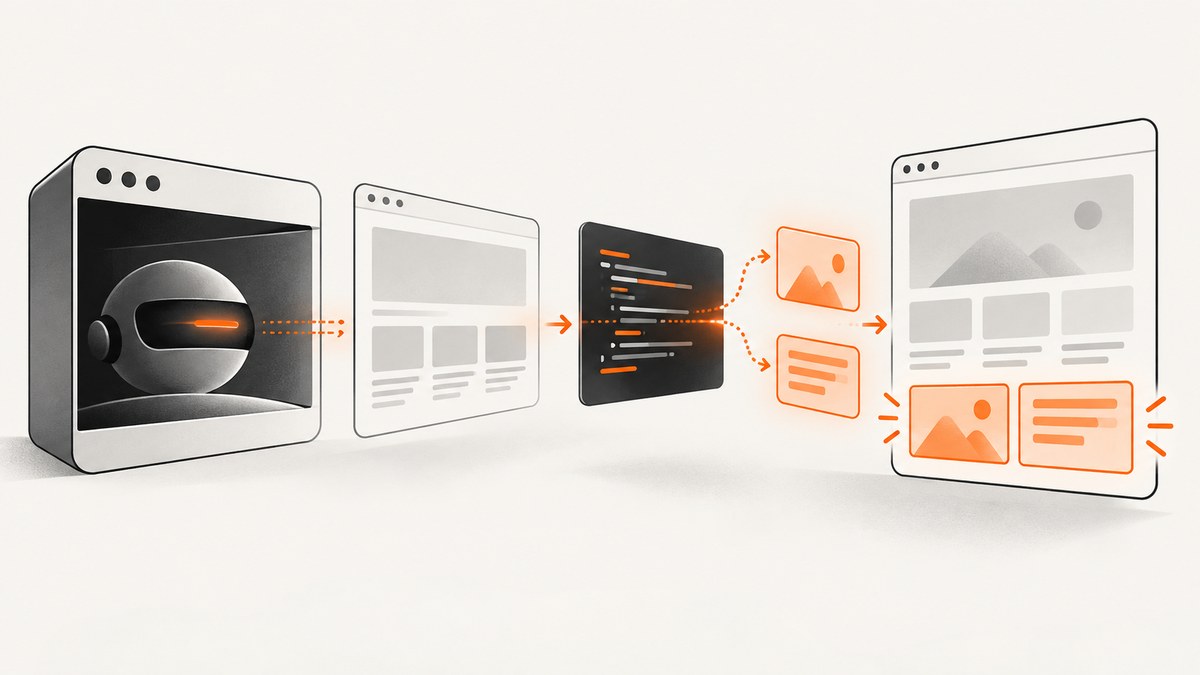
Direct answer: navigate with Chrome, wait for the specific selector or application state that proves the script has created the element, then query the live DOM. The original HTML response and the DOM after JavaScript runs are different snapshots.
In Puppeteer, the core pattern is:
await page.goto(url, { waitUntil: 'networkidle0' });
await page.waitForSelector('#posts');
const html = await page.content();
Use a selector-specific wait instead of assuming that page load or network idle means the application is ready. For a single value, evaluate a DOM query after the wait rather than serializing the entire page.
Why the element is missing
Server-rendered markup is the response Chrome receives first. Client-side JavaScript can later append nodes, replace placeholders, fetch data, or update attributes. A query that runs before those operations completes sees the earlier DOM.

networkidle0 is only a heuristic: it means no network requests for a short quiet period. Lazy loading, long polling, analytics, or other continuing requests can make it either too early or impractical. The Chrome for Developers guidance recommends waiting for the target selector and waiting longer when a site lazy-loads content. See Chrome’s headless Chrome SSR article.
Method 1: Puppeteer selector-first access
Install Puppeteer in a Node.js project:
npm install puppeteerThis complete script waits for a script-appended list, reads its text, reads an attribute, and saves the rendered DOM:
const puppeteer = require('puppeteer');

(async () => {
  const browser = await puppeteer.launch({ headless: true });
  try {
    const page = await browser.newPage();
    await page.goto('https://example.com', {
      waitUntil: 'networkidle0',
      timeout: 90000
    });

    await page.waitForSelector('#posts', {
      visible: true,
      timeout: 30000
    });

    const result = await page.$eval('#posts', (node) => ({
      text: node.textContent.trim(),
      html: node.innerHTML,
      dataState: node.getAttribute('data-state')
    }));

    console.log(result);
    require('fs').writeFileSync('rendered.html', await page.content());
  } finally {
    await browser.close();
  }
})();
Replace https://example.com and #posts with the page and selector you need. page.content() returns serialized markup after the wait; page.$eval() runs the query in the page context and returns only the selected data.
Wait for content, not only presence
A framework may insert an empty container and fill it later. In that case, wait for the expected text, attribute, or state:
await page.waitForFunction(() => {
  const node = document.querySelector('#posts');
  return node && node.querySelectorAll('article').length > 0;
}, { timeout: 30000 });

const titles = await page.$$eval('#posts article', (nodes) =>
  nodes.map((node) => node.textContent.trim())
);
Use a stable application signal when possible: a non-empty list, a loading class removed, a status attribute set to ready, or a known heading. A fixed sleep can hide race conditions and makes every page slower.
Useful Puppeteer wait choices
| Need | Pattern | Use when |
|---|---|---|
| Node exists | waitForSelector() |
The selector appears only after rendering. |
| Node is visible | waitForSelector(selector, {visible: true}) |
Hidden template nodes are possible. |
| Specific state | waitForFunction() |
Presence is not enough; content or attributes must be ready. |
| All network activity quiet | waitUntil: 'networkidle0' |
A supporting heuristic, not your only readiness check. |
| Known delay | page.waitForTimeout() or a timer |
Only when the application exposes no better signal. |
Read one appended element efficiently
If you need one value, avoid transferring the complete DOM:
const author = await page.$eval(
  '#posts article:first-child .author',
  (node) => ({
    text: node.textContent.trim(),
    href: node.getAttribute('href')
  })
);
For optional nodes, return null instead of throwing:
const badge = await page.evaluate(() => {
  const node = document.querySelector('[data-badge]');
  return node ? node.textContent.trim() : null;
});
For shadow DOM, query the shadow root explicitly:
const value = await page.evaluate(() => {
  const host = document.querySelector('user-card');
  return host?.shadowRoot?.querySelector('.name')?.textContent.trim() ?? null;
});
Cross-origin iframes have a separate document. Select the frame and wait inside it:
const frame = page.frames().find((item) => item.url().includes('/embedded/'));
if (!frame) throw new Error('Embedded frame was not found');
await frame.waitForSelector('#posts');
const text = await frame.$eval('#posts', (node) => node.textContent.trim());
Method 2: Chrome DevTools Protocol
The DevTools Protocol exposes navigation, load events, and JavaScript evaluation directly. The official headless Chrome shell example enables the Page and Runtime domains, waits for navigation, then evaluates a DOM expression. See Chrome’s DevTools Protocol headless documentation.
Install a protocol client and start Chrome with remote debugging enabled:
npm install chrome-remote-interface
chrome --headless --remote-debugging-port=9222 --no-sandbox about:blank
Then run:
const CDP = require('chrome-remote-interface');

(async () => {
  const client = await CDP({ port: 9222 });
  const { Page, Runtime } = client;
  await Promise.all([Page.enable(), Runtime.enable()]);

  const loaded = new Promise((resolve) =>
    Page.loadEventFired(resolve)
  );
  await Page.navigate({ url: 'https://example.com' });
  await loaded;

  for (let attempt = 0; attempt < 60; attempt++) {
    const response = await Runtime.evaluate({
      expression: `(() => {
        const node = document.querySelector('#posts');
        return node ? node.textContent.trim() : null;
      })()`,
      returnByValue: true,
      awaitPromise: true
    });
    if (response.result.value) {
      console.log(response.result.value);
      break;
    }
    await new Promise((resolve) => setTimeout(resolve, 500));
  }

  await client.close();
})();
The polling loop is an example readiness check. Prefer an application-specific condition and a bounded timeout in production. If the target never appears, report the URL, selector, and timeout instead of waiting forever.
Method 3: Chrome extension script injection
Extension code is a different execution context from server-side automation. Chrome’s chrome.scripting.executeScript() runs at document_idle by default, or immediately when the page has already loaded. If the injected function returns a promise, Chrome waits for that promise to settle. See the chrome.scripting API reference.
chrome.scripting.executeScript({
  target: { tabId },
  func: async () => {
    const deadline = Date.now() + 30000;
    while (Date.now() < deadline) {
      const node = document.querySelector('#posts');
      if (node && node.querySelectorAll('article').length) {
        return {
          text: node.textContent.trim(),
          html: node.innerHTML
        };
      }
      await new Promise((resolve) => setTimeout(resolve, 250));
    }
    throw new Error('Timed out waiting for #posts');
  }
});
Capture the rendered result without managing Chrome
If your goal is a screenshot or PDF after JavaScript has rendered, ScreenshotNeo runs the browser capture for you. Its API waits for rendered pages and supports selector waits, delays, network-idle waits, custom JavaScript, and full-page capture.
Or skip the browser setup
Make one GET request to capture the rendered page. See the ScreenshotNeo API documentation for all options.
curl -G "https://api.screenshotneo.com/v1/shot" -d access_key=YOUR_API_KEY --data-urlencode url=https://stripe.com -o shot.webpimport requests
r = requests.get(
"https://api.screenshotneo.com/v1/shot",
params={"access_key": "YOUR_API_KEY", "url": "https://stripe.com"},
timeout=90,
)
r.raise_for_status()
open("shot.webp", "wb").write(r.content)const q = new URLSearchParams({ access_key: 'YOUR_API_KEY', url: 'https://stripe.com' });
const res = await fetch(`https://api.screenshotneo.com/v1/shot?${q}`);ScreenshotNeo removes cookie banners, newsletter popups, and chat widgets before the shot. Bot checks, blank pages, failed loads, timeouts, and cache hits are not billed, and response headers identify the page verdict and billing result. Its MCP server lets Claude, Cursor, and other MCP clients call take_screenshot, get_page_info, and capture_pdf. One thousand screenshots per month are free with no card; paid plans start at $5 for 3,000.
Create a free ScreenshotNeo account.
Troubleshooting
| Symptom | Likely cause | Fix |
|---|---|---|
querySelector returns null |
The script has not inserted the node, or the selector is wrong. | Verify the selector in DevTools, then wait for it with a bounded timeout. |
| Selector exists but text is empty | The shell node was inserted before its data arrived. | Wait for expected text, child count, or a ready attribute. |
Timeout at networkidle0 |
Long polling, streaming, ads, or analytics keep requests open. | Use waitUntil: 'domcontentloaded' and a target-specific wait. |
| Works headed, fails headless | Viewport, user agent, permissions, or anti-bot behavior differs. | Set the same viewport and user agent; inspect console and network errors; do not assume headless changes the DOM by itself. |
| Element is inside an iframe | Queries run in the top document. | Find the frame and run the selector in that frame. |
| Element is inside shadow DOM | Normal selectors do not cross a shadow boundary. | Access host.shadowRoot and query within it. |
| Content appears after scrolling | Intersection observers trigger lazy loading. | Scroll incrementally, then wait for the newly loaded selector or state. |
| Navigation succeeds but app never becomes ready | JavaScript error, blocked API request, or application failure. | Capture browser console messages and failed requests, and check the page’s own error state. |

Performance, reliability, and cost
- Use the narrowest wait. A selector or state condition finishes as soon as the required content is ready.
- Keep extraction in the page. Return one value or a compact object instead of transferring a large serialized DOM.
- Bound every wait. Set navigation and selector timeouts, then record the URL and condition when a timeout occurs.
- Reuse browser processes carefully. Reusing a browser can reduce startup overhead, but isolate pages and close them after each job to prevent state leaking between sites.
- Expect dynamic variability. Third-party scripts, network speed, lazy loading, and server response time change when a node appears. The Chrome article’s published paint numbers describe its own example and test conditions, not a general benchmark.
- Control side effects. Use a read-only session where possible, limit credentials, and avoid clicking destructive controls while waiting for content.
Checklist
- Confirm the selector and whether the target is in the top document, an iframe, or a shadow root.
- Navigate with an explicit timeout.
- Wait for the target selector or a meaningful ready condition.
- If presence is insufficient, wait for text, attributes, or child nodes.
- Query the needed value in page context.
- Serialize the full DOM only when you need the complete rendered markup.
- Log console errors, failed requests, and timeout conditions for diagnosis.
FAQ
Does viewing the page source show appended elements?
No. View source is the response markup. Use the live DOM through Puppeteer, CDP, DevTools, or an equivalent browser context.
Is networkidle0 always required?
No. It can help, but a target-specific selector or state is usually the more meaningful readiness signal.
Should I use a fixed delay?
Only when no reliable application signal exists. Prefer a bounded wait for the actual node or state.
Can I read a node before the page’s load event?
Yes, if your condition proves that the node and its required content are ready. Load events and application readiness are separate.
What if I need a screenshot rather than DOM text?
Use the same readiness logic before capture, or use ScreenshotNeo’s selector, delay, network-idle, and JavaScript options to capture the rendered page without maintaining a browser.


