How to Add HTML Elements to a Page with Puppeteer or Carlo
Learn how to create and insert HTML elements with Puppeteer or Carlo, pass data safely, debug failures, and capture the result.

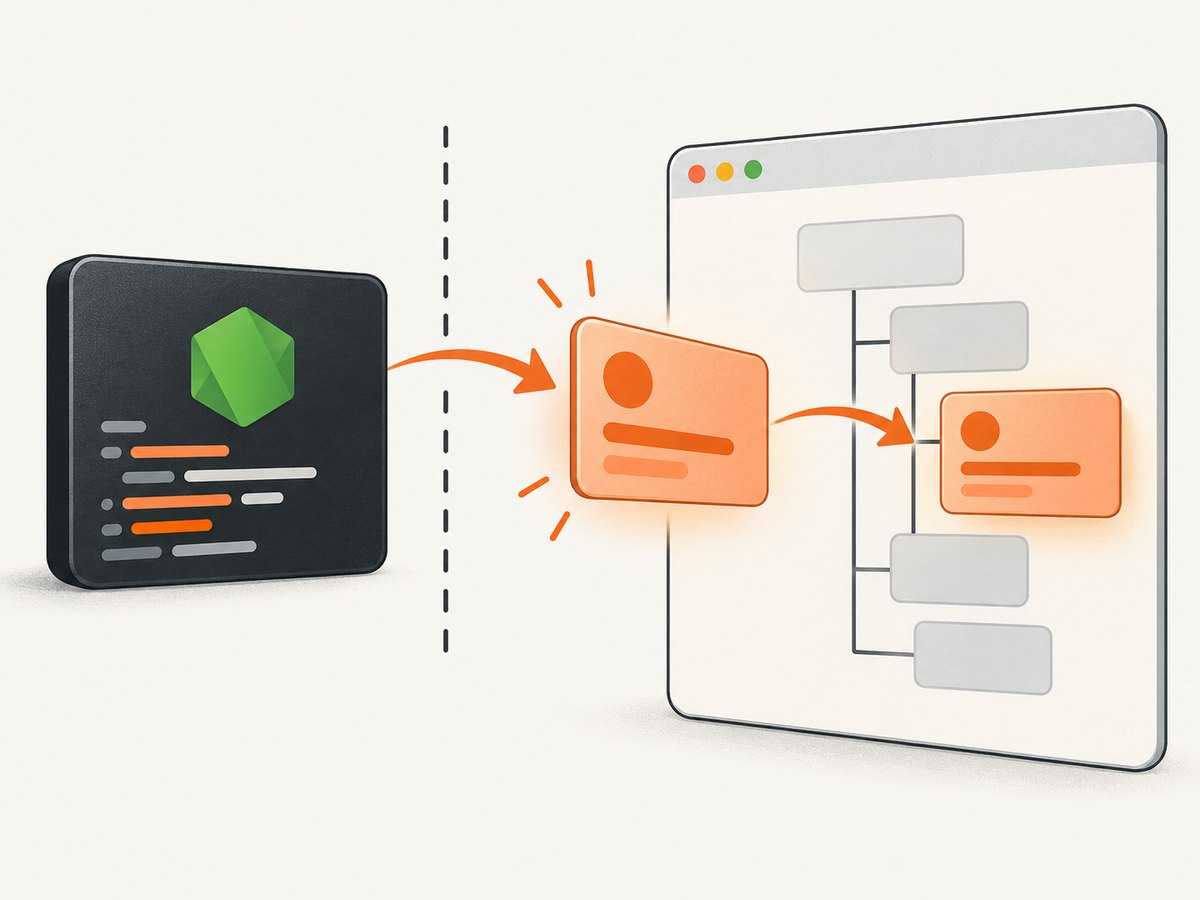
To add an HTML element to a page you already control, run DOM code in the page context. With Puppeteer, call page.evaluate(), create a node with document.createElement(), set its properties, and append it to a parent. Carlo uses the same browser DOM APIs from code running in the page. The difference is how your Node process connects to and communicates with the page.
Puppeteer’s API reference describes Page.evaluate() as evaluating a function in the page’s context and returning its result (official documentation). That page context has access to document, window, and other browser objects. Ordinary Node.js code does not.
1. Add an element with Puppeteer
Install Puppeteer, open a page, and use page.evaluate():
npm install puppeteerconst puppeteer = require('puppeteer');
(async () => {
const browser = await puppeteer.launch({ headless: true });
const page = await browser.newPage();
await page.goto('https://example.com', { waitUntil: 'domcontentloaded' });
await page.evaluate(() => {
const notice = document.createElement('p');
notice.textContent = 'Added by Puppeteer';
notice.className = 'automation-notice';
document.body.appendChild(notice);
});
await page.screenshot({ path: 'with-element.png', fullPage: true });
await browser.close();
})();The callback passed to evaluate executes inside the browser. document.createElement('p') creates a paragraph, textContent inserts plain text, and appendChild attaches it to the document body.
Insert at a specific location
Query the parent inside the evaluated function, then append or insert the new node. Check that the parent exists so a changed page does not produce a confusing null-reference error.
await page.evaluate(() => {
  const article = document.querySelector('main article');
  if (!article) {
    throw new Error('Expected main article was not found');
  }

  const heading = document.createElement('h2');
  heading.textContent = 'Generated section';
  article.prepend(heading);
});
Use append or appendChild to place content at the end, prepend for the beginning, and insertBefore when you need a precise position relative to an existing node.
Pass values from Node into the page
Pass data as an argument to evaluate instead of interpolating it into JavaScript source. Puppeteer serializes the argument for the page function.
const label = 'Build 2026.09';
const targetSelector = '#status';

await page.evaluate((selector, value) => {
  const parent = document.querySelector(selector);
  if (!parent) throw new Error(`No element matches ${selector}`);

  const badge = document.createElement('span');
  badge.textContent = value;
  badge.className = 'build-badge';
  parent.appendChild(badge);
}, targetSelector, label);
This keeps the function executable code separate from the data. It also ensures that a label containing quotes or newlines remains text rather than changing the function body.
Set attributes, properties, and styles
await page.evaluate(() => {
  const link = document.createElement('a');
  link.textContent = 'Read documentation';
  link.href = 'https://example.com/docs';
  link.target = '_blank';
  link.rel = 'noopener';
  link.setAttribute('aria-label', 'Read documentation');
  link.style.color = 'rebeccapurple';
  document.body.appendChild(link);
});
Use DOM properties such as href and disabled for known element behavior. Use setAttribute for attributes such as ARIA labels or data attributes. For several style rules, assigning a class and adding CSS is easier to maintain than setting individual inline styles.
Plain text versus HTML markup
Use textContent when the value is text. It does not parse the value as markup. If you intentionally need nested markup, create each child node explicitly:
await page.evaluate(() => {
  const box = document.createElement('div');
  const strong = document.createElement('strong');
  strong.textContent = 'Important:';
  box.append(strong, document.createTextNode(' review required'));
  document.body.appendChild(box);
});
Only assign innerHTML when parsing HTML is an explicit requirement and the source is trusted or sanitized. A string supplied by a user, database, or remote API can otherwise become executable markup.
2. Wait for the page before modifying it
Adding a node too early can fail because the application has not rendered its target container yet. Navigate with an appropriate wait condition, then wait for the selector:
await page.goto('https://example.com/dashboard', { waitUntil: 'networkidle2' });
await page.waitForSelector('#dashboard-content', { visible: true });

await page.evaluate(() => {
  const note = document.createElement('aside');
  note.textContent = 'Loaded after the dashboard became visible';
  document.querySelector('#dashboard-content').appendChild(note);
});
For an element that appears after a user action, perform the action first and wait for the resulting selector. Puppeteer’s interaction guidance recommends locators for selection and interaction because they wait for an element to be present and in a usable state (interaction guide).
3. Find an existing element instead of creating one
If the element already exists, do not create a duplicate. You can update it with $eval:
await page.$eval('.price', (element) => {
  element.textContent = '$49';
});
$eval(selector, fn) passes the first matching element to the callback and throws when the selector has no match (API reference). For optional content, check with page.$() first or use a locator and handle the wait timeout.
const price = await page.$('.price');
if (price) {
  await page.$eval('.price', (element) => {
    element.textContent = '$49';
  });
}
4. Remove or replace elements
await page.evaluate(() => {
  const oldNotice = document.querySelector('.old-notice');
  oldNotice?.remove();

  const current = document.querySelector('.status');
  if (current) {
    const replacement = document.createElement('strong');
    replacement.textContent = 'Complete';
    current.replaceWith(replacement);
  }
});
Use remove() for deletion and replaceWith() when the new node should occupy the old node’s position. Optional chaining prevents an error when the old element is absent.
5. Add CSS or a script when the element needs behavior
For a one-off style, set className and inject a style tag:
await page.addStyleTag({ content: `
  .automation-notice {
    padding: 12px;
    background: #fff3cd;
    border: 1px solid #e0b100;
  }
` });

await page.evaluate(() => {
  const notice = document.createElement('p');
  notice.className = 'automation-notice';
  notice.textContent = 'Review this page';
  document.body.appendChild(notice);
});
addStyleTag() and addScriptTag() add stylesheet and script tags; they are not replacements for creating arbitrary content elements. Create the element with DOM methods, then add supporting CSS or behavior separately.
6. Use setContent for a new document
page.setContent(html) assigns the page’s markup. It is useful for a fixture, email preview, or generated document:
await page.setContent(`
  <!doctype html>
  <html>
    <body>
      <main><h1>Generated page</h1></main>
    </body>
  </html>
`, { waitUntil: 'load' });
Use evaluate when an existing page should remain intact and you only need to append one element. Use setContent when replacing the document with supplied markup is the goal (setContent API).
7. Add an element with Carlo
Carlo is a headful Node application framework built around locally installed Chrome and the Puppeteer project. Its README demonstrates creating a DOM node in the page script:
const div = document.createElement('div');
div.textContent = `${type}: ${data[type]}`;
document.body.appendChild(div);
The DOM operation is the same: create, populate, append. Carlo’s integration determines how the page is opened and how Node functionality is exposed to it. Keep that boundary narrow: expose only the specific data or function the page needs. The repository README explicitly says, “Carlo is no longer maintained” (official repository), so treat it as legacy code when choosing a framework for a new project.
8. Common errors and fixes
| Error | Cause | Fix |
|---|---|---|
document is not defined |
DOM code ran in Node instead of the page context. | Move it into page.evaluate() or the Carlo page script. |
Cannot read properties of null |
The parent selector matched nothing. | Wait for the selector, verify the URL, and throw a clear error when it is absent. |
$eval timeout or no match |
The selector is wrong or the app has not rendered it. | Inspect the live DOM, wait for the correct state, or use page.$() for optional content. |
| Text appears as HTML | innerHTML was used for a value that should be text. |
Use textContent. |
| Element is present but invisible | CSS hides it, it is outside the viewport, or another layer covers it. | Add visible styles, scroll it into view, and inspect computed styles before capture. |
| Element disappears | A client-side render replaced the parent subtree. | Insert after the final render or attach the change to the application’s update lifecycle. |
| Changes are missing from a screenshot | The screenshot ran before layout or fonts finished. | Wait for the target, fonts, images, or a short application-specific readiness signal before capturing. |
9. Reliable and fast automation patterns
- Use stable selectors. Prefer an ID, data attribute, or semantic landmark over a generated class name.
- Make insertion idempotent. Check for an existing marker before appending so retries do not create duplicates.
- Keep evaluated functions small. Pass serializable data in arguments and do network or filesystem work in Node.
- Wait for a condition. A fixed delay can be too short on a slow run and wasteful on a fast one. Prefer a selector or application-ready flag.
- Capture diagnostics. Save the URL, selector, console messages, and a screenshot when an insertion fails.
- Reuse the browser. For batches, keep one browser process and create or recycle pages instead of launching Chrome for every URL.
There is no general Puppeteer-versus-Carlo performance figure in the cited documentation. Measure your own pages, especially when scripts, fonts, lazy images, and third-party requests dominate load time.
10. Or skip the browser setup
If your goal is a clean screenshot after a page has loaded, ScreenshotNeo provides a single HTTP request. Its API can capture a full page or one CSS-selected element, execute custom JavaScript, click an element, wait for a selector, delay, or network idle, and apply custom CSS. It also supports dark mode, device presets, arbitrary viewports, retina scale, headers, cookies, user agents, authorization, timezone, geolocation, blocking rules, caching, PDFs, bulk capture, asynchronous jobs, signed links, and usage reporting. See the ScreenshotNeo API documentation for parameter names and configuration.

curl -G 'https://api.screenshotneo.com/v1/shot' \
  -d access_key=YOUR_API_KEY \
  --data-urlencode url=https://stripe.com \
  -o shot.webp
import requests
r = requests.get(
'https://api.screenshotneo.com/v1/shot',
params={'access_key': 'YOUR_API_KEY', 'url': 'https://stripe.com'},
timeout=90,
)
r.raise_for_status()
open('shot.webp', 'wb').write(r.content)const q = new URLSearchParams({
access_key: 'YOUR_API_KEY',
url: 'https://stripe.com'
});
const res = await fetch(`https://api.screenshotneo.com/v1/shot?${q}`);
if (!res.ok) throw new Error(`Screenshot failed: ${res.status}`);
const image = Buffer.from(await res.arrayBuffer());
require('fs').writeFileSync('shot.webp', image);Cookie banners, newsletter popups, and chat widgets are removed before the shot. Bot checks, blank pages, timeouts, failed loads, and cache hits are not billed, and response headers identify the page verdict and billing result. ScreenshotNeo also offers an MCP server with take_screenshot, get_page_info, and capture_pdf tools for Claude, Cursor, and other MCP clients. The Free plan includes 1,000 screenshots each month with no card; paid plans start at $5 for 3,000 shots.
Create a free ScreenshotNeo account and start with the 1,000 monthly shots.
11. FAQ
Can I add an element before navigation finishes?
You can, but it may be discarded when navigation or the application renderer replaces the document. Wait for the target application state unless you are intentionally modifying an early document.
Does evaluate return the new element?
It can return serializable data, such as the node’s ID or bounding box. DOM nodes themselves are not useful across the Node and browser boundary; return the properties your Node code needs.
How do I add several elements?
Create them in one evaluated function when they share a parent and readiness condition. This reduces round trips and keeps the update atomic from your script’s perspective.
Should a new project use Carlo?
Carlo’s repository says it is no longer maintained. For new automation, evaluate a maintained browser automation project and use Puppeteer’s current documentation for the APIs you need.
Can ScreenshotNeo run my DOM mutation code?
Yes. Use its custom JavaScript option when a page must be changed before capture, then combine it with selector or network-idle waiting so the mutation is visible in the output.


