How to Add an Image to Shopify
Add a Shopify image in the right place: a product, theme section, page, blog post, or reusable file. Follow the steps, check image limits, and fix common display problems.

To add an image to Shopify, first choose where it should appear. Add product photos in a product’s Media section; add a homepage or banner image in the theme editor; put an image in a page or blog post with the rich-text editor; and upload reusable public assets through Content → Files. The steps differ because each location controls a different part of your store.
For product and collection images, keep files under 20 MB. Shopify optimizes storefront images for delivery, so you generally do not need to compress them before uploading. Use the walkthrough below to pick the right editor, upload the file, and check how it appears on your storefront.
1. Choose where the image belongs
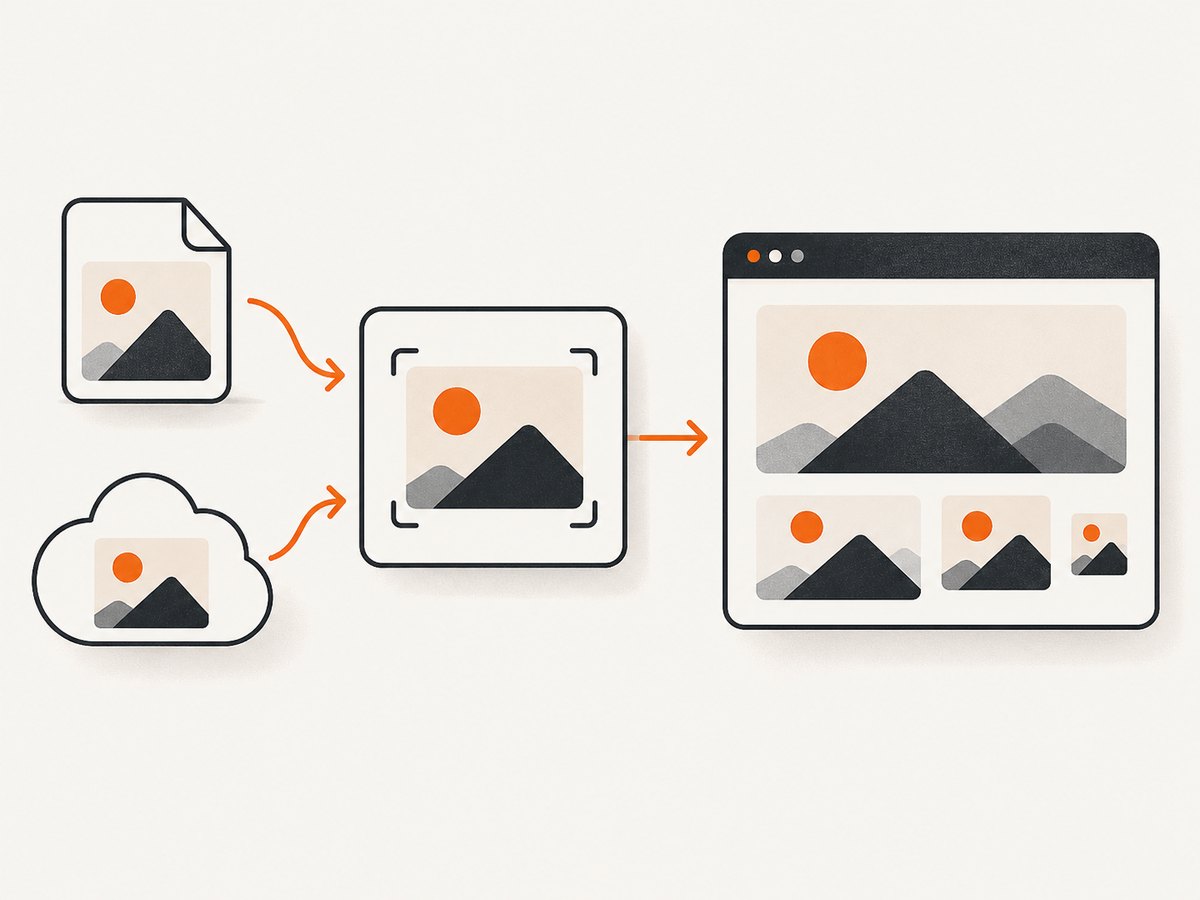
Before uploading, identify the destination and whether the image needs to be reused dynamically. This avoids adding a banner to a product listing or uploading a private file to a public storefront library.
| What you are adding | Where to add it | Best fit |
|---|---|---|
| Product photo or product media | Products → select a product → Media | Photos displayed on the product and in supported sales channels |
| Homepage image, banner, or theme section image | Online Store → Edit theme | A section or block in a theme template |
| Image within a page or blog article | That page or post’s rich-text editor | Images that belong in the written content |
| Reusable public asset | Content → Files | A file to use in several places or link publicly |
| Product-specific image selected dynamically | Product file-reference metafield plus a compatible theme | Content managed separately from the theme layout |
Shopify’s file picker can add files to the Files area while you work in product media, the theme editor, metafields, or rich-text content. Files in Content → Files are intended for public storefront access; do not upload confidential or personal documents there. See Shopify’s guides to uploading and managing files and uploading theme images.
2. Add a picture to a Shopify product
Use product media for the photos customers should see when browsing a product. All Shopify themes support product images. Product media can include up to 250 images, 3D models, or videos for a product; support for displaying video and 3D media depends on the theme.
- In Shopify admin, open Products.
- Select the product you want to edit.
- In Media, choose Upload new, drag and drop an image, select an existing file, or add an image by URL.
- Check the order of the media. The first item is the featured or main media item, and Shopify uses it in places such as collection pages, the cart, checkout, and the home page.
- Save the product if Shopify prompts you.
To change the featured image on desktop, drag the image you want into the first position. In the Shopify app, open View all, choose Select, and set the desired image as the default. The Shopify product media instructions cover the admin and app workflows.
Adding a second or detail image does not automatically make it the primary product image. Check the first-media position after uploading, then preview the product and a collection page to confirm the result.
3. Upload an image to your Shopify homepage or banner
Theme images belong to a section or block in a theme template. The exact section names and crop settings vary by theme.
- In admin, go to Online Store and click Edit theme for the theme you want to change.
- If the image is for a page other than the homepage, open the template selector (often labeled Home page) and choose the correct template.
- In the sidebar, select the section or block that should contain the image.
- In its Image field, select an existing image or choose Select image → Add images to upload. For a stock image, choose Explore free images and select one from Burst.
- Use the section’s available layout, crop, or focal-point controls to frame the subject, then click Save.
In the Shopify app, go to Online Store → Manage all themes → Edit theme, select the template and section or block, choose the image, and save. Shopify’s theme image guide lists the desktop and mobile paths.
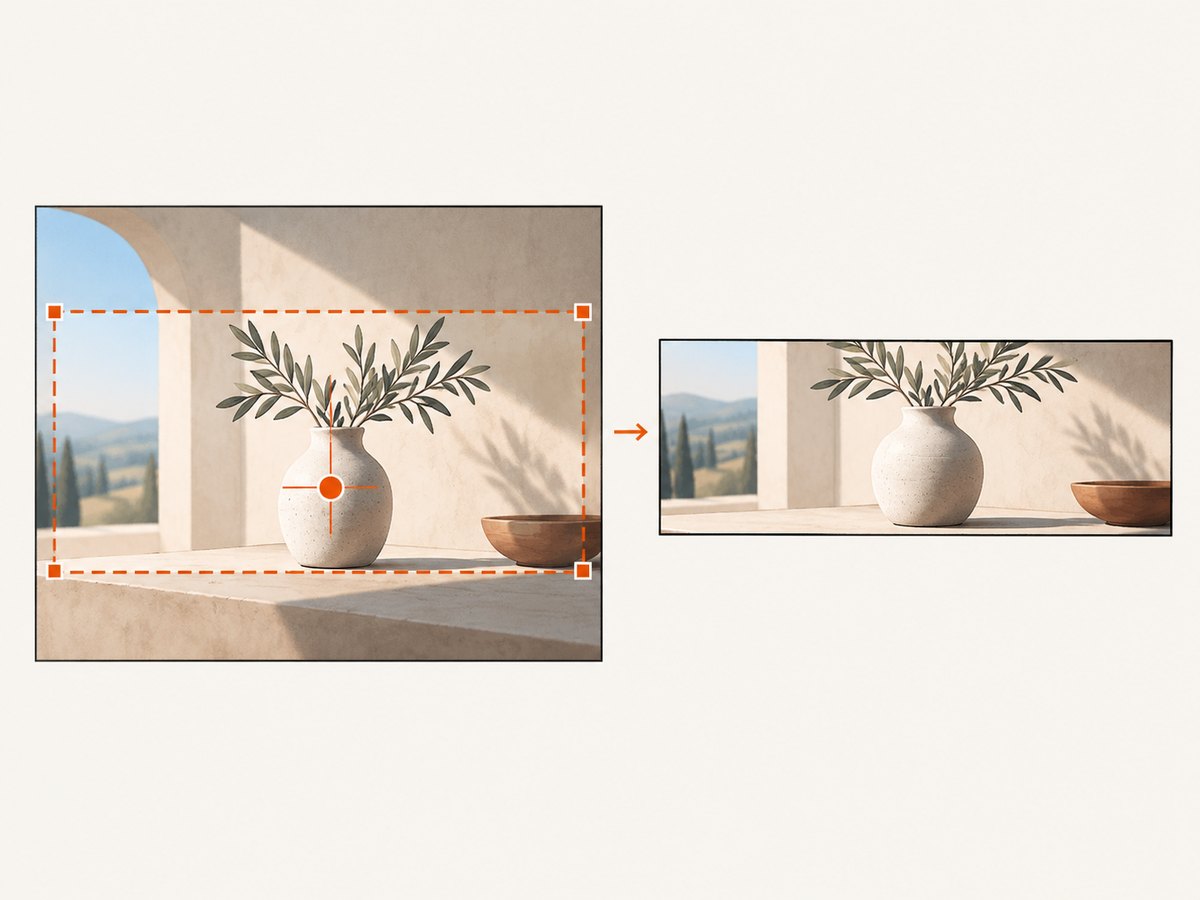
A banner can crop an image to fit its section. Choose a source image with a shape close to the image area, and use a focal point if your theme offers one. A focal point helps keep the important subject visible when a theme crops the image; it does not change the source file.
4. Put an image in a Shopify page or blog post
Open the page or blog post you are editing and use the rich-text editor’s Insert image control or media picker. The same kind of editor can appear in product and collection descriptions. Choose an existing file or upload a new one, insert it in the content, and save or publish the item.
Using the editor’s media control keeps the image attached to the content workflow. Shopify recommends the uploader instead of pasting a hard-coded <img> tag into a description or blog post. If you need an image to be reused as structured product data, consider a file-reference metafield instead of embedding it in the prose.
5. Reuse an image with Content → Files or a metafield
For an asset you intend to reference in several storefront locations, go to Content → Files → Upload files. Select the image and upload it; Shopify’s file picker also adds files to the Files library when you upload from other admin areas. From the Files page, you can find files, copy a public link, and manage image details such as alt text or a focal point.
For a product image that should be selected as data rather than fixed into a theme section, create a product file-reference metafield and connect it using the theme editor’s dynamic source picker. A metafield holds one file. Shopify documents JPEG, PNG, WEBP, SVG, HEIC, and GIF as image formats that can display through file-reference metafields. A compatible theme is needed; vintage themes may need theme-code changes or help from a Shopify Partner. See Shopify’s product media types documentation.
6. Pick a format, size, and crop
- File size: Product and collection images must be smaller than 20 MB. Shopify’s broader Files image requirements also specify a 20 MB and 20 megapixel maximum, with a maximum resolution of 5000 × 5000 pixels.
- Format: Shopify identifies PNG as the best type for most product images, followed by JPEG. JPEG is useful for photographs; PNG is suitable for graphics, flat colors, and transparency. Shopify also supports other formats in relevant image workflows, but accepted formats can depend on where you upload.
- Dimensions: Shopify says square product images at 2048 × 2048 pixels usually display well. The right proportions for a theme banner or section depend on that theme’s layout.
- Compression: Shopify optimizes images for storefront delivery and says images do not need to be manually compressed before upload. Upload the best-quality source you have, within the relevant limits.
- Crop: Check the image in the actual section or product layout. Use a focal point where supported if the crop cuts off the important subject.
- Public access: Files in Content → Files are for public storefront use. Keep sensitive material out of that library.
Do not assume every upload surface has identical limits. If an image fails, verify both its file size and its pixel dimensions, then confirm that the format is accepted in the destination you chose.
7. Preview the storefront after adding the image
Save the product, content, or theme, then view the storefront page where the image should appear. Check the desktop and mobile layouts if the theme rearranges or crops images at different widths. For product media, verify that the intended main image is first. For a banner, check that the focal subject remains visible. For content, confirm that the image appears in the intended position in the post or page.
If you need a screenshot for a review, handoff, or visual record, capture the public storefront URL after saving. The following examples request an image of your store’s public homepage. Replace the example domain with your actual public storefront URL.
cURL
curl -G "https://api.screenshotneo.com/v1/shot" -d access_key=YOUR_API_KEY --data-urlencode url=https://YOUR-STORE.myshopify.com -o shot.webpPython
import requests

r = requests.get(
    "https://api.screenshotneo.com/v1/shot",
    params={
        "access_key": "YOUR_API_KEY",
        "url": "https://YOUR-STORE.myshopify.com",
    },
    timeout=90,
)
r.raise_for_status()
open("shot.webp", "wb").write(r.content)
Node.js
const q = new URLSearchParams({
  access_key: 'YOUR_API_KEY',
  url: 'https://YOUR-STORE.myshopify.com',
});
const res = await fetch(`https://api.screenshotneo.com/v1/shot?${q}`);
if (!res.ok) throw new Error(`Screenshot request failed: ${res.status}`);
const bytes = new Uint8Array(await res.arrayBuffer());
await import('node:fs/promises').then(fs => fs.writeFile('shot.webp', bytes));
These calls use ScreenshotNeo’s website screenshot API. Its API base and options are documented at ScreenshotNeo docs. Use your own API key and the public URL you want to inspect.
8. Or skip the browser setup
ScreenshotNeo is a website screenshot API and MCP server for developers. One GET request can return a PNG, JPEG, WebP, or PDF. Its capture flow accepts cookie and consent banners and removes more than 60 known consent platforms, newsletter popups, and chat widgets before the shot; each step can be turned off. Bot checks and CAPTCHAs, blank pages, timeouts, failed loads, and cache hits cost nothing, and each response says which verdict and billing status applied. AI agents can use its MCP server through tools including take_screenshot, get_page_info, and capture_pdf.
curl -G "https://api.screenshotneo.com/v1/shot" -d access_key=YOUR_API_KEY --data-urlencode url=https://YOUR-STORE.myshopify.com -o shot.webpPython and Node.js examples are in the section above; the API docs describe the request options. Free includes 1,000 shots per month with no card; paid plans start at $5 for 3,000 shots. Sign up for 1,000 free screenshots a month, with no card required.
9. Troubleshoot images that will not upload or display
| Problem | Likely cause | What to do |
|---|---|---|
| Upload rejected as too large | The file exceeds the size limit, or the image exceeds the pixel limit even though its file size is below 20 MB. | Check both megabytes and pixel dimensions. Resize the image if its megapixel count is too high, and confirm the destination’s limits. |
| Product shows the wrong main image | The intended image is not the first media item. | Reorder the media on desktop or set the default image in the app, then preview the product and collection listing. |
| Banner cuts off the subject | The source aspect ratio and section shape differ, or the theme crops the image. | Choose a closer-fitting image, adjust the section settings, or set a focal point if available. |
| Replacement image still looks old | A hard-coded URL may still point to an older file URL; changing file type can also require removing and re-adding the image. | Use the current Shopify file reference or uploader. If changing formats, remove the old image, save, refresh, and upload the new format. |
| File will not appear in a theme | The image may be in the wrong template or section, the theme may not support the media type, or the file may not be connected to the dynamic source. | Confirm the selected template and section, reconnect a metafield if used, and check the theme’s documentation. |
| Image is missing from blog content | The image may not have been inserted with the editor, or the post changes may not have been saved. | Reopen the post, insert through the rich-text editor’s image control, save, and view the published page. |
| Can choose existing media but cannot upload | Your staff account may have limited Files permissions. | Ask a store administrator to check your Files permissions, including permission to create or upload files. |
For media that still fails, note the exact admin destination, format, dimensions, and file size. Those details help distinguish an upload-limit error from a theme display or crop issue.
10. Keep image delivery reliable and fast
Shopify’s CDN optimizes storefront images and can serve formats supported by a visitor’s browser. You do not need to pre-compress every upload, but oversized source dimensions can still trigger upload limits. Keep the subject framed for the destination, use a suitable source format, and preview the image after the theme crops it.
When replacing a file, consider where its URL is used. Shopify-rendered pages can request the current image, while a hard-coded URL in theme code, a description, email, or external site can continue to reference an old address. For reusable assets, a current Files link or supported metafield connection reduces the chance of stale references. Treat Files links as public, and do not use them for protected content.
Frequently asked questions
How do I add a picture to my Shopify product?
Open Products, choose the product, and upload or select the image in Media. Put the image you want featured first.
Where do I add a banner image in Shopify?
Open Online Store → Edit theme, select the right template and section or block, set its image, and save.
Can I add an image to a Shopify blog post?
Yes. Use the post’s rich-text editor and its image insertion control or media picker.
What image format should I use?
For product images, Shopify lists PNG followed by JPEG as preferred choices. JPEG suits photography; PNG suits graphics and transparency.
Why is my Shopify image not showing?
Check that the image is in the correct product, template, section, or content editor; that the changes were saved; and that the theme supports the media type. For crops, check the section ratio and focal point.


