How to Add an Image to a WordPress Post
Add an image to a WordPress post with the Block Editor or Classic Editor. Learn how to upload it, choose its source, write alt text, adjust display settings, and set a featured image.

To add an image to a WordPress post, open the post in the Block Editor, place the cursor where the image should appear, and insert an Image block. Upload an image, choose one from the Media Library, or insert a URL. Add useful alt text, adjust the image’s display settings if needed, then save and preview the post. A featured image is a separate post setting, although you can set one from an Image block’s menu.
This guide covers the current Block Editor first, then gives separate Classic Editor instructions. It also explains image sources, alt text, sizing, featured images, and common problems.
1. Add an image with the Block Editor
- Open the post for editing. Click in the content where the image belongs. WordPress inserts the image at the selected point between blocks.
- Add an Image block. Click the plus-shaped Block Inserter and search for “Image.” You can also start a new block, type
/image, and press Enter. - Choose the image source. Select Upload, Media Library, or Insert from URL. You can also drag an image file from your computer into the editor.
- Write alt text. Describe the useful information or purpose conveyed by the image. If it is purely decorative and adds no information or function, leave its alt text empty or mark it decorative when that option is available.
- Adjust display options. Use the block toolbar or settings to add a caption, set alignment, resize, or choose a resolution when the theme and image offer those controls.
- Save and preview. Update or publish the post, then preview it to check that the image appears in the intended position and at a suitable size.
The Image block is the usual choice for a picture that belongs at a particular point in the article. WordPress documents these insertion methods and block controls in its Image block guide.
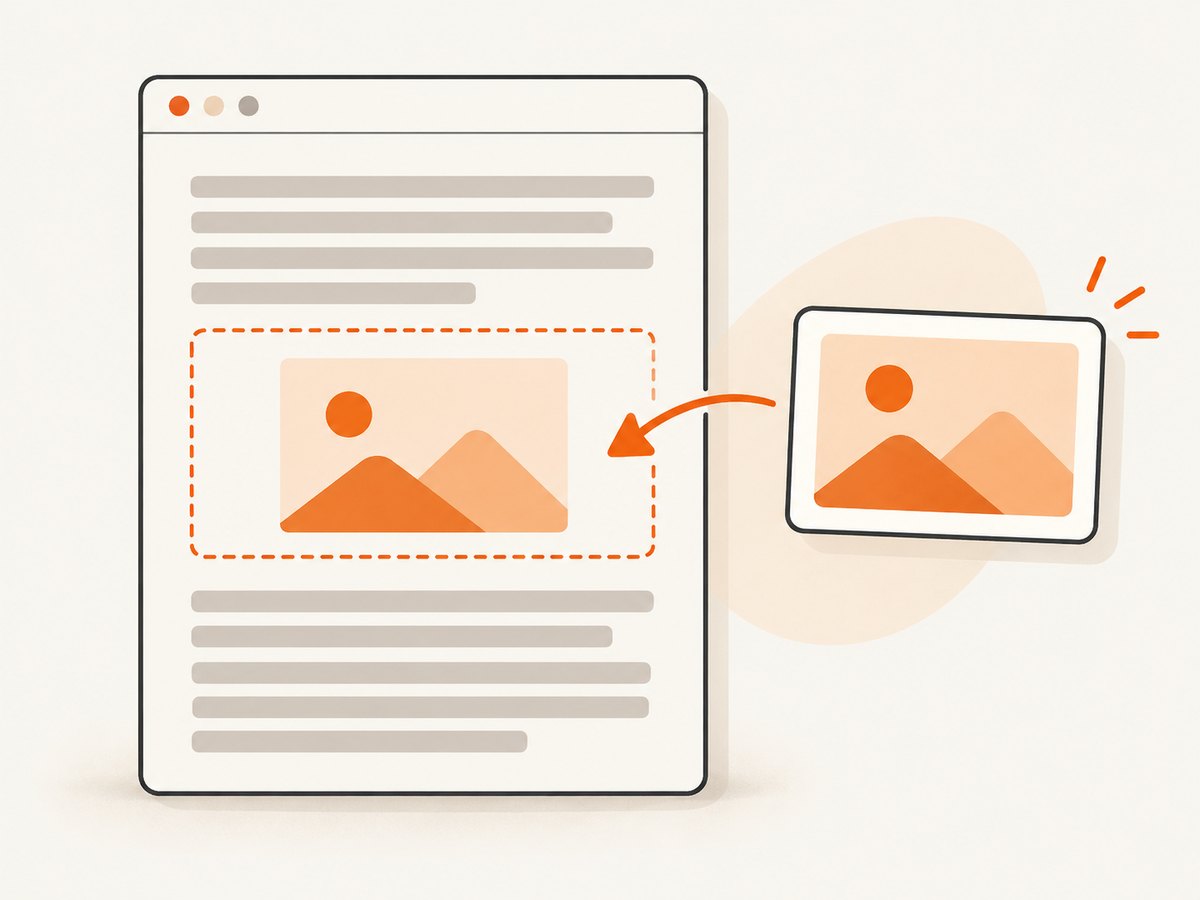
Choose where the image comes from
| Source | Use it when | Keep in mind |
|---|---|---|
| Upload | The file is on your computer and is not yet in the site’s library. | WordPress adds images inserted through posts to the Media Library. |
| Media Library | The image is already on the site or you have just uploaded it. | This is usually the simplest way to reuse a site image. |
| Insert from URL | You have a direct image address and permission to use that image. | The image can disappear if the original is moved, deleted, or stops being shared. Some sites block embedding. |
| Openverse | Your editor’s Media inserter offers Openverse and you find an appropriate image there. | Availability depends on the site. WordPress says an inserted Openverse image is saved to the Media Library. |
Use only images you have permission to use. A picture being visible on another website does not make it free to copy. The WordPress Image block documentation describes inserting by URL and Openverse, and its image guidance covers the Media Library.
2. Add useful alt text and a caption
Alt text and a caption serve different purposes. Alt text is an alternative description associated with the image; a caption is visible text that can appear beneath it. Add alt text that communicates the relevant content or role of an informative image. Avoid keyword lists: they do not explain the image to someone who cannot see it.
If an image is only decorative and conveys no meaningful information or function, WordPress recommends leaving alt text empty or marking it decorative where supported. Do not use a caption as a substitute for alt text, or put a long explanation in alt text when it belongs in the surrounding article.
You can set a caption in the block, and the toolbar lets you show or hide it. The Media Library also stores image details including title, caption, alt text, and description. Alt text entered in the Image block applies to that use in the post; alt text saved with a Media Library item can serve as its default when that item is inserted elsewhere. See WordPress’s Image block guide for the relevant controls.
A practical alt-text check
- Ask what information a reader would miss if the image were unavailable.
- Describe that information briefly in ordinary language.
- For a decorative image, leave the description empty or use the decorative control.
- Keep visible credits or explanations in a caption or nearby text where readers can see them.
3. Set alignment, size, and resolution
Select the image to expose its block toolbar and settings. Depending on your WordPress version, theme, and source image, you may see alignment choices, resize handles, and resolution options such as Full Size, Large, Medium, or Thumbnail. Those choices are not identical on every site: theme support, original dimensions, and media settings affect what is available.
Choose a size that fits the content column and remains clear at the intended display size. Drag handles can adjust the displayed dimensions; they do not create detail that is missing from a small original. If a particular size is absent, check the image’s original dimensions and the site’s media configuration rather than assuming WordPress always provides the same options. The Media Settings screen documents configurable maximum dimensions for thumbnail, medium, and large sizes.
If you want text placed over an image, WordPress lets you transform an Image block into a Cover block. Consider readability over the picture; WordPress describes Cover as appropriate when the image is decorative or the overlaid text remains readable.
4. Set a featured image separately
A body image appears where you inserted it in the article. A featured image is the post’s designated image. A theme may display it on the blog index, home page, or another template, but the actual placement depends on the theme.
To set one, open the post settings sidebar and find the Featured image section. Choose or upload an image there. You can also open the Image block’s options menu and choose Set as featured image. WordPress’s Page/Post Settings sidebar guide explains the post setting. For template layouts and query loops, the Post Featured Image block is a separate block used in site templates; it is not the same as inserting a picture into the article body.
5. Classic Editor: insert an image with the Media Uploader
If your site uses the Classic Editor, the controls are different from the Block Editor. Place the cursor in the post where the picture should go, then use the Media Uploader to add it.
- In the post editor, place the cursor at the insertion point.
- Choose the control to add media and open the Media Uploader.
- Upload a new file or select an image already in the Media Library.
- Set the image details and display choices offered there, such as alt text, alignment, link behavior, and size.
- Choose the control to insert the image into the post.
- Save or update the post and preview it.
The Classic Editor’s size options can include thumbnail, medium, large, and full size. The theme’s content column affects how large the image appears on the page. For the complete interface-specific path, see WordPress’s Classic Editor image instructions.
6. Troubleshooting image problems
| Problem | Likely cause | What to do |
|---|---|---|
| The image is missing after inserting a URL. | The external file moved, was deleted, or its host blocks embedding. | Check the address in a browser. If you have permission to use the image, download it and upload it to your Media Library. |
| The image is not in the expected spot. | The insertion point was in a different block position. | Move the Image block in the editor or undo and insert it at the correct point. |
| The size choices differ from a tutorial. | Available resolutions depend on theme support, source dimensions, and media settings. | Check the original file and your site’s Media settings. Use the available resolution that fits the content layout. |
| The image looks blurry or too small. | The source may not have enough pixels for the displayed dimensions, or a small resolution was selected. | Choose a larger available resolution or upload a higher-resolution source. |
| The caption is missing. | The caption may not have been entered or may be hidden in the block toolbar. | Select the image, enter the caption, and check the toolbar’s caption visibility control. |
| The image appears in the post but not on the blog index. | A body image and featured image are separate, and the theme controls featured-image display. | Set a featured image in the post settings sidebar and confirm the theme displays it in that location. |
| The Media Library image has the wrong alt text. | Media details may contain a saved default, while the post block can have its own alt text. | Select the image in the post and review its block settings; update the library details too if you want a different default elsewhere. |
7. Image workflow, reliability, and page weight
For a new image, the dependable workflow is to upload it to the site, insert it from the Media Library, set its alt text and optional caption, choose a suitable resolution, and preview the result. That keeps the image in the site’s library rather than relying on another site continuing to serve a URL. WordPress notes that images added through posts are automatically added to the Media Library.
For an existing library image, reuse the library copy instead of uploading a duplicate. For externally hosted images, account for the possibility that the original changes or becomes unavailable, and confirm usage rights. For every image, inspect the published layout: the theme and content width determine how the image is presented, and a large original can affect how much content a visitor must load. Pick dimensions suitable for the layout and avoid using a tiny source for a large display.
WordPress’s standard editor workflow does not require a separate screenshot service. If your task is specifically to capture a webpage as an image before adding it to WordPress, a screenshot API can handle that separate capture step; the WordPress Image block or Media Library still handles inserting the resulting file.
8. Or skip the browser setup
If you need a webpage screenshot to add to a post, ScreenshotNeo takes a URL and returns an image or PDF through one API request. It can also capture an element by CSS selector, create full-page captures with lazy images loaded, set viewport and device options, and render supplied HTML/CSS. Put the resulting image in WordPress using the upload or Media Library workflow above. See the ScreenshotNeo API documentation for request options.
curl -G "https://api.screenshotneo.com/v1/shot" -d access_key=YOUR_API_KEY --data-urlencode url=https://stripe.com -o shot.webpimport requests
r = requests.get("https://api.screenshotneo.com/v1/shot", params={"access_key": "YOUR_API_KEY", "url": "https://stripe.com"}, timeout=90)
open("shot.webp", "wb").write(r.content)const q = new URLSearchParams({ access_key: 'YOUR_API_KEY', url: 'https://stripe.com' });
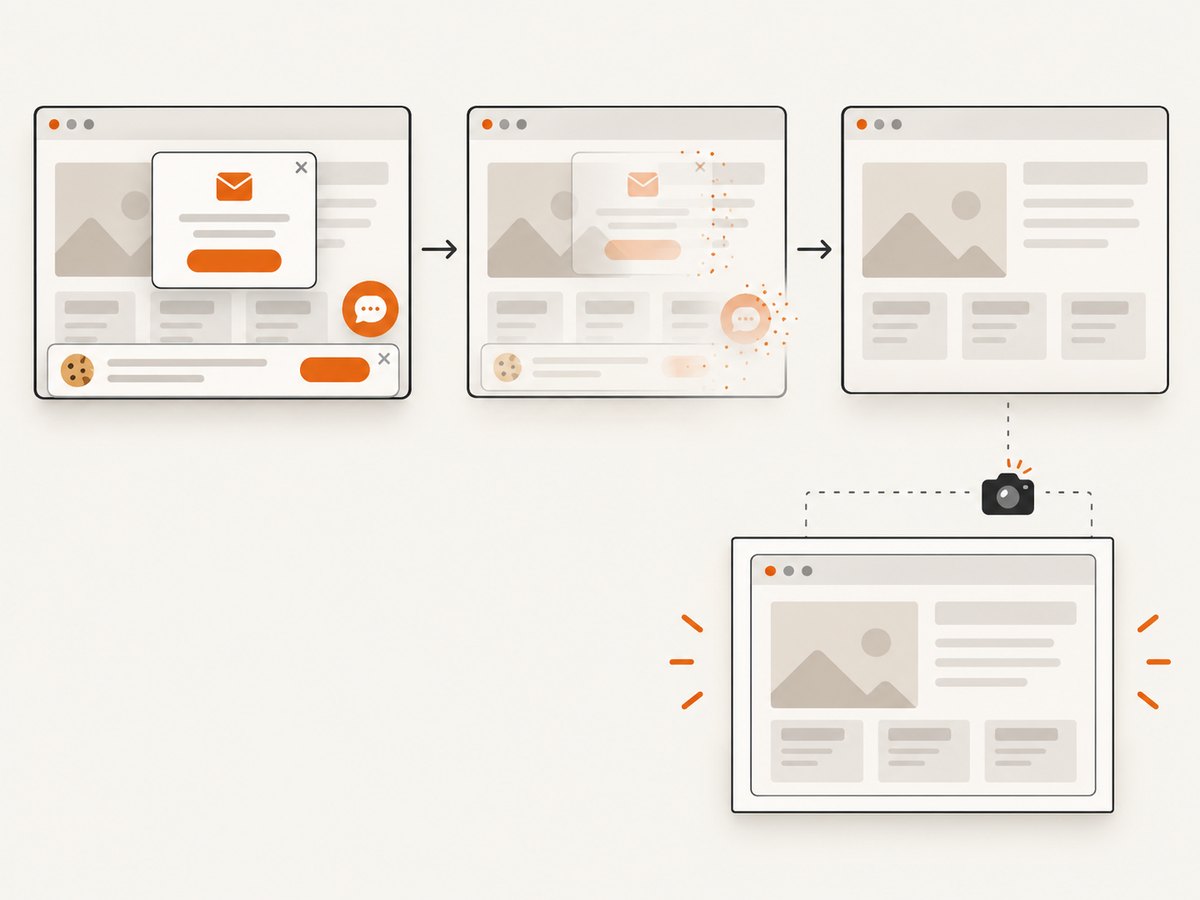
const res = await fetch(`https://api.screenshotneo.com/v1/shot?${q}`);Cookie banners, newsletter popups, and chat widgets are removed before the shot, and each cleanup step can be turned off. Bot checks, blank pages, timeouts, failed loads, and cache hits cost nothing; response headers report the page verdict and billing status. An MCP server gives AI agents tools to take screenshots, get page information, and capture PDFs. The free plan includes 1,000 screenshots a month with no card; paid plans start at $5 for 3,000. Sign up for ScreenshotNeo’s free plan.
9. Frequently asked questions
How do I upload a picture to WordPress?
In the Block Editor, add an Image block and choose Upload, then select the file. WordPress adds images inserted through posts to the Media Library.
How do I add an image from the Media Library?
Add an Image block where it belongs, choose Media Library, and select the image. Review its alt text and display options for this post.
How do I add alt text to an image?
Select the Image block and enter a concise description in its alt text setting. Leave it empty or mark it decorative when the image carries no meaningful information or function.
How do I set a featured image in WordPress?
Use the Featured image section in the post settings sidebar, or choose Set as featured image from the Image block menu. Whether and where it appears depends on the theme.
Can I use an image from another website?
You can insert an image URL if the site permits embedding, but use only images you have permission to use. An external image can stop displaying if its source changes.
Why are my WordPress image size options different?
Available image resolutions depend on the original upload, theme support, and site media settings, so tutorials may show choices your site does not have.


