How to Add Links to Images and Graphics
Make a picture clickable in Word, PowerPoint, HTML, or Markdown. Follow the right steps for your destination, accessible link text, and reliable sharing.

To make an image clickable, attach the destination to the image in the app or format where it will be used. In Word, select the picture and choose Insert > Link. In PowerPoint, select it and choose Insert > Link > Insert Link. On a website, wrap an <img> in an <a href>. In Markdown, wrap the image syntax in link brackets: [](https://example.com).
The right method depends on what the graphic should open: a web page, a file, a heading in a document, or a slide in a presentation. This guide covers each workflow, how to check that it works, and how to make linked images understandable to people and search engines.
1. Decide where the link should go
Before adding the link, identify both its destination and where people will click it. A picture can link to an external website, a file, a heading or bookmark in the same document, or a slide in the same presentation. Choose the destination first so you can test the result in the same context in which readers will use it.
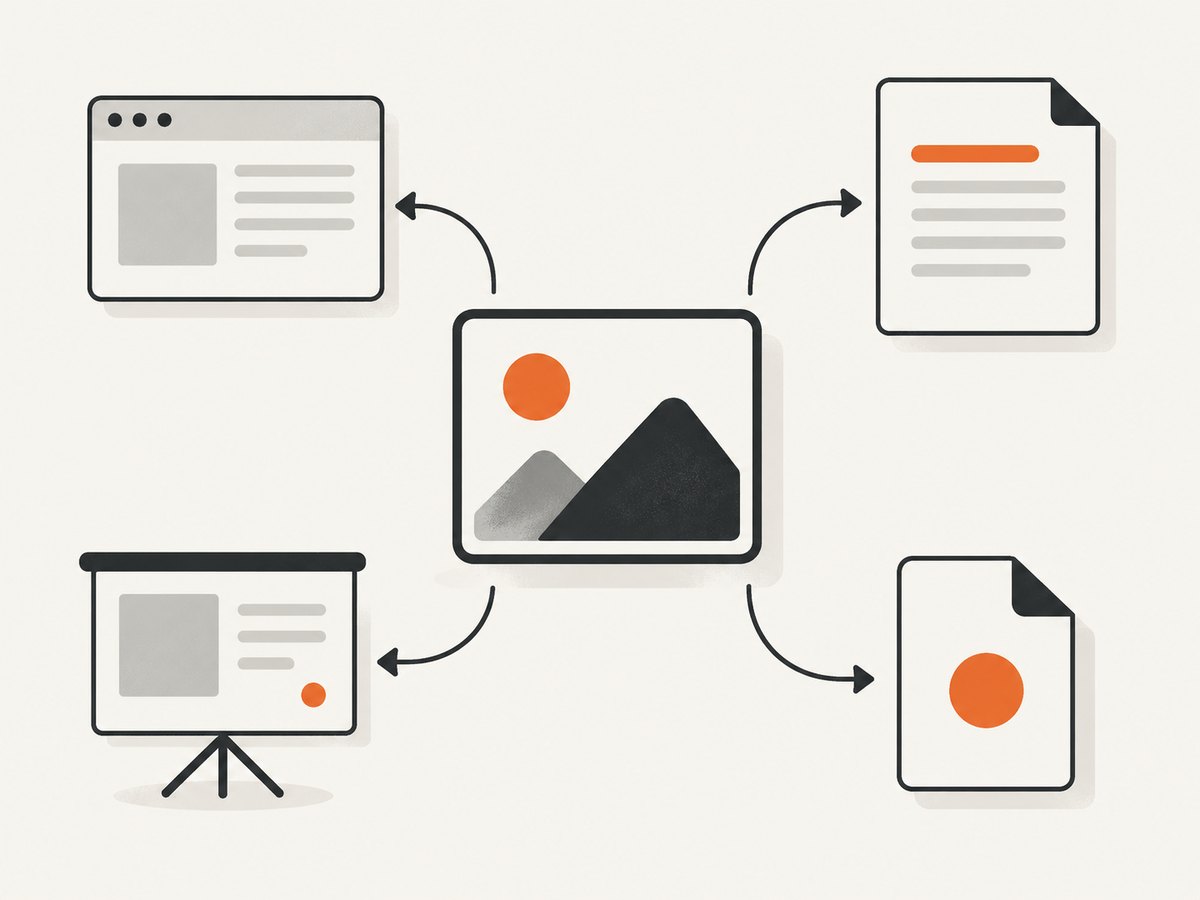
- Web page: Use the complete address, including
https://where applicable. - Local file: Consider whether the file will still be available to someone who receives the document or deck.
- Document location: Use the app’s internal destination picker when available, rather than guessing an address.
- Slide: Link to the intended slide and test it in presentation context.
A useful link makes its purpose clear. If the image is a button or promotional graphic, ask what a person should expect when activating it. The image, its surrounding text, and its alternative text should not leave the destination ambiguous.
2. Add a link to an image in Microsoft Word
- Select the picture itself. If the document has nearby text, take care not to select the text instead.
- Open the Insert tab and choose Link. Depending on the version, you can also right-click the selected picture and choose Link.
- For a web destination, enter its address in the address field. For an internal destination, choose Place in This Document and select a listed heading, bookmark, or other available location.
- Confirm the link, then test it in the document.
Menu wording and placement can vary slightly by Word version. If the link command seems to affect text instead of the picture, close the dialog and select the picture again before trying the command.
Linking to a place in the same document
Use the internal destination option to send readers to a heading or bookmark in the current document. This is useful for a diagram in an overview that should open a detailed section later on. Check that the destination heading or bookmark exists and has the wording you expect; then activate the image link to confirm it reaches the intended location.
Check the Word link
After adding the link, save the document and test the picture’s destination. If the document will be shared, check the link in the saved copy as well. A link that works only because of a temporary local file or an unsaved edit may fail for the recipient.
3. Add a link to an image in Microsoft PowerPoint
- Select the picture on the slide.
- Choose Insert > Link > Insert Link.
- For a website, select Existing File or Web Page and enter the destination address. To link within the presentation, select Place in This Document and choose the target slide.
- Confirm the dialog.
- In Normal view, right-click the linked picture and choose Open Hyperlink to test its destination.
PowerPoint can also link a picture to a local file. If you move the presentation to another computer, that linked file must travel with it and remain available at the expected location. Before presenting or distributing a deck, test local-file links after moving the files to the folder or computer where they will actually be used.
Linking to another slide
Choose the internal presentation destination and select the slide the image should open. This can turn a diagram or menu into a simple navigation aid. Test from the slide show or presentation workflow your audience will use, especially if the image is part of a sequence and the intended destination is not the next slide.
4. Make an image clickable on a website with HTML
Use a real anchor element with an href around the image. This gives browsers and link readers a standard destination to follow and avoids making a script-only click handler the sole way to access the link.
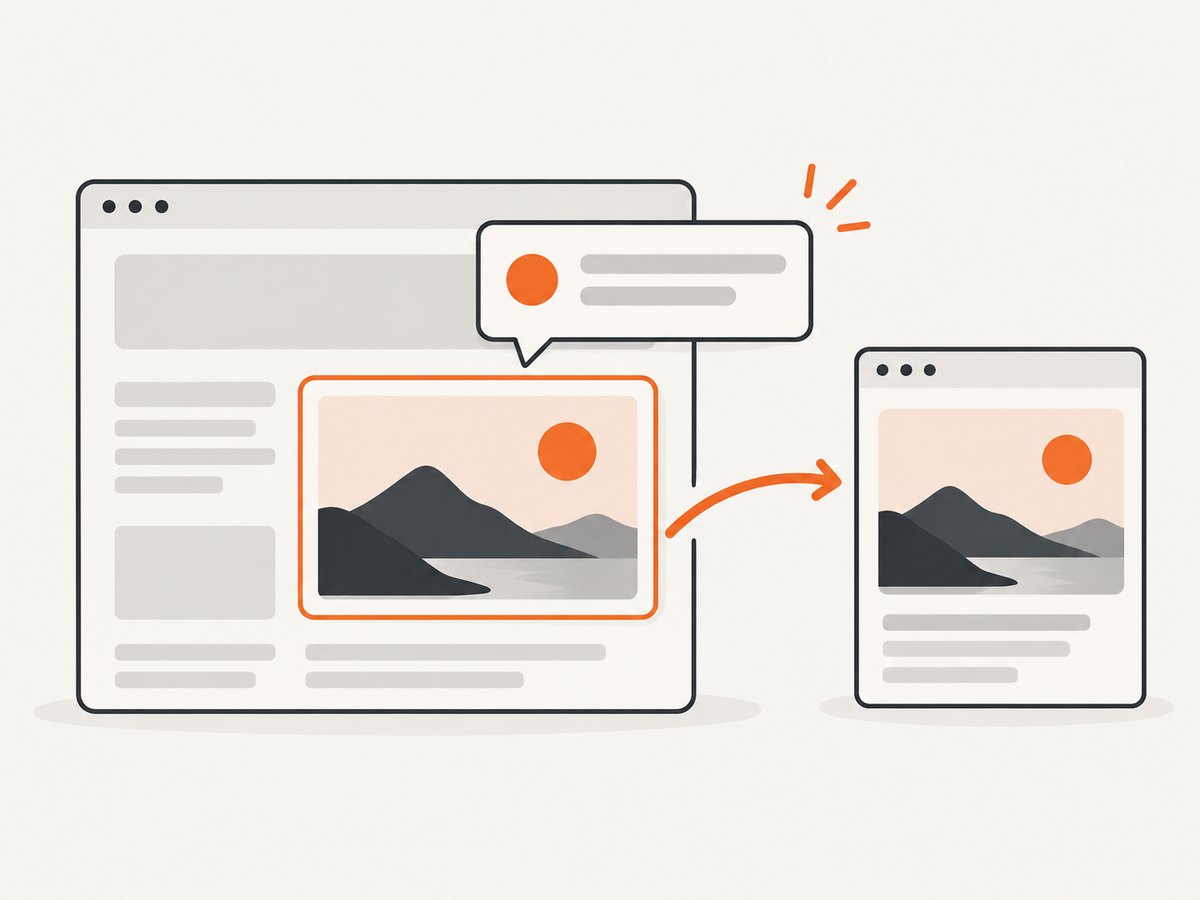
<a href="https://example.com/destination">
  <img src="graphic.jpg" alt="Read the installation guide">
</a>
Replace the destination, image path, and alternative text with values for your page. The href is the destination; the src is the image file. The alt text should describe the image’s relevant meaning or the link’s purpose. In this example, the image functions as a way to open an installation guide, so the alternative text communicates that purpose.
Use descriptive alternative text
When an image is a link, people using assistive technology need to understand what activating it will do. Google Search Central also says it uses an image’s alt attribute as anchor text when that image is a link. Write concise, descriptive wording that fits the image and destination. Avoid leaving a meaningful linked image without alternative text and avoid stuffing keywords into it.
<!-- A linked product diagram -->
<a href="https://example.com/product-details">
  <img src="product-diagram.jpg"
       alt="View the product setup diagram and details">
</a>
Do not use a click event on an image as the only representation of a link. A genuine <a href> provides the destination in standard markup. You can style the anchor or image, but preserve the real link so it can be discovered and activated using normal browser behavior.
When an image is decorative
If an image contributes no useful information and the surrounding link already has an accessible name, the right markup depends on the page’s structure. For a linked image that is itself the only link content, do not leave users guessing: give it alternative text that conveys the link’s purpose. Keep the label appropriate to the destination rather than describing irrelevant visual details.
5. Make an image clickable in Markdown
Put the image syntax inside the outer link syntax:
[](https://example.com/destination)The inner expression, , displays the image and supplies its alternative text. The outer brackets and parentheses make that image a link to the destination. Replace the label, image path, and URL with your own.
Relative paths and hosted images
A relative image path such as graphic.jpg depends on the location of the Markdown file and how the renderer publishes it. A hosted image address depends on that image being reachable where readers view the document. Check the rendered page, not only the source text: Markdown support and path handling can differ by renderer.
This pattern is listed as compatible with CommonMark, GitHub, Obsidian, VS Code, and Pandoc, but preview it in the specific environment you use. A renderer may apply its own link behavior, image sizing, or security rules.
6. What about Google Docs?
Google Docs Editors Help documents how to create, edit, and remove text links in Docs, Sheets, and Slides. The consulted help page does not document a general workflow for attaching a hyperlink directly to an image in Google Docs. Do not assume the instructions for linking selected text also apply to pictures.
If you need this for a particular Google Docs version, check its current interface and verify the behavior with a sample document before relying on it. The exact workflow may depend on the app and version; the official text-link help is not confirmation of a general image-link method.
7. Test the link before sharing
- Check the selected object. Confirm the picture, rather than nearby text or a slide background, received the link.
- Check the destination. Open the link and confirm it reaches the intended page, file, heading, or slide.
- Check the delivered copy. Test after saving, exporting, moving, or sharing the file. This catches missing local files and stale paths.
- Check the rendered output. For a website or Markdown page, inspect the page in its actual browser or renderer.
- Check the link’s meaning. Make sure the image and its alternative text give a clear indication of what the link does.
For a deck, test both web links and links to other slides in the presentation. For a document with internal links, check that the destination is still present after editing or reorganizing the document.
8. Troubleshooting common problems
| Problem | Likely cause | What to do |
|---|---|---|
| The picture is not clickable. | The picture itself was not selected when the link was added, or the link was attached to nearby text. | Select the picture and add the link again. Test the selected object after confirming. |
| The link opens the wrong place. | The address or internal destination was entered incorrectly. | Reopen the link settings, check the full destination, and test it again. |
| A local PowerPoint link fails on another computer. | The linked file did not travel with the presentation or is no longer at the expected location. | Move the required file with the deck and test from the receiving computer or final folder. |
| The HTML picture displays but the link is not discoverable or behaves strangely. | The page relies on a script event instead of a standard anchor, or the markup does not put the image inside the anchor. | Use an <a href="..."> element around the image and inspect the rendered HTML. |
| Markdown shows a picture but does not make it clickable. | The outer link brackets or parentheses are missing, or the renderer handles the syntax differently. | Use [](destination) and preview it in the target renderer. |
| The linked image is unclear to a screen reader or search engine. | The alternative text is empty, vague, or stuffed with keywords. | Write concise alternative text that conveys the image’s relevant meaning or the link’s purpose. |
| A document link stops working after editing. | An internal heading, bookmark, slide, or file destination changed or was removed. | Open the link settings, choose the current destination, then retest the saved document. |
9. Performance, reliability, and maintenance
Adding a hyperlink to an existing image does not require a separate screenshot service or a special image format. The practical reliability work is to keep both the image and the destination available, then test the copy people will receive. External web destinations can change, relative image paths can break when files move, and local-file links depend on files being present.
For website pages, keep image assets at stable paths and use a normal anchor with a valid destination. If you resize or replace a linked graphic, confirm that the link remains attached and that the alternative text still describes its purpose. For Markdown, validate both the image path and destination in the renderer. For presentations, include linked local files when moving the deck and check links in presentation context.
For web image capture documentation or previews, ScreenshotNeo is a website screenshot API and MCP server from ScreenshotNeo. It can return a screenshot or PDF from one GET request. Its options include full-page captures with lazy images loaded, CSS selector element capture, device and viewport choices, custom CSS and JavaScript, and wait conditions. See the ScreenshotNeo documentation for the API details.
10. Or skip the browser setup
If your goal is to capture a linked graphic or page for review, a screenshot API can return an image without building browser automation into your project. This does not add a hyperlink to your source image; it captures a web page.
curl -G "https://api.screenshotneo.com/v1/shot" -d access_key=YOUR_API_KEY --data-urlencode url=https://stripe.com -o shot.webpimport requests
r = requests.get("https://api.screenshotneo.com/v1/shot", params={"access_key": "YOUR_API_KEY", "url": "https://stripe.com"}, timeout=90)
open("shot.webp", "wb").write(r.content)const q = new URLSearchParams({ access_key: 'YOUR_API_KEY', url: 'https://stripe.com' });
const res = await fetch(`https://api.screenshotneo.com/v1/shot?${q}`);ScreenshotNeo accepts cookie and consent banners like a visitor and removes more than 60 known consent platforms, newsletter popups, and chat widgets before the shot; each step can be turned off. Bot checks, blank pages, timeouts, failed loads, and cache hits cost nothing, and response headers report the page verdict and billing status. Its MCP server offers screenshot, page information, and PDF tools for AI agents. The free plan includes 1,000 screenshots a month with no card; paid plans start at $5 for 3,000 screenshots. Sign up for 1,000 free screenshots a month, with no card required.
11. Frequently asked questions
Can I link one picture to more than one destination?
A single selected picture or image element normally has one link destination. If readers need different destinations, split the graphic into separate linked elements or provide clearly labeled links alongside it.
Does the linked image need to be a button?
No. In Word or PowerPoint, link the selected picture directly. On the web, an anchor can contain an image. Make the destination clear and ensure the link can be operated using the normal controls for its environment.
Does Markdown’s image alt text become the link text?
The inner image syntax supplies the image’s alternative text, while the outer link supplies the destination. Renderers may present the result differently, so preview the final output and keep the alt label descriptive.
Can I link a picture to a specific section on a web page?
Yes, if the destination supports a URL fragment or another address for that section. Use the complete destination in the link and verify it opens at the intended location.
Should I use a screenshot as a clickable graphic?
Only if the screenshot is the right content for readers. A screenshot is an image; add its link using the same Word, PowerPoint, HTML, or Markdown method above, and provide text that explains where it leads.


