How to Add a Logo to a Website Thumbnail
Learn how to overlay a logo on any website thumbnail, keep it readable at small sizes, and publish it correctly in WordPress.
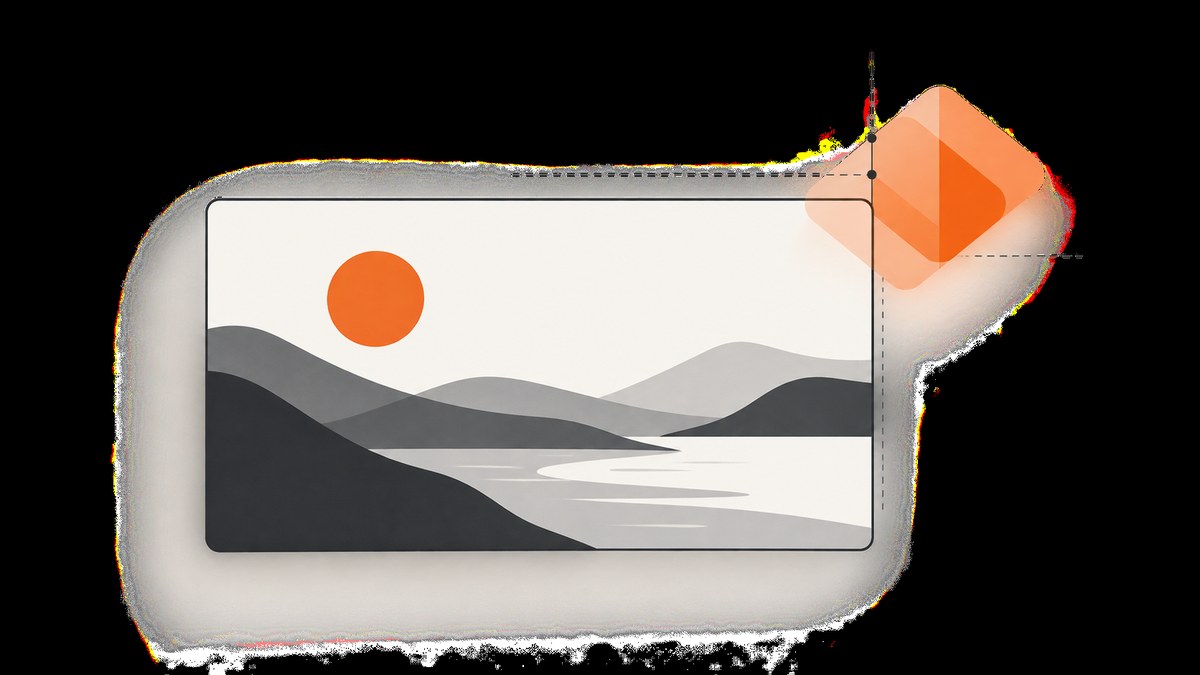
Direct answer: Add your logo as a separate transparent layer over the thumbnail in an image editor, keep safe padding from the edges, check the result at the size readers will see, then export a flattened PNG or JPEG. In WordPress, upload that finished file as the post’s featured image, or use the Image, Cover, or Site Logo block depending on whether the branding is for one image or the whole site.
1. Prepare the logo and thumbnail assets
Start with the highest-quality logo you have. A transparent PNG is usually the most useful because it preserves the logo’s shape without adding a rectangular background. Keep the original vector or layered file separately so you can change colors, placement, or size later.
- Use a transparent logo: PNG, SVG, or another format that preserves transparency. Export a PNG for broad editor compatibility.
- Choose the final thumbnail canvas first: Decide the pixel dimensions required by your site, social network, or CMS before placing the logo.
- Keep a safe area: Leave visible padding between the logo and every edge. Cropping systems may remove a few pixels on different screens.
- Protect the subject: Do not cover a face, product, headline, or other information that explains the image.
Do not use the WordPress site-icon minimum of 512 × 512 pixels as a universal thumbnail size. WordPress documents that size for a site icon; article thumbnails and social images can use different dimensions.
2. Add the logo in an image editor
Canva workflow
- Create a design using the exact output dimensions you need, or open the existing thumbnail.
- Upload the thumbnail and your transparent logo as separate images.
- Place the logo on top of the thumbnail as a separate layer.
- Resize it until it remains recognizable when the complete image is shown small.
- Align it consistently, such as the upper-right or lower-left corner, and keep the same padding for future thumbnails.
- Add a subtle backing shape or shadow only when the logo loses contrast against the background.
- Preview the design at the actual display size, then export a flattened PNG or JPEG.
Canva’s documented upload and editing workflow supports this overlay model: the background and logo remain separate while you compose, then the exported file becomes one finished thumbnail.

Any layer-based editor
Photoshop, Affinity Photo, GIMP, and similar editors use the same process:
- Open the thumbnail as the bottom layer.
- Import the logo above it.
- Scale the logo proportionally so it does not become distorted.
- Use guides or a grid to keep its offset from the edges consistent.
- Check contrast in both light and dark areas of the image.
- Save the editable project, then export a web-ready copy.
Keep the editable source. A flattened export is convenient for publishing, but it makes later repositioning harder.
3. Automate logo placement with code
Automation helps when you generate many thumbnails from the same template. The examples below place a transparent logo in the top-right corner with a fixed margin. Adjust the dimensions, margin, and logo width for your brand.
ImageMagick command line
magick thumbnail.jpg logo.png \
  -resize 320x \
  -gravity northeast \
  -geometry +40+40 \
  -composite \
  -quality 88 \
  branded-thumbnail.jpg
The -resize 320x operation scales the logo to 320 pixels wide while preserving its aspect ratio. -gravity northeast selects the top-right corner and -geometry +40+40 adds horizontal and vertical padding.
Python with Pillow
from PIL import Image

thumbnail = Image.open('thumbnail.jpg').convert('RGBA')
logo = Image.open('logo.png').convert('RGBA')

logo_width = 320
logo_height = round(logo.height * logo_width / logo.width)
logo = logo.resize((logo_width, logo_height), Image.Resampling.LANCZOS)

margin = 40
x = thumbnail.width - logo.width - margin
y = margin
thumbnail.alpha_composite(logo, (x, y))
thumbnail.convert('RGB').save('branded-thumbnail.jpg', quality=88, optimize=True)
Install Pillow with python -m pip install Pillow. The alpha composite preserves transparent pixels in the logo. Convert to RGB only when exporting JPEG, because JPEG does not support transparency.
Node.js with sharp
import sharp from 'sharp';

const thumbnail = sharp('thumbnail.jpg');
const metadata = await thumbnail.metadata();
const logoWidth = 320;
const logo = await sharp('logo.png').resize({ width: logoWidth }).png().toBuffer();
const logoMeta = await sharp(logo).metadata();
const margin = 40;

await thumbnail
  .composite([{
    input: logo,
    left: (metadata.width ?? 0) - (logoMeta.width ?? logoWidth) - margin,
    top: margin
  }])
  .jpeg({ quality: 88, mozjpeg: true })
  .toFile('branded-thumbnail.jpg');
Install the dependency with npm install sharp. For a transparent final image, change the output to .png() instead of .jpeg().
4. Choose the right WordPress method
Image block: one composed image
Use the Image block when the logo is already part of a finished thumbnail. Upload the exported file from the Media Library, set meaningful alternative text, and use the editor’s crop or replace controls if needed. This is the simplest option for a one-off article image.
Cover block: background plus overlays
The Cover block combines a background color, image, or video with overlaid content. It is useful when you want to keep the background and branding editable in WordPress, or when the thumbnail includes text layered over the image. Keep the logo as a separate overlay when you need to reposition it without rebuilding the background.
Site Logo block: reusable site identity
Use the Site Logo block for a logo that represents the entire website rather than one article thumbnail. WordPress describes it as a way to add a logo or image representing your website identity and increase brand recognition. Upload or select the logo from the Media Library, resize or crop it, and reuse it across Site Logo blocks.
Classic theme code
Classic themes can register custom-logo support and render the logo with the built-in template function:
add_action('after_setup_theme', function () {
    add_theme_support('custom-logo');
});

function site_brand_mark() {
    if (function_exists('the_custom_logo')) {
        the_custom_logo();
    }
}
Call site_brand_mark() in the template location where the site identity should appear. This is separate from composing a logo into an individual featured image.
Featured image and post thumbnail
Assign the finished branded file as the post’s Featured Image in the editor. In a classic theme, the_post_thumbnail() displays the post thumbnail using a registered size or explicit dimensions:
<?php
if (has_post_thumbnail()) {
    the_post_thumbnail('large', [
        'alt' => get_the_title(),
        'loading' => 'lazy'
    ]);
}
?>
The theme controls which registered image size is generated and displayed. Confirm the crop at the size used in archive cards, the single-post header, and responsive layouts.
5. Make the logo readable at thumbnail size
- Preview small: Zoom out until the image is approximately the size of a card or social preview. A logo that looks clear on a large canvas may disappear when reduced.
- Preserve contrast: Place a dark logo on a light area and a light logo on a dark area. A translucent backing plate can help over busy photographs.
- Use consistent placement: Repeating the same corner and padding builds recognition across a series.
- Respect safe crops: Keep the logo away from edges where a theme or social platform may crop.
- Keep proportions: Never stretch the logo horizontally or vertically to fill space.
- Export appropriately: Use PNG when transparency or crisp edges matter; use JPEG when the image is photographic and a smaller file is more important.
6. Accessibility and metadata checklist
Decide whether the logo adds information or is decorative. If the image communicates the article topic, write alternative text that describes that purpose. If the logo is purely decorative and nearby text already identifies the content, follow your site’s accessibility policy for decorative images.
- Write alt text for the complete thumbnail, not just the logo, when the image conveys meaning.
- Do not put essential words only inside the image; they may be unreadable or unavailable to assistive technology.
- Use the WordPress Image block’s alt-text field after upload.
- Check the exported file’s dimensions and compression before publishing.
- Retain the original layered source for future edits.
7. Capture a branded website thumbnail automatically
If your source is a live webpage, you can first capture the page and then apply the overlay in your image pipeline. Your own browser automation can use Playwright or Puppeteer: launch a browser, set the viewport, navigate to the URL, wait for the page to settle, take a screenshot, and composite the logo with ImageMagick, Pillow, or sharp. This gives maximum control, but you must maintain browser binaries, waiting rules, cookie handling, blocked resources, and failure retries.
8. Or skip the browser setup
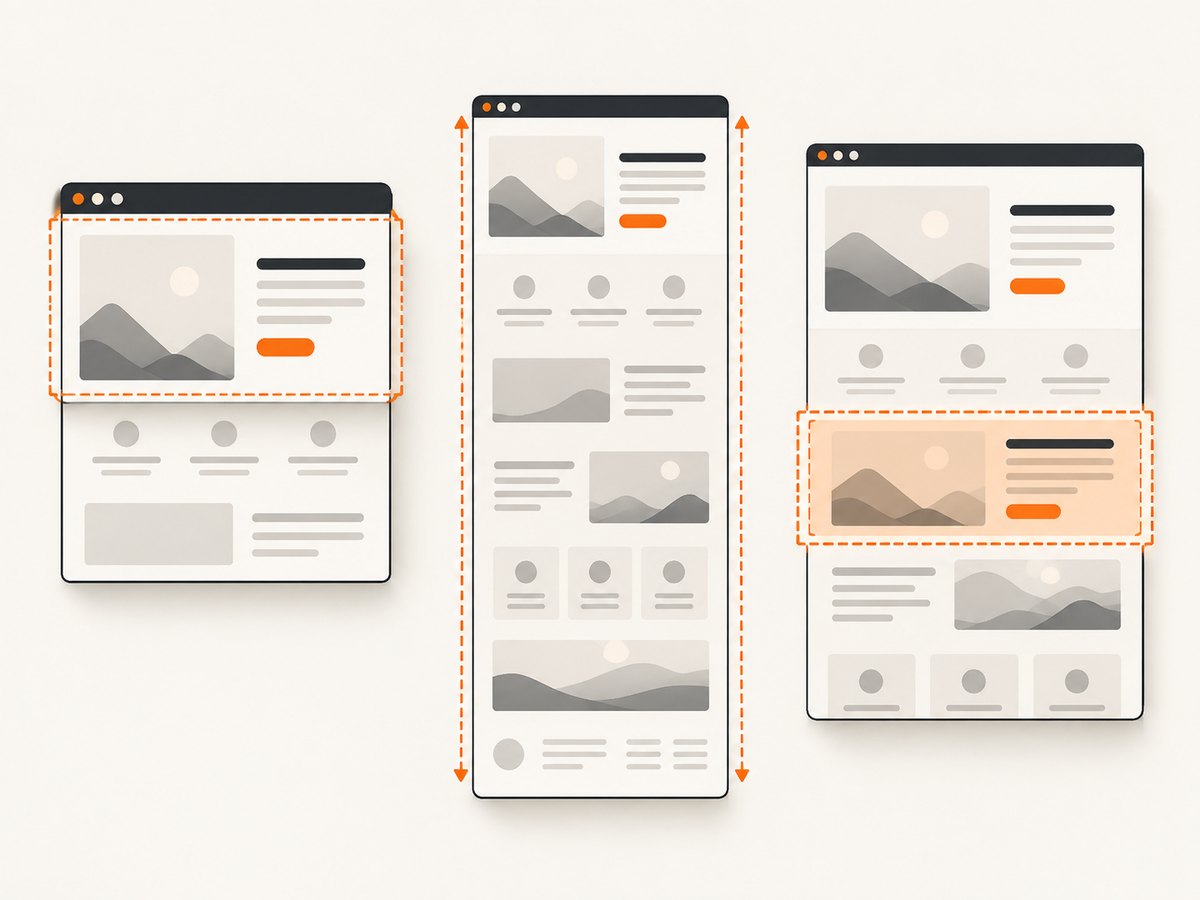
ScreenshotNeo returns a website screenshot from one GET request and supports PNG, JPEG, WebP, and PDF output. See the ScreenshotNeo API documentation for all 63 options, including full-page capture, CSS selectors, custom CSS and JavaScript, device presets, dark mode, retina scale, waits, request blocking, cookies, headers, geolocation, caching, signed links, asynchronous jobs, bulk capture, and usage reporting.
curl -G "https://api.screenshotneo.com/v1/shot" -d access_key=YOUR_API_KEY --data-urlencode url=https://stripe.com -o shot.webpimport requests
r = requests.get("https://api.screenshotneo.com/v1/shot", params={"access_key": "YOUR_API_KEY", "url": "https://stripe.com"}, timeout=90)
open("shot.webp", "wb").write(r.content)const q = new URLSearchParams({ access_key: 'YOUR_API_KEY', url: 'https://stripe.com' }); const res = await fetch(`https://api.screenshotneo.com/v1/shot?${q}`);After downloading the image, place your logo with the same Pillow, sharp, or ImageMagick step shown earlier. ScreenshotNeo removes cookie and consent banners, newsletter popups, and chat widgets before capture. Bot checks, blank pages, timeouts, failed loads, and cache hits are not billed; response headers identify the page verdict and whether the shot was billed. Its MCP server lets Claude, Cursor, and other MCP clients use take_screenshot, get_page_info, and capture_pdf. The Free plan includes 1,000 screenshots per month with no card; paid plans start at $5 for 3,000 shots. Create a free ScreenshotNeo account.
9. Troubleshooting common problems
| Problem | Likely cause | Fix |
|---|---|---|
| Logo has a white box | The source file is JPEG or has a solid background. | Export a transparent PNG or remove the background before compositing. |
| Logo is blurry | The source is too small or was enlarged heavily. | Start with a larger logo, use a vector source, and export at the final pixel dimensions. |
| Logo disappears on mobile | The theme uses a tighter crop or responsive image size. | Preview the actual mobile crop and move the logo into the safe area. |
| Logo has poor contrast | The background changes behind it. | Move it to a quieter area or add a subtle translucent backing shape. |
| WordPress shows the old image | Browser, CDN, or WordPress image-cache behavior. | Use a new filename, regenerate required sizes, and clear relevant caches. |
| Automated capture includes a popup | The browser captured before the overlay or consent state settled. | Wait for a selector, delay, or network idle; hide the popup selector or use ScreenshotNeo’s cleanup options. |
| Screenshot request fails | Invalid URL, authentication, timeout, or bot check. | Verify the URL encoding and credentials, increase the timeout where supported, inspect the response status and X-Page-Verdict header, and retry transient failures. |
10. Performance, reliability, and cost considerations
For a fixed set of thumbnails, precomposed files are fastest to serve because the logo is already flattened. Keep the source image at the required dimensions, compress photographic backgrounds, and avoid repeatedly resizing the same asset on every request.
For generated thumbnails, cache captures by URL, viewport, and configuration. A cache key should include any custom CSS, dark-mode setting, device preset, and logo version. When the logo changes, increment its version so old composites do not remain in circulation.
Browser automation has operational costs: browser startup time, memory usage, dependency updates, network variability, and pages that never finish loading. Use explicit waits and bounded retries. ScreenshotNeo supports a cache TTL you choose, asynchronous jobs with signed webhooks, and bulk capture of up to 100 URLs per call, which can simplify larger batches. Only clean shots are billed, and failed or unusable captures are identified in the response.
11. FAQ
Should the logo be part of the image or an HTML overlay?
Flatten it into the image when the thumbnail must look identical everywhere, including social cards. Use an HTML overlay when the logo needs to remain editable or clickable on the page.
Can I use an SVG logo?
Yes, when your editor or image pipeline supports SVG input. Export a PNG for tools that rasterize uploads or for predictable thumbnail rendering.
Where should a logo go?
Choose a consistent corner with enough contrast and padding. The best location depends on the subject and the crop used by your site.
Does every thumbnail need the same logo size?
Use a consistent visual scale rather than blindly reusing one pixel width. A logo should remain recognizable across portrait, landscape, and narrow card layouts.
Can WordPress add the logo automatically to every featured image?
WordPress can display a composed featured image through theme code, but automatic compositing requires an image-processing plugin, a build step, or a custom service. Test generated sizes and crops before applying it site-wide.


