How to Add Padding to Playwright Screenshots
Add whitespace to a Playwright screenshot with CSS before capture or Sharp after capture. Includes runnable code, sizing, formats, and fixes for common issues.
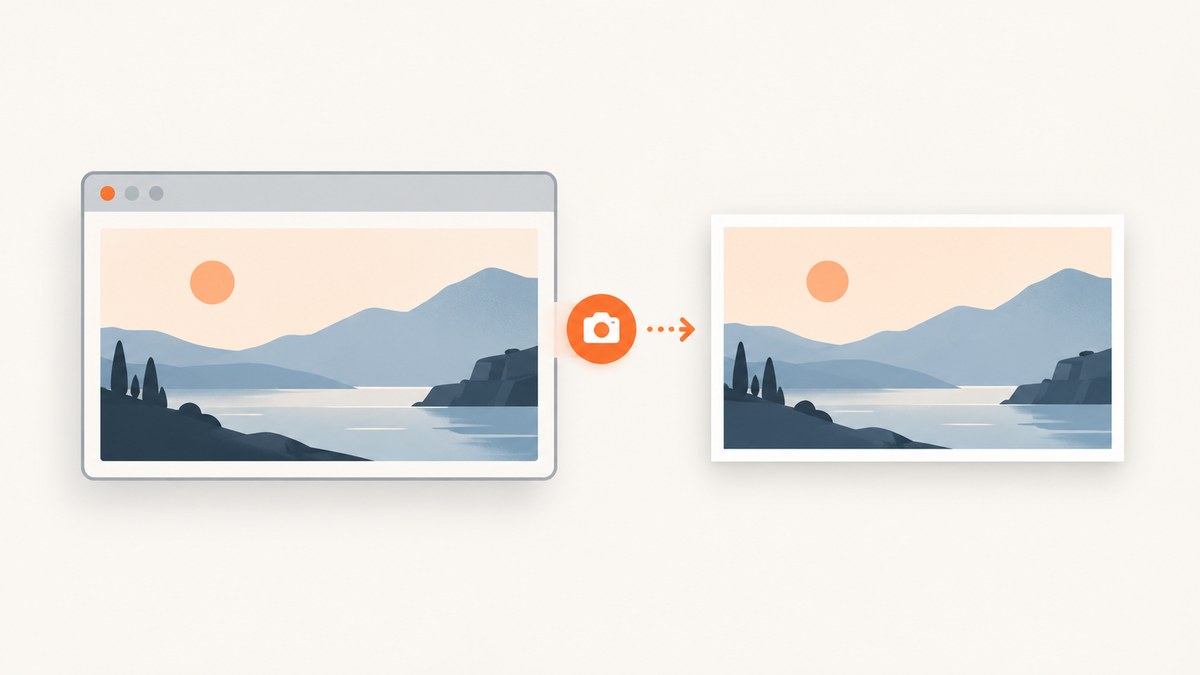
To add padding to a Playwright screenshot, first decide where the whitespace should live. If it is part of the page or component design, add CSS padding to a wrapper and capture that wrapper. If you need new pixels around an already-rendered screenshot, get the screenshot as a buffer and extend it with an image library such as Sharp. Playwright’s documented screenshot options include clipping, full-page capture, format, scale, and background behavior; they do not include an output-padding option. Playwright Page API.
Use the CSS approach when the spacing should reflect the rendered design. Use image extension when you need a consistent border around the bitmap without changing page layout.
1. Choose what “padding” means
There are two common meanings:
- Layout padding: empty space between an element and its surrounding frame. It is rendered as part of the page, so CSS should create it before capture.
- Bitmap padding: additional pixels outside the screenshot’s existing edges. This is post-processing after capture.
The distinction affects the output. A CSS wrapper participates in layout and can have a background, border, or other styling. Image extension does not change the page; it adds a canvas around the captured pixels. Neither method requires changing Playwright’s capture bounds with clip.
| Method | Changes page layout? | Adds pixels outside the captured image? | Best for |
|---|---|---|---|
| CSS wrapper | Yes | By capturing the padded wrapper | Spacing that belongs to a component or page design |
| Image extension | No | Yes | A fixed border or canvas around an existing screenshot |
2. Add layout padding with a CSS wrapper
Put the target element inside a wrapper, apply padding and a background to that wrapper, then screenshot the wrapper locator. The wrapper must be the screenshot target: if you capture only the inner card, its surrounding space is outside the captured element and will not appear.
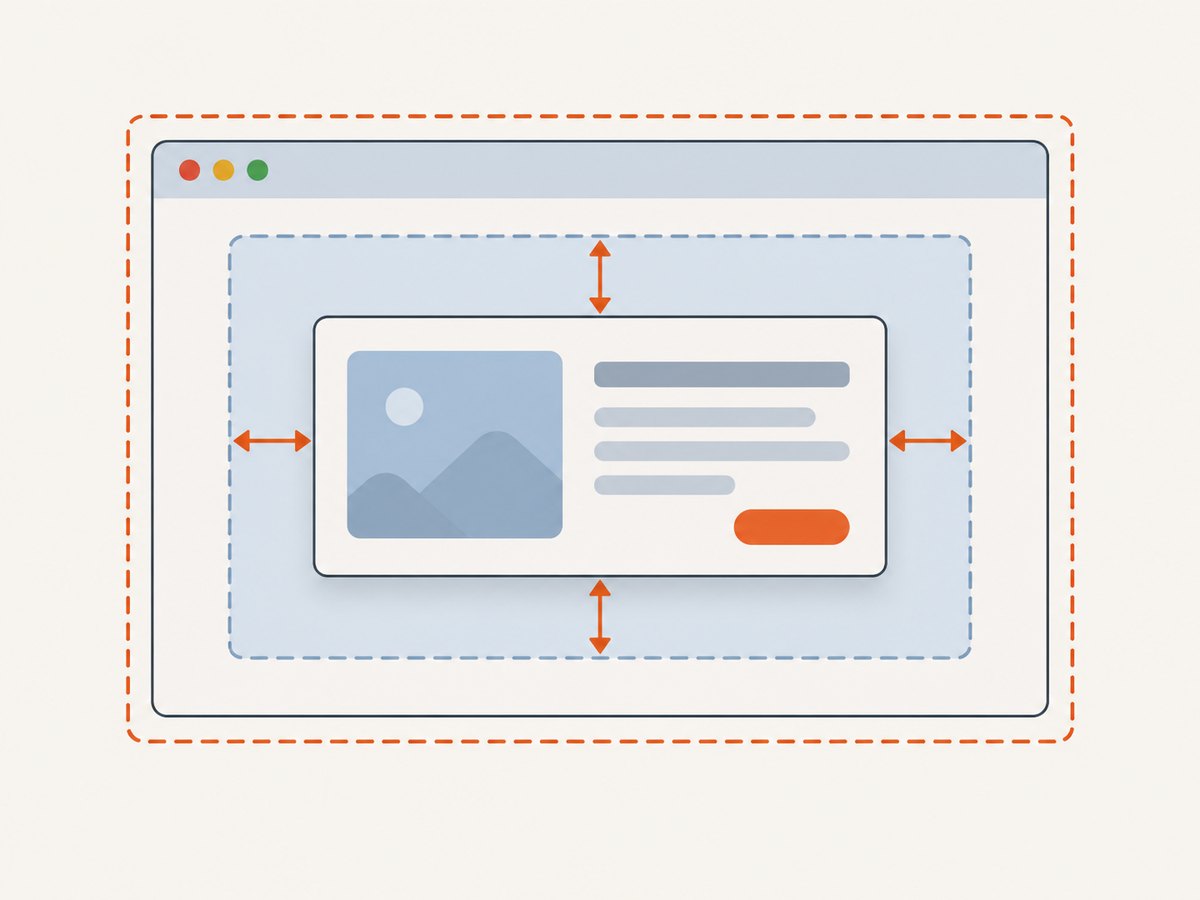
<div class="screenshot-frame">
  <section class="card">
    <h1>Monthly report</h1>
    <p>Revenue increased this month.</p>
  </section>
</div>
.screenshot-frame {
display: inline-block;
padding: 24px;
background: #f4f4f4;
}
.card {
width: 360px;
padding: 20px;
background: white;
}Here is a complete Node.js example using Playwright’s test runner. It loads a page, creates a small example component, and saves an image of the padded wrapper. Install the project’s normal Playwright test dependency and browser before running it.
import { test } from '@playwright/test';

test('capture a padded component', async ({ page }) => {
  await page.setContent(`
    <style>
      body { margin: 0; }
      .screenshot-frame {
        display: inline-block;
        padding: 24px;
        background: #f4f4f4;
      }
      .card {
        width: 360px;
        padding: 20px;
        background: white;
        font: 16px Arial, sans-serif;
      }
    </style>
    <div class="screenshot-frame">
      <section class="card">
        <h1>Monthly report</h1>
        <p>Revenue increased this month.</p>
      </section>
    </div>
  `);

  await page.locator('.screenshot-frame').screenshot({ path: 'card-padded.png' });
});
For an existing page, style a wrapper around the element you want to capture. If changing the page source is impractical, Playwright can add a style before capture with page.addStyleTag, or you can use a locator screenshot on an already-existing frame if the page has one. Ensure that injected CSS does not alter the component’s size or appearance beyond the intended space.
When this approach is useful
- The border should use the page’s CSS colors or respond to themes.
- You want padding around a card or chart, and the output should represent how it is actually rendered.
- You need the browser to calculate the resulting dimensions as part of normal layout.
3. Add pixels around the finished screenshot with Sharp
Playwright can return screenshot bytes instead of writing directly to a file. Its screenshot guide describes getting a buffer so it can be post-processed or passed to pixel-diff tooling. Feed those bytes to Sharp’s extend() operation, set the added edge sizes, and write the returned bytes.
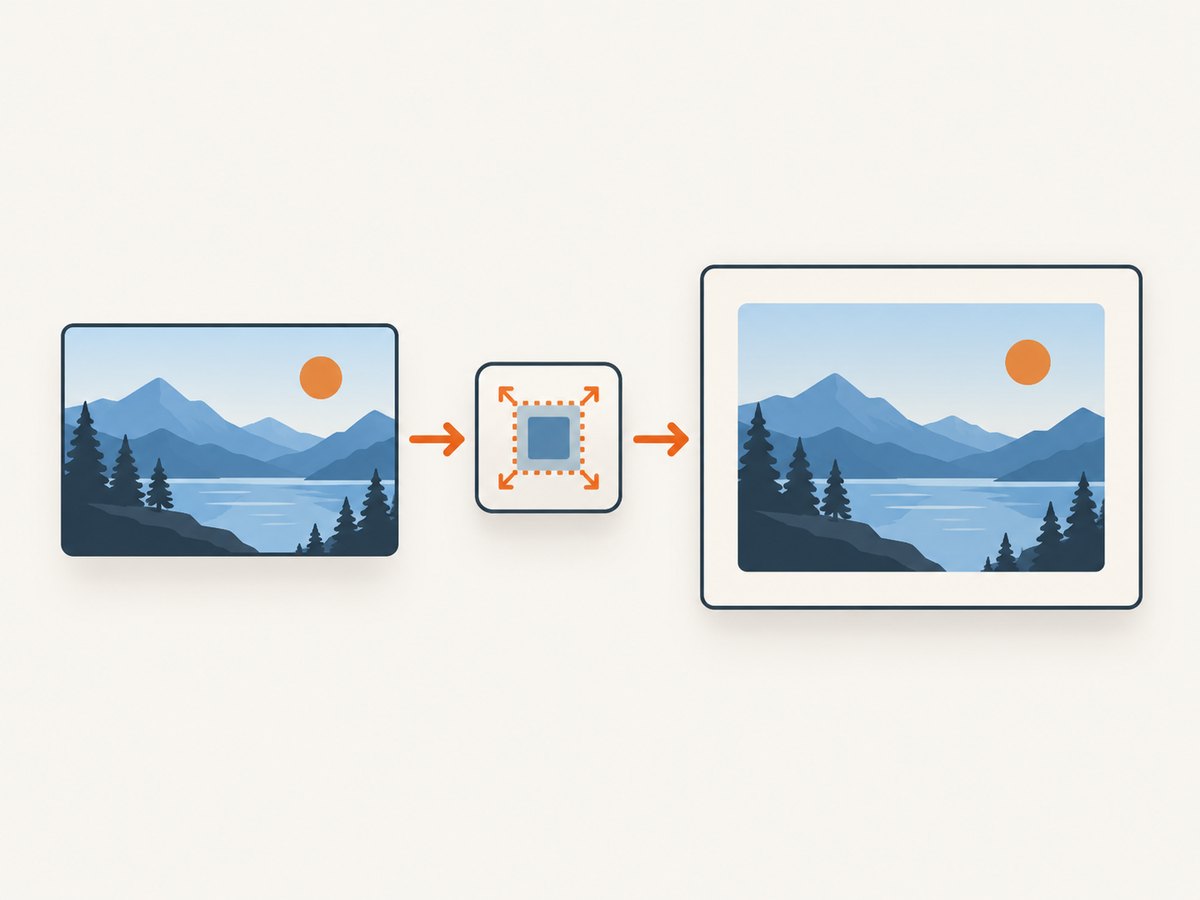
Install Sharp as a separate project dependency if it is not already installed. Playwright does not bundle it.
npm install sharpThis complete example uses Playwright’s library API and Sharp. Save it as an ES module, for example capture-padded.mjs, and run it in a project with Playwright, Sharp, and the Playwright browser installed.
import { chromium } from 'playwright';
import sharp from 'sharp';

const browser = await chromium.launch();
try {
  const page = await browser.newPage({ viewport: { width: 800, height: 600 } });
  await page.setContent('<main style="font: 24px Arial; padding: 30px">Capture this page</main>');

  const screenshot = await page.screenshot({ type: 'png' });
  const padded = await sharp(screenshot)
    .extend({
      top: 24,
      right: 24,
      bottom: 24,
      left: 24,
      background: '#f4f4f4',
    })
    .png()
    .toBuffer();

  await sharp(padded).toFile('page-padded.png');
} finally {
  await browser.close();
}
With a 24-pixel extension on each edge, output width and height each grow by 48 pixels. More generally, if the original image is W × H and the extensions are left, right, top, and bottom, the output is (W + left + right) × (H + top + bottom).
Use different values on each side
Sharp accepts per-edge values. For example, a composition with more room above the subject could use 40 pixels at the top and 16 on the other edges:
const padded = await sharp(screenshot)
  .extend({
    top: 40,
    right: 16,
    bottom: 16,
    left: 16,
    background: { r: 244, g: 244, b: 244, alpha: 1 },
  })
  .png()
  .toBuffer();
Sharp also documents edge extension modes that copy, repeat, or mirror edge pixels. Those are useful when a solid background would look like a frame; choose a mode deliberately because it changes the appearance of the border. See Sharp’s resize and extend API for the available options.
4. Pick format, scale, and transparency intentionally
Playwright’s default screenshot type is PNG. JPEG and WebP are also available. Select the format explicitly when downstream tooling expects a particular type; the file extension and encoded type should agree.
- PNG: a practical choice for crisp UI and alpha transparency.
- JPEG: can be appropriate for photographic content, but does not support transparent backgrounds.
- WebP: supported as a screenshot output type where the installed browser supports it and useful when the consumer accepts it.
For page background transparency, Playwright supports omitBackground: true except for JPEG. That controls the browser capture. The newly added pixels have their own background setting in Sharp; set it explicitly rather than assuming the page’s background carries over.
const screenshot = await page.screenshot({
  type: 'png',
  omitBackground: true,
  scale: 'css',
});
The screenshot scale setting changes output pixel density: 'css' produces one image pixel per CSS pixel, while 'device' uses device-pixel resolution. A high-DPI capture can produce a larger bitmap, so decide whether the required padding is specified in CSS pixels or final image pixels. Sharp extends the image in image pixels after capture.
For repeatable visual comparisons, keep viewport, device scale, screenshot scale, output format, background, and padding values fixed. Otherwise, the dimensions or border pixels may change between runs even if the page content has not.
5. Understand clipping and full-page capture
The clip option takes an x, y, width, and height rectangle. It selects the region to capture; it is not documented as adding a border around the resulting image. Use it when you know the exact region you want, not as a padding setting.
await page.screenshot({
  path: 'region.png',
  clip: { x: 20, y: 30, width: 400, height: 250 },
});
For full-page output, set fullPage: true. The captured image then reflects the full page height, so post-capture padding is added around that larger bitmap. If the page includes lazy-loaded content, make sure it has loaded before capturing; Playwright’s screenshot guide covers full-page screenshots and screenshot capture behavior.
6. cURL, Python, and Node.js with ScreenshotNeo
The do-it-yourself methods above run a browser and optionally an image-processing step. If you only need a website screenshot, ScreenshotNeo provides a screenshot API and MCP server. Its API returns an image or PDF from one GET request. Its documented screenshot options include viewport and device settings, full-page capture, output format, custom CSS, wait conditions, and more. See the ScreenshotNeo API documentation for parameter names and configuration.
Or skip the browser setup
Call the API with your URL and access key. This cURL example saves the response as WebP:
curl -G "https://api.screenshotneo.com/v1/shot" \
  -d access_key=YOUR_API_KEY \
  --data-urlencode url=https://stripe.com \
  -o shot.webp
Python:
import requests

r = requests.get(
    "https://api.screenshotneo.com/v1/shot",
    params={"access_key": "YOUR_API_KEY", "url": "https://stripe.com"},
    timeout=90,
)
open("shot.webp", "wb").write(r.content)
Node.js:
const q = new URLSearchParams({ access_key: 'YOUR_API_KEY', url: 'https://stripe.com' });
const res = await fetch(`https://api.screenshotneo.com/v1/shot?${q}`);
const bytes = Buffer.from(await res.arrayBuffer());
await import('node:fs/promises').then(fs => fs.writeFile('shot.webp', bytes));
These examples capture the site; use the API’s documented sizing and format parameters to configure the output. The service accepts cookie and consent banners like a visitor and removes more than 60 known consent platforms, newsletter popups, and chat widgets before capture; each of those steps can be turned off. Bot checks and CAPTCHAs, blank pages, timeouts, failed loads, and cache hits cost nothing, and the response includes X-Page-Verdict and X-Billed headers. Its MCP server exposes take_screenshot, get_page_info, and capture_pdf for Claude, Cursor, and other MCP clients.
The free plan includes 1,000 screenshots a month with no card. Paid plans start at $5 for 3,000 screenshots; higher plans are $15 for 15,000, $39 for 60,000, $99 for 250,000, and $249 for 1,000,000. Yearly billing gives two months free, and every feature is on every plan. Sign up for 1,000 free screenshots a month, with no card required.
7. Troubleshooting
| Symptom | Likely cause | Fix |
|---|---|---|
| The screenshot has no visible padding | The inner element was captured instead of its wrapper, or the CSS did not apply. | Screenshot the wrapper locator; inspect the page’s computed styles and ensure the wrapper has nonzero padding. |
| The border is the wrong color | The post-processing background is separate from the page background. | Set Sharp’s background explicitly, or style the wrapper’s CSS background for layout padding. |
| Transparency became opaque | The chosen output or extension background does not preserve alpha, or the format is JPEG. | Use PNG for alpha output and set the extension background alpha as needed; page omitBackground does not set Sharp’s border color. |
| The output is much larger than expected | Device-pixel scale or full-page capture increases the source dimensions; extension adds pixels to those dimensions. | Use scale: 'css' for CSS-pixel sizing when appropriate, and calculate the resulting dimensions before selecting edge values. |
| Sharp reports an input or decode error | The buffer may be empty, truncated, or not actually image bytes. | Await page.screenshot(), pass its returned buffer directly, and avoid treating an error response or text as image data. |
| The element screenshot is clipped or too small | The chosen locator does not include the frame, or the element’s layout dimensions differ from expectation. | Capture the intended wrapper and inspect its bounding box; check for CSS sizing, overflow, and responsive layout rules. |
| The screenshot differs across runs | Fonts, animations, content timing, viewport, or scale can vary. | Wait for the target state, use a fixed viewport and scale, and keep background and padding values deterministic. |
clip did not create an outer border |
Clip defines a capture rectangle rather than output padding. | Use a padded wrapper or extend the returned screenshot buffer. |
8. Performance, reliability, and cost
A CSS wrapper adds no separate image-processing dependency and lets the browser render the final composition directly. Post-capture extension introduces an image-processing step and an output buffer. If the screenshot is already large, especially a full-page or device-scale capture, the image operation and final encoded file may require more memory than a small viewport screenshot. Choose only the required dimensions and format, and avoid keeping multiple large buffers alive longer than necessary.
For a repeatable capture pipeline, wait for the actual content you need, keep viewport and scale stable, and choose the padding and background explicitly. A screenshot call that succeeds does not guarantee that a client-side page has finished rendering every asset; use an appropriate readiness condition for the page. In a visual regression pipeline, deterministic capture settings make image comparisons more meaningful.
The DIY route has no per-shot API charge, but it uses your browser environment and, for bitmap extension, a separately installed image library. ScreenshotNeo’s pricing is based on plans listed above; its stated billing behavior excludes cache hits and unsuccessful or non-clean outcomes. Select based on whether maintaining browser capture infrastructure or making an API request better fits your workflow.
9. FAQ
Can I pass padding: 20 to page.screenshot()?
Padding is not among the documented screenshot options. Add CSS around the capture target or post-process the returned bytes.
Does clip add space around an element?
No. It specifies the rectangle to capture. For layout whitespace, include a padded wrapper in the screenshot; for new bitmap pixels, extend the image afterward.
Can I add padding without Sharp?
Yes. Use a CSS wrapper when the desired whitespace can be rendered in the page. For bitmap padding, Sharp is one option; use another image-processing tool if it already fits your stack.
Will the padding be included in a visual diff?
Yes, if you compare the final screenshot buffer after extension or capture the padded wrapper. Keep the edge sizes and background consistent across baseline and comparison runs.


