How to Add a Screenshot Image to HTML
Embed a screenshot with HTML’s <img> element, choose useful alt text and dimensions, and make the image responsive when needed.
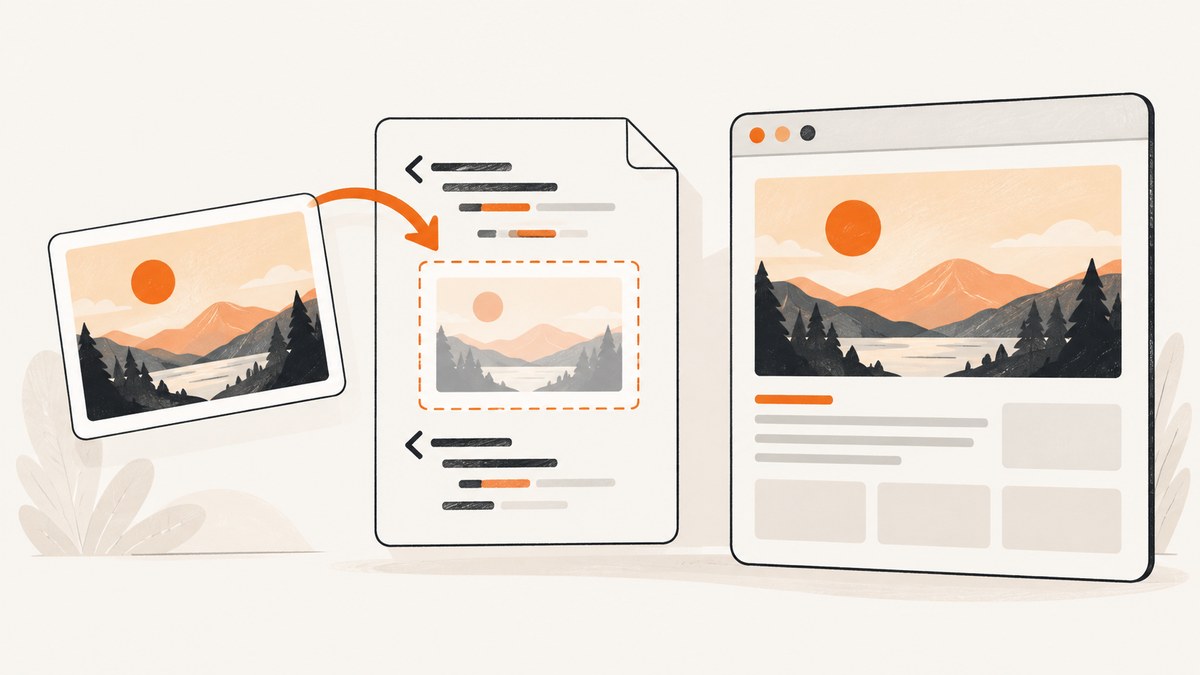
To add a screenshot image to HTML, make the image file available at a URL your page can fetch, then reference it with an <img> element. Give informative screenshots meaningful alternative text and set the image’s intrinsic width and height so the browser can reserve its space.
<img
  src="images/screenshot.png"
  alt="Settings panel showing the account notification options"
  width="1200"
  height="800"
>
The numbers are examples: use the screenshot’s actual pixel dimensions, or dimensions with the same aspect ratio. The src value must match the file’s deployed location. The img element embeds an image in the document; it does not upload a file to your website. MDN’s img reference documents its attributes, and its HTML images guide covers image paths and dimensions.
1. Put the screenshot where your page can fetch it
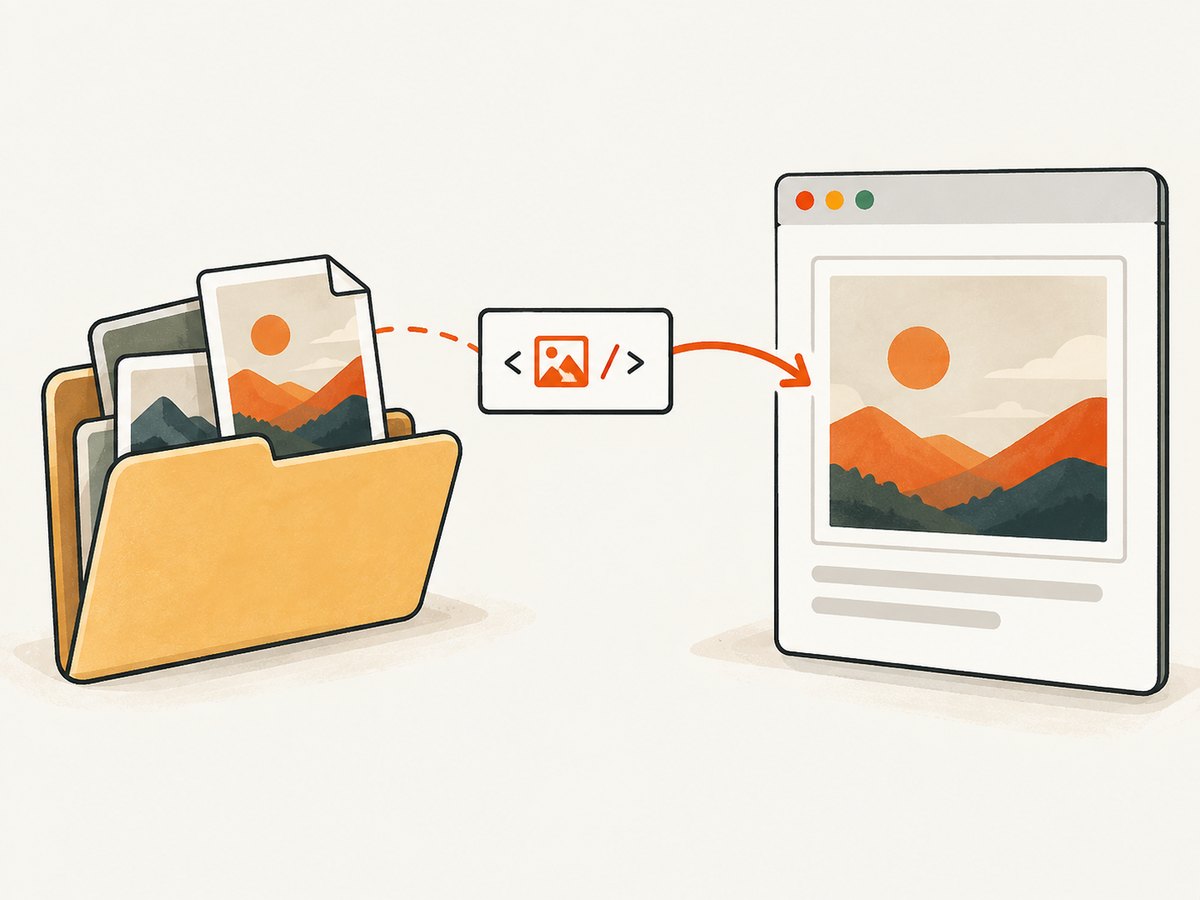
First save or generate the screenshot as an image file, such as PNG, JPEG, or WebP, and put it in a location served by your site. For a simple static site, you might arrange files like this:
site/
  index.html
  images/
    screenshot.png
With this structure, the HTML in index.html can use images/screenshot.png. A relative URL is resolved from the page’s URL. If the HTML lives in a subdirectory, the same relative path may point somewhere else. For example, a page at /docs/setup/ using images/screenshot.png refers to /docs/setup/images/screenshot.png, unless your framework changes how assets are served.
You can also use a root-relative path such as /images/screenshot.png when the file is served from the site’s root, or an absolute HTTPS URL for an image hosted elsewhere. Use a URL that works for the actual page visitors will load. A local path from your computer, such as C:\Users\you\Desktop\shot.png, is not a public web address.
- Place the image in your project’s public or static assets directory, following your framework’s conventions.
- Write the path in
src, including the correct capitalization and file extension. - Deploy both the page and image, then open the image URL directly to confirm it is reachable.
- Load the page and check the browser’s network panel if the image is missing.
The path is only a reference. It does not copy the image into your project, upload it to a server, or grant access to a private file. The browser must be able to retrieve the referenced resource.
2. Write useful alt text and set dimensions
For a screenshot that conveys information, write alt text describing the information a reader needs from it. For example, if the screenshot illustrates where to change notifications, use alt="Notification settings panel with email alerts enabled". Avoid an unhelpful label such as alt="screenshot" when the content itself matters.
<img
  src="images/notification-settings.png"
  alt="Notification settings panel with email alerts enabled"
  width="1280"
  height="720"
>
If the image is purely decorative and adds no information, use an empty alt attribute, alt="". Do not omit the attribute: the empty value tells assistive technology the image is decorative. If the screenshot repeats information already fully explained in nearby text, decide whether it is decorative in that context or whether it adds details worth describing.
Set width and height to the image’s intrinsic pixel dimensions. These are integer dimensions, not a command to download a particular size. The browser can use them to determine the aspect ratio and reserve space while the image loads, reducing unexpected layout movement. If you resize the rendered image with CSS, preserve its aspect ratio.
.screenshot {
  display: block;
  max-width: 100%;
  height: auto;
}
Use it with the HTML:
<img
  class="screenshot"
  src="images/notification-settings.png"
  alt="Notification settings panel with email alerts enabled"
  width="1280"
  height="720"
>
max-width: 100% prevents the image from overflowing a narrower container; height: auto keeps its ratio. Retain the intrinsic HTML dimensions even when CSS controls the displayed size.
3. Choose a responsive image method
A single img is usually enough when one source image works at all screen sizes. Add responsive markup when you actually have alternate files to offer or need different crops at different layouts.
Use srcset and sizes for resolution choices
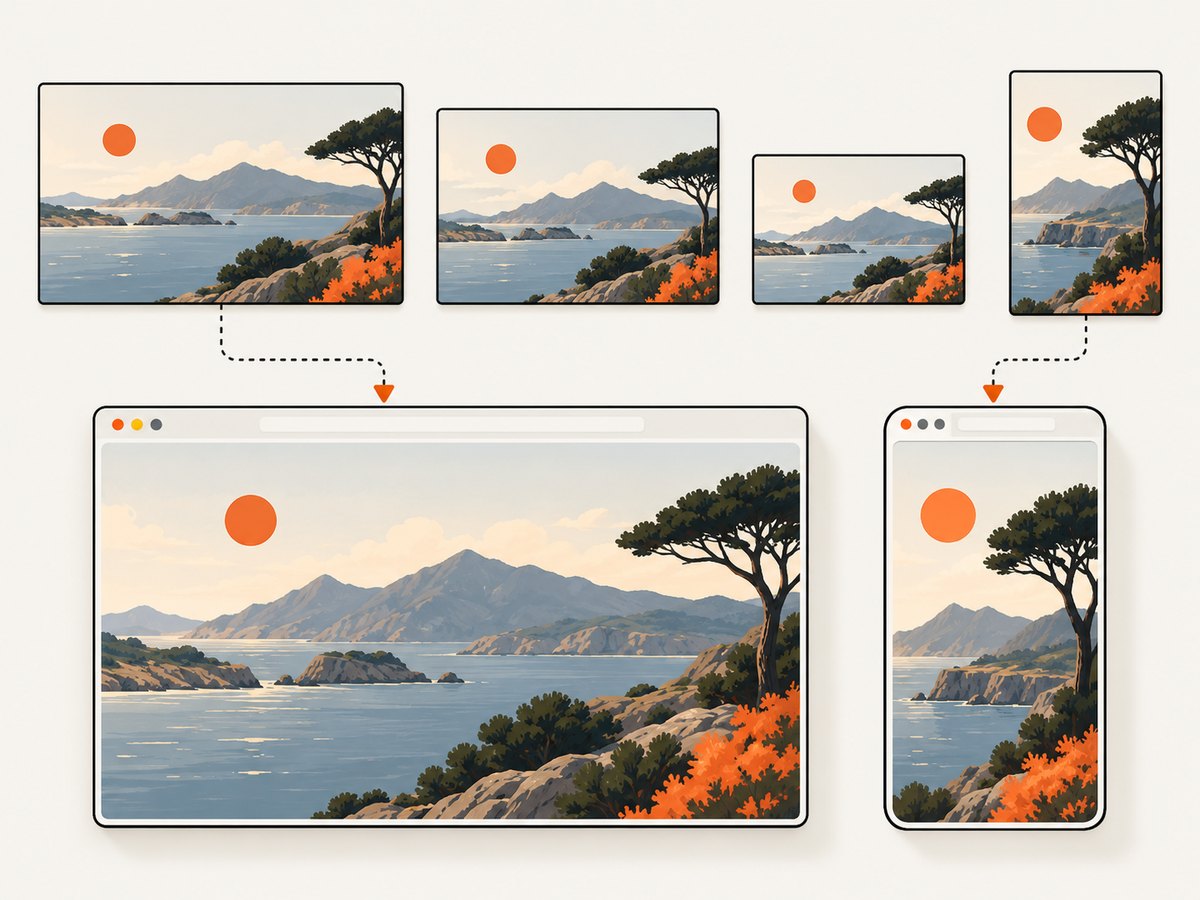
If you have the same screenshot in multiple widths, srcset can offer candidates and sizes can describe the rendered width. The browser uses this information to select a suitable file.
<img
  src="images/dashboard-800.png"
  srcset="images/dashboard-800.png 800w,
          images/dashboard-1600.png 1600w"
  sizes="(max-width: 700px) 100vw, 700px"
  alt="Dashboard showing the weekly traffic chart and page summary"
  width="1600"
  height="1000"
>
The w descriptors state each candidate’s intrinsic width. Use sizes to describe the expected layout width; the example says the image fills the viewport up to 700 pixels, then is 700 pixels wide. Provide files that correspond to the declared widths and share the same content and aspect ratio. Do not mix width descriptors (w) and density descriptors (x) in one srcset. See MDN’s responsive images guide for the selection model and markup patterns.
Use picture for alternate crops or sources
Use picture when the mobile layout needs a different crop, or when you want to offer another supported image format with a fallback. Keep an img inside it: that element supplies the fallback and the alt text.
<picture>
  <source media="(max-width: 600px)" srcset="images/dashboard-tall.png">
  <source type="image/webp" srcset="images/dashboard.webp">
  <img
    src="images/dashboard.png"
    alt="Dashboard showing the weekly traffic chart and page summary"
    width="1600"
    height="1000"
  >
</picture>
The first matching source is used according to the conditions; the nested img remains the fallback. Use art direction only if a different crop improves the small-screen presentation. Responsive markup is optional for a single screenshot.
4. Get a screenshot to embed
If you already have a screenshot image, skip to the img markup above. For a screenshot of a web page, you can capture it with a browser or a screenshot API, save the returned image in your site’s assets, and then reference that deployed asset from HTML. A capture service URL and a stable image URL are not necessarily the same thing: confirm whether your integration returns image bytes or a link, and store or serve the result in a way your page can fetch.
Capture with cURL
For example, a screenshot API may accept a URL and return an image. Save its response to a file, then put that file in your public assets directory. The following is an example for ScreenshotNeo; see the ScreenshotNeo API documentation for parameters and response details.
curl -G "https://api.screenshotneo.com/v1/shot" \
  -d access_key=YOUR_API_KEY \
  --data-urlencode url=https://stripe.com \
  -o shot.webp
Capture with Python
This runnable snippet requests an image and writes the response body to a local file. A production script should check the response status and confirm the response represents an image before publishing it.
import requests

r = requests.get(
    "https://api.screenshotneo.com/v1/shot",
    params={"access_key": "YOUR_API_KEY", "url": "https://stripe.com"},
    timeout=90,
)
r.raise_for_status()
open("shot.webp", "wb").write(r.content)
Capture with Node.js
Node.js with the built-in fetch API can make the request. This example writes the returned bytes to a file:
import { writeFile } from 'node:fs/promises';

const q = new URLSearchParams({ access_key: 'YOUR_API_KEY', url: 'https://stripe.com' });
const res = await fetch(`https://api.screenshotneo.com/v1/shot?${q}`);
if (!res.ok) throw new Error(`Screenshot request failed: ${res.status}`);
await writeFile('shot.webp', Buffer.from(await res.arrayBuffer()));
Keep API keys on the server. Do not put a secret key in public HTML or client-side JavaScript: visitors can inspect both and reuse it. Upload the resulting image to your site’s public asset storage or another URL the page is allowed to load, then use that URL in src.
5. Or skip the browser setup
ScreenshotNeo is a website screenshot API and MCP server from Yorker Media. It returns a screenshot image or PDF from one GET request. Its capture flow accepts cookie or consent banners like a visitor and removes more than 60 known consent platforms, newsletter popups, and chat widgets; each of those steps can be turned off. Bot checks or CAPTCHAs, blank pages, timeouts, failed loads, and cache hits cost nothing, and each response reports its page verdict and billing state in headers.
For an image response, save the bytes as an asset and put the asset URL in your img element. Full-page capture loads lazy images; options also include choosing an element by CSS selector, dark mode, device or viewport, retina scale, custom CSS and JavaScript, waiting for a selector or network idle, custom headers and cookies, and caching with a chosen TTL. The API docs explain the request options.
curl -G "https://api.screenshotneo.com/v1/shot" \
  -d access_key=YOUR_API_KEY \
  --data-urlencode url=https://stripe.com \
  -o shot.webp
Cookie banners, popups, and chat widgets are removed before the shot. Bot checks, blank pages, and failed loads are never billed. An MCP server lets AI agents use take_screenshot, get_page_info, and capture_pdf. The free plan includes 1,000 screenshots a month with no card; paid plans start at $5 for 3,000 shots. Sign up free for 1,000 screenshots a month, with no card required.
6. Troubleshoot a missing or awkward image
| Symptom | Likely cause | Fix |
|---|---|---|
| Broken image icon or blank space | The src path, filename, extension, or capitalization is wrong, or the file was not deployed. |
Open the image URL directly. Compare it character by character with the deployed path and check the network response. |
| Image works on one page but not another | A relative URL resolves from a different page directory. | Use the correct relative path for that page or a root-relative URL when appropriate. |
| Image appears squashed or stretched | Width and height attributes or CSS dimensions use the wrong ratio. | Set intrinsic dimensions accurately and use height: auto when constraining width. |
| Large blank jump while loading | The browser did not get a reliable aspect ratio before the resource loaded. | Include accurate width and height attributes. |
| Unexpected candidate in responsive layout | sizes does not describe the actual rendered width, or candidate widths are inaccurate. |
Update sizes for the layout and ensure each w value matches its file. |
| Image absent only on a deployed site | The asset was omitted from deployment, served from a different base path, or blocked by site policy. | Inspect the final image URL and browser console/network panel; check the site’s asset and content-security settings. |
| Capture file contains an error response | The request failed, but the script saved the response body without checking status or content. | Check HTTP status and response headers before publishing the file; handle failures and retries in the server-side capture job. |
7. Performance, reliability, and cost considerations
For a static screenshot, HTML itself adds little complexity. The browser must still download the image, so choose an appropriate file size and dimensions for its display. Offer smaller responsive candidates when the same screenshot is displayed at substantially different widths. Use width and height to reserve its shape and avoid layout movement. Do not create multiple variants unless they solve a real delivery or crop requirement.
A remote screenshot capture adds the time and failure modes of a network request and browser rendering. If a page needs to load quickly and consistently, capture the image ahead of time and serve the saved asset through the site’s normal asset path. For dynamic captures, keep the API call server-side, choose a timeout that fits your workflow, check the response before saving, and avoid exposing credentials. If captures repeat for an unchanged page, a cache can reduce repeated work; ScreenshotNeo supports caching with a TTL you choose. Its billing rules exclude bot checks/CAPTCHAs, blank pages, timeouts, failed loads, and cache hits.
Cost depends on the method and volume. A self-hosted browser has infrastructure and maintenance costs; an API has plan limits and request charges. ScreenshotNeo’s free tier is 1,000 shots per month with no card. Paid tiers are Starter $5 for 3,000, Growth $15 for 15,000, Pro $39 for 60,000, Scale $99 for 250,000, and Business $249 for 1,000,000; yearly billing gives two months free. Every feature is on every plan. Use the current product documentation and account details to confirm the API setup that fits your integration.
Frequently asked questions
Can I add a screenshot directly from my computer?
Only while your development setup serves that file to the page. For a deployed site, include the image in deployed assets or use an image URL accessible to visitors; a path on your personal computer will not work for them.
Does the img tag upload the screenshot?
No. It embeds a resource by URL. Upload or otherwise serve the image separately, then put its address in src.
Do I need srcset for every screenshot?
No. Use one img when one source is adequate. Add srcset when you have resolution candidates, or picture when you need alternate sources or crops.
What should I use for a long full-page screenshot?
Use the image’s actual dimensions and consider whether the full image is readable at the displayed width. If the screenshot is too long to inspect comfortably, link to the full image and show a more useful crop or summary in the page.


