How to Add a Screenshot to Microsoft Word
Learn how to insert full-window or partial screenshots in Word on Windows and Mac, fix common problems, and automate captures with ScreenshotNeo.
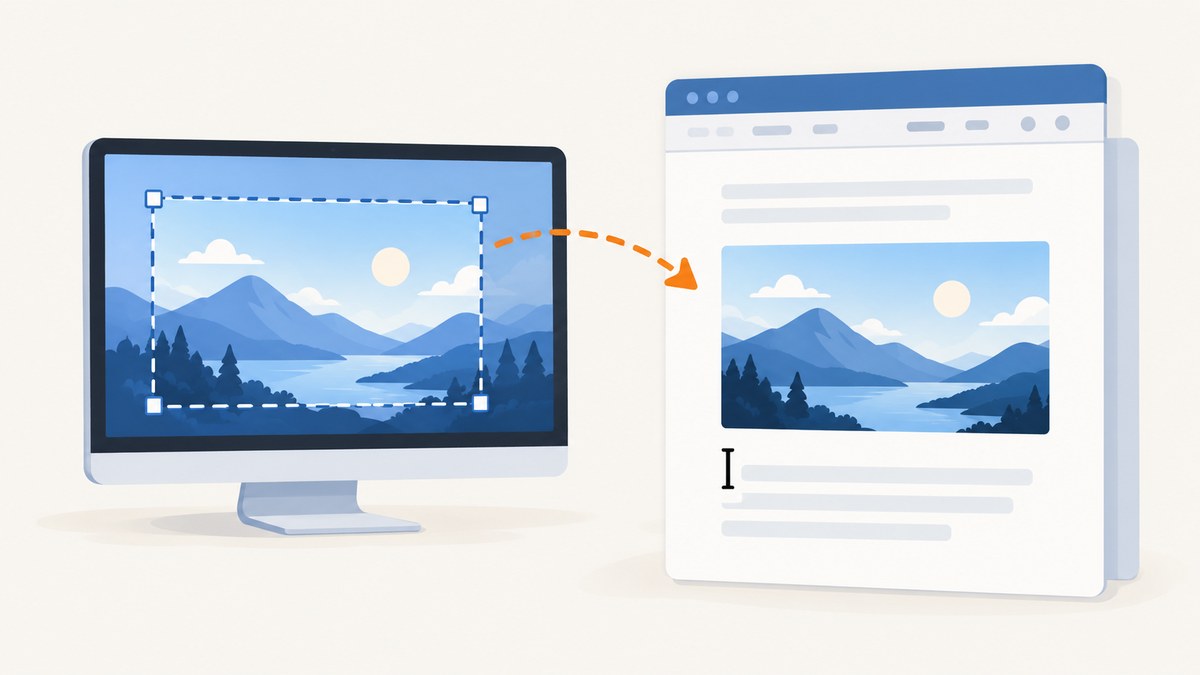
Quick answer: In Word for Windows, click where the image should appear, choose Insert > Screenshot, then select a window from Available Windows or choose Screen Clipping and drag over a region. On a Mac, take the screenshot with a macOS shortcut, save it, then choose Insert > Pictures > Picture from File.
The insertion point controls exactly where Word places the image. Word can capture one screenshot per command, and minimized windows do not appear in its gallery. These instructions apply to Word for Microsoft 365 and Word 2016, 2019, 2021, and 2024 editions listed by Microsoft Support.
Insert a screenshot directly in Word on Windows
Capture an entire open window
- Open the window you want to capture. Resize it if you need a particular layout.
- Open your Word document and click at the location where the screenshot belongs.
- On the ribbon, select Insert.
- In the Illustrations group, select Screenshot.
- In Available Windows, click the thumbnail for the window. Word inserts the complete window at the cursor.
Word captures the window as it is currently displayed. If browser chrome, sidebars, or unrelated panels are visible, close or resize them before opening the gallery. Only windows that are not minimized to the taskbar can be captured.
Capture part of a window with Screen Clipping
- Click the target window first so it becomes the first window in the gallery.
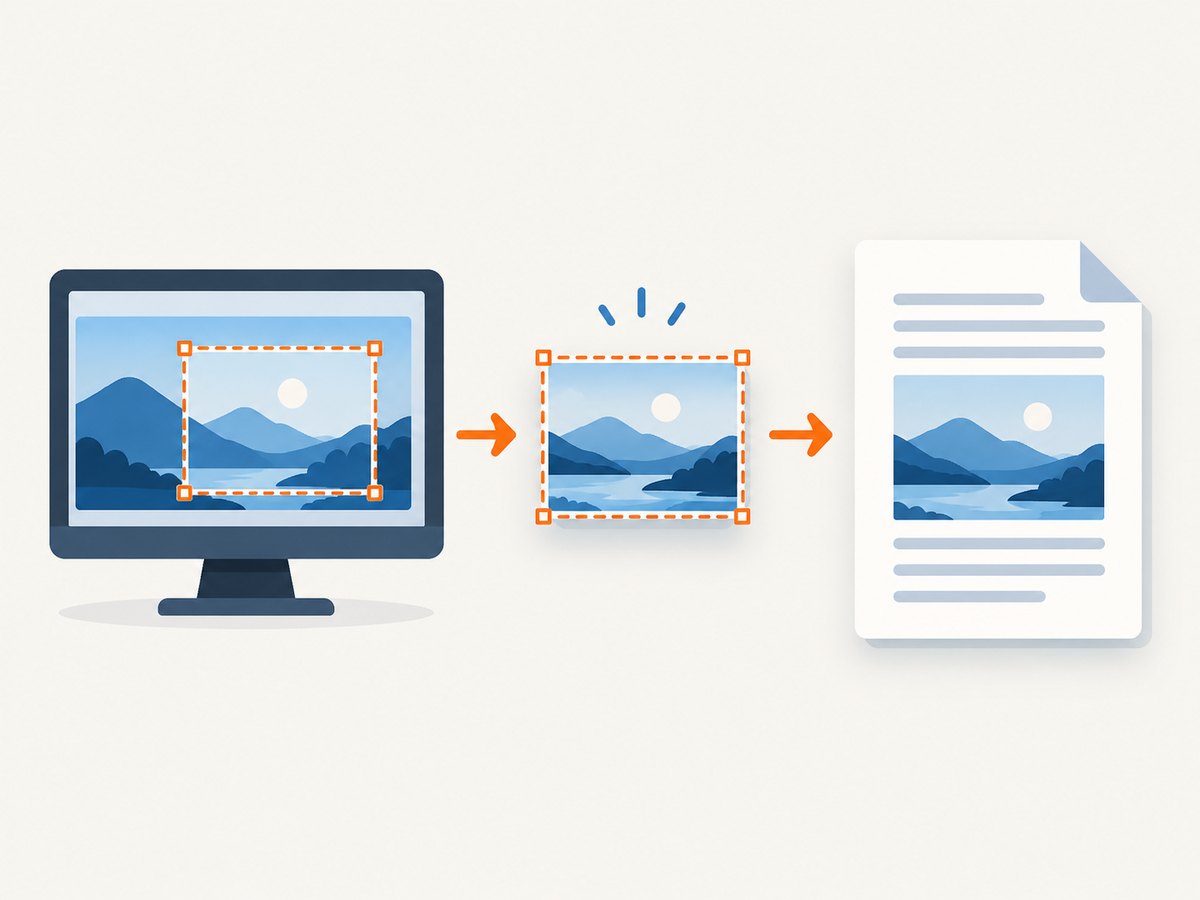
- Return to Word, click the insertion point, and choose Insert > Screenshot > Screen Clipping.
- The screen becomes temporarily frosted and the pointer changes to a crosshair.
- Press and hold the mouse button, drag around the required region, and release.
- Word inserts the selected rectangle immediately.
Screen Clipping uses the first window shown in Available Windows. If the wrong application is selected, cancel, activate the desired window, switch back to Word, and start again. Microsoft documents this ordering behavior in its Screenshot and screen clipping guidance.
Insert more than one screenshot
The command inserts one screenshot at a time. Place the cursor at the next location and repeat Insert > Screenshot. For a sequence of steps, insert each capture beside the paragraph it explains rather than adding a large batch at the end; this keeps the document readable when it is printed or exported to PDF.
Insert a screenshot on a Mac
Microsoft’s documented Mac workflow is to capture the screen first, then insert the saved image file.
| Shortcut | Result |
|---|---|
Shift + Command + 3 |
Captures the entire screen. |
Shift + Command + 4 |
Lets you drag around a rectangular area. |
Shift + Command + 4, then Space |
Captures a window or menu. Click the target when the pointer becomes a camera. |
- Use one of the shortcuts above.
- Wait for the screenshot thumbnail, or open Finder and locate the file. macOS saves screenshots to the Desktop by default unless you changed the destination.
- Open Word and click where the image should go.
- Select Insert > Pictures > Picture from File.
- Choose the screenshot and select Insert.
You can click the thumbnail that appears after capture to crop, annotate, or otherwise edit the image before inserting it. This saved-file workflow is also useful when you want to reuse the same screenshot in another document.
Use Snipping Tool when Word’s gallery is not enough
On Windows 10 and Windows 11, Snipping Tool can capture a freeform shape, rectangle, window, or full screen. It opens the result for editing, saving, and sharing. To use it, open Snipping Tool from the Start menu, select the capture mode, select the region, save the image, and insert it with Insert > Pictures.
This route is useful when you need to redact information, draw an annotation, or save a file before placing it in Word. Microsoft’s Snipping Tool documentation lists the available capture shapes and the save workflow.
Choose the right workflow
| Need | Best method | Reason |
|---|---|---|
| Whole open application window | Word’s Available Windows gallery | It inserts the window directly at the cursor. |
| A precise region on Windows | Screen Clipping | Drag a rectangle without creating a separate file. |
| Redaction or drawing | Snipping Tool, then Pictures | Edit and save before insertion. |
| Mac capture | macOS shortcut, then Pictures | This is Microsoft’s documented Mac path. |
| Reusable or automated website captures | ScreenshotNeo API | Capture a URL without manually opening a browser. |
Format and layout the inserted image
Select the image to show Word’s picture formatting controls. Use the following sequence for a document that must remain legible:
- Crop first. Remove browser tabs, unrelated windows, and empty margins before resizing.
- Set a readable width. Drag a corner handle so the aspect ratio stays intact. Avoid stretching from a side handle.
- Choose text wrapping. In Line with Text keeps the screenshot anchored to a paragraph. Square or Tight lets text flow beside it. For manuals, inline placement is usually easier to keep stable.
- Add a caption. Use References > Insert Caption when figures need numbering or a table of contents.
- Check print readability. Zoom to 100% and print or export a sample page. Small browser text can become unreadable when the image is reduced to page width.
PNG is a good choice for interfaces, diagrams, and text because it preserves sharp edges. JPEG can produce a smaller file for photographic screens but may blur small type. If the document will be distributed as a PDF, check the exported PDF rather than relying only on Word’s editing view.
Troubleshooting
The window is missing from Available Windows
Cause: The application is minimized, or Word has not refreshed the gallery. Fix: Restore the application, click it once to make it active, return to Word, and open Insert > Screenshot again. Microsoft states that minimized windows cannot be captured.
Screen Clipping captures the wrong application
Cause: Clipping starts from the first window in the gallery. Fix: Activate the intended window immediately before returning to Word, then invoke Screen Clipping.
Screenshot is unavailable or greyed out
Cause: You may be using Word for the web, a restricted document view, or an edition whose ribbon is customized. Fix: Open the document in the desktop Word application. If the command is hidden, use the ribbon search box for “Screenshot,” or capture with Snipping Tool and insert the saved file.
The image is blurry
Cause: The screenshot was captured at a low display scale or enlarged after insertion. Fix: Capture at the size you need, keep the image’s proportions, and avoid enlarging a small crop. For dense interfaces, capture a tighter region and place it on its own page.
The screenshot moves when text is edited
Cause: The image uses a floating wrap setting and is anchored to a nearby paragraph. Fix: Select the image, open Layout Options, and choose In Line with Text. If you need floating placement, open See more and lock the anchor or position.
The Mac file cannot be found
Cause: macOS may use a different screenshot destination or the image was copied without being saved. Fix: Check Desktop and Finder Recents, then use Insert > Pictures > Picture from File. You can also open the screenshot thumbnail immediately after capture and save it to a known folder.
Private information is visible
Cause: A screenshot records everything inside the selected area, including account names, tokens, email addresses, and notifications. Fix: close notifications, sign out of sensitive services, crop aggressively, and redact with Snipping Tool or an image editor before sharing the document.
Or skip the browser setup
If the screenshot is a public webpage, ScreenshotNeo can return the image directly from one API request. See the ScreenshotNeo documentation for the full option list. The response can be saved and inserted into Word with the normal Insert > Pictures workflow.

cURL
curl -G "https://api.screenshotneo.com/v1/shot" \
  -d access_key=YOUR_API_KEY \
  --data-urlencode url=https://stripe.com \
  -o shot.webp
Python
import requests

r = requests.get(
    "https://api.screenshotneo.com/v1/shot",
    params={"access_key": "YOUR_API_KEY", "url": "https://stripe.com"},
    timeout=90,
)
r.raise_for_status()
open("shot.webp", "wb").write(r.content)
Node.js
const q = new URLSearchParams({
  access_key: 'YOUR_API_KEY',
  url: 'https://stripe.com'
});
const res = await fetch(`https://api.screenshotneo.com/v1/shot?${q}`);
if (!res.ok) throw new Error(`Screenshot failed: ${res.status}`);
const fs = await import('node:fs/promises');
await fs.writeFile('shot.webp', Buffer.from(await res.arrayBuffer()));
After saving shot.webp, insert it in Word with Insert > Pictures > This Device on Windows or Picture from File on Mac.
ScreenshotNeo removes cookie and consent banners, newsletter popups, and chat widgets before capture; each step can be turned off. Bot checks and CAPTCHAs, blank pages, timeouts, failed loads, and cache hits are not billed, and the response identifies the result with X-Page-Verdict and X-Billed headers. It also supports full-page captures with lazy images loaded, CSS element capture, custom CSS and JavaScript, dark mode, device presets, retina scale, cookies, headers, user agents, authorization, waits, blocking rules, resizing, caching, PDFs, async jobs, webhooks, bulk capture, and signed links. An MCP server provides take_screenshot, get_page_info, and capture_pdf for AI clients such as Claude and Cursor.
The free plan includes 1,000 screenshots per month with no card. Paid plans start at $5 for 3,000 screenshots; every feature is available on every plan. Create a free ScreenshotNeo account to get an API key.
Performance, reliability, and cost considerations
- Manual captures: Word and macOS shortcuts are simplest for one-off work, but repeating them across many URLs takes time.
- Automation: Use a single API call per URL, add a wait for content that renders asynchronously, and cache stable pages with a TTL when repeated captures do not need a fresh browser render.
- Large pages: Full-page images can be tall and expensive to place in a document. Capture a relevant element when the whole page is unnecessary, or resize before insertion.
- Dynamic content: Use selector, delay, or network-idle waits so charts and lazy images finish loading before capture.
- Failure handling: Inspect the HTTP status and the
X-Page-VerdictandX-Billedheaders. Retry transient load failures with a bounded backoff rather than inserting an incomplete image. - Document size: Compress or resize images before distributing a large Word file. Keep the original captures separately if they may be needed later.
FAQ
Can I paste a screenshot from the clipboard into Word?
Yes. Capture with Print Screen, Snipping Tool, or a macOS shortcut, then press Ctrl+V on Windows or Command+V on Mac. Use the file insertion workflow when you need to edit, reuse, or preserve the original image.
Does Word capture a minimized window?
No. The Available Windows gallery only lists windows that are not minimized.
How do I capture only one part of a webpage?
On Windows, activate the browser and use Word’s Screen Clipping, or use Snipping Tool for more editing control. For repeatable URL-based captures, use ScreenshotNeo’s API and insert the returned image.
Why does my screenshot look different after saving as PDF?
Word may resample images during export, and page layout can reduce their display size. Export a sample page, inspect small text at 100%, and insert a higher-resolution or tighter crop if needed.
Can I add a screenshot to Word for the web?
The desktop Screenshot gallery is documented for desktop Word. In Word for the web, capture with the operating-system tool and use the document’s picture insertion command to upload the saved image.
Can ScreenshotNeo create a PDF instead of an image?
Yes. Its capture_pdf MCP tool and PDF options support paper size, margins, landscape orientation, and page ranges. For a Word document, save an image response when you need an inline figure.


