How to Add Screenshots in HTML Code
Display a screenshot in HTML with accessible, responsive markup—or capture one automatically with Playwright or ScreenshotNeo.
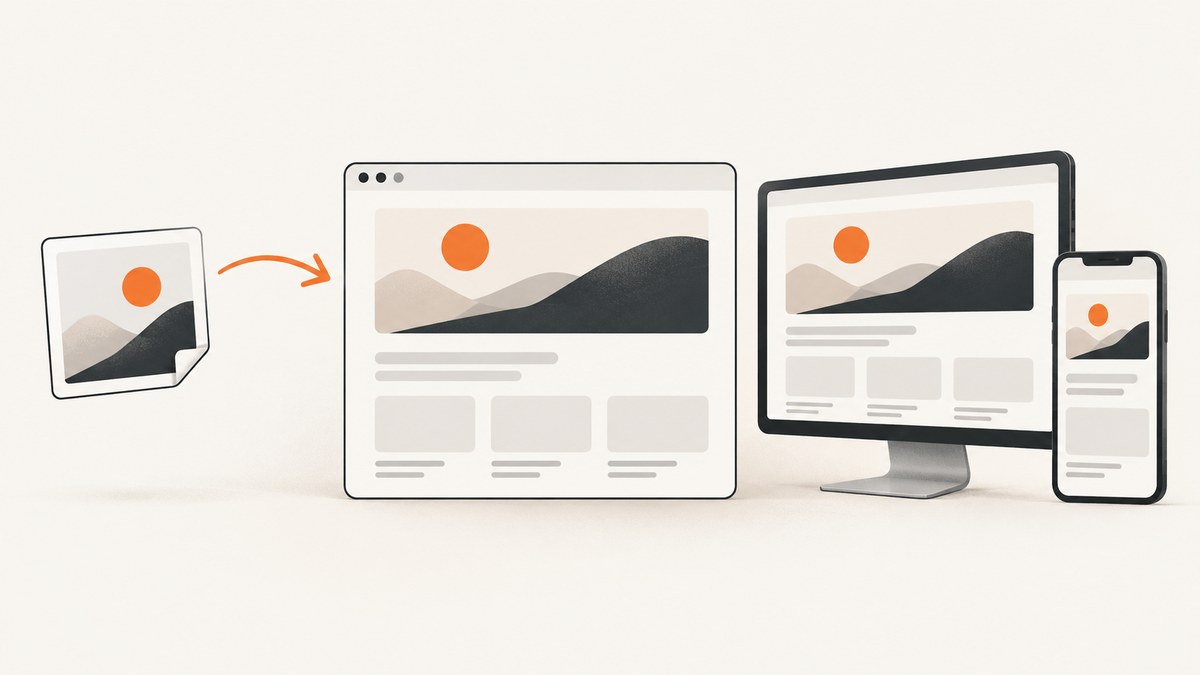
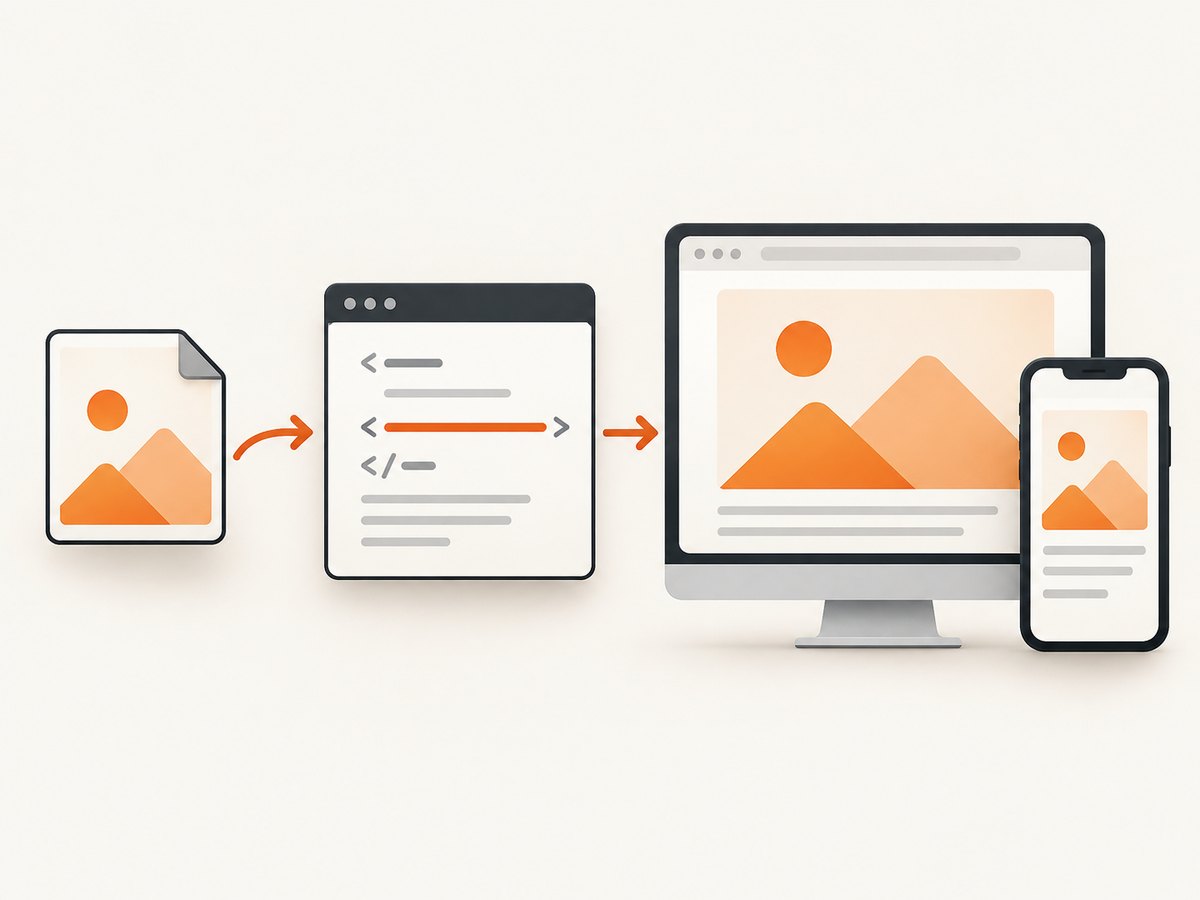
To display a screenshot you already have, save the image in your project or host it at a URL, then reference it with an HTML <img> element. For example: <img src="images/homepage.png" alt="Homepage showing the navigation and featured article" width="1440" height="900">. Set useful alternative text and the image’s intrinsic dimensions, and use CSS to make it fit the page.
HTML displays an image; it does not take a screenshot of the current browser window. If you need to create screenshots automatically, use browser automation such as Playwright, or a capture API such as ScreenshotNeo.
1. Add an existing screenshot with an image element
Put the file somewhere your site can serve it. A simple project might look like this:
my-site/
├── index.html
└── images/
    └── homepage-screenshot.png
Then reference the image relative to the HTML file:
<figure>
  <img src="images/homepage-screenshot.png"
       alt="Homepage showing the site navigation and featured article"
       width="1440"
       height="900"
       loading="lazy"
       decoding="async">
  <figcaption>The homepage at desktop width.</figcaption>
</figure>
Here src points to the image, alt describes meaningful visual information, and width and height state the image’s intrinsic dimensions in pixels. figure groups an image with an optional caption. The caption adds visible context; it does not replace useful alternative text. An img is a void element, so it has no closing tag. [MDN: img; WHATWG HTML Standard]
Choose the right alternative text
Describe what the image communicates in the context of the page, not merely that it is a screenshot. “Settings page with email notifications enabled” helps a reader understand the relevant state. “Screenshot” does not. If the image is decorative and adds no information, use alt="". Do not omit the alt attribute: empty text explicitly indicates that assistive technology can skip the image, while omission can cause a screen reader to announce a filename or other unhelpful fallback.
Check the path and hosting
A relative URL is resolved from the page URL, not necessarily from your source file’s location after a build. If the page is at /docs/install/, then images/homepage.png points under that directory; /images/homepage.png points from the domain root. Use a root-relative URL only when the asset is served at that root. For a hosted image, use its complete HTTPS URL and check that the host permits your site to load it.
2. Make the screenshot fit the layout
Without styling, a large screenshot can overflow a narrow page. Apply a responsive rule:
.screenshot {
  display: block;
  max-width: 100%;
  height: auto;
}

<img class="screenshot"
     src="images/homepage-screenshot.png"
     alt="Homepage showing the navigation and featured article"
     width="1440" height="900">
The attributes give the browser the image’s aspect ratio before it has downloaded the file, helping it reserve space and avoid layout movement. CSS can shrink the rendered width while height: auto preserves that ratio. Keep the width and height attributes accurate to the source image, even when CSS displays it smaller.
Use loading="lazy" for images below the initial viewport when deferring their download is helpful. Avoid lazy-loading the main screenshot if readers need it immediately at the top of the page. decoding="async" lets the browser decode the image asynchronously when convenient; it is a hint, not a guarantee.
3. Serve the right image for different screens
If you have several files of the same image at different pixel widths, use srcset and sizes. The browser can select a candidate appropriate to the displayed size and screen density:
<img
  src="images/dashboard-800.png"
  srcset="images/dashboard-400.png 400w,
          images/dashboard-800.png 800w,
          images/dashboard-1600.png 1600w"
  sizes="(max-width: 600px) 100vw, 800px"
  alt="Dashboard screenshot showing monthly activity"
  width="1600" height="1000"
  class="screenshot">
The w descriptors must match each file’s actual pixel width. sizes tells the browser the image’s expected CSS display width at different viewport sizes: this example says it fills the viewport up to 600 pixels and is otherwise about 800 CSS pixels wide. The width and height attributes describe the source image’s aspect ratio, not the selected candidate’s display size. Keep all candidates at that same ratio unless using art direction.
Use <picture> when you want to offer alternate formats or different crops for particular conditions. The nested img remains the fallback and carries the alternative text:
<picture>
  <source type="image/webp" srcset="images/dashboard.webp">
  <source media="(max-width: 600px)" srcset="images/dashboard-mobile.png">
  <img src="images/dashboard.png"
       alt="Dashboard showing the daily signups chart"
       width="1440" height="900"
       class="screenshot">
</picture>
Order sources deliberately: the browser uses a matching source according to the provided type and media conditions, then falls back to the img. Avoid supplying a mobile crop whose content differs substantially without checking that its alternative text still describes it.
4. Add a caption, link, or downloadable file
A caption can explain what to notice. To make the screenshot open at full size, place a link around it:
<figure>
  <a href="images/settings-full.png">
    <img src="images/settings-preview.png"
         alt="Notification setting is enabled"
         width="800" height="500">
  </a>
  <figcaption>Select the image to open the full-size capture.</figcaption>
</figure>
Ensure the link target exists and is useful to keyboard and screen-reader users. If the image is itself the only content of the link, its alternative text should describe the link’s destination or action, such as “Open full-size settings screenshot.” To offer a download, link to the file directly and use the download attribute where appropriate:
<a href="images/settings-full.png" download="settings.png">
  Download the settings screenshot (PNG)
</a>
Whether the browser downloads or displays a file can depend on server headers and cross-origin rules. For a reliable downloadable asset, serve it from your own site or a host configured for downloads.
5. Capture a screenshot automatically with Playwright
If the image must be generated repeatedly from a page, use a browser automation workflow. Playwright supports screenshots of a page, a full page, or a selected element. [Playwright: Screenshots]
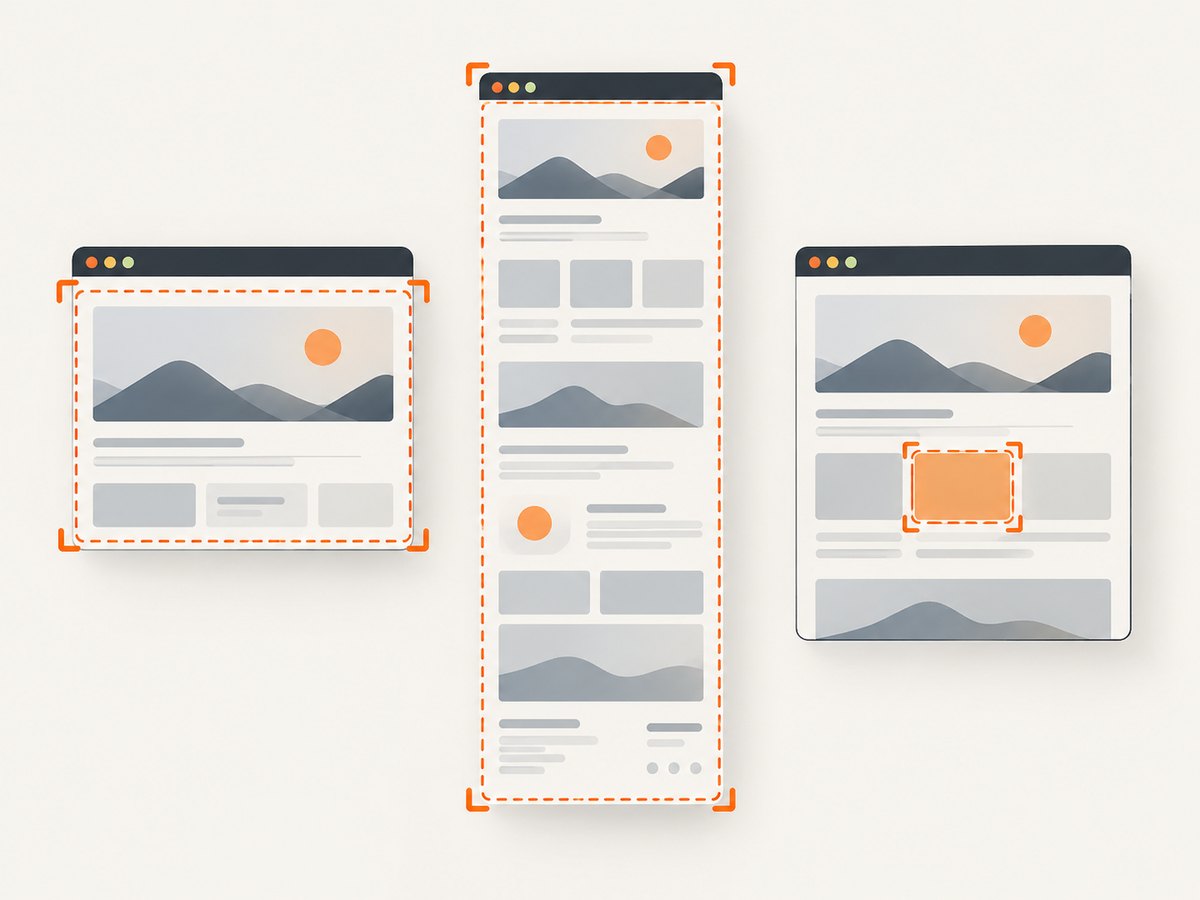
For a runnable Node.js example, install Playwright and its Chromium browser in a project:
npm init -y
npm install playwright
npx playwright install chromium
Create capture.mjs:
import { chromium } from 'playwright';

const browser = await chromium.launch({ headless: true });
try {
  const page = await browser.newPage({
    viewport: { width: 1440, height: 900 },
    deviceScaleFactor: 1,
  });
  await page.goto('https://example.com', {
    waitUntil: 'networkidle',
    timeout: 30_000,
  });
  await page.screenshot({ path: 'page.png' });
  await page.screenshot({ path: 'full-page.png', fullPage: true });
  await page.locator('header').screenshot({ path: 'header.png' });
} finally {
  await browser.close();
}
Run it with node capture.mjs. Replace the example URL with a page you are permitted to capture. This produces a viewport image, a full-page image, and an element image. If the page has no header, the locator capture fails; choose a selector that exists or remove that line.
Choose the capture and readiness options
- Viewport screenshot: omit
fullPageto capture the visible viewport. - Full page: set
fullPage: true. Long pages can take more time and memory, and some pages change as content is scrolled or loaded. - Element: use
page.locator('selector').screenshot(...)to capture one matching element. Wait for the expected element and ensure it is visible. - Page readiness:
loadwaits for the load event;domcontentloadedwaits for document parsing;networkidlewaits for network activity to settle. Sites with polling or persistent requests may never become idle. In that case wait for a meaningful selector or use a bounded timeout. - Stability: wait for a specific heading, chart, or application state before capture. A fixed delay may help with a known animation, but it is less reliable than waiting for the condition you need.
- Device scale: a larger
deviceScaleFactorcreates a higher-density image and increases output dimensions and file size. Choose it based on where the screenshot will be displayed.
For example, replace network-idle waiting with an explicit condition when the page keeps background requests open:
await page.goto(url, { waitUntil: 'domcontentloaded', timeout: 30_000 });
await page.locator('main h1').waitFor({ state: 'visible', timeout: 10_000 });
await page.screenshot({ path: 'page.png' });
6. Capture a live browser tab from a web app
A different problem is letting a user select and capture a live browser tab from inside your web application. The Screen Capture API flow uses browser APIs and user permission; it is not accomplished by adding an img element. Support and permission behavior depend on the browser. See MDN’s overview before choosing this approach: Using the Screen Capture API. [MDN: Screen Capture API]
For a static screenshot embedded in a page, this route is unnecessary. For repeatable server-side captures, browser automation or a screenshot service is usually a better fit than asking each visitor for screen-sharing permission.
7. Or skip the browser setup
To create an image from a URL without installing and managing a browser, call ScreenshotNeo, a website screenshot API and MCP server for developers. One GET request returns an image or PDF. See the API documentation for options and parameter details.
curl -G "https://api.screenshotneo.com/v1/shot" \
  -d access_key=YOUR_API_KEY \
  --data-urlencode url=https://stripe.com \
  -o shot.webp
import requests
r = requests.get(
"https://api.screenshotneo.com/v1/shot",
params={"access_key": "YOUR_API_KEY", "url": "https://stripe.com"},
timeout=90,
)
open("shot.webp", "wb").write(r.content)const q = new URLSearchParams({
access_key: 'YOUR_API_KEY',
url: 'https://stripe.com',
});
const res = await fetch(`https://api.screenshotneo.com/v1/shot?${q}`);
if (!res.ok) throw new Error(`Screenshot request failed: ${res.status}`);
const image = Buffer.from(await res.arrayBuffer());
await import('node:fs/promises').then(fs => fs.writeFile('shot.webp', image));ScreenshotNeo accepts cookie or consent banners like a visitor and removes more than 60 known consent platforms, newsletter popups, and chat widgets before capture; each of those steps can be turned off. Bot checks and CAPTCHAs, blank pages, timeouts, failed loads, and cache hits cost nothing; response headers identify the page verdict and billing status. Its MCP server provides take_screenshot, get_page_info, and capture_pdf for Claude, Cursor, and other MCP clients. The free plan includes 1,000 shots each month without a card; paid plans start at $5 for 3,000. All features are available on every plan.
Create a free ScreenshotNeo account for 1,000 screenshots a month, no card required.
8. Troubleshooting broken or poor screenshots
| Symptom | Likely cause | Fix |
|---|---|---|
| Broken-image icon | Wrong relative path, filename case, missing deployed file, or inaccessible host. | Open the image URL directly, inspect the browser network panel, and correct the path or hosting permissions. Check capitalization on case-sensitive servers. |
| Image overflows the page | Intrinsic width is larger than its container and no responsive style is applied. | Use max-width: 100%; height: auto; and check parent layout constraints. |
| Page jumps when the image loads | The browser did not have the image’s dimensions early enough, or the attributes are inaccurate. | Set the correct intrinsic width and height attributes. |
| Wrong responsive image | A srcset descriptor does not match the file width, sizes does not reflect the layout, or candidates have inconsistent ratios. |
Verify actual pixel widths, describe rendered width accurately, and keep candidate crops consistent unless using art direction. |
| Automated capture is blank or incomplete | Capture happened before the app rendered, a selector was absent, or the page requires authentication. | Wait for the actual content selector, provide authorized cookies or headers in the automation context, and confirm the page works in a browser. |
| Playwright waits forever | Network-idle condition is unsuitable for a page with polling or persistent connections. | Use domcontentloaded plus a bounded wait for the target element. Keep explicit timeouts so jobs terminate. |
| Element screenshot fails | The selector matches nothing or the element is hidden or outside a stable state. | Check the selector, wait for visibility, and account for the element being inside a frame or a dynamically rendered component. |
| Screenshot looks soft or file is huge | Capture density or source size does not match display needs. | Use an appropriately sized source or device scale, then generate responsive candidates rather than always shipping the largest file. |
9. Performance, reliability, and cost
For a static screenshot, delivery cost and loading time mainly depend on image dimensions, encoding, and how many variants you serve. Keep the source large enough for its intended display and density, but avoid downloading a very large image into a small column when a smaller candidate will do. Use lazy loading below the fold, cache stable image assets at the host or CDN you already use, and reserve image space with dimensions.
For automated browser captures, a browser process, page load, fonts, scripts, and images all consume time and resources. Reuse a browser process for batches when using Playwright, close pages and browsers in cleanup paths, set navigation and selector timeouts, and avoid waiting for every network request if the page never becomes idle. Full-page capture of very long content requires more rendering and memory. Captures can vary if the site content, fonts, animations, or personalized state change; stabilize those inputs when repeatability matters.
A local Playwright workflow has no per-shot API charge, but it requires you to provision runtime, browser binaries, storage, maintenance, and failure handling. An API trades that browser operations work for a service plan and request integration. ScreenshotNeo’s published tiers are Free (1,000 shots/month), Starter ($5 for 3,000), Growth ($15 for 15,000), Pro ($39 for 60,000), Scale ($99 for 250,000), and Business ($249 for 1,000,000); yearly billing gives two months free. Only clean shots are billed, according to the product facts above. Check the response’s X-Page-Verdict and X-Billed headers to distinguish a completed capture from a bot check, blank page, failed load, timeout, or cache hit. Do not assume every HTTP success status means the target page contained the content you expected; inspect the verdict and validate the returned image in workflows where correctness matters.
10. FAQ
Can I put a screenshot directly into an HTML file?
HTML references an image resource; it does not normally contain the image bytes. Put the image in your project or host it, then use img src. Embedding encoded image data is possible but usually makes the HTML bulky and harder to cache independently.
Does an image need a closing tag?
No. <img> is a void element and has no closing tag.
Should a screenshot use PNG, JPEG, or WebP?
Choose based on the image and your delivery requirements: screenshots with interface text often need crisp edges, while photographic content may compress differently. Test the output at its actual display size and ensure your chosen format is served correctly. The markup is the same for each supported image format.
Can an HTML image take a screenshot of the current page?
No. An image element displays a resource. Use Playwright for scripted page captures, or a browser capture API when a user must select live content and grant permission.
How do I make a screenshot accessible?
Write concise alt text that conveys the relevant screen information, or use an empty alt value when the image is decorative. Add a caption when readers need visible explanation or context.


