How to Add Text, Images, and Shapes in a Visual Editor
Learn the reliable workflow for adding text, images, and shapes in Adobe Express, Canva, and Google Slides, then refine and capture the result.
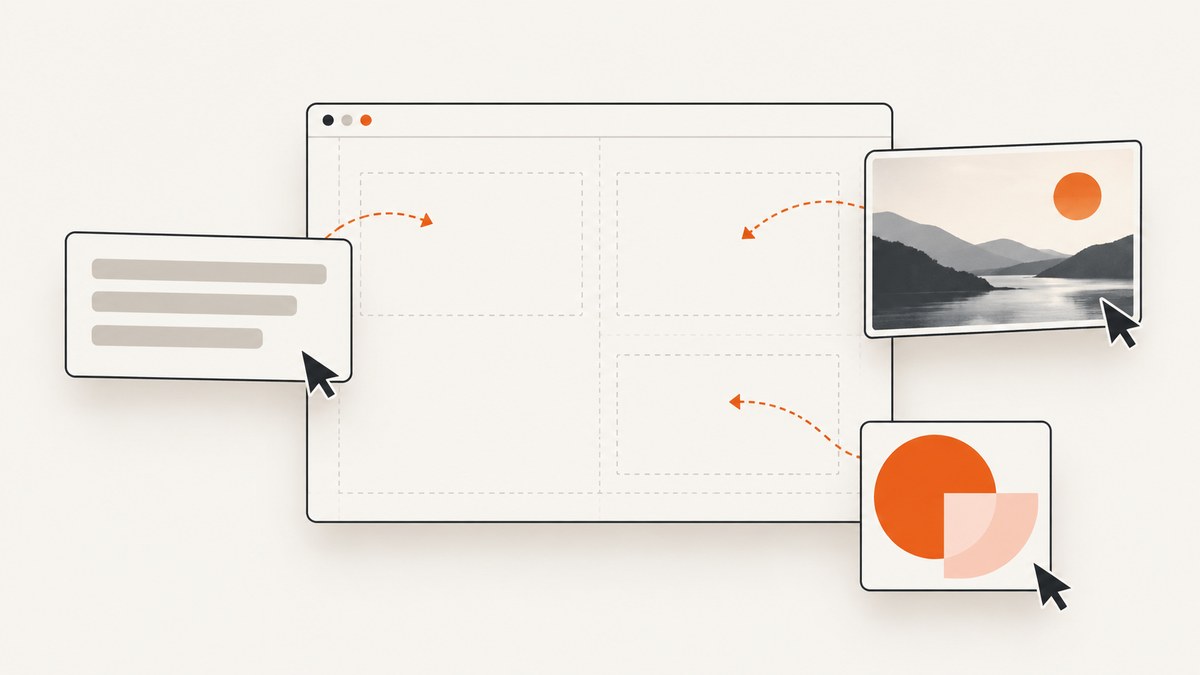
The general workflow is consistent across visual editors: open a design or slide, choose the command for text, images, or shapes, insert the object, then select it to change its content, position, size, and appearance. The exact menu names differ by product and device, so follow the instructions for the editor you are using.
This guide covers Adobe Express, Canva, and Google Slides. It also explains how to check layering and readability, solve common insertion problems, and capture the finished composition for documentation or review.
1. Choose the editor and device first
Do not assume that a button called “Elements” in one product maps directly to a button with the same name elsewhere. Adobe Express uses panels such as Text and an Add content path for shapes. Canva separates library assets and uploads within its editor side panel. Google Slides places insertion commands in the top menu on a computer, while mobile menus differ.
| Editor | Text | Images | Shapes | Best reference point |
|---|---|---|---|---|
| Adobe Express | Text panel, then Add your text | Use the editor’s media or upload controls | Add content > Elements > Shapes | Adobe’s text and shape help pages |
| Canva | Use Canva’s text controls in the editor | Elements search for library assets, or upload your own file | Use Elements and search for a shape | Canva’s image and text help pages |
| Google Slides (computer) | Insert a text box | Insert > Image | Insert > Shape | Google’s computer instructions |
For product-specific behavior, consult Adobe Express text instructions, Adobe Express shape instructions, Google Slides’ insert and arrange guide, and Canva’s official help pages for adding images and adding and editing text.
2. Add and format text
Adobe Express
- Open the design in Adobe Express.
- Open the Text panel.
- Select Add your text. A text box is placed on the canvas.
- Select the text box and replace the placeholder content.
- Use the text controls to set the font, size, color, alignment, and text layout.
Resize the box when a heading wraps unexpectedly. A narrow box can create extra lines even when the font size is correct. For a text block over a photograph, check contrast at the final display size rather than only while zoomed in.
Canva
Open the text controls in Canva’s editor, insert a heading, subheading, or body text element, and click the resulting text object to edit it. Select the object to change its font, size, color, alignment, spacing, and other available formatting. Canva’s labels can change as the selected object changes, so make sure the text object itself is selected before looking for formatting controls.
Google Slides on a computer
- Open the presentation and select the target slide.
- Choose Insert > Text box.
- Click or drag on the slide to create the box.
- Type your content, then select the box or text to format it.
Use one text box for a short label and separate boxes for independent blocks that need different alignment or movement. This makes later layout changes easier than placing an entire slide in one box.
3. Add an image from a library or your own file
There are two different image workflows: selecting an asset supplied by the editor and uploading a file you already own. Confirm which route you need before searching.
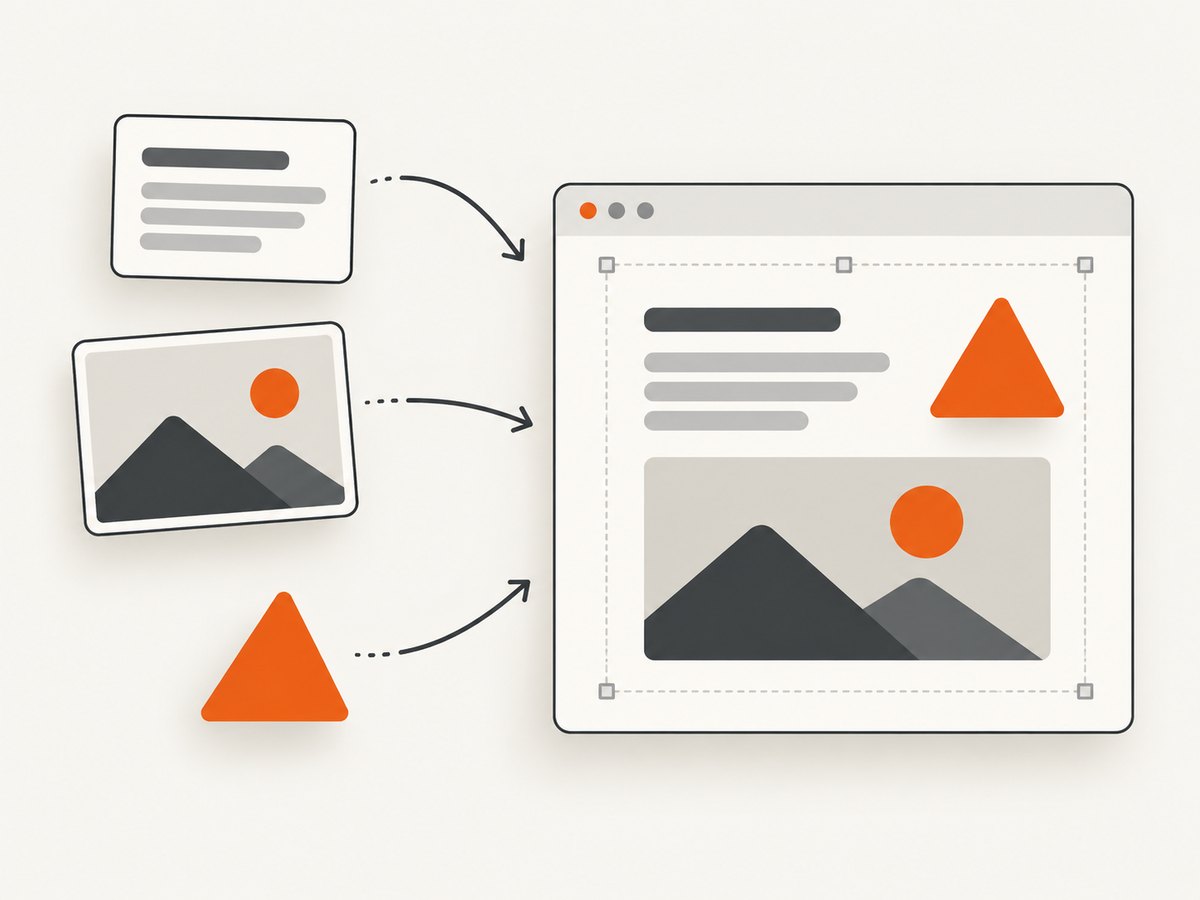
Canva library image
- Open the editor’s side panel and choose Elements.
- Search for a subject, style, or orientation.
- Select an image result to place it on the design.
- Drag its handles or use the editor’s crop controls to frame it.
Canva upload
- Open Canva’s upload control in the side panel.
- Select an image file from your computer.
- Wait for the upload to finish, then select the uploaded asset to add it to the design.
Library results and uploads may have different licensing or account requirements. Keep a record of the source for images used in client or published work.
Google Slides on a computer
- Select Insert > Image.
- Choose the source, such as an upload from your computer or another available source.
- Select the file and insert it.
- Use the selected image’s handles to resize it; drag from a corner when you need to preserve its proportions.
A stretched image can make a slide look unfinished. If the editor offers crop or mask controls, crop the image to the intended frame instead of distorting it.
4. Add a preset or custom shape
Adobe Express
- Choose Add content > Elements > Shapes.
- Select a preset shape, or choose Draw shape when you need a custom outline.
- Select the inserted shape and adjust its fill, border, opacity, scale, and rotation.
Shapes work well as backgrounds behind text, callouts around an image, or simple diagram components. Reduce opacity only after checking that the text remains readable.
Google Slides on a computer
- Choose Insert > Shape.
- Pick a category and a shape.
- Click or drag on the slide to place it.
- Use the toolbar to change fill, border, size, and rotation.
Google Slides also documents arranging objects by moving them forward or backward, aligning and distributing them, centering them, rotating them, and grouping them. These controls are useful when a shape, image, and text box must behave as one unit.
5. Arrange objects into a readable composition
Insertion is only the beginning. Use this checklist after adding all three object types:
- Position: Align edges and keep important content inside the canvas or slide margins.
- Scale: Resize images and shapes from corners where possible to avoid distortion.
- Contrast: Ensure text remains legible over the image and any translucent shape.
- Order: Confirm which object is in front. A background shape should not cover a text box.
- Grouping: Group objects that must move together, such as a label and its callout shape.
- Spacing: Check the gap between heading, image, and supporting text at the final size.
- Rotation: Use rotation deliberately; small accidental angles are easy to miss while editing.
Zoom out to review the hierarchy, then zoom in to inspect edges and text. If the design will be shown on different screens, export or preview it at the intended dimensions before approving it.
6. Common edge cases
Text is present but cannot be edited
The object may not be selected, may be locked, or may be behind another object. Click the visible text once to select its container, then click again if the editor requires a second click to enter text editing. Check the layer or arrange controls if another object is intercepting the click.
The image looks blurry
The source file may be too small for the displayed area, or the editor may be showing a lower-resolution preview. Use a larger source, avoid enlarging a small image, and inspect the exported file rather than relying only on the canvas preview.
A shape covers the text
Select the shape and send it backward, or select the text and bring it forward. If the editor supports a layers panel, use it to verify the order directly.
The custom shape option is missing
Custom drawing is product-specific. Adobe Express documents a Draw shape option, but another editor or device may offer only presets. Use a preset, switch to the supported desktop workflow, or create the shape in a separate graphics tool and import it as an image.
Menus do not match these steps
Check whether you are using a mobile app, tablet layout, or desktop browser. Google’s computer instructions are not a universal mobile path, and each editor can change labels over time. Search the product’s official help center for the exact editor and device.
7. Capture the finished design for documentation
A screenshot is useful for a design review, bug report, tutorial, or visual regression record. Capture the whole canvas when the composition matters, or capture a selected region when you need to focus on one card, chart, or callout. Before capturing, hide side panels and selection handles, fit the canvas to a stable zoom, and wait for images or fonts to finish loading.
For repeatable captures, record the editor, document URL, viewport, zoom, and whether the design is in light or dark mode. A consistent viewport makes comparisons meaningful. If the editor is behind authentication, use a capture method that supports the required cookies or headers and avoid exposing credentials in a public link.
8. Or skip the browser setup
ScreenshotNeo provides a website screenshot API and MCP server. It can capture a visual editor’s published or preview URL after the browser work is complete, which is useful when a team needs repeatable images for documentation or review.
One GET request returns a PNG, JPEG, WebP, or PDF. The API accepts full-page capture, element selection by CSS selector, dark mode, device presets or a custom viewport, retina scale, custom CSS and JavaScript, click and wait actions, hidden selectors, blocked resource types, custom headers, cookies, user agents, authorization, timezone, geolocation, transparent backgrounds, resizing, caching, signed links, asynchronous jobs, bulk capture, and usage reporting. See the ScreenshotNeo documentation for parameter details.
cURL
curl -G "https://api.screenshotneo.com/v1/shot" \
  -d access_key=YOUR_API_KEY \
  --data-urlencode url=https://stripe.com \
  -o shot.webp
Python
import requests

r = requests.get(
    "https://api.screenshotneo.com/v1/shot",
    params={"access_key": "YOUR_API_KEY", "url": "https://stripe.com"},
    timeout=90,
)
r.raise_for_status()
open("shot.webp", "wb").write(r.content)
Node.js
const q = new URLSearchParams({ access_key: 'YOUR_API_KEY', url: 'https://stripe.com' });
const res = await fetch(`https://api.screenshotneo.com/v1/shot?${q}`);
if (!res.ok) throw new Error(`Screenshot failed: ${res.status}`);
const fs = await import('node:fs/promises');
await fs.writeFile('shot.webp', Buffer.from(await res.arrayBuffer()));
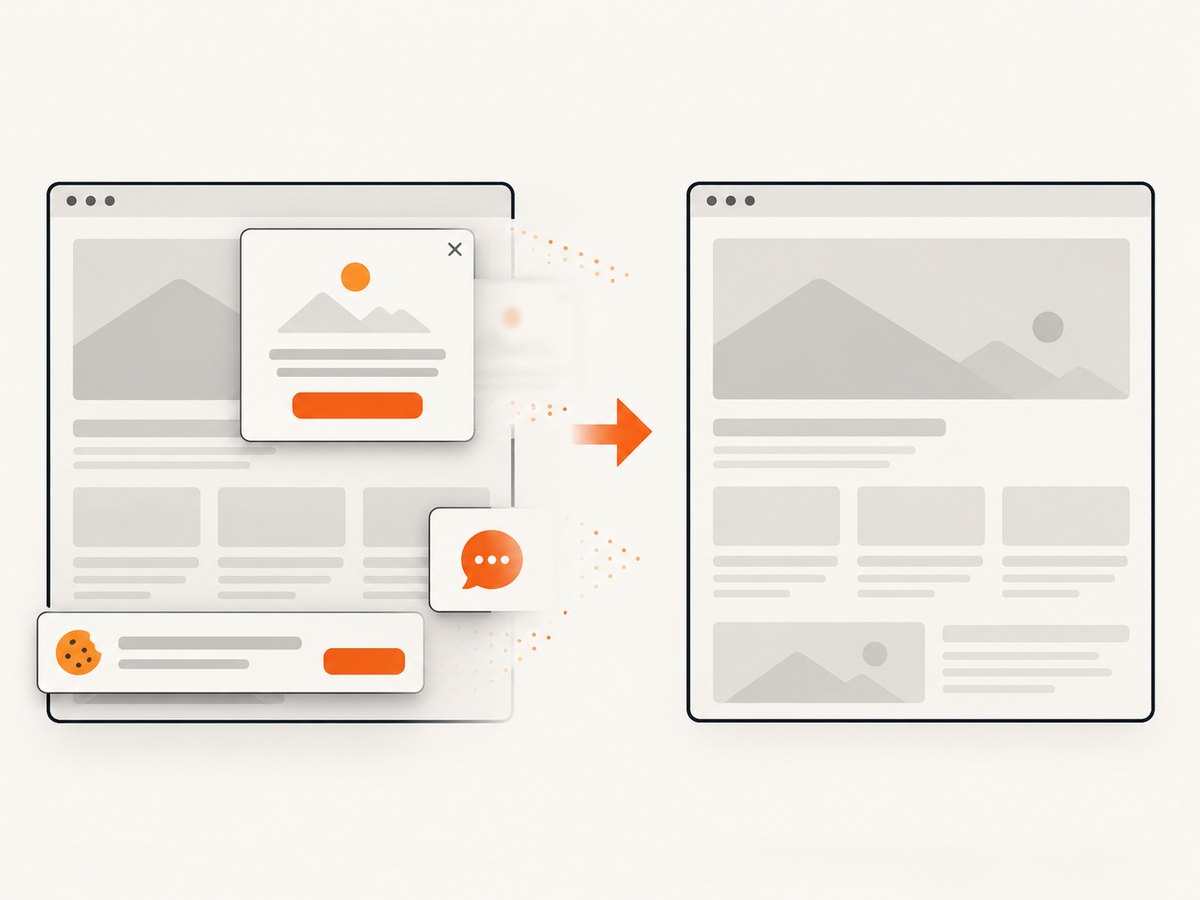
ScreenshotNeo accepts and returns headers that identify the page verdict and billing result. Clean shots are billed; bot checks or CAPTCHAs, blank pages, timeouts, failed loads, and cache hits cost nothing. Cookie and consent banners, newsletter popups, and chat widgets can be removed before capture, with each step configurable.
An MCP server supplies take_screenshot, get_page_info, and capture_pdf tools to Claude, Cursor, and other MCP clients. Free accounts include 1,000 shots per month with no card. Paid plans start at $5 for 3,000 shots, and every feature is available on every plan. Create a free ScreenshotNeo account.
9. Performance, reliability, and cost considerations
- Keep assets light: Large source images make editors and exported files slower. Resize images before uploading when the design does not need the original dimensions.
- Use stable capture conditions: Set a fixed viewport, device scale, color mode, and wait rule for repeatable screenshots.
- Wait for dynamic content: A selector wait, delay, or network-idle rule helps when images, fonts, or charts render after the initial page load.
- Cache intentionally: ScreenshotNeo lets you choose a cache TTL. A longer TTL reduces repeated work for unchanged pages; a short TTL is better for frequently updated previews.
- Control spend: Capture only the region or element needed for a review. Use bulk capture for batches and inspect the usage API when integrating into a build or documentation pipeline.
- Handle failures: Retry transient network errors with backoff, but inspect the page verdict before treating a response as a valid design image.
10. Troubleshooting screenshot captures
| Symptom | Likely cause | Fix |
|---|---|---|
| Blank screenshot | The page did not finish rendering or requires interaction | Wait for a selector, add a short delay, or use custom JavaScript/click actions. |
| Consent banner appears | The banner loaded after the first paint | Enable the consent and popup cleanup options, then wait for the page to settle. |
| CAPTCHA or bot check | The target blocks automated browsing | Do not treat the image as a successful capture; inspect the page verdict and resolve access with the site owner. |
| Private preview returns 401 or 403 | Authentication was not supplied | Provide the required custom headers, cookies, user agent, or Authorization value. |
| Only part of the page appears | The target uses lazy-loaded content | Use full-page capture and an appropriate wait condition so lazy images load. |
| API response is not an image | The request failed or returned an error payload | Check the HTTP status and X-Page-Verdict and X-Billed headers before writing the body to a file. |
11. FAQ
Can I add text, an image, and a shape in one design?
Yes. Insert each as a separate object, then arrange their order, spacing, and alignment. Separate objects make later edits easier.
Should I upload an image or use the editor’s library?
Use the library when you need a searchable built-in asset. Upload your own file when you already have the image or need control over its source and licensing.
Why are exact instructions different on mobile?
Editors reorganize panels and menus for smaller screens. Follow the help page for the specific product and device rather than assuming the desktop path applies.
What should I capture for a design review?
Capture the final canvas without selection handles or editor chrome, at a known viewport and zoom. Include a focused element capture when reviewers need to inspect a specific component.
Can an AI agent capture the result?
Yes. ScreenshotNeo’s MCP server exposes screenshot, page information, and PDF capture tools to MCP clients such as Claude and Cursor.


