Adding Items to an E-Commerce Shopping Cart
Learn how to add products and variants to Shopify or WooCommerce carts, handle cart tokens and errors, and hand customers off to checkout.

To add an item to an e-commerce cart, send a stateful request with the product or variant identifier, quantity, and any selected options. Keep the cart identity or token with the session, then use the updated cart returned by the server as the source of truth. Shopify themes commonly use the Ajax Cart API; headless Shopify storefronts use the Storefront API; WooCommerce storefronts can use its Store API.
A complete flow also needs to retrieve the cart, change quantities, remove lines, apply supported discounts or customer details, and hand the customer to checkout. This guide gives runnable examples for each platform, explains the security and variant details, and covers common failures.
1. Choose the cart API that matches your storefront
Shopify and WooCommerce both support adding items, but their APIs and cart identities differ. A Shopify cart represents intended merchandise and estimated cost; its Storefront API exposes lines, cost, buyer identity, discounts, delivery data, total quantity, timestamps, and a checkout URL. WooCommerce’s Store API is a REST-style interface with cart endpoints and nonce or cart-token handling.

| Decision | Shopify theme | Headless Shopify | WooCommerce |
|---|---|---|---|
| Typical API | Ajax Cart API | Storefront GraphQL API | Store API endpoints |
| Item identity | Variant ID | Merchandise ID, usually a variant | Product or variation ID |
| Options | Chosen variant is represented by its ID | Chosen variant merchandise ID; line attributes can carry custom data | Variation ID plus required variation attributes |
| Session/security | Locale-aware storefront request and Shopify session | Keep full cart ID, including secret, private | Send valid nonce or cart token |
| Checkout handoff | Theme cart/checkout routes | Cart’s checkoutUrl | Storefront checkout flow |
Use Ajax for a Shopify theme that already relies on Shopify’s storefront session and locale routing. Use the Storefront API when your frontend is separate and you need GraphQL cart operations. Use WooCommerce’s Store API for a WordPress/WooCommerce storefront integration. Check the current API version and authentication setup in the platform documentation before shipping: endpoint behavior and limits can change.
2. Model the add-to-cart request
Keep the request small and explicit. A client typically sends:
- Product or variant identifier: identify the purchasable item, not merely a product page slug.
- Quantity: validate it as a positive integer in the UI, then rely on server validation for inventory and purchase rules.
- Selected options: color, size, or other variation data must resolve to a valid variant or the exact attribute representation expected by the API.
- Cart/session credentials: include the current cart identity, nonce, or token as required.
On success, update the visible cart from the returned cart or added line data. Don’t assume the requested quantity was accepted unchanged: stock limits, selling rules, and existing matching lines may affect the result. On failure, keep the customer’s selection and show an actionable message; don’t report a successful add based only on the click event.
3. Shopify theme: add a variant with Ajax
Shopify documents POST /{locale}/cart/add.js for adding one or more variants. Supply the variant’s numeric ID and quantity. Prefer the locale-aware route so the request matches the active storefront language or market path.
async function addShopifyVariant(variantId, quantity = 1) {
  const response = await fetch(`${window.Shopify.routes.root}cart/add.js`, {
    method: 'POST',
    headers: {
      'Content-Type': 'application/json',
      'Accept': 'application/json'
    },
    body: JSON.stringify({ id: variantId, quantity })
  });

  const result = await response.json();
  if (!response.ok) {
    throw new Error(result.description || result.message || 'Could not add item');
  }
  return result;
}

addShopifyVariant(12345678901234, 2)
  .then((line) => console.log('Added line:', line))
  .catch((error) => console.error(error.message));
For multiple variants, use the documented items array with each item’s id and quantity. The response contains JSON for the added line items. Refresh or update the cart drawer from a cart retrieval request if the interface needs authoritative totals, discounts, or all existing lines; the add response alone is not necessarily the complete cart.
4. Headless Shopify: create a cart and add a line
In a headless storefront, use the Storefront API’s GraphQL mutations. Create a cart with a merchandise ID and quantity, preserve the returned cart ID in your server-side session or other appropriately protected storage, and request the cart again when needed. The cart ID includes a token and secret key. Treat the secret as a password: never place it in shareable links or expose it in client-side code.
const endpoint = 'https://SHOP.myshopify.com/api/2025-01/graphql.json';
const storefrontToken = process.env.SHOPIFY_STOREFRONT_TOKEN;

async function storefront(query, variables) {
  const response = await fetch(endpoint, {
    method: 'POST',
    headers: {
      'Content-Type': 'application/json',
      'X-Shopify-Storefront-Access-Token': storefrontToken
    },
    body: JSON.stringify({ query, variables })
  });
  const payload = await response.json();
  if (!response.ok || payload.errors) {
    throw new Error(JSON.stringify(payload.errors || payload));
  }
  return payload.data;
}

const data = await storefront(`
  mutation CreateCart($input: CartInput!) {
    cartCreate(input: $input) {
      cart { id totalQuantity checkoutUrl }
      userErrors { field message }
    }
  }
`, {
  input: { lines: [{ merchandiseId: 'gid://shopify/ProductVariant/12345678901234', quantity: 2 }] }
});

const { cart, userErrors } = data.cartCreate;
if (userErrors.length) throw new Error(userErrors.map(e => e.message).join('; '));
// Store cart.id securely on the server/session. Use cart.checkoutUrl for checkout.
Replace the example API version with one supported by the store and set the shop domain and Storefront access token from server configuration. Do not commit credentials. The mutation accepts merchandise IDs: selecting a variant is therefore a frontend responsibility, and the chosen variant ID must correspond to the options the customer selected.
For an existing cart, use the Storefront API’s cart-line add operation rather than creating a new cart. It accepts up to 250 lines in one request and supports quantity, selling plans, custom attributes, and parent relationships for nested items such as warranties or add-ons. Follow the current schema for exact input types and fields.
5. WooCommerce: add a product or variation
WooCommerce documents POST /cart/add-item on the Store API. A request needs the product or variation id, quantity, and a variation array when options are selected. A valid nonce or cart token is required. The successful response is the full cart, which is useful for updating totals and line items in one step.
const response = await fetch('/wp-json/wc/store/v1/cart/add-item', {
  method: 'POST',
  credentials: 'same-origin',
  headers: {
    'Content-Type': 'application/json',
    'Nonce': window.storeApiNonce
  },
  body: JSON.stringify({
    id: 789,
    quantity: 2,
    variation: [
      { attribute: 'pa_color', value: 'blue' },
      { attribute: 'Size', value: 'Large' }
    ]
  })
});

const cart = await response.json();
if (!response.ok) {
  throw new Error(cart.message || 'Could not add item');
}
console.log('Cart total quantity:', cart.items_count);
Obtain and send the nonce using the integration’s supported WordPress/WooCommerce mechanism; don’t assume the illustrative window.storeApiNonce is supplied automatically. For a headless or cross-origin client, use the documented cart-token flow and preserve the returned token for subsequent cart requests. Do not treat the token as public data or substitute a guessed token.
Variation naming has a platform-specific rule: global attributes use the pa_ slug prefix, while product-specific attribute names are case-sensitive. Use the exact attribute name and option value expected for that product. A variation ID alone may not be enough where the Store API expects the variation array for the selection.
6. Complete the cart lifecycle
Adding is one operation in a session. Keep a small client-side state model and refresh it from the API after each mutation:
- Retrieve: load the active cart when the storefront initializes or the cart drawer opens.
- Add: submit the resolved variant/product identifier, quantity, options, and cart credentials.
- Update: change quantity using the platform’s cart update operation. Re-render totals only from the returned cart.
- Remove: call the remove operation and replace local state with the response.
- Apply supported cart context: use the platform’s coupon, customer, buyer identity, or delivery operations when needed. Validate discounts and customer context server-side.
- Checkout: direct the user to the platform-provided checkout handoff. In headless Shopify, use the cart’s
checkoutUrl; don’t construct it from an exposed cart secret.
WooCommerce Store API documents update-item, remove-item, coupon, and customer operations, as well as a batch endpoint at POST /wc/store/v1/batch for multiple cart subrequests. Batch related changes when it reduces round trips, while preserving the order required by your flow. Shopify’s cart object exposes checkout and buyer/cart context; use its mutations and returned URL for handoff.
7. Validate variants and quantity at the boundary
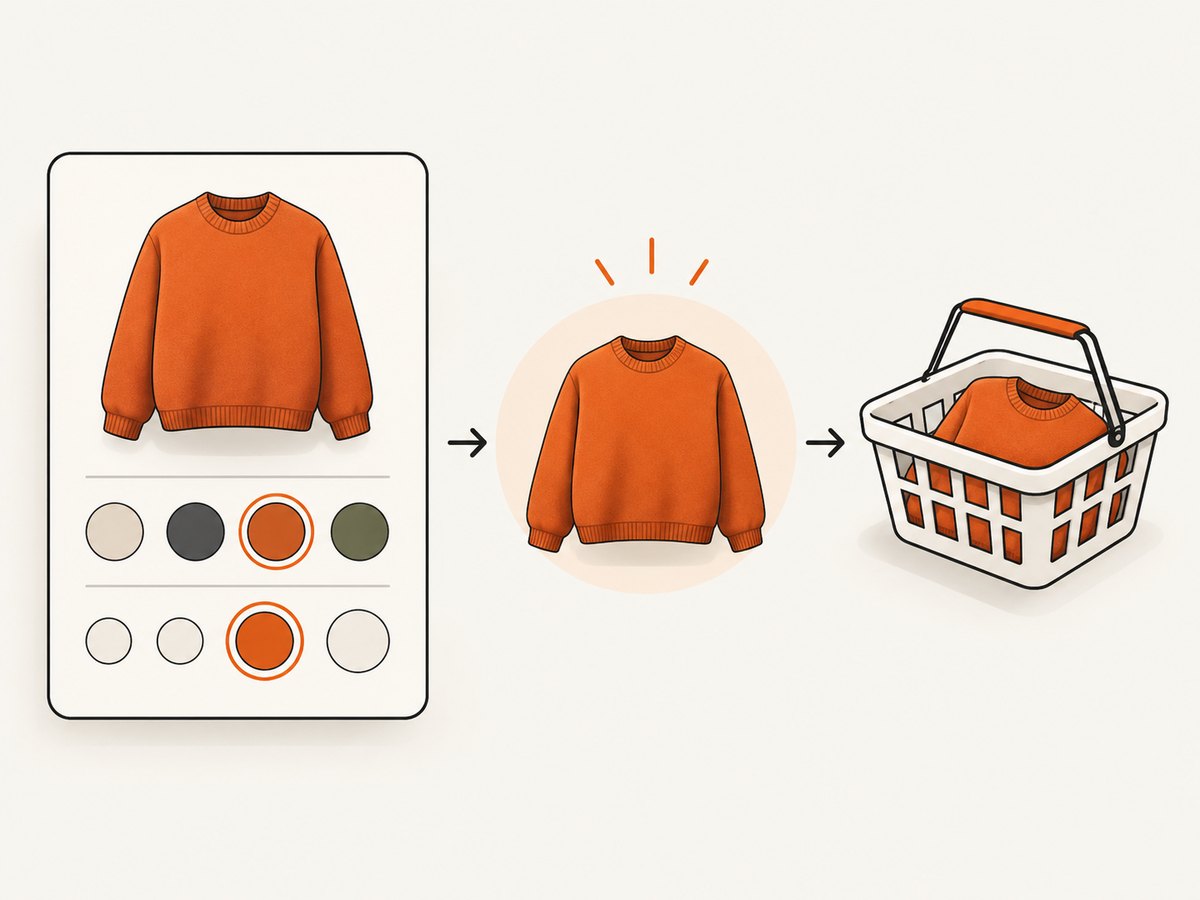
Variant mistakes are a common source of confusing failures. The product page should map the selected options to a purchasable variant before making the request. If a combination is unavailable, disable the add action or explain which selection is missing. Never infer a variant from a display label when the platform provides a canonical ID.
- Require a positive whole-number quantity in the interface and handle server rejection.
- For WooCommerce, preserve exact attribute spelling, casing, global slugs, and values.
- For Shopify, send the variant’s merchandise ID, not a product ID where a variant is required.
- Keep custom line attributes separate from variant selection; attributes do not magically select a Shopify variant.
- For bundles, selling plans, warranties, or add-ons, follow the platform’s supported line relationships and validate that the parent-child structure is allowed.
8. Error handling and troubleshooting
| Symptom | Likely cause | Fix |
|---|---|---|
| WooCommerce returns an authorization or nonce error | Missing, stale, or invalid nonce/cart token | Refresh or obtain the documented token, send it on the request, and keep the same cart session for later mutations. |
| Shopify says merchandise is invalid | Product ID sent where a variant merchandise ID is required, or ID is malformed | Resolve the selected purchasable variant and send its canonical ID. |
| Variation is rejected or wrong option is added | WooCommerce variation attributes mismatch in name, prefix, case, or value | Use the product’s exact attribute representation; prefix global attribute slugs with pa_. |
| Cart drawer shows stale total | UI updated optimistically without applying the returned cart | Replace cart state with the successful mutation response or retrieve the cart after the operation. |
| Request works in one market but not another | Shopify Ajax URL omits the active locale prefix | Use the locale-aware root route for Ajax requests. |
| Headless checkout link leaks sensitive data | Full Shopify cart ID was placed in a public URL or client bundle | Keep the ID, including its secret, private; expose only the intended checkout handoff. |
| Duplicate line or duplicate add after retry | Client retried after a timeout without checking cart state | Retrieve the cart before retrying an ambiguous mutation and make the UI show pending state while the request is in flight. |
| Cross-origin request fails | Cookie/session, nonce, CORS, or credential configuration is incomplete | Use the platform’s intended storefront origin and session/token flow; verify the browser request headers and response policy. |
Handle both HTTP failures and platform-level user errors in successful HTTP responses. Return a short message suitable for the shopper and log diagnostic details server-side without logging secrets. Preserve the selected item so the customer can correct a quantity or option without rebuilding the form.
9. Performance, reliability, and cost
Cart mutations are interactive, so avoid adding a chain of unnecessary requests. Fetch product variants before the user submits, keep a single cart state, and use the full cart response when the API provides it. Batch WooCommerce subrequests when several dependent or related cart changes must be made, and avoid sequential calls that each wait on the previous response unless correctness requires it.
Use a visible pending state to prevent accidental double submissions. Network timeouts create uncertainty: a request may have completed on the server even when the browser did not receive the response. Retrieve the cart before retrying an ambiguous add to avoid duplicate quantities. Treat the server cart as authoritative for inventory, discounts, taxes, delivery estimates, and checkout eligibility.
API usage costs depend on the commerce platform, hosting, and plan; the cited cart documentation does not provide a universal per-add price. Check the current vendor and hosting terms for your setup. A simpler theme integration may reduce custom infrastructure, while a headless storefront gives more control but adds responsibility for cart persistence, credentials, error states, and checkout routing.
10. See what the customer sees with a screenshot
After wiring up add-to-cart behavior, inspect the product page, cart drawer, error state, and checkout handoff at the viewport sizes you support. ScreenshotNeo is a website screenshot API and MCP server. One GET request captures a URL as PNG, JPEG, WebP, or PDF. It can also capture selected elements, emulate device viewports and dark mode, wait for a selector or network idle, and apply custom CSS or JavaScript. See the ScreenshotNeo overview and its API documentation.
Or skip the browser setup
Capture a storefront page with one request. Replace the URL with a product or cart page that can be accessed by the capture service, and use your own API key.
curl -G "https://api.screenshotneo.com/v1/shot" -d access_key=YOUR_API_KEY --data-urlencode url=https://stripe.com -o shot.webpimport requests
r = requests.get("https://api.screenshotneo.com/v1/shot", params={"access_key": "YOUR_API_KEY", "url": "https://stripe.com"}, timeout=90)
open("shot.webp", "wb").write(r.content)const q = new URLSearchParams({ access_key: 'YOUR_API_KEY', url: 'https://stripe.com' });
const res = await fetch(`https://api.screenshotneo.com/v1/shot?${q}`);Cookie banners, popups, and chat widgets are removed before the shot. Bot checks, blank pages, and failed loads are never billed; response headers say whether the capture was clean and billed. The MCP server gives AI agents tools to take screenshots, inspect page information, and capture PDFs. The free plan includes 1,000 screenshots a month with no card; paid plans start at $5 for 3,000.
Sign up for free and get 1,000 screenshots a month with no card.
Frequently asked questions
Should add-to-cart require a page reload?
No. The APIs support request-based cart updates; update the cart interface from the response and reserve navigation for checkout or a deliberate cart-page transition.
Can I add a product before the shopper chooses a size?
Only if the product has a valid default purchasable variant and that default is clear to the shopper. Otherwise require a complete selection first.
Can I expose the Shopify Storefront token?
Use the access pattern documented for your storefront, and never expose a cart ID’s secret key. Keep credentials in the appropriate protected environment.
Can I add several Shopify items at once?
Yes. Ajax accepts multiple items, and Storefront cart line addition supports up to 250 lines per request; check the current versioned schema for the exact fields.


