How to Capture Android Screenshots With Status Bar Contents
Capture Android screenshots with the time, signal, battery and notifications visible using the device, Android Studio, ADB or an emulator.
Use Android’s normal device screenshot action when you need the visible status bar. Press Power + Volume Down at the same time, or hold Power and choose Screenshot. For repeatable captures, use Android Studio’s Screen Capture tool or ADB. Avoid Android 14 app-only MediaProjection sharing: that mode removes the status bar and other system UI.
The exact result depends on Android version, phone manufacturer, navigation mode and the capture path. Open the saved image and verify that the time, signal, Wi-Fi, battery and notification icons are present before publishing it.
1. Capture the visible display on a physical phone
This is the least technical method and usually captures the complete display, including the status-bar area exposed by the device.
- Open the screen you want to document.
- Press Power and Volume Down simultaneously.
- If that shortcut is unavailable, hold the Power button and tap Screenshot.
- Open the screenshot preview or Gallery and inspect the top edge of the image.
On Android 12 and later, scrolling capture is available on most screens that support scrolling. Scrolling capture can produce a longer image, but it still follows the device’s own screenshot behavior and may not include content that cannot be scrolled.
Keep status-bar values stable for documentation
A normal phone screenshot shows live values. Time, signal strength, battery percentage and notification icons can change between captures. If you need stable images for a guide or test report, use Android Studio Demo mode as described below. Do not assume a live screenshot is reproducible just because the app content is unchanged.
2. Capture with Android Studio
Android Studio can capture a connected physical device or an emulator. Android Studio’s documentation states that you must run the app on a connected device or emulator to use Screen Capture.
- For a physical phone, enable Developer options and USB debugging.
- Connect the phone, accept the debugging authorization prompt, and confirm that it appears in Android Studio.
- Start the app on the device or emulator.
- Open Android Studio’s device or running-device window and choose Screen Capture.
- Save the resulting image and inspect the status bar.
On Android 7.0 and higher, Developer options includes Demo mode. It can temporarily remove notifications and set signal and battery indicators to full. Demo mode changes the displayed indicators; it does not reproduce live network or battery conditions. Use it when screenshots need consistent status-bar values.
See the Android Studio device documentation for the connected-device workflow.
3. Capture from the command line with ADB
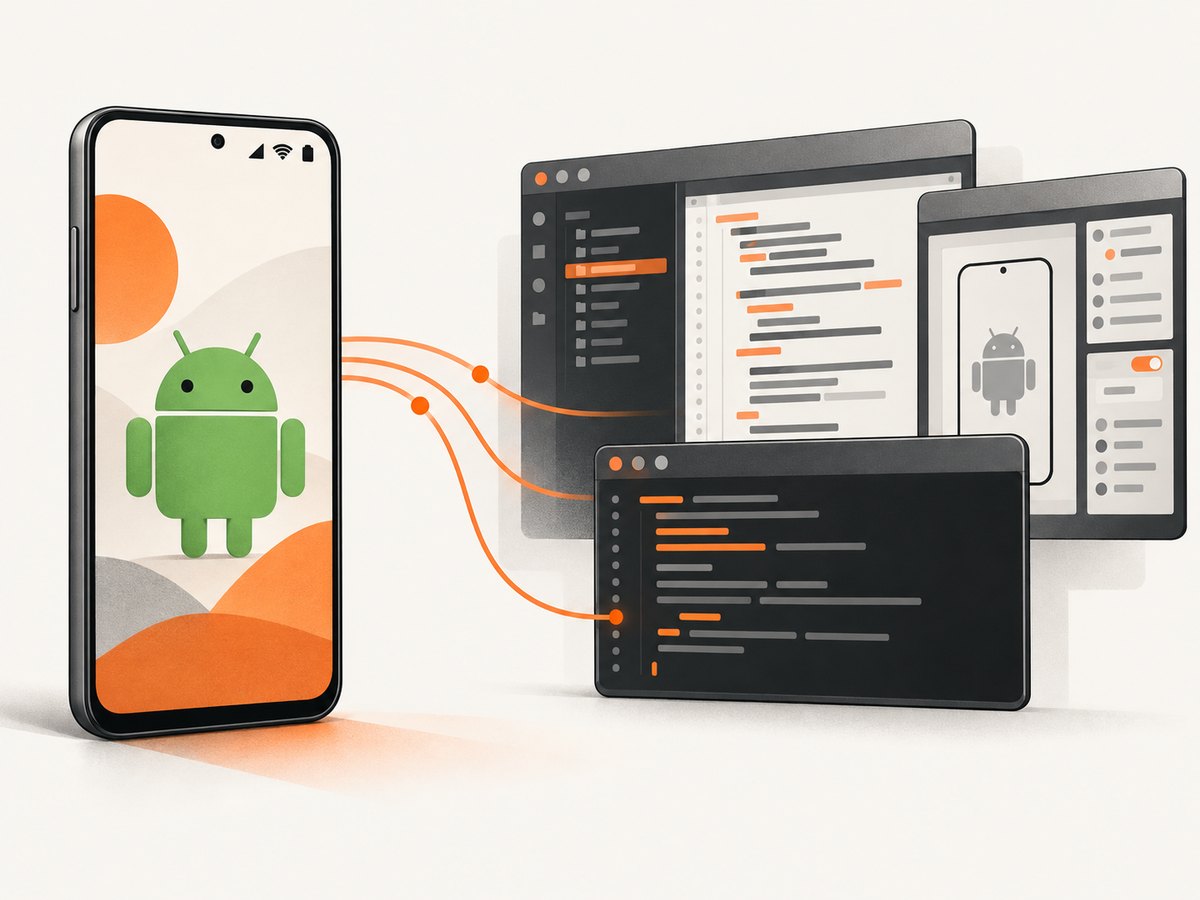
ADB is useful for scripts, test runs and CI because it can save a screenshot on the device or stream PNG data directly to your workstation. The ADB reference describes screencap as the shell utility for taking a screenshot of the device display.
Save on the device, then pull the file
adb devices
adb shell screencap /sdcard/screen.png
adb pull /sdcard/screen.png ./screen.png
Run adb devices first. The device should be listed as device, not unauthorized or offline.
Stream directly to your computer
adb exec-out screencap -p > screen.pngThe -p option asks screencap for PNG output. adb exec-out writes the bytes without creating a temporary file on the phone, which is convenient in shell scripts.
Repeatable shell capture
#!/usr/bin/env bash
set -euo pipefail

output="${1:-screen.png}"
adb wait-for-device
adb exec-out screencap -p > "$output"
file "$output"
A USB-C data cable is optional when using a wired physical-device connection. Wireless debugging and emulators can remove the need for a cable, provided ADB connectivity is configured.
Reference: Android Debug Bridge documentation.
4. Capture an Android Emulator screenshot
For an emulator, click the window’s Take Screenshot control, review the result and save the PNG. The emulator’s API level, navigation mode and configured system bars determine what appears at the top and bottom of the image.
The emulator documentation also lists command-line forms such as:
screenrecord screenshot [destination-directory]
adb emu screenrecord screenshot [destination-directory]
Use an emulator configuration that matches the Android version and system-bar layout you intend to show. Verify the saved image rather than relying on the emulator preview alone.
5. Choose the right capture path
| Method | Whole display? | Status bar | Repeatable | Setup |
|---|---|---|---|---|
| Phone Power + Volume Down | Normally yes | Normally visible | Low | None |
| Android Studio Screen Capture | Device or emulator display | Visible; Demo mode can normalize indicators | Medium | Connected device or emulator; USB debugging for a phone |
ADB screencap |
Device display | Visible when the device display includes it | High | Working ADB connection |
| Emulator Take Screenshot | Emulator display | Depends on emulator configuration | Medium | Running emulator |
| Android 14 app-only MediaProjection | Selected app only | Excluded | Application-dependent | User-granted projection permission |
6. Avoid Android 14 app-only MediaProjection
Android’s MediaProjection documentation says: “App screen sharing excludes the status bar, navigation bar, notifications, and other system UI elements from the shared display—even when app screen sharing is used to capture an app in full screen.” Android 14 lets the user choose a single app or the entire display. Single-app sharing is therefore the wrong mode when the screenshot must show the status bar.
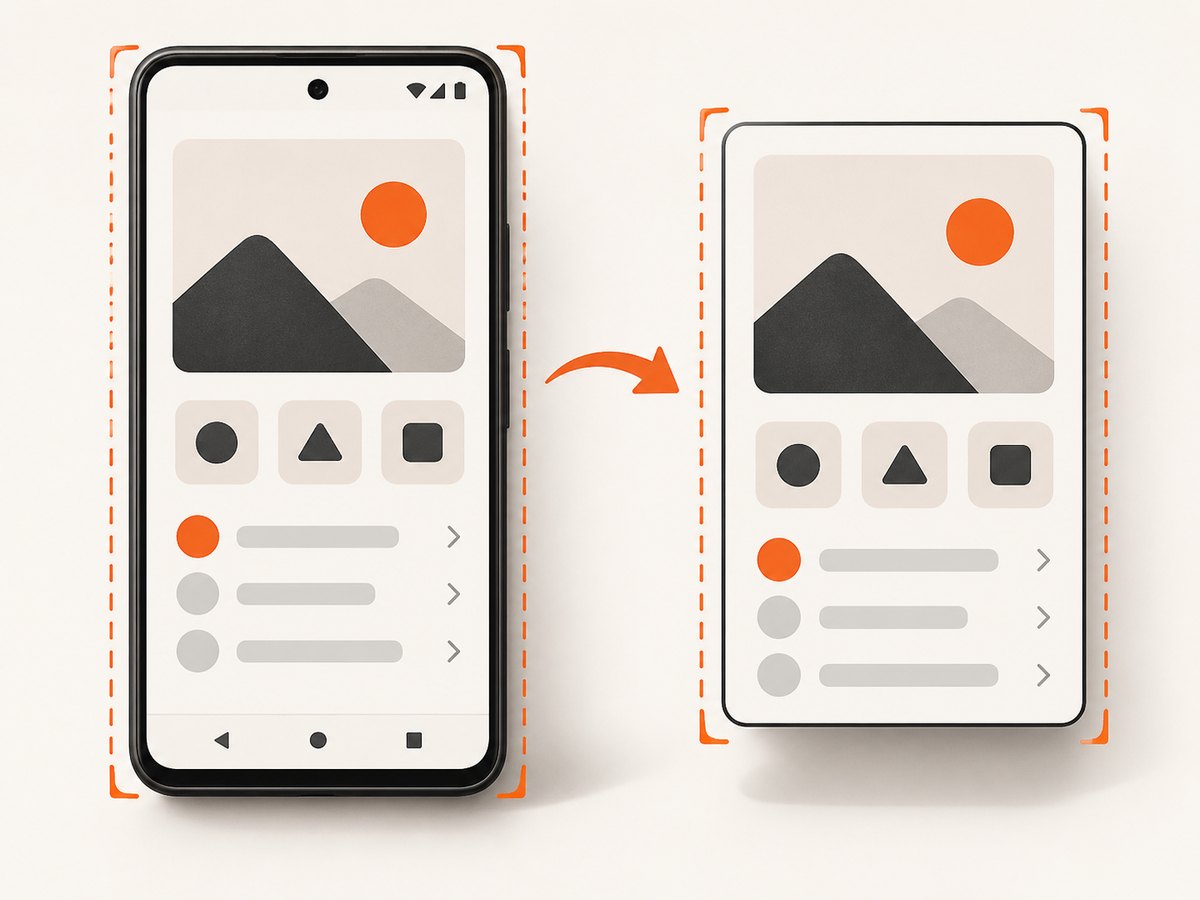
Choose full-device capture, or use the phone screenshot action, Android Studio capture or ADB. A full-screen app does not change the exclusion rule for app-only sharing.
Reference: Media projection documentation.
7. Or skip the browser setup
If what you actually need is a screenshot of a web page rather than the Android device chrome, ScreenshotNeo returns a PNG, JPEG, WebP or PDF from one GET request. It cannot manufacture a phone’s live status bar; use the Android methods above when those system indicators are required. For web captures, it removes cookie banners, newsletter popups and chat widgets before the shot. Bot checks, blank pages and failed loads are never billed, and each response identifies the result with X-Page-Verdict and X-Billed headers. Its MCP server lets Claude, Cursor and other MCP clients take screenshots.
See the ScreenshotNeo API documentation for all options.
cURL
curl -G "https://api.screenshotneo.com/v1/shot" -d access_key=YOUR_API_KEY --data-urlencode url=https://stripe.com -o shot.webpPython
import requests

r = requests.get(
    "https://api.screenshotneo.com/v1/shot",
    params={"access_key": "YOUR_API_KEY", "url": "https://stripe.com"},
    timeout=90,
)
r.raise_for_status()
open("shot.webp", "wb").write(r.content)
Node.js
const q = new URLSearchParams({ access_key: 'YOUR_API_KEY', url: 'https://stripe.com' });
const res = await fetch(`https://api.screenshotneo.com/v1/shot?${q}`);
if (!res.ok) throw new Error(`HTTP ${res.status}`);
const bytes = Buffer.from(await res.arrayBuffer());
require('fs').writeFileSync('shot.webp', bytes);
ScreenshotNeo has a free plan with 1,000 screenshots each month and no card required. Paid plans start at $5 for 3,000 shots. Create a free ScreenshotNeo account.
8. Troubleshooting
| Symptom | Cause | Fix |
|---|---|---|
| Status bar is missing | App-only MediaProjection sharing was used. | Select full-device capture or use the phone, Android Studio or ADB screenshot path. |
adb devices shows unauthorized |
The phone has not approved USB debugging. | Unlock the phone, accept the RSA prompt, then run adb devices again. |
ADB shows offline |
The connection or ADB server is stale. | Reconnect the device, verify USB debugging, and restart the ADB server with adb kill-server followed by adb start-server. |
| No device appears in Android Studio | USB debugging, drivers or the cable connection is not ready. | Enable USB debugging, use a data-capable cable, accept the authorization prompt and confirm the device with adb devices. |
| Indicators change between images | The screenshot reflects live time, battery, signal or notifications. | Use Demo mode for documentation, or capture at a controlled point in your workflow. |
| Screenshot is cropped or has unexpected bars | Manufacturer UI, gesture navigation, display cutout or emulator configuration differs. | Inspect the output dimensions and configure the target device or emulator to match the intended result. |
| Scrolling capture is unavailable | The screen or app does not expose supported scrolling content. | Capture the visible screen, or use an app-specific export or test strategy. |
| ADB PNG is empty or invalid | The command was run before the device was ready, or output was redirected through a text-processing path. | Use adb wait-for-device and adb exec-out screencap -p > screen.png exactly. |
9. Reliability, performance and cost notes
- Reliability: The built-in screenshot is the simplest path, while ADB is the most scriptable. For CI, wait for the device and save each image with a unique filename.
- Timing: Capture only after the target screen has rendered. In automated tests, wait for the app’s ready condition instead of relying on a fixed short delay.
- Consistency: Pin the Android API level, device model, orientation, navigation mode and emulator configuration when images are compared pixel by pixel.
- Status-bar correctness: Demo mode makes indicators predictable but changes their displayed values. Record that choice in test or documentation metadata.
- Storage: ADB streaming avoids a temporary on-device file; pulling from
/sdcardis useful when you need to inspect or preserve the device-side artifact. - Cost: Android’s phone, emulator, Android Studio and ADB capture paths do not add a screenshot-service charge. ScreenshotNeo usage is separate and only applies to web-page captures.
10. Checklist before publishing an Android screenshot
- Confirm the image is from the full-device path when the status bar is required.
- Check that time, signal, Wi-Fi, battery and notification indicators are visible.
- Record Android version, device or emulator model and navigation mode.
- Use Demo mode if stable indicators matter, and disclose that the values were normalized.
- Open the saved PNG and check its dimensions, orientation and crop.
- Remove sensitive notifications or account information before sharing.
Frequently asked questions
How do I capture the notification bar on Android?
Use the normal device screenshot action or ADB screencap while the notification area is visible. App-only MediaProjection does not include notifications.
Why does my screenshot show the app but not the status bar?
The capture was probably made with Android 14 app-only screen sharing. Use full-device capture, Android Studio, ADB or the hardware screenshot shortcut.
Can Android Studio make the time and battery identical in every image?
On Android 7.0 and later, Demo mode can temporarily set signal and battery indicators and remove notifications. It changes what is displayed rather than simulating live conditions.
Which method is best for CI?
Use ADB with adb wait-for-device and adb exec-out screencap -p. It is scriptable and avoids manual saving.
Will a USB cable always be required?
No. A wired USB-C data connection is optional; wireless debugging and emulators can provide the ADB connection instead.


