How to Animate Layers in Image and Video Templates
Learn when to trim layer timing, when to use keyframes, and how to animate position, opacity, scale, and rotation in popular template editors.
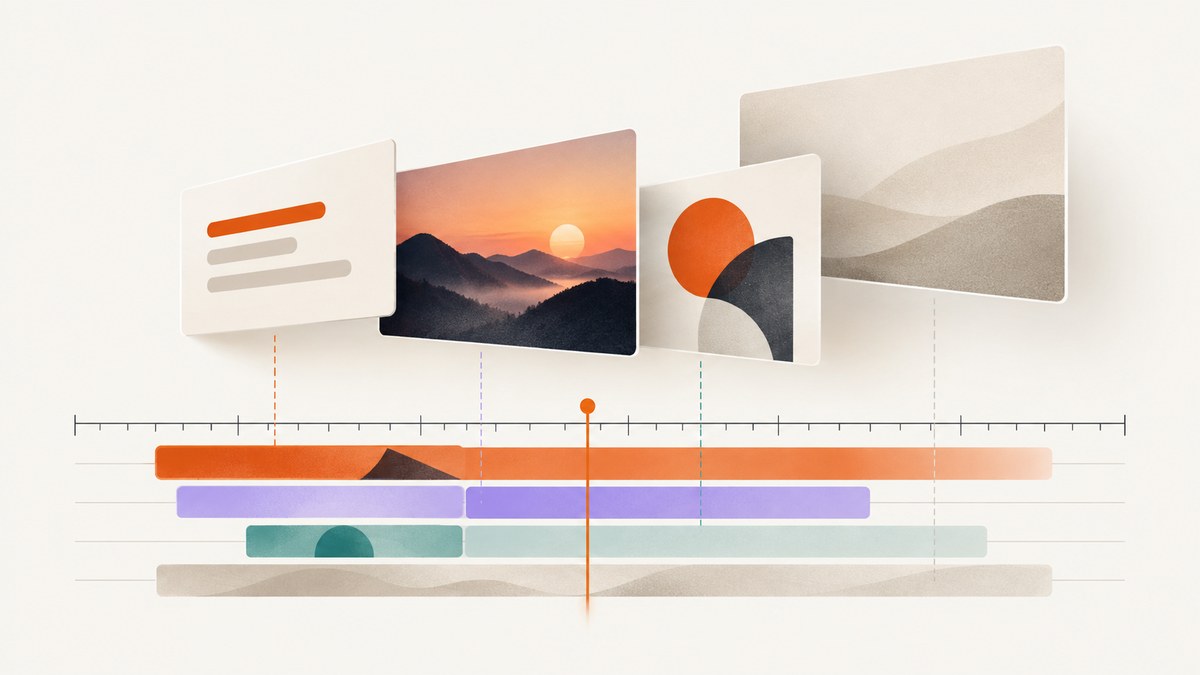
Short answer: first decide whether you need to change when a layer appears or change a layer property over time. Trim or move the layer track when you only need different visibility timing. Use keyframes when you need motion or other property changes such as position, opacity, scale, or rotation. A layer can have precise entrance and exit timing while its properties stay still, or it can animate properties during the portion of the timeline where it is visible.
This distinction applies to image and video templates in Adobe Express, After Effects, CapCut, and similar editors. The labels differ, but the workflow is consistent: select the asset, expose its timing or animatable properties, set an initial state, set a later state, preview, and refine.
1. Timing versus property animation
Layer timing controls the layer’s track in a scene. The track has a start and end, so trimming its handles changes how long the asset is visible. Dragging the track changes when it begins. Adobe Express documents this workflow for template assets such as text and backgrounds: select the layer in the scene timeline, trim its ends, or move it to another point in the scene. See Adobe’s Adobe Express video editing guide.
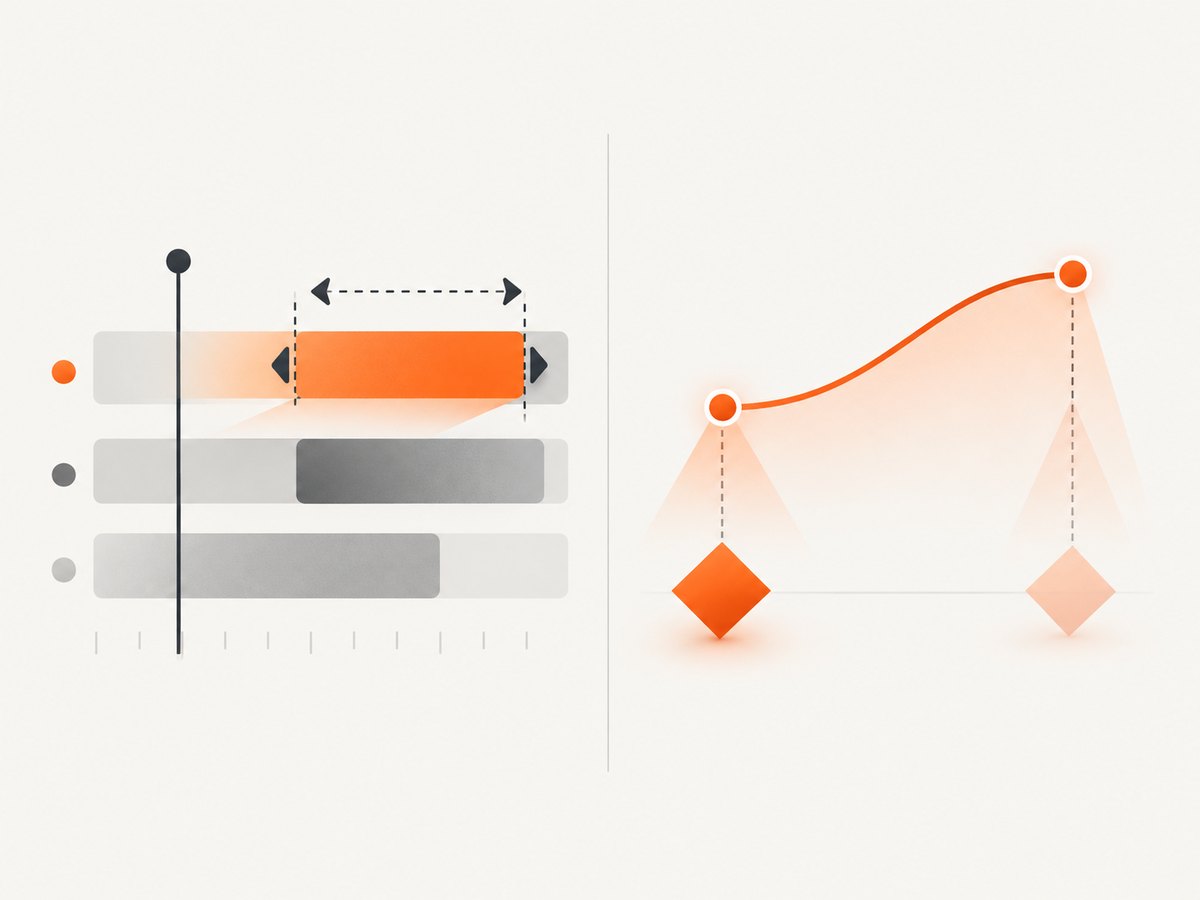
Property animation changes a value while the layer is visible. A keyframe records a property’s value at a specific time. Add another keyframe later with a different value and the editor calculates the transition between them. After Effects describes this interpolation for properties such as position and opacity in its animation basics documentation.
| Goal | Control to use | Example |
|---|---|---|
| Delay an element | Layer timing | Move a title track to start at 2 seconds |
| Shorten visibility | Layer timing | Trim a logo track from 5 seconds to 2 seconds |
| Move an element | Position keyframes | Animate a card from left to center |
| Fade an element | Opacity keyframes | Change opacity from 0% to 100% |
| Make an element grow | Scale keyframes | Scale a photo from 90% to 100% |
| Spin an element | Rotation keyframes | Rotate a badge 15 degrees |
Use both controls when needed. For example, trim a caption to appear only from 3–7 seconds, then keyframe its opacity from 0% to 100% during the first half-second of that track.
2. A repeatable workflow for any template editor
- Inspect the template. Identify the layer in the canvas or layer stack. Check whether it is editable, grouped, locked, or a special template asset.
- Choose timing or motion. If the requirement is “show later” or “hide sooner,” edit the layer track. If the requirement is “move,” “fade,” “grow,” or “rotate,” expose keyframes.
- Set the start state. Put the playhead where the animation begins. Set the initial position, opacity, scale, rotation, or another supported property. Add a keyframe if the editor does not create one automatically.
- Set the end state. Move the playhead to the end of the transition and change the property. This creates a second keyframe.
- Preview at normal speed. Watch the complete scene, not only the selected layer. A correct local animation can still collide with another element or leave the frame.
- Refine timing and values. Move keyframes closer for a faster change, farther apart for a slower change, and adjust the values to reduce overshoot or clipping. Use easing or graph controls only when your editor exposes them; interfaces and supported properties vary.
3. Adobe Express: animate a template layer’s timing
Adobe Express is useful when a template needs scene-level timing changes rather than detailed property animation. Its documented workflow is:
- Open the video template and select the text, image, background, or other asset.
- Find the selected asset’s track in the scene timeline.
- Drag the left handle to delay its entrance or the right handle to end it earlier.
- Drag the entire track to another point in the scene when the asset should start later or earlier.
- Play the scene and adjust the track until the entrance and exit match the surrounding edits.
This changes visibility timing. It does not automatically make the asset travel, rotate, scale, or fade. For those effects, use an editor that exposes keyframes for the selected asset or move the project to a timeline editor with property animation.
4. After Effects: animate properties with keyframes
After Effects provides property-level control. Adobe’s layer properties reference and animation basics explain the core model.

- Import the template or composition and select a layer in the timeline.
- Press the disclosure triangle beside the layer to reveal Transform or another property group.
- Move the playhead to the first frame of the motion.
- Click the stopwatch beside Position, Opacity, Scale, Rotation, or the property you need. This creates the first keyframe.
- Move the playhead to the later time.
- Change the property value. After Effects creates another keyframe and interpolates the values between them.
- Scrub and preview. Move keyframes, edit values, or adjust interpolation if the movement needs a different rhythm.
For a slide-in, set Position outside the frame at the start and inside the frame at the end. For a fade, set Opacity to 0% and then 100%. For a scale-up, use a smaller starting Scale and a larger ending Scale. Keep an eye on the layer’s anchor point: rotation and scale happen around that point, so an unexpected anchor location can make an otherwise correct animation appear to jump.
Reuse an animation with pre-compositions
When several layers should move as one unit, select them and pre-compose them. The resulting pre-composition becomes a reusable layer that you can animate as a group. Adobe’s tutorial, Animate groups of layers with Pre-compose, shows how edits inside a pre-composition update its instances and how to animate the pre-composition itself. This is useful for reusable title cards, lower thirds, and multi-part badges.
5. CapCut: keyframes and missing controls
CapCut’s keyframe workflow supports common properties such as position, scale, rotation, and opacity, as described in its keyframe animation guide.
- Select the clip or template element on the timeline.
- Open the editing panel that contains keyframe controls.
- Place the playhead at the starting time and set the initial property value.
- Add or confirm the first keyframe.
- Move the playhead, change the value, and confirm the second keyframe.
- Preview and adjust the keyframe spacing.
If the keyframe button is absent, selection and asset support are the first things to check. CapCut’s help article, Why Can’t I See Keyframes in CapCut on PC?, identifies unsupported template elements, grouped clips, special assets, and a hidden editing panel as possible causes. Ungroup or convert the asset when the project allows it, select the actual clip rather than the group, and make sure the relevant panel is open.
6. Common animation patterns
| Pattern | Start state | End state | Practical note |
|---|---|---|---|
| Fade in | Opacity 0% | Opacity 100% | Keep the transition short enough that the viewer sees the content quickly. |
| Slide in | Position outside frame | Position in layout | Check that the starting position does not reveal a sliver at the edge. |
| Scale reveal | Scale 90% | Scale 100% | Keep the anchor point centered to avoid drifting. |
| Parallax photo | Photo shifted left | Photo shifted right | Use an image larger than the frame so edges do not appear. |
| Attention pulse | Scale 100% | Scale 105%, then 100% | Use closely spaced keyframes and a small range. |
| Delayed caption | Track starts later | Optional opacity animation | Timing controls when it exists; opacity controls how it enters. |
7. Troubleshooting checklist
The layer appears at the wrong time
Inspect the layer track, not only its keyframes. Move the track or trim its handles. A perfect property animation still runs at the wrong moment if the track begins too early.
There is no keyframe control
Confirm that the layer is selected and unlocked, and that the editing panel is visible. In CapCut, grouped, special, or unsupported template assets may not expose keyframes. Replace, ungroup, or convert the asset when supported.
The animation jumps at the start
Look for an unintended first keyframe, different anchor points, or a layer that starts outside the visible track. Delete the extra keyframe and set a deliberate initial value.
The element leaves a gap or gets clipped
Check the composition bounds at every keyframe. For images, add enough overscan for movement. For text, test the longest localized version because wrapping can change the apparent position.
Several layers drift apart
Animate a pre-composed group when the elements must keep their relative positions. If they need independent timing, keep separate tracks but copy matching keyframe times.
Playback looks slow or stutters
Reduce preview resolution, render a preview range, or simplify heavy effects while editing. Judge the final export after rendering; timeline playback can be limited by the editor and source media.
The transition feels abrupt
Increase the distance between keyframes, reduce the property change, or apply an easing mode if available. Do not assume every editor offers the same graph controls.
8. Performance, reliability, and production checks
- Keep a clear layer structure. Name layers by role, such as
hero-photo,headline, andcta-group. This makes later timing changes safer. - Minimize unnecessary keyframes. Two deliberate keyframes are easier to review than many tiny adjustments. Add intermediate keyframes only when the path or timing needs them.
- Animate groups for repeated layouts. A pre-composition or grouped asset keeps related elements aligned and makes revisions reusable.
- Preview edge cases. Check the first and last frame, long text, transparent images, different aspect ratios, and scenes where another layer overlaps the animated one.
- Keep source assets large enough. Moving or scaling a raster image beyond its useful resolution produces softness. Build in extra image area for pans and slides.
- Save versions before structural edits. Pre-composing, ungrouping, or converting template elements can change editability. A versioned copy lets you return to the original.
- Render before delivery. Confirm that keyframes, fonts, masks, and effects survive export. A timeline preview is not the delivered file.
9. Or skip the browser setup
If your task is to capture the finished template or any web page as an image, ScreenshotNeo provides a single GET request instead of maintaining browser automation. It accepts consent banners before capture and removes more than 60 known consent platforms, newsletter popups, and chat widgets; each step can be turned off. Bot checks, blank pages, timeouts, failed loads, and cache hits are not billed, and the response identifies the result with X-Page-Verdict and X-Billed headers. It also offers an MCP server with take_screenshot, get_page_info, and capture_pdf tools for Claude, Cursor, and other MCP clients.
See the ScreenshotNeo documentation for authentication and the full option list. The basic calls below use the API base URL and save the returned image.
cURL
curl -G "https://api.screenshotneo.com/v1/shot" -d access_key=YOUR_API_KEY --data-urlencode url=https://stripe.com -o shot.webpPython
import requests

r = requests.get(
    "https://api.screenshotneo.com/v1/shot",
    params={"access_key": "YOUR_API_KEY", "url": "https://stripe.com"},
    timeout=90,
)
r.raise_for_status()
open("shot.webp", "wb").write(r.content)
Node.js
const q = new URLSearchParams({ access_key: 'YOUR_API_KEY', url: 'https://stripe.com' });
const res = await fetch(`https://api.screenshotneo.com/v1/shot?${q}`);
if (!res.ok) throw new Error(`Screenshot failed: ${res.status}`);
const fs = await import('node:fs/promises');
await fs.writeFile('shot.webp', Buffer.from(await res.arrayBuffer()));
For template previews, the service supports full-page capture with lazy images loaded, element capture by CSS selector, dark mode, 12 device presets or custom viewports, retina scale, custom CSS and JavaScript, clicks, waits, blocked ads or resource types, custom headers and cookies, timezone and geolocation, transparent backgrounds, resizing, caching with a chosen TTL, signed links, asynchronous jobs with signed webhooks, bulk capture of up to 100 URLs per call, usage reporting, and PDF output with paper size, margins, landscape mode, and page ranges. Parameter names used by other screenshot APIs also work, which can simplify migration.
Only clean shots are billed. The Free plan includes 1,000 shots per month with no card; paid plans start at $5 for 3,000 shots, and every feature is available on every plan. Create a free ScreenshotNeo account to start.
10. FAQ
Is moving a layer the same as animating it?
No. Moving a layer track changes when it is visible. Moving its Position property with keyframes changes where it appears over time.
How many keyframes do I need?
Most simple changes need a start and an end keyframe. Add more only when the path, pause, or timing requires an intermediate state.
Can every template element be animated?
No. Support depends on the editor and asset type. Locked, grouped, special, or unsupported elements may expose timing but not property keyframes.
Should I animate each layer separately?
Animate separately when layers need independent timing. Group or pre-compose them when their relative arrangement must stay fixed.
Why does the exported file differ from the preview?
Missing fonts, unsupported effects, media resolution, and export settings can change the result. Render a short test and inspect the first, middle, and final frames before delivery.


