How to Attach Cypress Screenshots to Azure Pipelines Test Results
Attach Cypress failure screenshots to Azure Pipelines test results with JUnit markers, YAML, artifact fallbacks, troubleshooting, and version guidance.

Direct answer: run Cypress in CI, keep the generated files in cypress/screenshots (or your configured screenshots folder), generate JUnit XML, and make each relevant testcase’s system-out contain an Azure attachment marker such as [[ATTACHMENT|/path/to/screenshot.png]]. Then publish the XML with PublishTestResults@2. The screenshot file must still exist on the build agent when the task runs. If your Azure DevOps Server version cannot process JUnit attachments, publish the screenshot directory as a pipeline artifact instead.
Cypress automatically captures a screenshot when a test fails during cypress run, unless failure capture is disabled. The default directory is cypress/screenshots. Cypress does not automatically add Azure DevOps attachment markers to every JUnit report, so your reporter configuration or an XML post-processing step must create those markers.
What the finished pipeline does
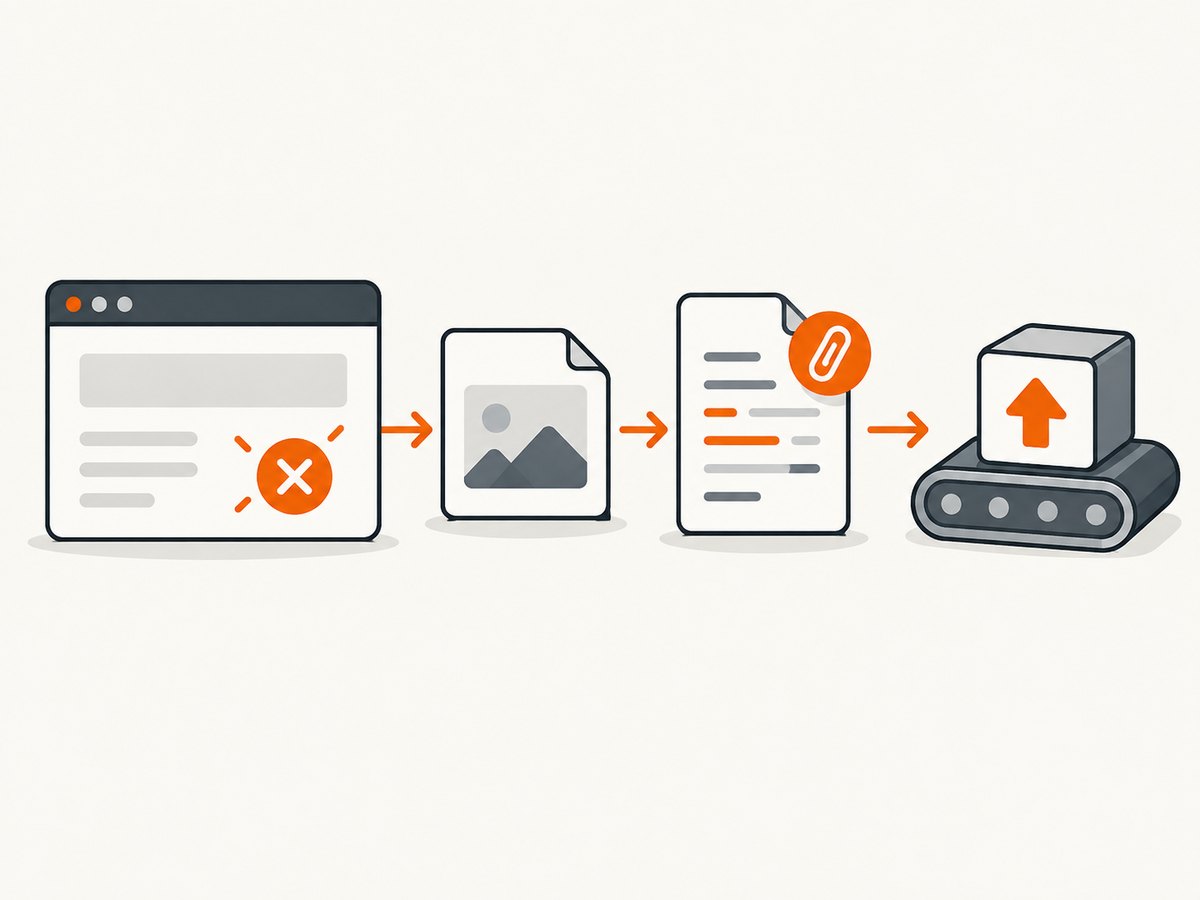
- Run Cypress in headless mode.
- Let Cypress write failure screenshots and JUnit XML.
- Associate each screenshot path with the matching testcase in the JUnit XML.
- Publish the XML through
PublishTestResults@2. - Open a failed test result and confirm its attachment, or download the run-level screenshot artifact.
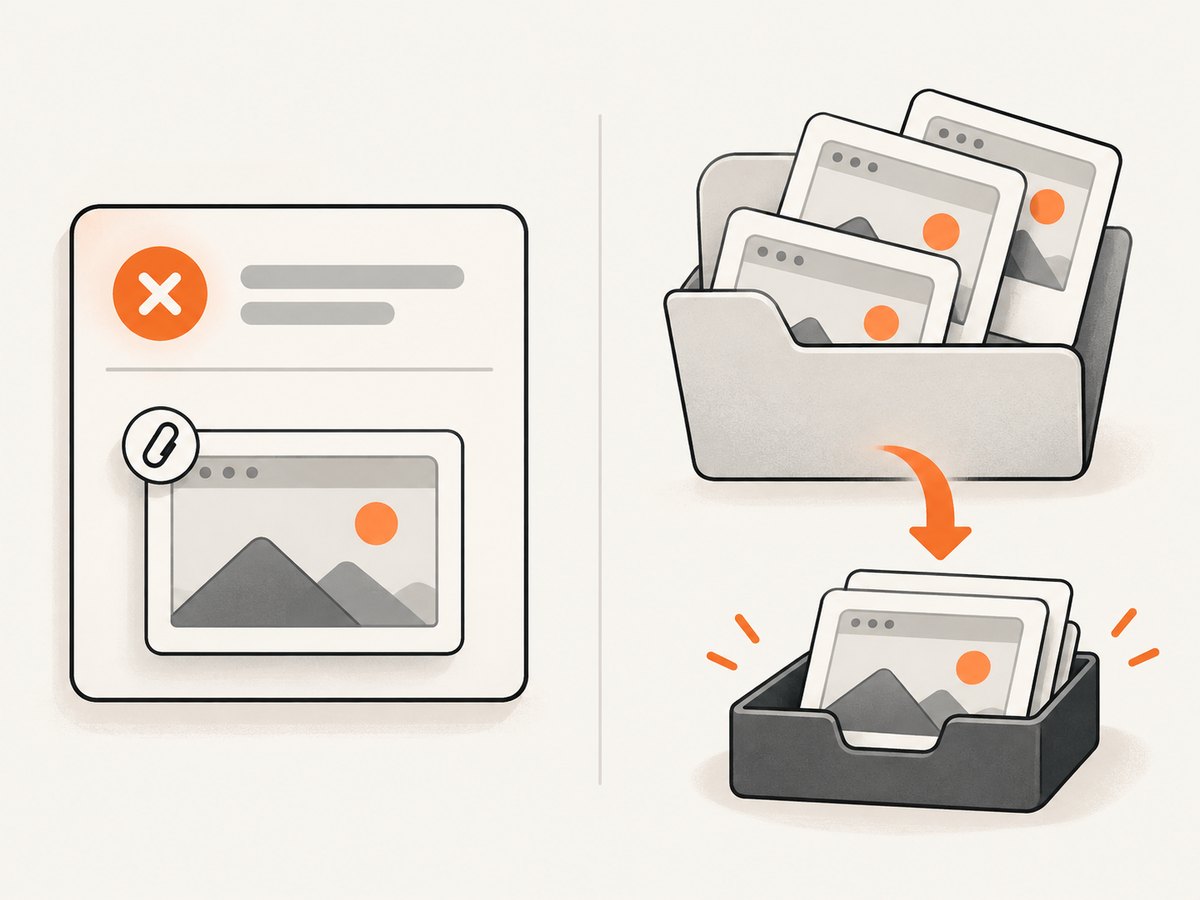
The key distinction is between a test-result attachment and a run-level artifact. A test-result attachment appears with one failed test when Azure can parse the JUnit marker. A build or pipeline artifact is a downloadable directory containing all screenshots. The second option requires less XML customization and is the fallback for unsupported server versions.
Prerequisites and directory layout
Use a repository layout that makes generated files predictable:
project/
  cypress/
    e2e/
    screenshots/
  scripts/
    attach-cypress-screenshots.js
  azure-pipelines.yml
  package.json
Cypress clears its screenshots folder before a run by default. Do not put inputs that you need later into that generated directory. If you intentionally need to preserve files between runs, review the trashAssetsBeforeRuns configuration for the Cypress version installed in your project.
Failure screenshots are produced by cypress run, not by an interactive cypress open session. For a deliberate capture, call cy.screenshot() in a test. You can configure the screenshot directory and failure behavior in cypress.config.js:
const { defineConfig } = require('cypress');

module.exports = defineConfig({
  e2e: {
    baseUrl: 'https://example.test',
    screenshotOnRunFailure: true,
  },
  screenshotsFolder: 'cypress/screenshots',
});
Generate Cypress JUnit results
Cypress can use a JUnit reporter. The documented command is:
npx cypress run \
  --reporter junit \
  --reporter-options "mochaFile=$(Common.TestResultsDirectory)/junit/test-results.xml,toConsole=true"
In a local shell, replace the Azure variable with a real directory, for example test-results/junit/test-results.xml. In Azure Pipelines, create the directory before the run so the reporter has a destination:
- script: |
    mkdir -p "$(Common.TestResultsDirectory)/junit"
    npx cypress run \
      --reporter junit \
      --reporter-options "mochaFile=$(Common.TestResultsDirectory)/junit/test-results.xml,toConsole=true"
  displayName: Run Cypress and write JUnit results
That produces test results, but the XML may not contain the Azure-specific attachment marker. Inspect it before designing the rest of the pipeline. A testcase with an attachment generally needs a structure like this:
<testcase classname="checkout" name="can pay">
  <failure message="expected checkout to succeed" />
  <system-out>[[ATTACHMENT|/agent/_work/1/s/cypress/screenshots/checkout--can-pay-failed.png]]</system-out>
</testcase>
The path is resolved by the publishing task on the agent. A path that exists only on a developer laptop, inside a container that has already exited, or in a directory deleted by a cleanup step cannot be attached.
Add attachment markers to the matching testcase
There are two ways to create markers:
- Reporter support: use a reporter or reporter option that emits
[[ATTACHMENT|filePath]]in the testcase’ssystem-out. Confirm the output for the exact reporter and Cypress versions you install. - XML post-processing: after Cypress exits, map screenshot filenames to testcase names and insert a
system-outelement. This gives you control but requires careful name matching and XML escaping.
Do not assume that a screenshot filename always maps perfectly to a JUnit testcase name. Cypress sanitizes titles and joins suite and test names with separators. First run one deliberately failing test, list the screenshot filename, and inspect the JUnit testcase attributes. Then implement the mapping for your naming convention.
Here is an illustrative Node.js post-processor. It is intentionally conservative: it adds a marker only when it finds a screenshot whose normalized filename contains the normalized testcase name. Adapt the matching rule to your suite names and XML library.
const fs = require('node:fs');
const path = require('node:path');
const { XMLParser, XMLBuilder } = require('fast-xml-parser');

const xmlPath = process.argv[2];
const screenshotDir = process.argv[3] || 'cypress/screenshots';

if (!xmlPath) {
  throw new Error('Usage: node scripts/attach-cypress-screenshots.js report.xml [screenshotsDir]');
}

const normalize = value => String(value || '')
  .toLowerCase()
  .replace(/[^a-z0-9]+/g, '-');

const screenshotFiles = fs.readdirSync(screenshotDir, { recursive: true })
  .filter(file => /\.(png|jpg|jpeg|webp)$/i.test(file))
  .map(file => path.resolve(screenshotDir, file));

const parser = new XMLParser({
  ignoreAttributes: false,
  preserveOrder: false,
});
const builder = new XMLBuilder({
  ignoreAttributes: false,
  format: true,
});
const document = parser.parse(fs.readFileSync(xmlPath, 'utf8'));

function visit(node) {
  if (!node || typeof node !== 'object') return;
  if (node.testcase) {
    const cases = Array.isArray(node.testcase) ? node.testcase : [node.testcase];
    for (const testcase of cases) {
      const identity = normalize(`${testcase['@_classname'] || ''}-${testcase['@_name'] || ''}`);
      const match = screenshotFiles.find(file => normalize(path.basename(file)).includes(identity));
      if (match) {
        const marker = `[[ATTACHMENT|${match}]]`;
        testcase['system-out'] = marker;
      }
    }
  }
  for (const value of Object.values(node)) {
    if (value && typeof value === 'object') visit(value);
  }
}

visit(document);
fs.writeFileSync(xmlPath, builder.build(document));
Install the XML parser used by that example with npm install --save-dev fast-xml-parser. Treat this as a starting point, not a universal Cypress-to-Azure adapter. Testcase naming differs between reporters, and a failed test can have more than one screenshot if your hooks call cy.screenshot().
Publish the results in Azure Pipelines
Use PublishTestResults@2; Microsoft marks version 1 as deprecated. The following YAML shows the order of operations:
pool:
  vmImage: ubuntu-latest

steps:
- task: NodeTool@0
  inputs:
    versionSpec: '20.x'
  displayName: Use Node.js

- script: npm ci
  displayName: Install dependencies

- script: |
    mkdir -p "$(Common.TestResultsDirectory)/junit"
    npx cypress run \
      --reporter junit \
      --reporter-options "mochaFile=$(Common.TestResultsDirectory)/junit/test-results.xml,toConsole=true"
  displayName: Run Cypress
  continueOnError: true

- script: |
    node scripts/attach-cypress-screenshots.js \
      "$(Common.TestResultsDirectory)/junit/test-results.xml" \
      "$(Build.SourcesDirectory)/cypress/screenshots"
  displayName: Add Azure attachment markers

- task: PublishTestResults@2
  inputs:
    testResultsFormat: JUnit
    testResultsFiles: '$(Common.TestResultsDirectory)/junit/*.xml'
    failTaskOnFailedTests: true
    publishRunAttachments: true
  condition: succeededOrFailed()
  displayName: Publish Cypress test results

- task: PublishPipelineArtifact@1
  inputs:
    targetPath: '$(Build.SourcesDirectory)/cypress/screenshots'
    artifact: cypress-screenshots
  condition: succeededOrFailed()
  displayName: Publish screenshot fallback artifact
The continueOnError and succeededOrFailed() settings keep the publishing steps running after a test failure. Without them, a failed Cypress command can prevent Azure from publishing the report at all. Adjust the policy if your pipeline must stop immediately, but retain a condition that lets diagnostic files upload.
For a simpler pipeline that does not modify XML, publish screenshots as an artifact:
- task: CopyFiles@2
  inputs:
    SourceFolder: '$(Build.SourcesDirectory)/cypress/screenshots'
    Contents: '**'
    TargetFolder: '$(Build.ArtifactStagingDirectory)/cypress-screenshots'
  condition: succeededOrFailed()

- task: PublishBuildArtifacts@1
  inputs:
    PathtoPublish: '$(Build.ArtifactStagingDirectory)/cypress-screenshots'
    ArtifactName: cypress-screenshots
  condition: succeededOrFailed()
Azure DevOps Server compatibility
Microsoft’s task reference states that JUnit attachment support is unavailable in Azure DevOps Server 2022.1 and lower. If you run one of those versions, the XML can publish successfully while the individual screenshot attachment is ignored. Use the artifact approach, or upgrade the server before depending on per-result attachments.
Azure DevOps Services and supported server deployments still require the marker and file path to be valid. publishRunAttachments: true controls run attachments; it does not create testcase markers for you.
Manual screenshots and capture choices
Use cy.screenshot() when the failure screenshot is not enough:
it('shows the payment error', () => {
  cy.visit('/checkout');
  cy.get('[data-testid="pay"]').click();
  cy.get('[data-testid="payment-error"]').should('be.visible');
  cy.screenshot('checkout/payment-error');
});
Cypress’s screenshot API supports viewport, full-page, and runner captures. Keep the output name stable if your XML post-processor relies on filename matching. A full-page capture can be much larger than a viewport capture, which affects artifact size and upload time.
Troubleshooting checklist
| Symptom | Likely cause | Fix |
|---|---|---|
| No screenshot exists | The command used cypress open, the test did not fail, or failure capture is disabled. |
Run cypress run, check screenshotOnRunFailure, and add cy.screenshot() for intentional captures. |
| Results publish but no image appears | The XML lacks [[ATTACHMENT|...]] in the testcase’s system-out. |
Inspect the XML and configure a compatible reporter or run a post-processing step. |
| Marker exists but attachment is blank | The path is relative, points to a deleted file, or uses a container-only path. | Write an absolute agent path and verify test -f path immediately before publishing. |
| Only some tests have images | Filename-to-testcase matching is incorrect, or only failures produce screenshots. | Compare the exact testcase attributes with screenshot filenames and improve the mapping rule. |
| Publish task never runs | The Cypress step failed the job before publishing. | Use condition: succeededOrFailed() on post-test steps. |
| Attachments are unsupported | Azure DevOps Server is 2022.1 or lower. | Publish cypress/screenshots as a build or pipeline artifact. |
| Old screenshots disappear | Cypress clears generated assets before a run. | Copy screenshots after each run, or review trashAssetsBeforeRuns when preserving a folder is intentional. |
| XML cannot be parsed | Post-processing produced invalid XML or unescaped content. | Use an XML library, validate the output, and avoid string replacement around testcase text. |
Performance, reliability, and cost considerations
- Keep captures focused: viewport screenshots upload faster than full-page images. Use full-page mode for pages where the additional context matters.
- Reduce duplicate work: do not call
cy.screenshot()repeatedly in every hook unless each image is needed. - Preserve diagnostics on failure: publish results and artifacts under
succeededOrFailed(), and avoid cleanup steps before those tasks. - Use deterministic paths: place XML under
$(Common.TestResultsDirectory)and screenshots under a known source or staging directory. - Control artifact growth: large full-page PNG sets can consume storage and extend upload time. Consider JPEG where visual fidelity permits, or retain artifacts according to your pipeline policy.
- Separate retry output: retries can create multiple files for one test. Include the attempt number in names or preserve each run in a separate directory.
Or skip the browser setup
If your goal is a clean image for a report, documentation page, or external monitoring workflow rather than a browser assertion, ScreenshotNeo provides a single HTTP screenshot request. Its capture options include full-page shots with lazy images loaded, CSS element selection, device presets, custom viewports, dark mode, custom CSS and JavaScript, waits, request blocking, headers, cookies, user agents, geolocation, PDF output, caching, signed links, asynchronous jobs, bulk capture, and a usage API. See the ScreenshotNeo documentation for parameter details.
curl -G "https://api.screenshotneo.com/v1/shot" -d access_key=YOUR_API_KEY --data-urlencode url=https://stripe.com -o shot.webpimport requests
r = requests.get("https://api.screenshotneo.com/v1/shot", params={"access_key": "YOUR_API_KEY", "url": "https://stripe.com"}, timeout=90)
open("shot.webp", "wb").write(r.content)const q = new URLSearchParams({ access_key: 'YOUR_API_KEY', url: 'https://stripe.com' });
const res = await fetch(`https://api.screenshotneo.com/v1/shot?${q}`);Cookie banners, newsletter popups, and chat widgets are removed before the shot. Bot checks, blank pages, failed loads, timeouts, and cache hits are not billed, and response headers report the page verdict and billing status. ScreenshotNeo also includes an MCP server so Claude, Cursor, and other MCP clients can take screenshots. The free plan includes 1,000 screenshots per month with no card; paid plans start at $5 for 3,000 shots.
Create a free ScreenshotNeo account and use the API when maintaining a browser capture stack is unnecessary.
FAQ
Does Cypress automatically attach screenshots to Azure test rows?
No. Cypress creates screenshots and can create JUnit XML, but Azure’s per-result display needs the JUnit attachment marker in the testcase output.
Can I attach screenshots without JUnit?
Use a pipeline or build artifact. That makes the files downloadable from the run but does not associate each image with a specific test row.
Should I use PublishTestResults@1?
No. Use PublishTestResults@2; version 1 is deprecated.
Where should the screenshot path point?
To a file that exists on the Azure agent at the moment PublishTestResults@2 processes the XML. Absolute paths are the least ambiguous.
What if a test passes but I still want a screenshot?
Call cy.screenshot('name') explicitly, then publish the resulting file as an artifact or add its path to the matching testcase output.
Final verification checklist
- Run Cypress with
cypress run. - Confirm screenshots exist after the command finishes.
- Confirm JUnit XML is present in the directory matched by
testResultsFiles. - Open the XML and search for
[[ATTACHMENT|. - Check every referenced file with an existence test on the agent.
- Run
PublishTestResults@2undersucceededOrFailed(). - Verify your Azure DevOps Server version supports JUnit attachments.
- Publish the screenshot directory as an artifact for a dependable fallback.
With those checks in place, a failed Cypress test can show its screenshot beside the result on supported Azure deployments, while the artifact path keeps the diagnostic files available when per-test attachment processing is unavailable.


