How to Auto-Generate Open Graph Images in Framer
Set a unique social preview image for every Framer CMS page, or render new artwork from page data with an external image service.

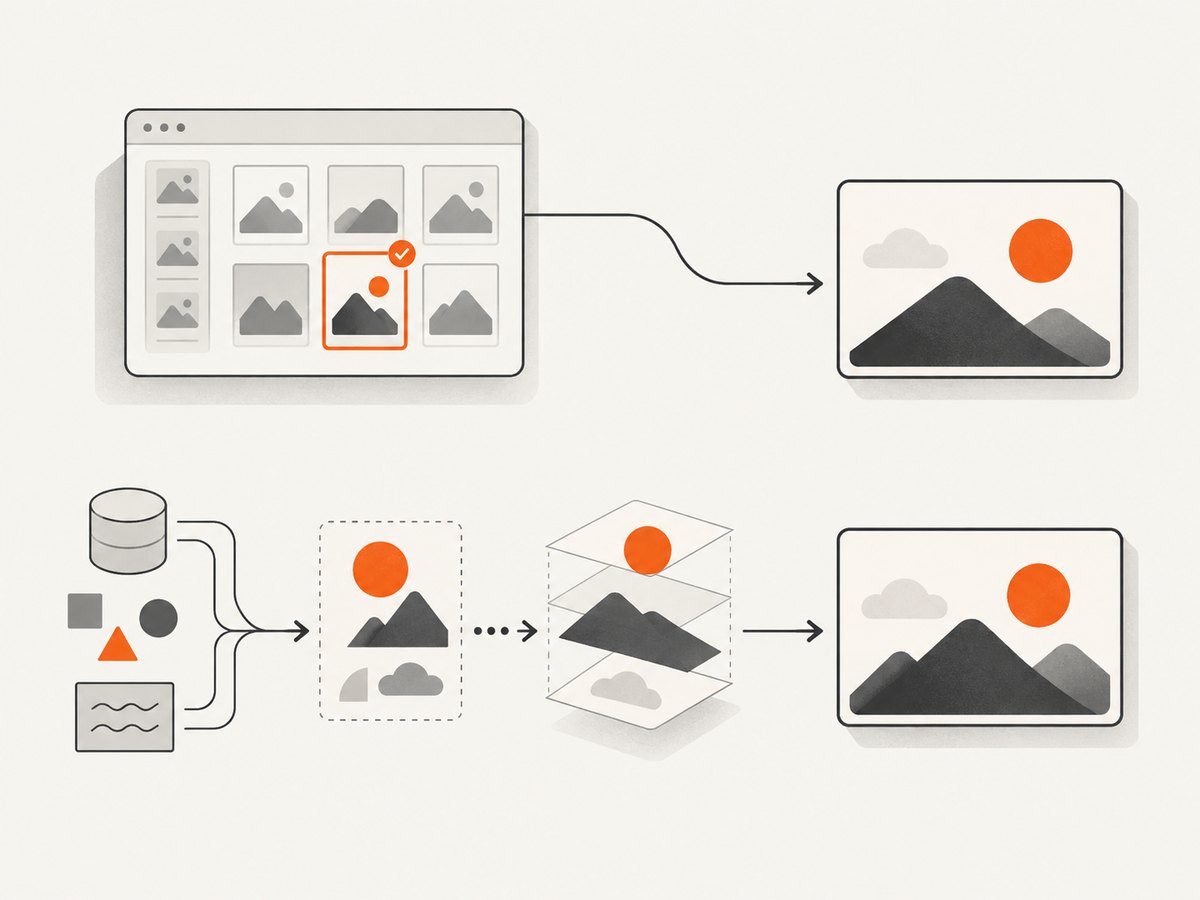
Framer can automatically assign a different Open Graph image to each CMS page: create an Image field in the collection, fill it for each item, then select that field in the CMS detail page’s Social preview setting. This is the native, documented workflow. It does not create new artwork from a title or other text; it uses an image already stored on the CMS item. Framer recommends a 1200 × 630 pixel image ratio, with important content centered. Framer’s guide to page titles, descriptions, and social images describes the steps.
If by “auto-generate” you mean render a new, templated image from each item’s data, use an external image-generation service or a custom integration. Bannerbear documents API- and URL-based image generation, including Open Graph images, but the available documentation does not establish a native Framer integration. Treat that as an extension to validate on your published site, not a built-in Framer feature. Bannerbear is one possible service to investigate.
1. Decide which kind of automation you need
These two goals sound similar but require different implementations:
| Goal | What happens | Framer setup |
|---|---|---|
| Assign an existing image automatically | Each CMS item supplies its own image URL from an Image field. | Native CMS configuration; no generation code. |
| Generate new artwork from data | A template or rendering service combines item data with design elements and produces an image file or URL. | External service or custom integration, then configure and validate the final image URL. |
For a blog where an editor can upload or select a cover for each article, the native workflow is usually the simplest and most maintainable. If the goal is to render a branded card from a title, author, category, or other fields without manually producing each image, investigate the second approach. Framer’s CMS product materials describe dynamic SEO fields and Open Graph tags; that should not be confused with generating a new image asset from text. The detailed help workflow still asks you to populate an image field.
2. Set a per-item social image in Framer
- Open the collection. In the Framer project, open the CMS collection used by the pages you share, such as Blog.
- Add an Image field. Create a field such as
Cover image. An Image field is the relevant type; a plain-text field containing a title is not an image. - Fill the field for every item. Upload or select a suitable image for each existing CMS item. Add an image for new items as part of the publishing workflow.
- Open the CMS detail page settings. Find the detail page template for the collection, then open its Page Settings.
- Map Social preview to the CMS field. Under Page images, find Social preview. Choose CMS Variables and select
Cover image(or the field name you chose). - Use the recommended shape. Prepare images at 1200 × 630 pixels or the same aspect ratio. Keep the subject, logo, and any essential graphics near the center so common crops are less likely to clip them.
- Preview, publish, and verify. Use Framer’s Link Preview tool to inspect the metadata presentation, publish the site, and check a live CMS item URL.
The mapping is made on the CMS page template, while the selected value comes from each item. That lets the same template output the corresponding social image for different collection entries. The image itself still needs to be supplied in each item’s field.

Make the CMS workflow hard to break
- Use a field name editors can recognize, such as
Social imageorCover image. - Make image selection part of the content checklist. A mapping cannot provide a meaningful per-item image if the item has no image value.
- Use a consistent visual template and image ratio across the collection so previews look related.
- Check representative items, including older entries and recently created entries, after mapping the field.
- Keep essential content in the center area. A platform may crop a preview differently from the original image dimensions.
3. What “Open Graph image” means
An Open Graph image is a URL in the page’s metadata. A crawler requests the page, reads its metadata, and uses the referenced image when building a share preview. The Open Graph protocol lists four required properties: og:title, og:type, og:image, and og:url. It also recommends og:image:alt when a page specifies an image. See the Open Graph protocol specification.
In this Framer workflow, the CMS field supplies the image for the page’s Social preview setting. You do not need to add custom JavaScript just to choose a CMS image. If you separately use custom metadata or an external rendering URL, verify the actual published page: the intended image URL and associated page metadata need to be present where the sharing crawler can retrieve them.
Do not assume that changing a visible page component changes social metadata. Framer documents custom code and plugins as extension points for code and integrations, but a browser-side script is not proof that every social crawler will receive the desired metadata. Inspect the published result instead. Framer’s metadata and social-image guide includes its CMS image mapping and preview workflow.
4. Generate new artwork from CMS data
If a new image must be rendered for each page from data—rather than selected from a stored image field—treat the image renderer as a separate system. A template might combine a background, the article title, a category, and an image into a generated file. A generation service can expose the result through an API or a dynamic URL; Bannerbear documents these patterns and identifies Open Graph image generation as a use case.
The research available for this article does not verify a specific Framer-to-Bannerbear integration, exact Framer field mapping, crawler compatibility for a particular URL, or service pricing. Do not paste an assumed integration snippet or imply there is a one-click native connection. Before committing to a workflow, answer these questions with the service’s current documentation:
- Can the renderer receive the required CMS values and produce a stable image URL?
- Can Framer place that URL in the published page’s social image metadata for each CMS item?
- Can the image be fetched without a logged-in session, cookie, or browser-only JavaScript?
- Does the generated image have the intended dimensions and an accessible content type?
- Does the actual sharing service retrieve the image from the live URL?
- What happens when a title or image changes: does the image URL update, and can caches refresh?
First implement the connection on a test item and publish it. Then inspect the live page’s metadata and test the image URL directly. Verify a shared preview for the target service. A successful preview inside a logged-in editor is not enough to establish that a third-party crawler can fetch it.
5. Validate the live page, not only the editor
- Check Framer’s Link Preview. Use it to inspect how the page’s title and description appear across services such as Google, X, LinkedIn, and Slack.
- Publish the change. The public URL is the source a sharing crawler needs to read. Preview modes and the editor are useful, but they are not a substitute for checking the published URL.
- Inspect the page metadata. Confirm the live page identifies the expected title, canonical URL, and image. Confirm the image URL is publicly reachable.
- Check the image itself. Open the image URL outside the editor. Look for a missing asset, an unexpected crop, a wrong item’s image, or a URL that requires a session.
- Retest after a metadata or image change. Some social services cache a previous preview. Framer warns that a published image change may not immediately appear on platforms such as Slack, LinkedIn, or X. Its Link Preview tool can help verify what is currently being served.
Keep the page’s values aligned: the title should describe the page, the image should represent that same item, and og:url should be the page’s canonical URL. The protocol recommends alternative text for the image; where your metadata workflow supports it, give the image a concise description rather than repeating the page title.
6. Troubleshooting common problems
| Symptom | Likely cause | What to check or fix |
|---|---|---|
| Every CMS page shows the same image | The Social preview uses a static image instead of a CMS variable, or items share the same field value. | In the CMS page’s Page Settings, select CMS Variables and the intended Image field. Then inspect the field on several items. |
| No image appears for one item | The item’s Image field is empty, or the mapped field is not the field editors populate. | Populate the correct field and confirm the template points to it. Recheck that item’s published page. |
| The new image appears in Framer but not in a social post preview | The external service may still be showing a cached preview. | Confirm the current live result with Framer Link Preview, then allow for the service’s cache behavior. Avoid treating an old preview as proof that the CMS mapping failed. |
| The wrong item’s image appears | The CMS field contains the wrong asset, or the page template is not using the intended collection variable. | Compare the item’s field value with the published page image URL. Check more than one slug to catch template or data mistakes. |
| The crop cuts off important content | The source ratio or composition does not suit the preview crop. | Use Framer’s recommended 1200 × 630 ratio and center essential visual content. Retest the final preview. |
| A generated URL works in a browser but not for sharing | The result may depend on a session, client-side execution, or access rules the crawler does not have. | Test the public, published page and image URL without relying on an authenticated editor session. Confirm the renderer’s current crawler-access guidance. |
| Custom code looks correct in a preview but not on the live page | Settings-level custom code may not appear in Framer preview mode. | Publish to a safe test URL and check the actual page output. Framer notes that custom code added through Settings is visible on the published site, not the editor’s preview. |
7. Performance, reliability, and cost considerations
Native CMS assignment: the image is selected as CMS content, so the operational work is maintaining the field and ensuring each item has the right asset. There is no separate image-render request to configure for this basic workflow. The principal failure cases are missing or incorrect CMS values, unsuitable image composition, and delayed visibility from external platform caches.
External generation: this introduces another service and another point to validate. Consider how image URLs are created, whether repeated requests create new outputs, what happens when content changes, and whether the service’s current plan or API limits fit your publishing volume. Those details are vendor-specific and must be checked in current documentation; no benchmark or cost estimate is established here.
Reliability: keep the image URL stable and accessible to the intended crawler. Make the publish checklist include one real live-page check, especially when first setting up an external renderer. For both workflows, distinguish a stale social preview from a broken page: verify current metadata and asset delivery before changing the CMS mapping.
Cost: the native image-field workflow uses Framer CMS features described in its help documentation. Any external image service may have its own pricing, usage limits, or integration requirements; check those terms before adopting it. Framer’s Creator Program is separate from this technical setup: its referral links are available to eligible participants subject to current program terms. Do not assume a referral link or service affiliate relationship exists for every publisher.
8. Capture a visual reference with ScreenshotNeo
When reviewing a published Framer page, a screenshot can help document how the page renders at a particular viewport. ScreenshotNeo is a website screenshot API and MCP server. For this article’s workflow, it can capture the live page as an image; a screenshot is a visual check and does not replace inspection of Open Graph metadata or a social platform’s own crawler preview.
Or skip the browser setup:
Make one request to capture the published page. Replace the target URL and use your ScreenshotNeo API key. The ScreenshotNeo API documentation covers request options.
cURL
curl -G "https://api.screenshotneo.com/v1/shot" -d access_key=YOUR_API_KEY --data-urlencode url=https://stripe.com -o shot.webpPython
import requests

r = requests.get(
    "https://api.screenshotneo.com/v1/shot",
    params={"access_key": "YOUR_API_KEY", "url": "https://stripe.com"},
    timeout=90,
)
open("shot.webp", "wb").write(r.content)
Node.js
const q = new URLSearchParams({ access_key: 'YOUR_API_KEY', url: 'https://stripe.com' });
const res = await fetch(`https://api.screenshotneo.com/v1/shot?${q}`);
ScreenshotNeo accepts cookie and consent banners as a visitor and removes more than 60 known consent platforms, newsletter popups, and chat widgets before capture; each step can be turned off. Bot checks and CAPTCHAs, blank pages, timeouts, failed loads, and cache hits cost nothing, and response headers report the page verdict and billing status. Its MCP server gives AI agents tools named take_screenshot, get_page_info, and capture_pdf. The free plan includes 1,000 screenshots per month with no card; paid plans start at $5 for 3,000 screenshots. Sign up for 1,000 free screenshots a month, with no card required.
9. FAQ
Does Framer generate a unique image from each CMS title automatically?
The documented native flow assigns an image already stored in each CMS item’s Image field. Generating new artwork from text requires a separate rendering workflow.
Can I use one global image instead?
A global image can serve as a general site preview, but it does not provide item-specific artwork. For unique CMS previews, map the CMS Image field on the detail page.
Why does my preview still show the previous image after publishing?
Framer says social platforms may cache older previews. Verify the live page and Framer Link Preview before concluding the mapping is incorrect.
Is Bannerbear a native Framer integration?
The cited Bannerbear materials document image generation through URLs and APIs, including an Open Graph use case. They do not establish a native Framer integration; test the published result before relying on it.
What image size should I prepare?
Framer recommends a 1200 × 630 pixel aspect ratio for social previews. Center important content to reduce the chance of cropping it out.


