How to Automate Google Earth Screenshots
Choose Earth Pro, Earth Studio, or Earth Engine based on whether you need a polished map screenshot, animation frames, or reproducible geospatial exports.
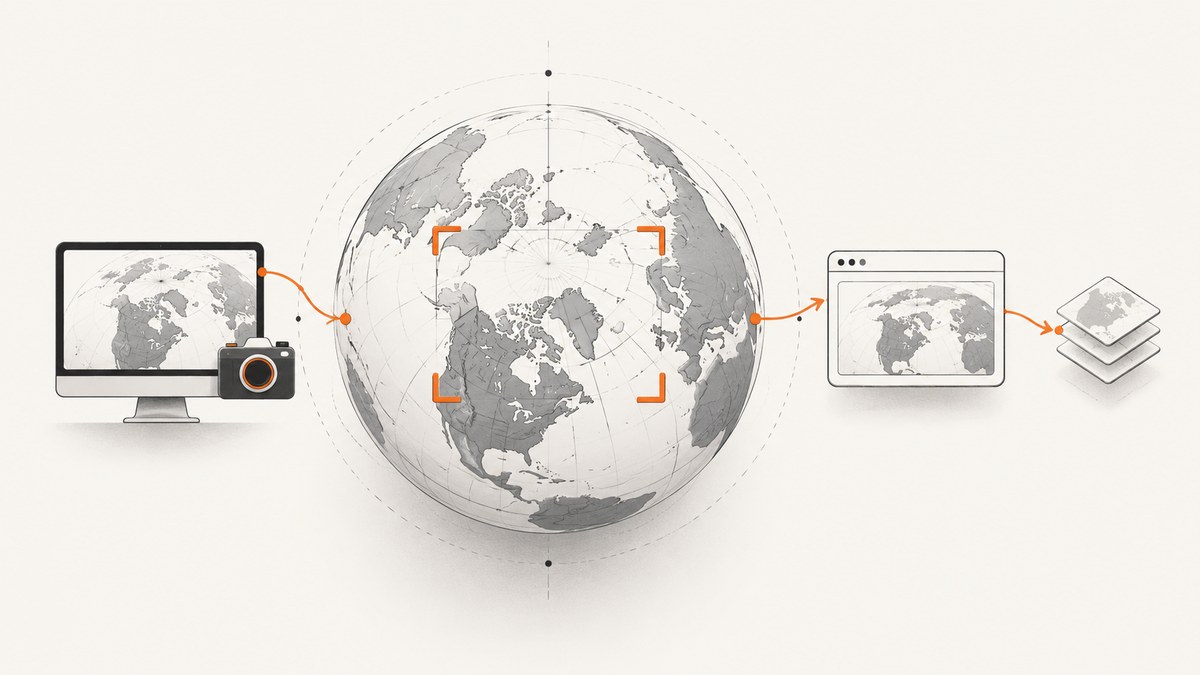
The right way to automate a Google Earth screenshot depends on the output you need:
- Google Earth Pro creates a designed still image of the current globe view, including visible borders, labels, icons, and presentation options.
- Google Earth Studio creates still snapshots and image sequences for camera animations.
- Google Earth Engine exports computed imagery or map tiles through APIs and batch tasks. These are data exports, not screenshots of the Google Earth desktop interface.
Google Earth Pro’s documented Save Image workflow is interactive. The official help does not document a supported desktop batch screenshot API or command-line capture interface. If you automate the desktop with mouse and keyboard macros, reliability depends on window size, timing, dialogs, and the installed version.
Choose the workflow
| Need | Use | Automation surface | Output |
|---|---|---|---|
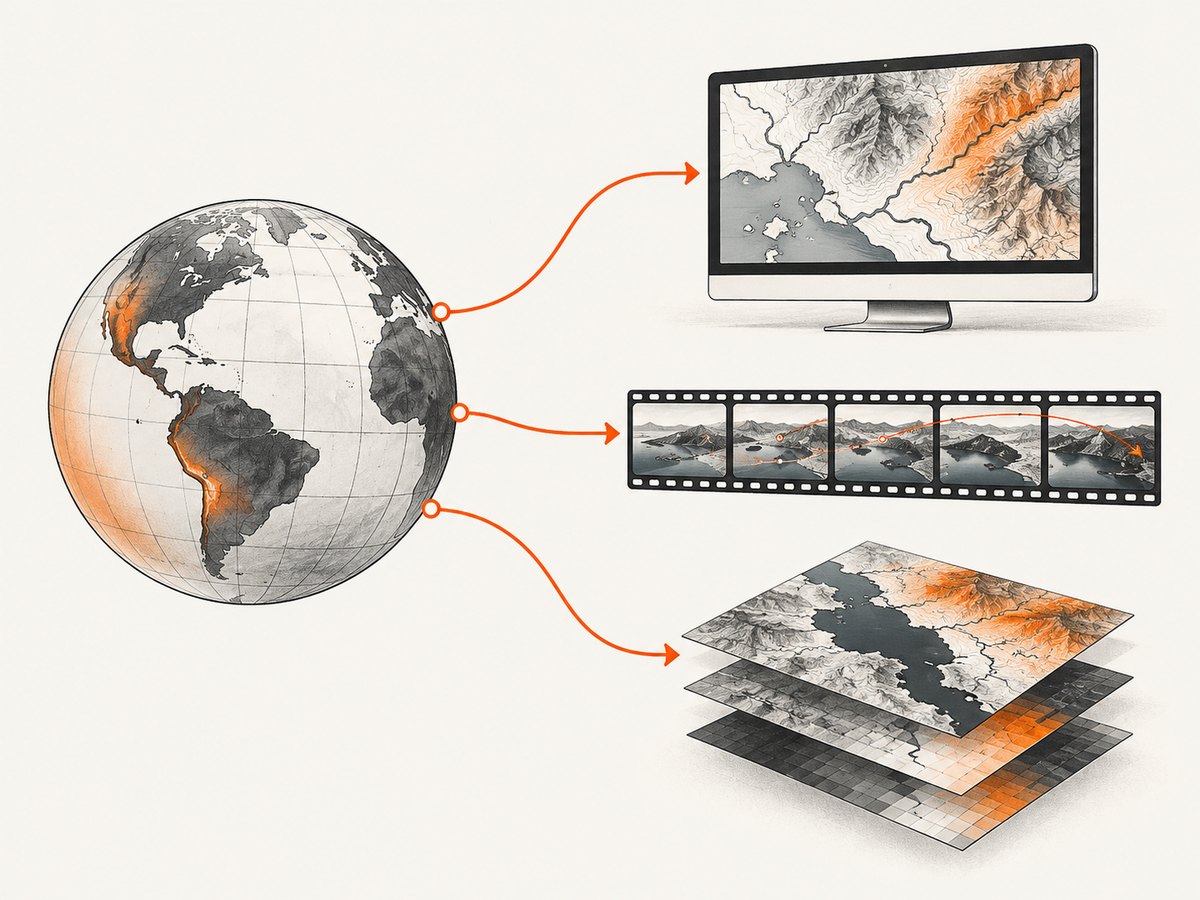
| A polished still of the rendered globe | Google Earth Pro | Interactive Save Image flow; optional desktop UI automation | PNG or another format offered by your installed version |
| A still or repeatable camera sequence | Google Earth Studio | Snapshot button, local renderer, or cloud renderer | JPG snapshot or image sequence |
| A reproducible raster derived from geospatial data | Google Earth Engine | REST API, JavaScript/Python APIs, CLI task management | Computed image or tiled map export |
Use the current Google Earth download page and product documentation for version-specific behavior and output limits.
Automate a designed still with Google Earth Pro
Earth Pro is the best fit when the screenshot itself is the deliverable: a map composition with visible context, labels, a title, description, legend, and styling.
Manual baseline
- Open Google Earth Pro and navigate to the location, or open a saved placemark.
- Set the camera angle, zoom, terrain, imagery date, and visible layers.
- Choose File > Save Image, or click the Save Image icon.
- Open Map Options and choose which map elements appear.
- Adjust title, description, legend scaling, and styling.
- Save the image to a known directory.
Google’s help documentation states that the saved map image includes the borders, labels, icons, and other information visible in the Earth Pro view. The Save Image tool supports PNG in current release notes; do not promise a particular maximum pixel size without checking the installed build.
Repeatable desktop automation
For a series of locations, first make one successful manual capture. Then automate only the repeatable parts:
- Launch Earth Pro and wait for the window to become active.
- Open a saved placemark or paste a location into the search box.
- Wait for imagery and terrain to finish loading.
- Apply the same layer visibility and camera settings.
- Open Save Image, set the output options, and save to a unique filename.
- Verify that the output file exists and has a non-zero size before continuing.
Use stable image recognition or accessibility selectors where your desktop automation tool supports them. Fixed screen coordinates are fragile when display scaling, window size, dialogs, or Earth Pro versions change.
Designing consistent outputs
- Keep the same window dimensions and display scale for every run.
- Save a template project or placemark set with the required layers.
- Use deterministic filenames based on a location ID rather than the visible place name.
- Record the camera position, zoom, imagery date, visible layers, and Earth Pro version beside each image.
- Allow extra wait time after changing location; a search result appearing does not guarantee that all imagery has finished rendering.
Capture stills and frame sequences with Earth Studio
Earth Studio is the documented choice when the camera movement is part of the result. Its Snapshot button downloads a JPG at the resolution specified in the project settings. For animations, the client-side renderer saves an image sequence to a selected local directory, and a cloud-based renderer is also available.
Still snapshot
- Open Earth Studio and create or open a project.
- Set the project resolution and camera position.
- Move the playhead to the desired frame.
- Use Snapshot to download a JPG.
Animation image sequence
- Define the camera path and frame range.
- Set the output resolution in project settings.
- Choose the client-side renderer for a local image sequence, or the cloud renderer when that workflow fits your account and project.
- Render to a dedicated directory and check that the expected frame count is present.
Use a frame naming scheme that preserves ordering, such as earth-000001.jpg. Keep project files with the rendered frames so a later run can reproduce the camera path and resolution.
Export data programmatically with Earth Engine
Earth Engine is appropriate when you need a reproducible export of imagery computed from Earth Engine datasets, expressions, or map layers. It does not capture the Google Earth Pro interface.
JavaScript Code Editor example
// Example Earth Engine export. Replace the collection, region, and project details.
var image = ee.Image('COPERNICUS/S2_SR/20200101T000239_20200101T000238_T56MNN');
var region = ee.Geometry.Rectangle([144.5, -38.0, 145.0, -37.5]);

Export.image.toCloudStorage({
  image: image,
  description: 'earth-image-export',
  bucket: 'YOUR_BUCKET',
  fileNamePrefix: 'earth/exports/example',
  region: region,
  scale: 10,
  maxPixels: 1e13,
  fileFormat: 'GeoTIFF'
});
This starts a batch task. The exact dataset, region, scale, file format, and destination are application choices; validate them against the current Earth Engine export documentation.
Python task pattern
import ee

ee.Authenticate()
ee.Initialize(project="YOUR_CLOUD_PROJECT")

image = ee.Image("COPERNICUS/S2_SR/20200101T000239_20200101T000238_T56MNN")
region = ee.Geometry.Rectangle([144.5, -38.0, 145.0, -37.5])

task = ee.batch.Export.image.toCloudStorage(
    image=image,
    description="earth-image-export",
    bucket="YOUR_BUCKET",
    fileNamePrefix="earth/exports/example",
    region=region,
    scale=10,
    maxPixels=10**13,
    fileFormat="GeoTIFF",
)
task.start()
print(task.id)
Earth Engine export requests require an authorized Cloud project and the required permissions. A successful REST request returns an Operation that you monitor until completion. Cloud Storage can incur charges, so include storage and download costs in your estimate.
REST and CLI automation
The Earth Engine REST method projects.image.export creates an export operation. The CLI and Python API can submit and monitor tasks. Use the current Earth Engine API reference for authentication, request fields, and operation status because those details can change.
Desktop macros versus browser capture
A macro that drives Earth Pro is inherently tied to a graphical desktop. Browser capture services can automate ordinary web pages, but the Google Earth desktop application and Earth Studio have different rendering and access constraints. If your actual requirement is a screenshot of a public web page, a screenshot API removes the browser installation and timing code.
Or skip the browser setup
ScreenshotNeo is a website screenshot API and MCP server. It accepts one GET request and returns a PNG, JPEG, WebP, or PDF. Cookie and consent banners, newsletter popups, and chat widgets are removed before capture. Bot checks, blank pages, timeouts, failed loads, and cache hits are not billed, and response headers identify the page verdict and billing status. Its MCP server provides take_screenshot, get_page_info, and capture_pdf tools for Claude, Cursor, and other MCP clients.

Use the DIY Earth workflows above when you need the Google Earth globe or Earth Engine data products. Use ScreenshotNeo when the target is a web page that can be loaded by a browser.
See the ScreenshotNeo API documentation for all options.
cURL
curl -G "https://api.screenshotneo.com/v1/shot" \
  -d access_key=YOUR_API_KEY \
  --data-urlencode url=https://stripe.com \
  -o shot.webp
Python
import requests

r = requests.get(
    "https://api.screenshotneo.com/v1/shot",
    params={"access_key": "YOUR_API_KEY", "url": "https://stripe.com"},
    timeout=90,
)
r.raise_for_status()
open("shot.webp", "wb").write(r.content)
Node.js
const q = new URLSearchParams({ access_key: 'YOUR_API_KEY', url: 'https://stripe.com' });
const res = await fetch(`https://api.screenshotneo.com/v1/shot?${q}`);
if (!res.ok) throw new Error(`HTTP ${res.status}`);
const fs = await import('node:fs/promises');
await fs.writeFile('shot.webp', Buffer.from(await res.arrayBuffer()));
ScreenshotNeo includes full-page capture, CSS element capture, dark mode, device presets, custom viewports, retina scale, PDF settings, custom CSS and JavaScript, click and wait actions, ad and tracker blocking, headers, cookies, user agents, authorization, timezone, geolocation, transparent backgrounds, resizing, configurable caching, signed links, asynchronous jobs with signed webhooks, bulk capture for up to 100 URLs per call, usage reporting, and an OpenAPI specification.
There is a free plan with 1,000 screenshots per month and no card. Paid plans start at $5 for 3,000 shots; yearly billing gives two months free. Create a free ScreenshotNeo account.
Reliability, performance, and cost
Earth Pro and Earth Studio
- Rendering time varies with imagery, terrain, camera position, network conditions, and local hardware.
- Wait for the rendered view before saving; a completed search is not the same as a completed render.
- Keep source project files and metadata with outputs.
- Local rendering avoids cloud storage fees but requires a continuously available desktop.
Earth Engine
- Batch exports are asynchronous. Persist task IDs and poll for completion.
- Use a region and scale that match the intended output to avoid unnecessary computation.
- Check
maxPixels, destination permissions, and Cloud Storage charges before submitting large jobs. - Tiles are for map display and are not screenshots of the Earth Pro interface.
ScreenshotNeo
- Set a timeout appropriate for the page and use caching with a TTL when repeated captures are identical.
- Use bulk capture for up to 100 URLs per call when processing a list.
- Read
X-Page-VerdictandX-Billedto distinguish clean captures from failed or non-billable responses. - Async jobs and signed webhooks are useful when a capture should not hold an HTTP request open.
Troubleshooting
| Symptom | Likely cause | Fix |
|---|---|---|
| Earth Pro saves the wrong view | The camera or layers were not fully updated | Add a render wait, verify the view visually, and save camera settings with the project. |
| Macro clicks the wrong control | Window position, display scaling, or dialog layout changed | Maximize consistently and use image or accessibility selectors instead of coordinates. |
| Earth Studio output is the wrong size | Project resolution was not set before Snapshot or render | Set and record the project resolution, then capture again. |
| Earth Engine returns an authorization error | No Cloud project, missing permission, or expired credentials | Initialize the intended project, authenticate again, and grant the required export permission. |
| Earth Engine task stays pending | Batch scheduling or an oversized export | Poll the operation, reduce region or scale, and inspect task errors. |
| Cloud Storage output is missing | Bucket permissions, path, or region configuration is wrong | Confirm the bucket exists, the service has write access, and the destination fields match the API request. |
| ScreenshotNeo response is not an image | The page failed, was blocked, or returned a non-clean verdict | Inspect HTTP status and X-Page-Verdict/X-Billed; adjust waits, headers, cookies, or blocking options. |
FAQ
Is there an official Google Earth Pro screenshot API?
The reviewed Google help documents the interactive Save Image flow, but it does not document a supported desktop batch screenshot API or CLI.
Can Earth Engine make a screenshot of Google Earth Pro?
No. Earth Engine exports computed images and map tiles. Those outputs are different from a screenshot of the desktop globe interface.
What format does Earth Studio Snapshot use?
The documented Snapshot workflow downloads a JPG at the resolution specified in project settings.
How should I automate hundreds of locations?
For Earth Pro, use saved placemarks and carefully controlled desktop automation. For data products, submit Earth Engine batch exports. For ordinary web pages, use ScreenshotNeo bulk capture or asynchronous jobs.
Can I capture a private web page with ScreenshotNeo?
Yes. The API supports custom headers, cookies, user agents, and Authorization parameters; consult the documentation for the exact option names.


