How to Automate Image Variations with No-Code Tools
Create hundreds of consistent image variations from a spreadsheet using Canva, Adobe Express, Zapier, Make, and practical validation steps.
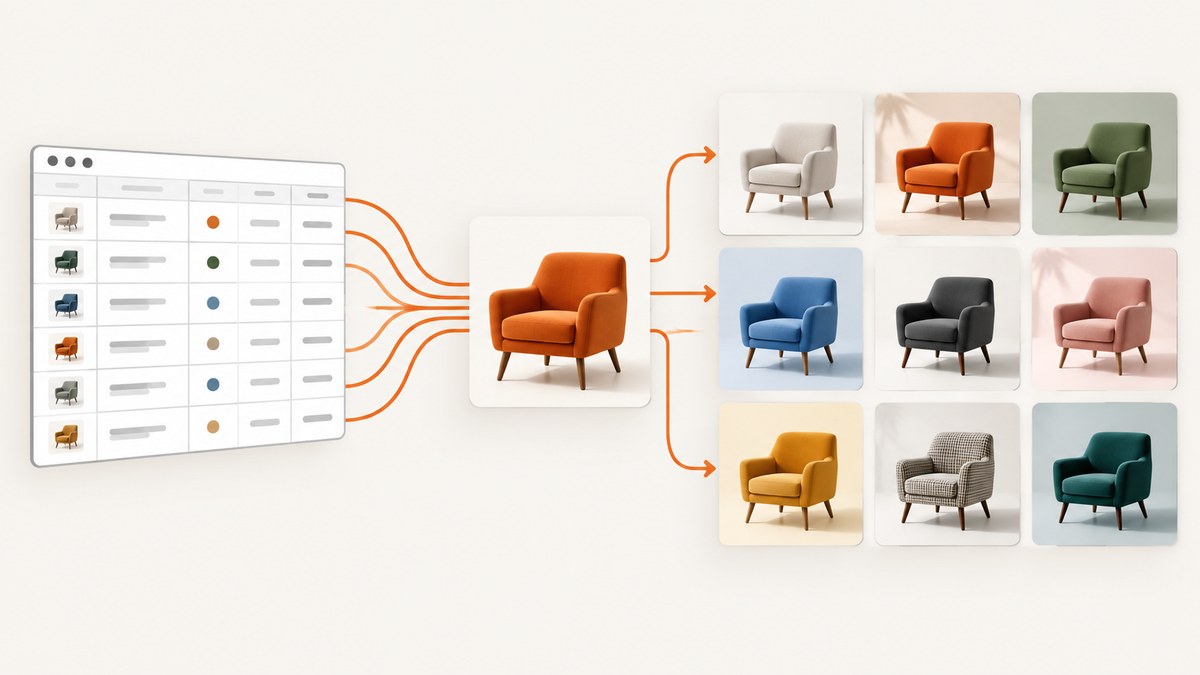
Automating image variations means creating one controlled master design, connecting its text and image placeholders to structured data, and generating one finished asset per row. The most reliable no-code workflow is: define fields, build a template, prepare a CSV or XLSX file, map fields to placeholders, generate a small sample, inspect it, then export or resize the approved batch.
Canva Bulk Create is a practical choice when your source data is a spreadsheet and your team already works in Canva. Adobe Express Bulk Create and Generate is useful when you need to replace text plus foreground or background images. Zapier and Make add triggers from forms, spreadsheets, CRMs, and other apps.
What you need before automating variations
Start with a clear data model. Each row should describe one complete output, and each column should contain one field that changes between outputs.
| Field | Example | Typical use |
|---|---|---|
| headline | Summer running shoes | Main text block |
| subtitle | Lightweight cushioning | Supporting copy |
| sku | RUN-204 | Catalog or internal reference |
| price | $89 | Offer badge or price line |
| background_image | blue-shoe-bg.jpg | Full-bleed background |
| foreground_image | shoe-blue.png | Product cutout or subject |
| color | Ocean blue | Accent, label, or swatch |
| cta | Shop now | Button or closing line |
Use exact, stable field names. Decide which fields are required, what happens when a value is empty, and how long text is allowed to be. A design that works for a 20-character headline may fail when a row contains 80 characters.
Build a master template
- Create one design at the final aspect ratio or at the largest size you will need.
- Add text boxes for every variable text field.
- Add image frames or image layers for replaceable assets.
- Keep logos, legal copy, borders, and other fixed brand elements separate from variable content.
- Set safe margins so long headlines and portrait images do not touch the edge.
- Choose a fallback color, image, and text treatment for missing data.
Make the template resilient before importing data. Test a long headline, a short headline, a transparent PNG, a dark photograph, and a missing optional field. This catches layout failures earlier than a full batch export.
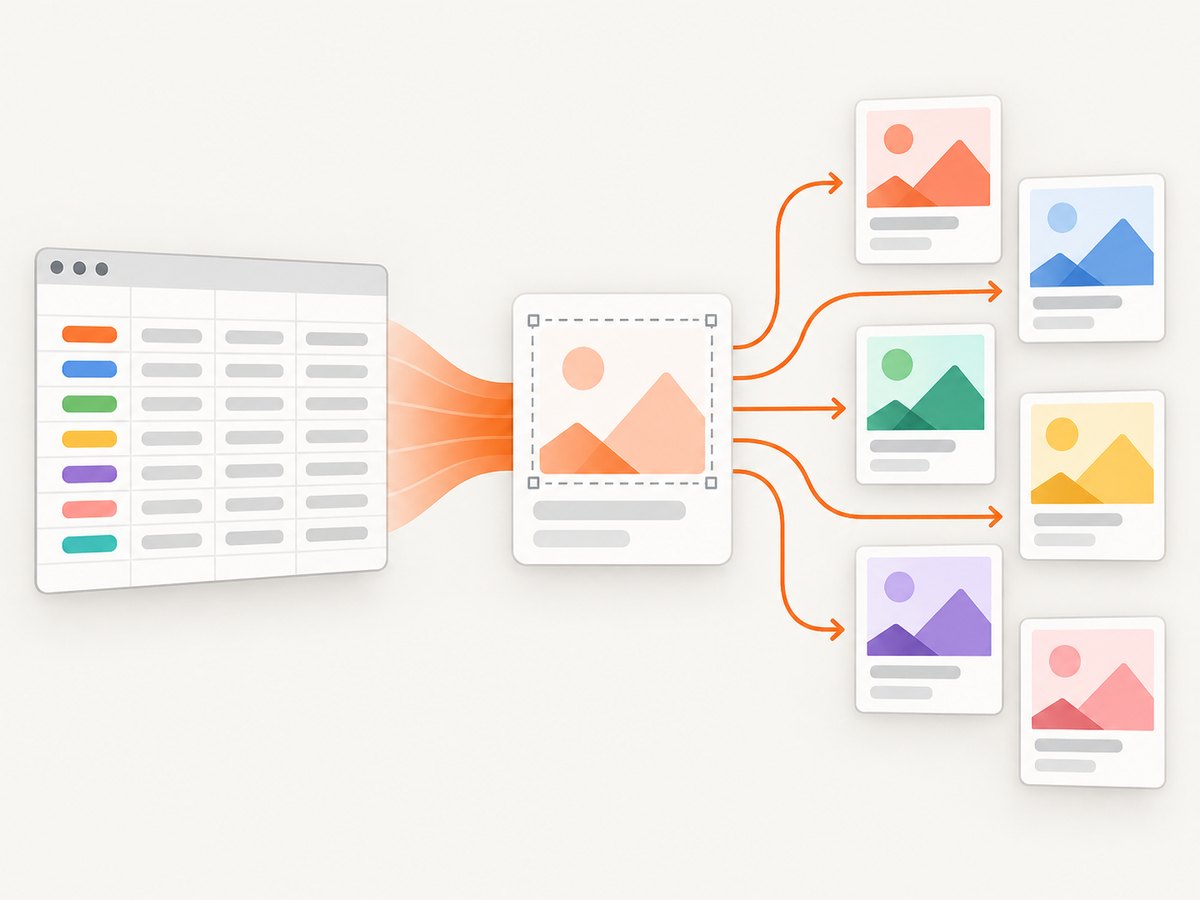
Canva Bulk Create: spreadsheet to designs
Canva’s documented Bulk Create flow accepts CSV/XLSX data and Canva Sheets. In the Canva Sheet flow, you can select up to 300 rows and use up to 150 columns. Each row represents one complete generated page or design, while each column represents a distinct data field. See Canva’s Bulk Create documentation for the current interface and limits.
Step-by-step
- Prepare a CSV or XLSX file with one header row and one output per subsequent row.
- Open the master design and start Bulk Create.
- Upload the file or connect a Canva Sheet.
- Use automatic field matching when the column names match your placeholders; otherwise map each field manually.
- Connect text columns to text boxes and image columns to image frames.
- Select a small sample of rows and generate it.
- Inspect every generated page, correct the template, then generate the approved range.
For local image files, keep filenames exact and use a consistent folder or upload convention. Validate dimensions and aspect ratios before import. A landscape source placed in a portrait frame may crop important content even when the automation succeeds.
Canva image transformations and resizing
Canva’s image transformation APIs can apply automated transformations such as background removal to an existing image asset. This is useful when your workflow needs a consistent cutout before placing products into a template; it is separate from the basic spreadsheet mapping flow. Canva’s Copy & resize workflow can create resized outputs in bulk, with a documented maximum of 250 total resized outputs per bulk action. Treat these limits as plan and interface dependent and confirm them in the current documentation.
Adobe Express Bulk Create and Generate
Adobe Express documents a Bulk Create and Generate add-on that creates up to 99 design variations by changing text and images from a CSV template. It supports JPEG and PNG assets and distinguishes foreground and background image replacement. Read Adobe’s Bulk Create and Generate guide before building the file because the add-on creates a CSV template for you.
Workflow
- Open the add-on from your Adobe Express design.
- Generate the CSV template so the required column names match the design objects.
- Fill one row per variation, including text, foreground image, and background image values where needed.
- Upload the CSV and verify that each image path or asset reference resolves.
- Choose which text objects and image layers are replaceable.
- Generate a few variations, inspect cropping and text fit, and then generate the remaining rows.
Foreground and background images behave differently. A foreground product cutout should preserve its subject, while a background may be cropped to cover the entire canvas. Keep those columns separate so a background is not accidentally inserted into a product layer.
Connect triggers with Zapier or Make
Use an automation platform when variations should be created after an event, such as a form submission, new spreadsheet row, approved product record, or CRM update.
Zapier pattern
- Choose a trigger app, such as a form or spreadsheet.
- Normalize incoming fields: trim whitespace, validate image URLs or filenames, and supply defaults.
- Use Canva’s template creation or generation action and map the normalized fields.
- Store the resulting design or export link in your source system.
- Add an approval step before publishing or sending the asset to an ad platform.
Zapier’s Canva documentation states that Canva API access requires a Pro, Team, or Enterprise plan. Check your plan before designing a production workflow. A trigger that fires repeatedly for the same row can create duplicate designs, so store a source record ID and generated output ID for idempotency.
Make pattern
- Watch a spreadsheet, webhook, database, or form module.
- Use a Canva brand-template autofill module and map each field.
- Use a single-image export module for the approved design.
- Route the exported file to cloud storage, a content calendar, or a review channel.
- Capture errors in a separate data store with the source row ID and reason.
Make documents Canva modules for brand-template autofill and single-image export. Use a router when different campaigns require different templates, and add a rate-control or queue step when a source can produce bursts.
Validate before you generate the full batch
Generate a representative sample rather than trusting a successful job response. Include the shortest and longest text, every image orientation, transparent and opaque assets, and rows with optional fields blank.
- Text: Check overflow, line breaks, punctuation, and unsupported characters.
- Images: Check crop position, subject visibility, transparency, and sharpness.
- Contrast: Confirm text remains readable over the lightest and darkest backgrounds.
- Brand: Verify colors, logo clear space, legal copy, and typography.
- Metadata: Confirm filenames, SKU values, and output dimensions.
- Channel fit: Check that each export matches the destination’s aspect ratio and file format.
Keep a preview sheet that pairs each input row with its generated asset. Reviewers can then identify whether an error comes from the data or the template.
Scaling, reliability, and cost considerations
Batch limits shape your design. Canva documents up to 300 selected rows in its Canva Sheet Bulk Create flow, Adobe documents up to 99 variations, and Canva documents up to 250 resized outputs per bulk action. Split larger jobs into predictable batches and record the range processed by each run.
APIs and add-ons are asynchronous in important cases. Canva exposes asynchronous image transformations, and Adobe’s Create Variation API is asynchronous with a documented default rate limit of five requests per minute. Queue work, poll job status where required, and implement retries with backoff. Do not retry blindly on validation errors; fix the row first.
Estimate cost from the complete workflow, not only the design tool. Include plan access, API eligibility, automation-platform task usage, storage, export operations, and human review. Run a small representative batch before committing to a larger subscription. Vendor documentation describes capabilities and limits, not a controlled comparison of output quality, speed, or total cost.
Troubleshooting common failures
| Symptom | Likely cause | Fix |
|---|---|---|
| Fields are not detected | Header names do not match placeholders or contain hidden spaces. | Regenerate the template, normalize headers, and map fields manually. |
| Images stay blank | Filename, path, permission, or asset reference is invalid. | Use exact filenames, confirm access, and test one asset outside the batch. |
| Text is cut off | The value exceeds the text box or a font cannot render a character. | Increase the box, reduce the allowed character count, or add a shorter fallback. |
| Subjects are cropped badly | Source aspect ratio does not match the frame or layer behavior. | Pre-crop assets, use separate foreground/background fields, or adjust focal position. |
| Duplicate designs appear | The trigger was delivered more than once. | Use a unique source ID and skip rows that already have an output ID. |
| API requests are throttled | The workflow exceeds a documented rate limit. | Queue requests, add exponential backoff, and monitor failed jobs. |
| Only part of a batch completes | A row contains invalid data or the batch exceeds a product limit. | Process smaller ranges, log row IDs, fix invalid rows, and resume from the last successful range. |
| Exports have the wrong dimensions | Resize or export settings were applied to the template rather than the channel. | Define channel-specific output settings and verify dimensions in the preview sheet. |
Or skip the browser setup
If your automation needs rendered website screenshots as image inputs, ScreenshotNeo provides a single GET request that returns a PNG, JPEG, WebP, or PDF. It can load lazy images, capture a CSS-selected element, apply custom CSS or JavaScript, use device presets or custom viewports, set dark mode and retina scale, wait for a selector, delay, or network idle, and set headers, cookies, user agents, authorization, timezone, or geolocation.
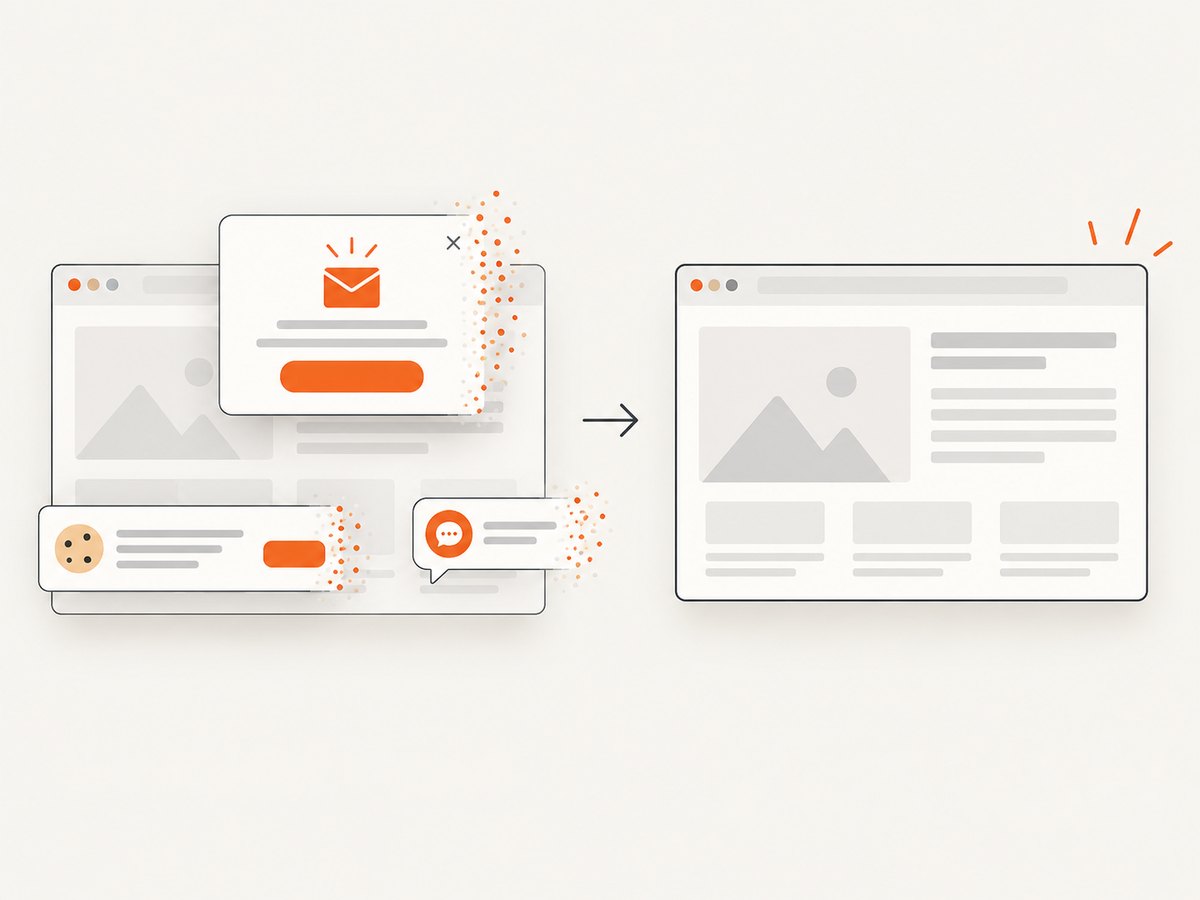
Cookie banners, newsletter popups, and chat widgets are removed before the shot. Bot checks, blank pages, timeouts, failed loads, and cache hits are not billed; response headers identify the page verdict and whether the request was billed. An MCP server provides take_screenshot, get_page_info, and capture_pdf tools for Claude, Cursor, and other MCP clients.
See the ScreenshotNeo API documentation for all options. Basic calls:
curl -G "https://api.screenshotneo.com/v1/shot" -d access_key=YOUR_API_KEY --data-urlencode url=https://stripe.com -o shot.webpimport requests
r = requests.get("https://api.screenshotneo.com/v1/shot", params={"access_key": "YOUR_API_KEY", "url": "https://stripe.com"}, timeout=90)
open("shot.webp", "wb").write(r.content)const q = new URLSearchParams({ access_key: 'YOUR_API_KEY', url: 'https://stripe.com' });
const res = await fetch(`https://api.screenshotneo.com/v1/shot?${q}`);ScreenshotNeo includes caching with a chosen TTL, signed links for public image tags, asynchronous jobs with signed webhooks, bulk capture for up to 100 URLs per call, HTML/CSS-to-image, PDF paper and margin controls, image resizing, request blocking, transparent backgrounds, a usage API, and an OpenAPI specification. It accepts parameter names used by other screenshot APIs, which can simplify migration.
The Free plan includes 1,000 screenshots per month with no card. Paid plans start at $5 for 3,000 shots; every feature is available on every plan. Create your free ScreenshotNeo account and add rendered screenshots to your variation workflow.
FAQ
Can I automate variations from Google Sheets?
Yes. Export the sheet as CSV/XLSX for Canva or use a Zapier or Make trigger that maps each row into a template action. Normalize image references before generation.
How many variations can Adobe Express create?
Adobe documents up to 99 variations for its Bulk Create and Generate add-on. Confirm the current add-on behavior before production use.
Should every row contain an image?
No. Define optional fields and provide a fallback image, color, or visibility rule. Test blank values before generating the full batch.
When should I use an API?
Use an API when generation must run from a backend, respond to events, process large queues, or integrate with systems that are not covered by a native no-code connector.
How do I avoid publishing a bad variation?
Generate a sample, review it against a checklist, record approvals by source ID, and publish only outputs that passed validation.


