How to Automate Screenshots on Android
Automate Android screenshots with Android CLI, ADB, UI Automator, screenshot tests, and ScreenshotNeo, with runnable commands and fixes.
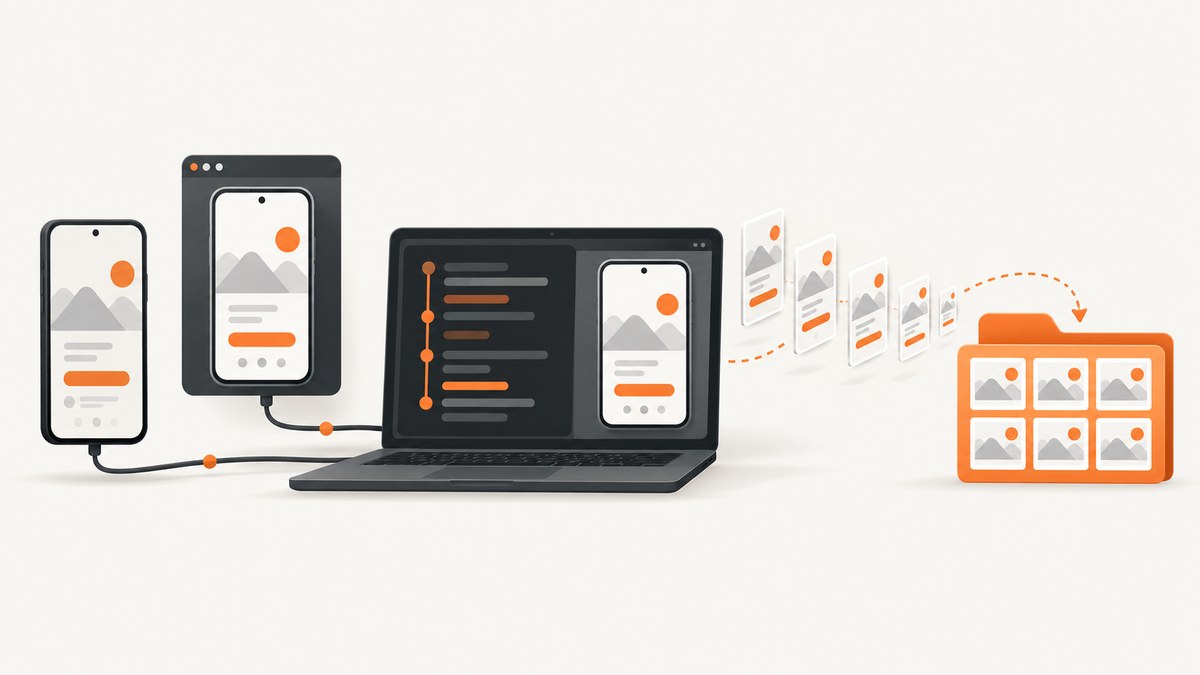
Android screenshot automation has three different jobs: capturing a connected device from a computer, taking screenshots during repeatable UI tests, and detecting when a user takes a screenshot. Choose the workflow that matches your trigger and output.
- Computer-side capture: use Android Studio’s
android screen capturecommand or ADB’sscreencap. - Test-flow capture: use UI Automator or screenshot-test tooling to open screens, interact with controls, and save full-screen, window, or element images.
- User-event detection: Android 14’s screenshot detection API tells your app that a supported user screenshot action occurred; it does not create or return the image.
This guide gives complete commands, Kotlin examples, test design advice, troubleshooting, and an API option when you need screenshots without maintaining an Android device connection.
1. Capture an Android device or emulator from your computer
The simplest automation is a shell script running against an emulator or a device visible to ADB. Android documents android screen capture as a command that writes a PNG and can annotate visible UI elements with numbered bounding boxes. The command runs from your computer, so it works well in CI jobs that boot an emulator first. See the Android command-line tools documentation for the current syntax.
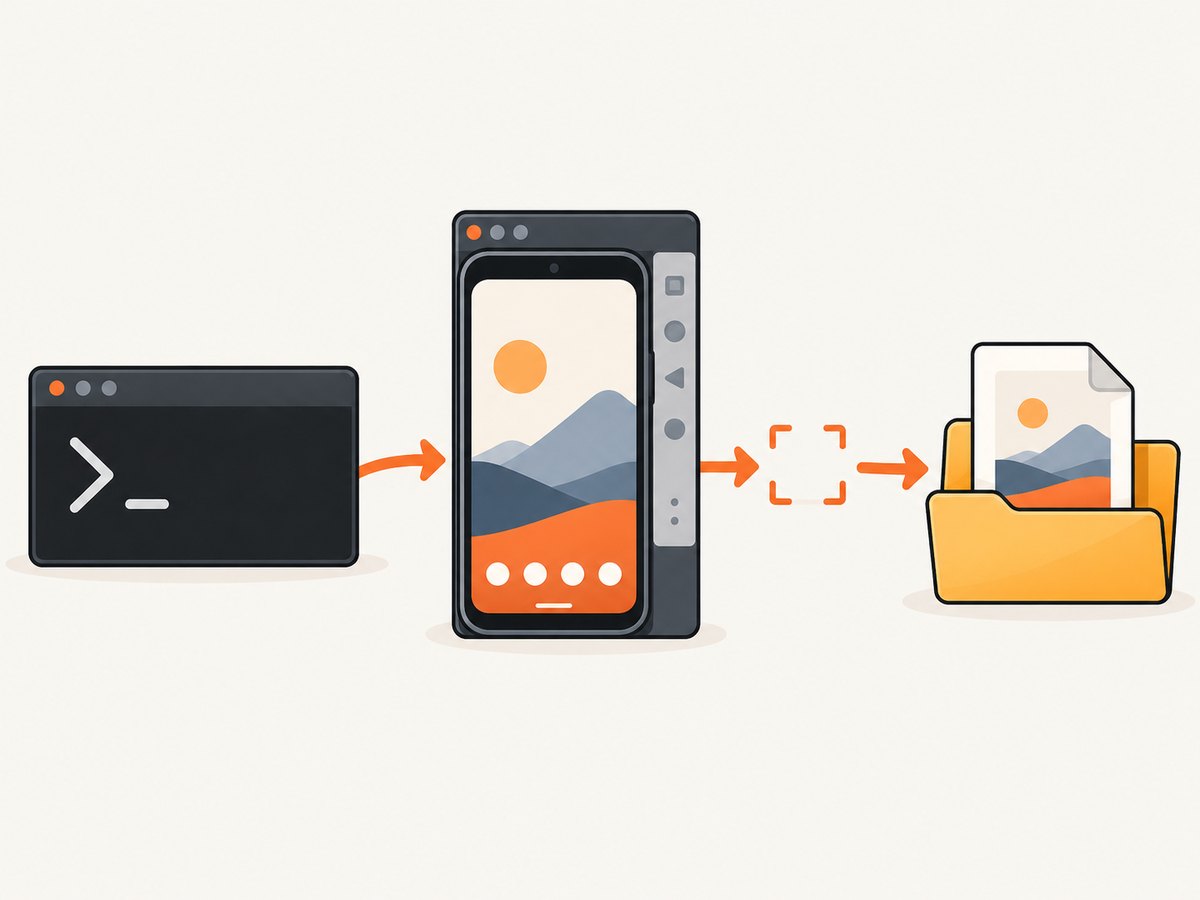
android screen capture --output=ui.pngUse the annotation option when another script or agent must identify controls by their on-screen bounds. Check android screen capture --help on the installed SDK because flags can vary with the command-line tools version.
ADB screencap: save on the device, then pull
ADB’s screencap utility is the other standard route. Android describes it as a shell utility for taking a screenshot of a device display. This two-step form writes to shared storage and copies the file to your workstation.
adb devices
adb shell screencap /sdcard/screen.png
adb pull /sdcard/screen.png ./screen.png
For scripts, stream PNG bytes directly to a local file. This avoids leaving temporary images on the device.
adb exec-out screencap -p > screen.pngThe official ADB guide covers device authorization, wireless connections, shell commands, and exec-out. A physical data cable is only needed when you choose a wired connection; emulators and configured wireless ADB do not require one.
Targeting a specific device
When more than one emulator or phone is connected, pass its serial with -s. Always fail early if the serial is missing so a test cannot capture the wrong screen.
DEVICE='emulator-5554'
adb -s "$DEVICE" wait-for-device
adb -s "$DEVICE" exec-out screencap -p > "shot-$DEVICE.png"
You can wrap this in a loop for a sequence of states. Add a short wait after each action, or poll for a UI condition, rather than relying on a fixed sleep.
#!/usr/bin/env bash
set -euo pipefail
DEVICE='emulator-5554'
mkdir -p captures
adb -s "$DEVICE" wait-for-device
for state in home details checkout; do
  # Replace this with an interaction or test command for the state.
  adb -s "$DEVICE" exec-out screencap -p > "captures/$state.png"
done
2. Automate interactions and screenshots with UI Automator
Use UI Automator when the screenshot depends on actions such as launching another app, opening a permission dialog, scrolling, or tapping a control. Android’s current UI Automator guidance supports cross-app interaction and screenshots of the full display, individual windows, and elements. The page currently labels the 2.4 API as under development, so verify the release and compatibility before pinning dependencies.
A minimal instrumentation test in Kotlin can wait for a visible object, click it, and capture the resulting device screen. The exact package version belongs in your module’s test dependencies; follow the UI Automator documentation for the current artifact.
import androidx.test.ext.junit.runners.AndroidJUnit4
import androidx.test.platform.app.InstrumentationRegistry
import androidx.test.uiautomator.By
import androidx.test.uiautomator.UiDevice
import org.junit.Test
import org.junit.runner.RunWith

@RunWith(AndroidJUnit4::class)
class CheckoutScreenshotTest {
    @Test
    fun captureCheckout() {
        val instrumentation = InstrumentationRegistry.getInstrumentation()
        val device = UiDevice.getInstance(instrumentation)
        device.pressHome()

        val checkout = device.findObject(By.res("com.example.shop:id/checkout"))
        checkout.waitForExists(5_000)
        check(checkout.exists()) { "Checkout control did not appear" }
        checkout.click()

        device.waitForIdle()
        check(device.takeScreenshot(instrumentation.targetContext.getExternalFilesDir(null)!!
            .resolve("checkout.png")))
    }
}
For an element-only image, locate the object and use its visible bounds to crop a full screenshot, or use the element screenshot API available in the version you adopt. Keep waits explicit: a screenshot taken before rendering settles produces a valid PNG of the wrong state.
Functional UI tests versus screenshot tests
Android’s UI testing guidance distinguishes behavior checks from visual checks. A functional test asserts that tapping a button opens the expected screen. A screenshot test captures the rendering and compares it with an approved image. Treat them as separate assertions so a font change does not obscure a navigation failure.
- Reset app data or seed deterministic test data.
- Set locale, font scale, theme, animation scale, and network fixtures.
- Wait for the target state, then capture.
- Compare pixels with a tolerance for platform rendering differences.
- Upload the image and diff to CI artifacts when the comparison fails.
3. Capture full screens, windows, and individual elements
| Need | Recommended method | Output |
|---|---|---|
| One emulator frame | adb exec-out screencap -p |
PNG on your computer |
| Repeatable cross-app flow | UI Automator | Test artifact or element image |
| Visual regression | Screenshot test plus approved baseline | Diff and pass/fail result |
| Know that a user pressed screenshot buttons | Android 14 detection API | Callback event, no image |
Choose the capture boundary deliberately. Full-screen images include system bars and dialogs. Window captures reduce unrelated pixels. Element captures make component diffs easier to review but can hide layout problems around the component.
4. Detect when a user takes a screenshot
Android 14 provides a per-activity screenshot detection API. Register a callback, react to the event, and unregister it with the activity lifecycle. The callback does not provide the screenshot bitmap. It also does not detect captures made through ADB commands or instrumentation tests, so it cannot replace automated capture.
class ArticleActivity : ComponentActivity() {
    private val screenshotCallback = ScreenCaptureCallback {
        // Notify your app or show privacy guidance.
        Log.i("Screenshot", "User screenshot detected")
    }

    override fun onStart() {
        super.onStart()
        registerScreenCaptureCallback(mainExecutor, screenshotCallback)
    }

    override fun onStop() {
        unregisterScreenCaptureCallback(screenshotCallback)
        super.onStop()
    }
}
Read the Android 14 behavior changes documentation for supported actions and limitations. Do not promise users that every possible capture method will trigger this callback.
5. Build a reliable screenshot pipeline
Make device state deterministic
- Use a known emulator image and fixed screen density.
- Disable animations or wait for them to finish.
- Freeze locale, time zone, font scale, and dark-mode state.
- Mock network responses and clock-dependent content.
- Reset app data between scenarios that share state.
Wait for conditions, not arbitrary delays
A two-second sleep may be too short on a busy CI host and wasteful on a fast emulator. Wait for a resource ID, text, accessibility description, or network-idle condition. If no stable selector exists, combine a bounded timeout with a screenshot-on-failure artifact.
Preserve evidence
Save the command, device serial, Android version, density, test name, and timestamp beside each image. Keep the raw image when a visual comparison fails; cropping or recompressing it makes diagnosis harder.
Parallel devices
Give every worker its own emulator and serial. Store outputs in per-device directories and avoid a shared filename such as screen.png. A device lock prevents two jobs from sending taps to the same target.
6. Troubleshooting common failures
| Symptom | Likely cause | Fix |
|---|---|---|
adb: no devices/emulators found |
ADB server is stopped, device is unauthorized, or emulator is still booting. | Run adb devices, accept the device prompt, then wait for sys.boot_completed before capture. |
| Image is black or incomplete | Capture ran while the app or emulator was transitioning. | Wait for a UI condition and device.waitForIdle(); disable animations. |
| Wrong device captured | Multiple serials are connected. | Pass adb -s SERIAL on every command and log the serial. |
| UI Automator cannot find an element | Selector is unstable, content is outside the viewport, or the app has not reached the state. | Prefer resource IDs or accessibility labels, scroll deliberately, and use bounded waits. |
| Screenshot diff fails on every run | Font rendering, density, locale, time, or dynamic data differs. | Standardize the emulator image and environment; mask only known dynamic regions. |
| Detection callback never runs | Capture used ADB, instrumentation, or an unsupported gesture. | Use the API only for supported user screenshot actions; use ADB/UI Automator for automation. |
android screen capture is unavailable |
Command-line tools are old or not on PATH. |
Update Android Studio command-line tools and check android --help; use ADB as a fallback. |
7. Performance, reliability, and cost considerations
PNG capture is lossless but can be large. Keep PNG for pixel comparisons; convert to JPEG only when a smaller review artifact is acceptable. Streaming with exec-out removes a device write and pull step. For many states, capture only checkpoints instead of every interaction.
Emulator startup dominates short jobs. Reuse a warmed emulator when isolation permits, or run fewer, focused scenarios per boot. Parallelism improves throughput only when each worker has independent CPU, memory, and device storage.
ADB and UI Automator require a maintained device environment. Your costs include emulator or device-lab compute, CI minutes, and storage for artifacts. Screenshot detection itself is an event callback, not a capture service, so it does not solve remote rendering or archival.
8. Or skip the browser setup: ScreenshotNeo
If what you actually need is a screenshot of a web page, you can avoid Android emulators, ADB authorization, and UI test maintenance with ScreenshotNeo. It exposes one GET request that returns PNG, JPEG, WebP, or PDF. The API accepts the URL and handles the browser capture remotely.
See the ScreenshotNeo API documentation for all options. A minimal request in cURL is:
curl -G 'https://api.screenshotneo.com/v1/shot' -d access_key=YOUR_API_KEY --data-urlencode url=https://stripe.com -o shot.webpPython:
import requests
r = requests.get('https://api.screenshotneo.com/v1/shot', params={'access_key': 'YOUR_API_KEY', 'url': 'https://stripe.com'}, timeout=90)
r.raise_for_status()
open('shot.webp', 'wb').write(r.content)
Node.js:
const q = new URLSearchParams({ access_key: 'YOUR_API_KEY', url: 'https://stripe.com' });
const res = await fetch(`https://api.screenshotneo.com/v1/shot?${q}`);
if (!res.ok) throw new Error(`HTTP ${res.status}`);
require('fs').writeFileSync('shot.webp', Buffer.from(await res.arrayBuffer()));
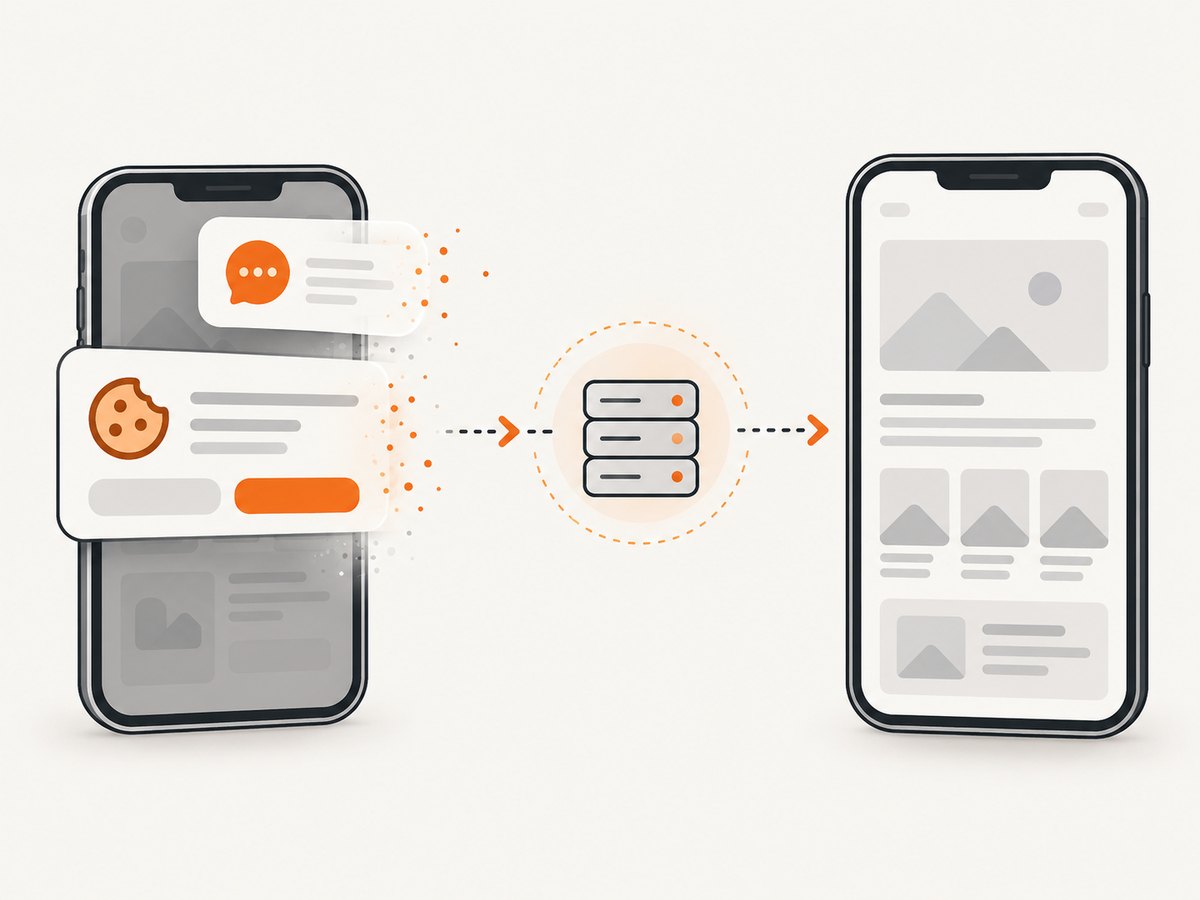
ScreenshotNeo removes cookie and consent banners, newsletter popups, and chat widgets before capture. Bot checks, blank pages, timeouts, failed loads, and cache hits are not billed; response headers identify the page verdict and whether the request was billed. You can control each cleanup step and choose options such as full-page capture with lazy images, CSS-element capture, dark mode, device presets or custom viewports, retina scale, PDF paper settings, custom CSS and JavaScript, clicks, selector waits, network-idle waits, request blocking, headers, cookies, user agent, authorization, timezone, geolocation, transparent backgrounds, resizing, TTL caching, signed image links, asynchronous jobs with signed webhooks, bulk capture for up to 100 URLs, and usage reporting. An MCP server provides take_screenshot, get_page_info, and capture_pdf tools for Claude, Cursor, and other MCP clients.
Plans include 1,000 screenshots per month free with no card; paid plans start at $5 for 3,000 shots. Create a free ScreenshotNeo account to try it.
9. Frequently asked questions
How do I automatically take screenshots on Android?
For a connected device or emulator, run adb exec-out screencap -p > screen.png. For an interaction sequence, put the capture in a UI Automator instrumentation test.
Can I take Android screenshots with ADB?
Yes. Use adb shell screencap followed by adb pull, or stream directly with adb exec-out screencap -p.
How do I automate screenshots for Android app testing?
Use UI Automator to drive the app and capture after a deterministic wait. Compare the image with an approved baseline for visual regression.
Can Android detect when someone takes a screenshot?
Android 14 can notify an activity about supported user screenshot actions, but it does not return the image and does not detect ADB or instrumentation captures.
Is monkeyrunner a good choice for new automation?
Android describes monkeyrunner as unmaintained and recommends UI Automator for new work. Use the maintained testing guidance linked above.


