How to Automate Screenshots on iOS
Create an iPhone Shortcut for repeatable screenshots, or use Xcode and XCTest for app testing. This guide covers setup, limits, and automation options.
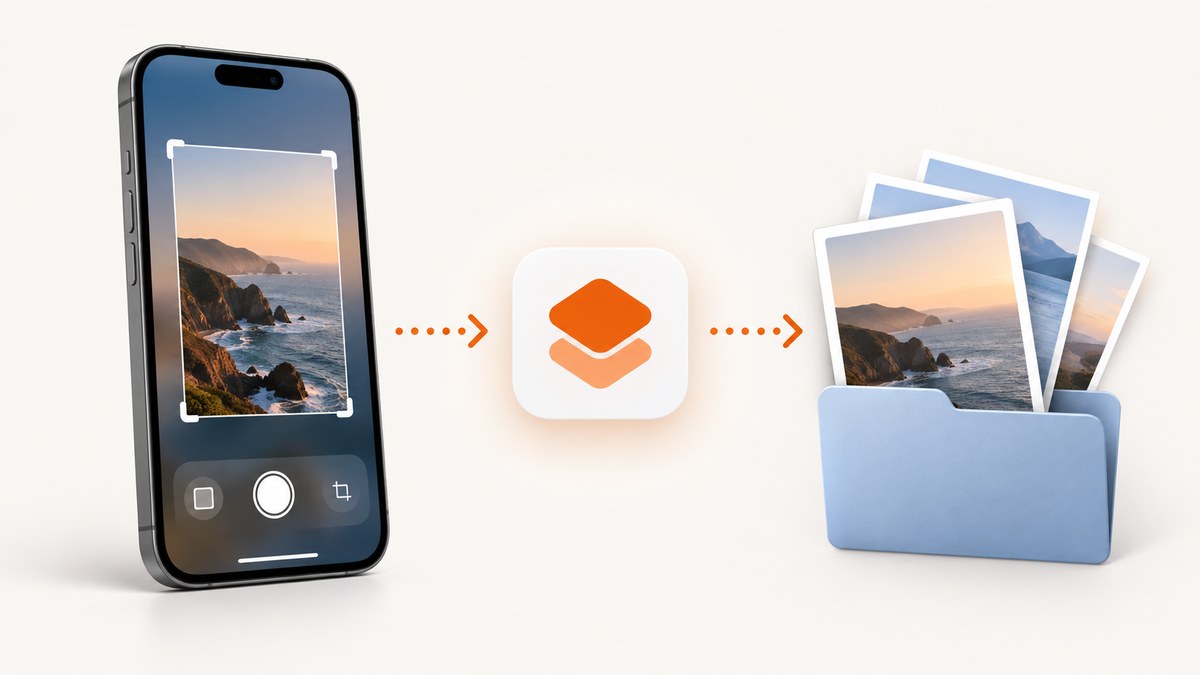
For most iPhone users, the simplest way to automate a screenshot is an on-demand Shortcut built with the Take Screenshot action. Add that action to a shortcut, then run the shortcut by tapping it or asking Siri. You can add follow-up actions to save, rename, resize, share, or send the image somewhere else.
That workflow is user-triggered. The available evidence does not establish a general way for an iPhone to silently capture arbitrary screens at any time in the background. If you mean screenshots of an app during repeatable development or UI tests, use Xcode Device Hub or XCTest instead.
Choose the right iOS screenshot workflow
| Route | Best for | How it starts | Where the result goes |
|---|---|---|---|
| Hardware buttons | One-off personal captures | Side button plus volume up, or the Home-button combination on older iPhones | Photos |
| Siri, AssistiveTouch, or Back Tap | Capturing without the usual button gesture | User voice command, accessibility control, or configured tap | Photos |
| Shortcuts with Take Screenshot | Repeatable personal workflows and post-processing | Tap the shortcut or ask Siri | Photos or the destination actions you add |
| Xcode Device Hub | App review, design checks, localization, and accessibility review | App running on a simulator or paired physical device | Mac desktop at device resolution |
| XCTest | Automated UI tests and test evidence | Test code | Test or activity attachments |
Apple says Shortcuts can automate tasks with a tap or Siri, and Apple’s iPhone guide says screenshots are saved automatically to the photo library. Apple also documents Siri, AssistiveTouch, and Back Tap as alternatives to the standard button gesture. See the Apple screenshot guide and Shortcuts documentation.
Build an on-demand screenshot Shortcut
1. Create the shortcut
- Open the Shortcuts app on your iPhone.
- Tap the plus button to create a new shortcut.
- Choose Add Action.
- Search for Take Screenshot and add the system action. The exact action catalog can vary with the installed iOS version.
- Give the shortcut a clear name such as Capture Current Screen.
- Tap Done.
Run it from the Shortcuts app, a Home Screen shortcut, or Siri. The shortcut captures the screen that is currently displayed. Keep the target screen visible before starting it; this is an on-demand action rather than an unattended recorder.

2. Add useful follow-up actions
A screenshot action is usually the first step, not the entire workflow. Add actions after it to handle the image:
- Save to Photo Album: store the result in a dedicated album such as “Automation Captures.”
- Save File: write the image to iCloud Drive or another Files location.
- Resize Image: reduce dimensions before sharing or uploading.
- Convert Image: choose a format suited to the destination.
- Ask for Input: collect a short label before saving.
- Share: send the result to Messages, Mail, or another installed app.
- Get Contents of URL: upload the image to an HTTP endpoint that you control.
For a predictable archive, combine a date action with a text action to create a filename, then pass that name to Save File. If you add an upload step, verify the destination’s authentication and file-size rules separately; Shortcuts does not make an external service reliable by itself.
3. Trigger it without the standard buttons
Apple documents three alternatives to the hardware gesture:
- Siri: say the shortcut’s exact name.
- AssistiveTouch: configure a custom menu action for a software control.
- Back Tap: assign a double- or triple-tap on the back of the iPhone.
These are still user-invoked triggers. They help when physical buttons are inconvenient, but they do not turn the phone into an arbitrary-time background capture system.
Understand where iPhone screenshots are saved
Standard screenshots and captures produced by a Shortcut can be handled through Photos when the workflow saves them there. Apple’s guide directs you to Photos > Collections > Media Types > Screenshots to review captures.
Immediately after a hardware screenshot, iOS can show a preview for editing. From that editor you can crop, annotate with Markup, and share. Apple also supports Full Page capture in supported contexts, such as some document or web views. Full Page is not available for every app or screen, so do not design a workflow that assumes every visible interface can become a full scrolling document.
Display settings can affect how screenshots appear. Apple documents settings related to SDR and HDR capture. If color consistency matters, compare the output on the devices and software versions you support.
Automate app screenshots with Xcode Device Hub
If your goal is to capture an app at repeatable device resolution, use Xcode rather than a consumer Shortcut. Xcode Device Hub can work with a simulated device or a paired physical device. Navigate the app to the state you want, capture the screen, and save the result to the Mac desktop.
- Install and open Xcode on the Mac.
- Open Device Hub and select the simulator or connected iPhone.
- Launch the app and navigate to the target screen.
- Use the Device Hub screenshot command.
- Review the image saved to the Mac desktop.
A simulator is useful for fast review, but Apple cautions that simulated devices do not reproduce every physical-device feature or performance characteristic. Use a physical device when the result depends on hardware, sensors, camera behavior, performance, or exact rendering.
This workflow is useful for release reviews, design handoff, localization checks, accessibility audits, and collecting reference images at the full device resolution.
Capture screenshots in XCTest UI tests
For a test pipeline, XCTest provides screenshot objects for a screen, an app, or a UI element. You can attach the screenshot to a test activity so it appears with the test result.
import XCTest

final class CheckoutScreenshotTests: XCTestCase {
    func testCheckoutState() {
        let app = XCUIApplication()
        app.launch()

        app.buttons["Checkout"].tap()

        let screenshot = XCUIScreen.main.screenshot()
        let attachment = XCTAttachment(screenshot: screenshot)
        attachment.name = "Checkout screen"
        attachment.lifetime = .keepAlways
        add(attachment)
    }
}
To capture a specific application or control, use the corresponding XCTest screenshot API for that object. Capturing after a deterministic navigation step makes the artifact useful for regression review. Add accessibility identifiers to important controls so tests do not depend on fragile visible text.
Keep test screenshots focused. A full-screen attachment is useful for visual regression, while a UI-element capture can make a failing control easier to inspect. The attachment belongs to the test activity; it is a development artifact rather than an item automatically placed in the user’s Photos library.
What iOS screenshot automation cannot promise
- Silent arbitrary-time capture: the reviewed material supports user-triggered Shortcuts and developer test workflows, not a general background service that captures any screen whenever it chooses.
- Universal Full Page capture: Full Page is context-dependent and is not available for every app or view.
- Identical simulator and device output: simulator output is not a substitute for validating hardware-dependent behavior.
- Stable action names forever: the visible Shortcuts action catalog can change across iOS releases. Confirm the action name on the system version you support.
- Capturing protected content: apps and system surfaces may restrict screenshots or obscure sensitive content. A Shortcut cannot override those restrictions.
Or skip the browser setup
If what you actually need is a screenshot of a website rather than the current iPhone screen, ScreenshotNeo provides a one-request website screenshot API and MCP server. It handles the browser setup for you.
See the ScreenshotNeo API documentation for the complete option list. The basic calls below use the supplied endpoint and parameter names.
cURL
curl -G "https://api.screenshotneo.com/v1/shot" -d access_key=YOUR_API_KEY --data-urlencode url=https://stripe.com -o shot.webpPython
import requests

r = requests.get(
    "https://api.screenshotneo.com/v1/shot",
    params={"access_key": "YOUR_API_KEY", "url": "https://stripe.com"},
    timeout=90,
)
r.raise_for_status()
open("shot.webp", "wb").write(r.content)
Node.js
const q = new URLSearchParams({ access_key: 'YOUR_API_KEY', url: 'https://stripe.com' });
const res = await fetch(`https://api.screenshotneo.com/v1/shot?${q}`);
if (!res.ok) throw new Error(`HTTP ${res.status}`);
const buffer = Buffer.from(await res.arrayBuffer());
await import('node:fs/promises').then(fs => fs.writeFile('shot.webp', buffer));
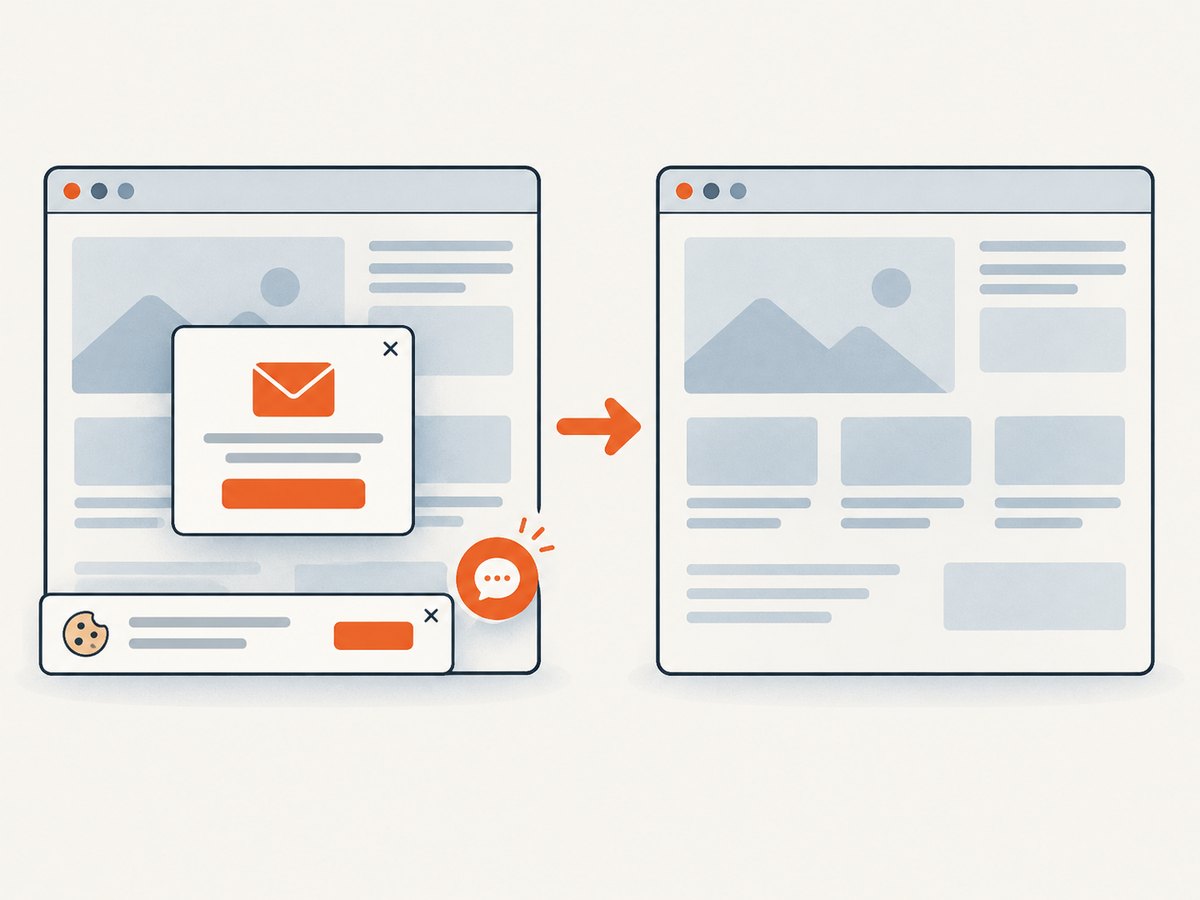
ScreenshotNeo removes cookie and consent banners, newsletter popups, and chat widgets before capture. Bot checks, blank pages, failed loads, timeouts, and cache hits are not billed; response headers identify the page verdict and whether the request was billed. Its MCP server exposes take_screenshot, get_page_info, and capture_pdf for Claude, Cursor, and other MCP clients.
You can also use full-page capture with lazy images loaded, CSS-selector element capture, dark mode, device presets or custom viewports, retina scale, PDF paper and margin controls, custom CSS and JavaScript, clicks, selector or network-idle waits, blocked resources, headers, cookies, user agents, authorization, timezone, geolocation, transparent backgrounds, resizing, chosen cache TTLs, signed links, asynchronous jobs with signed webhooks, bulk capture for up to 100 URLs per call, usage data, and an OpenAPI specification. The parameter names used by other screenshot APIs also work to simplify migration.
Plans include 1,000 screenshots per month free with no card, Starter at $5 for 3,000, Growth at $15 for 15,000, Pro at $39 for 60,000, Scale at $99 for 250,000, and Business at $249 for 1,000,000. Yearly billing gives two months free, and every feature is available on every plan. Start with 1,000 free screenshots a month without a card.
Troubleshooting
The Shortcut cannot find Take Screenshot
The action catalog varies by iOS version and installed apps. Search for “screenshot” in Add Action, check that iOS is up to date, and confirm that you are editing a normal shortcut rather than an automation trigger with restricted actions. If the action is still unavailable, use the hardware, Siri, AssistiveTouch, or Back Tap methods.
The shortcut captures the wrong screen
The action captures the screen visible when it runs. Return to the target app first, avoid adding a long delay before the capture, and place navigation actions before Take Screenshot. If the target app needs time to render, use a short wait and test on the slowest supported device.
The image is missing from Photos
Add an explicit Save to Photo Album action after Take Screenshot and select the intended album. Also check Photos permissions for Shortcuts and confirm that the shortcut completed instead of stopping at a later upload or conversion action.
Full Page is unavailable
Full Page depends on the current app and view. Try a supported document or web context, or capture several screens and combine them in a separate workflow. Do not assume that a custom app screen supports Full Page.
Xcode cannot see the iPhone
Unlock the device, accept the trust prompt, connect it with a supported cable or pairing method, and wait for Xcode to finish preparing the device. If the capture is hardware-specific, verify it on the physical device rather than only in a simulator.
The XCTest attachment is not retained
Set the attachment lifetime to .keepAlways when you need it in retained test results. Give attachments descriptive names and add them after the state you want to inspect has been reached.
A ScreenshotNeo request returns an error
Check the API key, URL encoding, and HTTP status. Use a timeout appropriate for the target page, and inspect the X-Page-Verdict and X-Billed headers. A bot check, blank page, failed load, timeout, or cache hit is identified in the response and is not billed as a clean shot.
Performance, reliability, and cost notes
For personal capture, a Shortcut has no service cost, but it depends on the phone being unlocked and the target screen being ready. For app evidence, XCTest is more repeatable because navigation and capture are part of code, while Device Hub is better for manual review.
Reduce test flakiness by waiting for a known element, using accessibility identifiers, and capturing only after animations or network-driven content has settled. Run visual checks on physical hardware when rendering or device features matter.
For website captures, external browser setup adds maintenance around consent dialogs, popups, waiting, viewport configuration, and failed loads. ScreenshotNeo centralizes those controls, reports billing status in headers, supports caching with a TTL you choose, and offers asynchronous jobs and webhooks for larger batches. Use caching for pages that do not change often; use a suitable wait or network-idle condition for pages that render content after the initial response.
FAQ
Can an iPhone take a screenshot when I say a phrase?
Yes. Create a Shortcut containing Take Screenshot, then invoke it with Siri using the shortcut’s name.
Can a Shortcut run every hour without me?
The reviewed sources do not support promising arbitrary unattended screen capture. Use a user-triggered Shortcut or a developer test harness for repeatable captures.
Do screenshots automatically go to Photos?
Apple says screenshots are automatically saved to the photo library. A custom Shortcut can also save or route its output elsewhere.
Should I use Device Hub or XCTest?
Use Device Hub for hands-on app review and full-resolution captures. Use XCTest when screenshots should be produced and retained as part of automated UI tests.
Can ScreenshotNeo capture my iPhone’s current screen?
No. ScreenshotNeo captures web pages from a URL. It is useful when the source is a website and you want a clean, repeatable image without configuring a browser on the phone.


