How to Automatically Capture Screenshots with Selenium IDE
Selenium IDE’s current command reference does not document a native screenshot command. Learn the plugin and WebDriver options, with runnable code and troubleshooting.
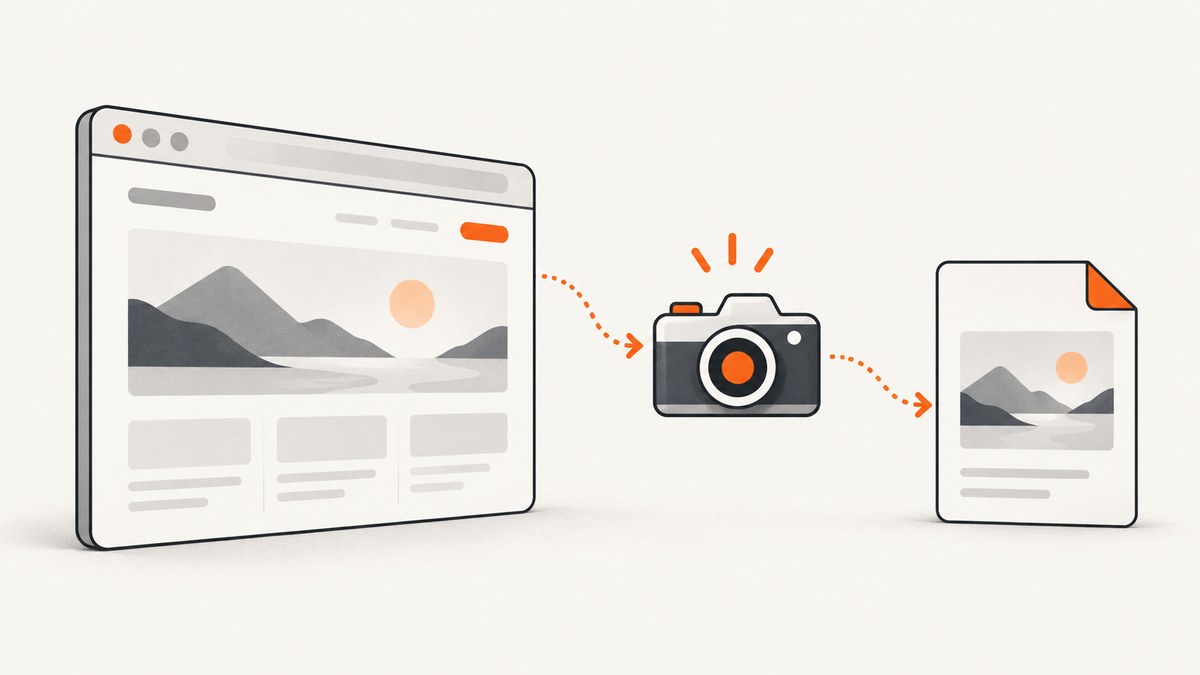
Selenium IDE is a browser extension for recording and replaying web tests. The current official command reference does not document a native command for saving a screenshot. To capture image files automatically, check whether your installed IDE has a maintained screenshot plugin; otherwise export or reimplement the test with WebDriver code and call the browser driver’s screenshot API. In either case, verify where the screenshot is written: Selenium IDE’s current reference does not define a built-in screenshot artifact path.
This guide shows how to check your IDE, choose between a plugin and WebDriver, run the exported test locally or on Selenium Grid, and make screenshot files useful as test artifacts. It also distinguishes Selenium IDE from Ui.Vision RPA, whose similarly named commands belong to a different product.
1. Check whether your Selenium IDE has a screenshot command
Selenium IDE is distributed as a Chrome or Firefox extension. Its basic workflow is to create a project, set a base URL, record browser actions, stop recording, save a .side file, and play the test back in the browser. The Selenium Project describes it as open-source record-and-playback test automation for the web. See the official Selenium IDE page and getting-started guide.
- Open the installed Selenium IDE and load the project or
.sidefile you intend to run. - Search the command picker and the command reference for a screenshot action, including the exact spelling and arguments.
- Compare what you find with the current official command reference. It documents commands such as
open,click, assertions, control flow,execute script, andrun script, but does not listcaptureScreenshotorcaptureEntirePageScreenshot. - If your installed version offers a plugin command, identify the plugin and version and confirm its options and output path in that plugin’s documentation. Plugins can extend the IDE command set; the extension’s behavior is not a guarantee of the core IDE’s behavior.
This is a current-documentation finding, not proof that every older build or third-party plugin behaves the same way. Avoid assuming that a command name found in a forum post, an old project, or another browser automation product is available in your IDE. Before relying on it in CI, run a small test and check that the file is actually created where expected.
2. Choose an implementation
| Approach | Good fit | What you must verify |
|---|---|---|
| IDE screenshot plugin | You want to keep recording and replaying inside Selenium IDE. | Compatibility with your IDE version, viewport versus full-page behavior, filename rules, destination, and whether it runs in your target browser. |
| Export or reimplement with WebDriver | You need explicit file paths, repeatable artifact naming, or control over browser setup. | That the exported/reimplemented scenario still covers the same steps and that your driver supports the chosen screenshot method. |
| Hosted screenshot API | You need a screenshot of a URL and do not need to replay the Selenium IDE interaction sequence. | Whether a URL-based capture can reproduce the application state you need. A screenshot API is not automatically a replacement for a stateful test. |
If the screenshot must show a state reached after login, navigation, or a sequence of interactions, the browser test must reach that state before capturing. A URL-only screenshot service is useful for direct page captures, but it does not replay your Selenium IDE scenario. Decide whether the goal is a test artifact or a standalone page image before choosing.
3. Add a plugin command at the right point
If you find a maintained plugin for your installed IDE, insert its documented screenshot command after the page has reached the state you want to inspect. Put it after navigation and required interactions, and after an explicit readiness condition where possible. A screenshot taken immediately after opening a URL may show a loading skeleton, a consent dialog, or an incomplete page.
- Record or open the scenario and identify the step that establishes the state to capture.
- Add the plugin’s screenshot command immediately after that step, following the plugin’s documented argument names.
- Use a stable filename, such as a test name plus a scenario identifier. If the plugin supports variables, include a run identifier to avoid parallel tests overwriting one another.
- Run the scenario once in the IDE, then inspect the output file and its dimensions. Confirm whether the result is the visible viewport or the complete page.
- Document the plugin version and output directory with the test project so another developer can reproduce the result.
There is no universal Selenium IDE plugin syntax to provide here: command names, arguments, and file locations are defined by the plugin. Do not paste a command from Ui.Vision or assume a WebDriver command can be entered directly into the IDE command table. If the plugin’s documentation does not clearly state where it saves files, treat artifact location as unresolved until you verify it in a run.
4. Capture screenshots with exported WebDriver code
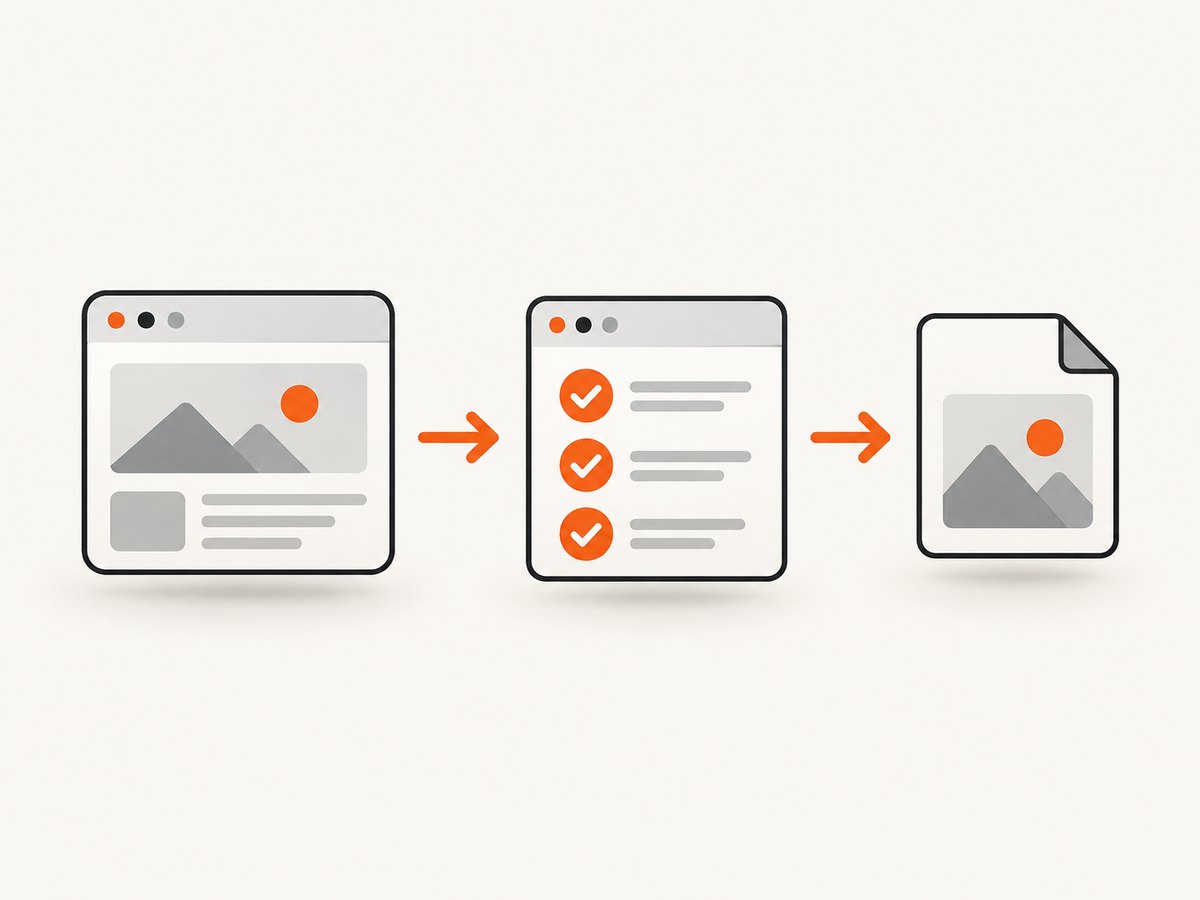
When the IDE does not provide a suitable documented plugin, use the Selenium IDE project as a recording or specification and run equivalent steps in WebDriver. The following Node.js example uses Selenium WebDriver directly with Chrome. It opens a page, waits for a known element, takes a viewport screenshot, and writes it to a deterministic path. Install Node.js and npm, then install the Selenium WebDriver package and ChromeDriver that matches your Chrome setup.
npm install selenium-webdriver
npm install --save-dev chromedriver
Save this as capture.js and change the URL and selector to match the page under test:
const { Builder, By, until } = require('selenium-webdriver');
const fs = require('node:fs/promises');
const path = require('node:path');

async function main() {
  const driver = await new Builder().forBrowser('chrome').build();
  try {
    await driver.get('https://example.com');
    await driver.wait(until.elementLocated(By.css('h1')), 15000);
    await driver.wait(until.elementIsVisible(
      driver.findElement(By.css('h1'))
    ), 5000);

    const image = await driver.takeScreenshot();
    const outputDir = path.join(process.cwd(), 'artifacts');
    await fs.mkdir(outputDir, { recursive: true });
    await fs.writeFile(path.join(outputDir, 'example-homepage.png'), image, 'base64');
  } finally {
    await driver.quit();
  }
}

main().catch((error) => {
  console.error(error);
  process.exitCode = 1;
});
Run it with node capture.js. Selenium WebDriver’s takeScreenshot() returns a base64-encoded PNG for the current browser viewport. The script decodes and saves that data as a file. This example is WebDriver code, not a built-in Selenium IDE screenshot command. It demonstrates a capture step; translate the recorded scenario’s navigation and interactions into appropriate WebDriver calls if the desired page state requires them.
Full-page screenshots
The example captures the viewport. Full-page capture is browser- and driver-dependent; the WebDriver screenshot call above does not promise a stitched page image. If a plugin or driver-specific feature claims full-page capture, check its browser compatibility and verify the resulting dimensions on a long page. A common fallback is to set a sufficiently tall viewport before capture, but this can alter responsive layout and still does not guarantee that lazy-loaded content has appeared. Scroll through the page or wait for the relevant content before capturing if the page loads sections on demand.
Run the exported scenario through Selenium IDE’s command-line runner
The official runner flow requires Node, npm, selenium-side-runner, the target browser, and a browser driver for local execution. Follow the official command-line runner guide for current installation and invocation details. A typical setup begins by installing the runner globally:
npm install -g selenium-side-runnerRun a saved project by passing its path to the runner:
selenium-side-runner tests/example.sideUse the runner when your goal is to execute the recorded IDE scenario in an automated environment. This does not itself establish a native screenshot file command: the screenshot still needs a supported plugin or an exported implementation whose artifact writing you control. For a remote browser, configure the runner’s Selenium Grid target and browser capabilities according to the official guide, and confirm how artifacts are retrieved from that environment.
5. Make screenshot artifacts reliable
- Wait for page state, not an arbitrary pause. Prefer a visible element, a known page marker, or a completed application state. Fixed delays are simple but become flaky when network or rendering time varies.
- Keep names unique and meaningful. Include a test or scenario name. Add a build or run identifier when parallel executions share storage.
- Choose viewport dimensions intentionally. Responsive pages can render different content at different widths. Set the intended browser window size before the capture and record it with the artifact.
- Capture after the final relevant action. A screenshot before a click, form submission, or route change cannot show the post-action state.
- Retain the context needed to reproduce a failure. Keep the test name and relevant run metadata alongside the image. Avoid placing credentials or sensitive page data in artifact names.
- Check the output from remote runs. A path on a Grid node may not be the same as a path on the machine that launched the test. Arrange artifact transfer through the runner or your CI environment.
For performance, take only the screenshots you need. Capturing every step adds browser work and increases artifact storage and transfer time. For reliability, use explicit waits and isolate output paths between workers. Costs depend on your browser infrastructure, CI runtime, and artifact-retention policy; Selenium IDE itself does not define a screenshot API price or a universal storage policy.
6. Troubleshooting
| Symptom | Likely cause | Fix |
|---|---|---|
| No screenshot command appears in the IDE. | The current core command reference does not document a native screenshot command; an extension or version-specific command may be required. | Check the installed IDE’s command picker and official reference. Find a maintained compatible plugin or use WebDriver code. |
| The IDE rejects a screenshot command copied from an example. | The command may belong to another product, plugin, or older version. | Verify the command’s source and exact plugin/version. Ui.Vision commands are not Selenium IDE commands. |
| The test passes but no image file is present. | The screenshot step may return data without saving a file, or the destination may be relative to a different working directory or remote machine. | Check the implementation’s output contract, print or inspect the resolved path, create the destination directory, and verify artifact transfer for Grid runs. |
| The screenshot is blank or shows a loader. | The capture happened before navigation, rendering, or client-side data loading finished. | Wait for a stable, visible page element or application-ready condition before capturing. |
| The image is cut off at the bottom. | The capture is viewport-only, while the page is taller than the viewport. | Use a documented full-page feature where supported, or deliberately resize/scroll and validate the capture method for the browser. |
| Parallel tests overwrite each other’s files. | Every worker writes the same filename into a shared directory. | Include a unique run or worker identifier, or give each run its own output directory. |
| WebDriver cannot start the browser. | The browser, driver, runner, or capability configuration is missing or incompatible. | Install the browser and matching driver, check the runner prerequisites, and validate the same browser configuration independently before debugging screenshot writing. |
7. Or skip the browser setup
If you only need an image of a URL, ScreenshotNeo can capture it with one GET request. It is a website screenshot API and MCP server from ScreenshotNeo. This URL-based call is suited to direct page captures; it does not replay a Selenium IDE interaction flow. See the ScreenshotNeo API documentation for parameters and response details.

curl -G "https://api.screenshotneo.com/v1/shot" \
  -d access_key=YOUR_API_KEY \
  --data-urlencode url=https://stripe.com \
  -o shot.webp
Cookie banners, popups, and chat widgets are removed before the shot. Bot checks, blank pages, and failed loads are never billed. An MCP server lets AI agents use the screenshot tools. The free plan includes 1,000 screenshots each month with no card; paid plans start at $5 for 3,000. Create a free account and get 1,000 screenshots a month with no card.
8. FAQ
Does Selenium IDE have a captureScreenshot command?
The current official command reference does not list that command. Check the command picker for your installed version and any plugin you have added.
Are capturescreenshot and captureEntirePageScreenshot Selenium IDE commands?
No. Those similarly named commands are documented by Ui.Vision RPA, a separate product. See the Ui.Vision documentation.
Can I keep using my recorded Selenium IDE test?
Yes, if a compatible plugin provides the screenshot behavior you need. Otherwise, use the recording as a reference and run equivalent interactions through WebDriver, adding explicit screenshot file-writing code.
Where does Selenium IDE save screenshots?
The current official IDE command reference does not define a native screenshot destination. The destination is determined by the plugin or code you choose, so verify it with an actual run.
Can I run screenshots on Selenium Grid?
The official runner supports Selenium Grid targets and browser capabilities. For screenshots, confirm where the remote browser writes artifacts and how your environment retrieves them.


