How to Automatically Generate Social Media Graphics for Blogs
Build a repeatable pipeline that turns blog titles into branded, correctly sized social graphics and publishes them automatically.
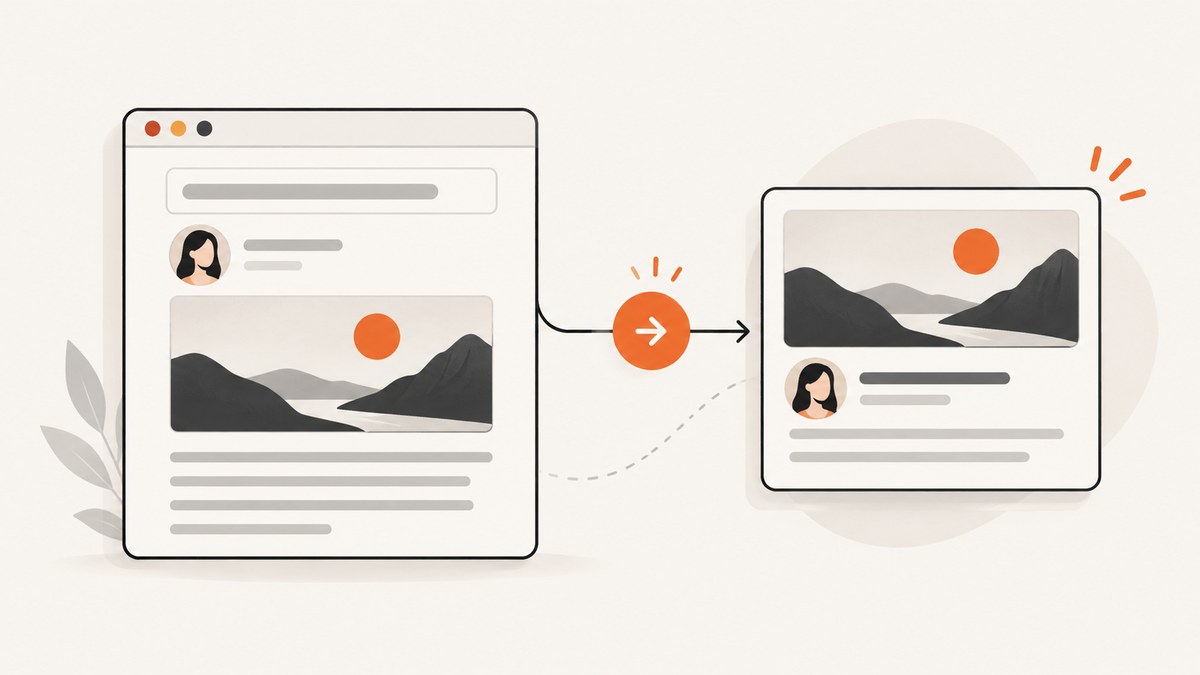
Direct answer: Automatically generating social graphics for blog posts requires five connected steps: extract the post title and key idea, place those fields into a reusable branded template, render a variant for each social network, add accessible alt text and the article URL, then queue or publish through a scheduler. Treat the generated image as a consistent first draft and keep a short human review step for unusual titles, cropping, contrast, and factual claims.
1. Define the data your automation will use
Start with a small content record. The post title is the minimum input. A richer record can include:
title: the exact blog headline.hook: a short promise or angle, usually fewer than 12 words.category: useful for color or layout variations.authorandpublish_date: optional supporting metadata.logoandbrand_colors: fixed brand assets, not fields an editor changes per post.url: the canonical article URL used in scheduling and link tracking.
WordPress.com’s Social Image Generator combines a post title with a selected template. ImageFeaty’s WordPress listing describes a similar cover workflow using title, category, author, date, logo, and brand colors. Those examples show why the data model should be explicit before you design the template.
2. Build one reusable template
A template prevents every post from becoming a new design project. Fix the logo position, type hierarchy, color palette, background treatment, and safe margins. Reserve a predictable text area for long headlines and define a fallback when a title exceeds it.
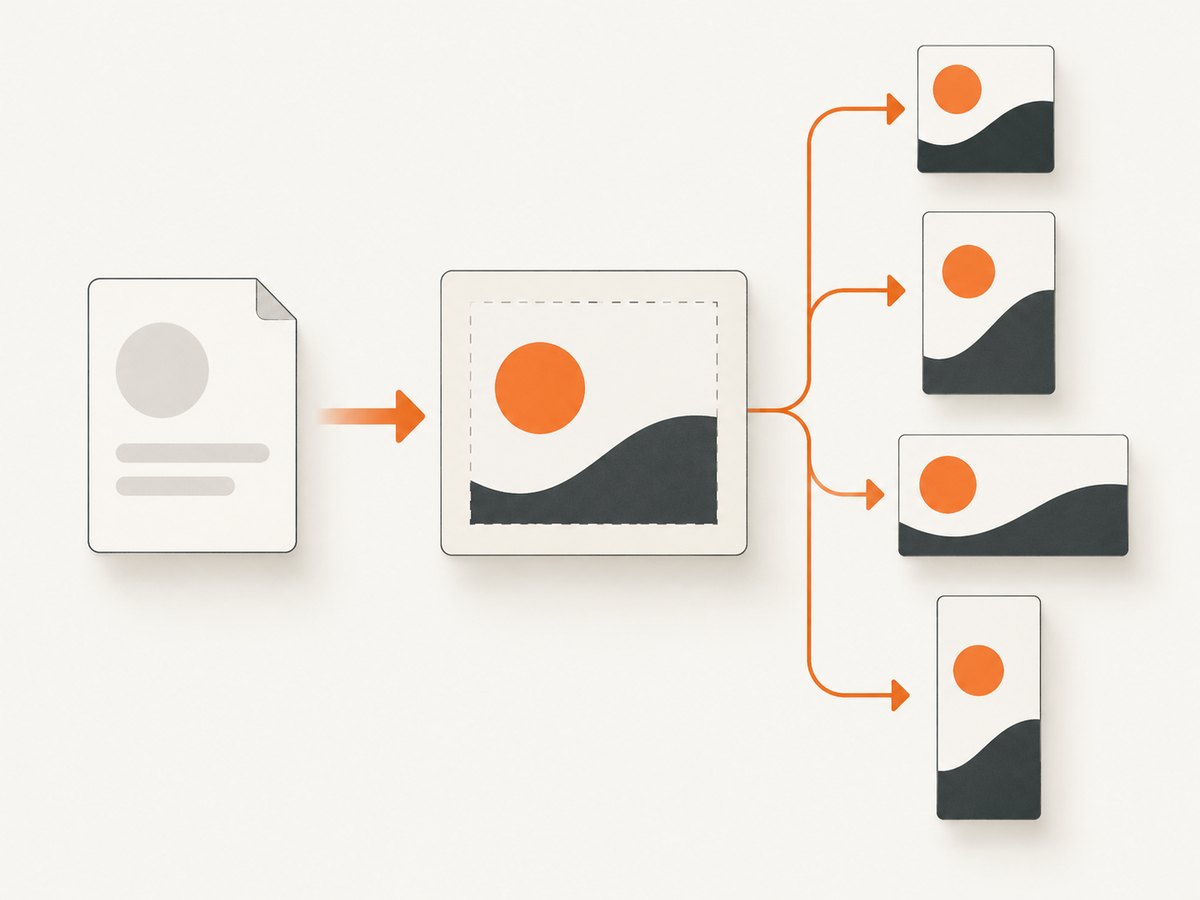
Template rules that survive automation
- Use one display style for the title and one supporting style for the category or brand.
- Keep important text away from edges so network crops do not remove it.
- Use strong contrast between text and its background; do not rely on a thin font over a photograph.
- Define a maximum title length and a line-break rule. A controlled three-line wrap is preferable to automatic shrinking that makes text unreadable.
- Keep the logo small but visible. It should identify the source without competing with the headline.
- Choose a focal point for background images so portrait crops still preserve it.
Adobe Express can generate an editable template from a text description, after which you select and edit a result. This is useful for creating the initial system, but lock the production version before connecting it to a publish trigger.
3. Render channel-specific variants
Do not export one image and assume every network will display it well. Buffer’s documented defaults include:
| Channel or use | Documented default | Design implication |
|---|---|---|
| Multi-channel square | 1080×1080 | Keep the title compact and centered. |
| 940×788 | Use a moderately wide composition. | |
| Instagram post | 1080×1350 | Portrait layouts can use larger type. |
| Instagram Story | 1080×1920 | Leave top and bottom interface-safe areas. |
| X | 1600×900 | Use a landscape focal point. |
| 1200×627 | Keep the hook readable in a wide preview. | |
| 1000×1500 | Use a tall composition with a clear visual subject. | |
| TikTok | 1080×1920 | Place important content in the central safe region. |
| Threads | 1080×1350 | Reuse the portrait system with a shorter hook. |
These are tool-documented defaults, not permanent platform guarantees. Recheck current requirements when you implement or change a channel. Your renderer should accept width, height, output format, and quality as configuration rather than hard-coding one canvas.
4. Connect generation to publishing
There are three practical trigger locations:
- At publish time in WordPress. On eligible WordPress.com Business and Commerce plans, enable Social Image Generator, choose a default template, and use the generated image when sharing a post.
- Inside a scheduler. Buffer’s Canva integration lets you create or select a design, return it to the composer, customize copy per network, and queue or schedule it.
- In a content scheduler with brand controls. Adobe Express Content Scheduler supports connected Facebook, Instagram for business, LinkedIn, TikTok, Pinterest, YouTube, and X accounts, plus immediate publishing, scheduling, and alt-text entry. Channel availability and limits can change, so verify them in the product before rollout.
For self-hosted WordPress, a plugin such as ImageFeaty is described as generating covers on publish or update and wiring Open Graph, Twitter, and LinkedIn metadata. Confirm its current maintenance, permissions, and export behavior before installing it on a production site.
5. A complete automation workflow
- Listen for a published or updated post.
- Read the title, category, author, date, canonical URL, and optional hook.
- Normalize whitespace and reject an empty title.
- Select the template variant from the category or campaign.
- Render every required dimension from the same content record.
- Run overflow and contrast checks. If the title fails, send it to review instead of silently shrinking it.
- Write descriptive alt text, for example: “Graphic for ‘How to cache API responses’ with the blog’s blue geometric brand background.”
- Attach each image to the correct social post and preserve the article URL, with tracking parameters if your analytics policy requires them.
- Queue or schedule posts with network-specific copy.
- Store the source fields, template version, output dimensions, and publication IDs so you can regenerate a post without guessing which design was used.
6. Review checklist before scaling
- Does the complete title fit without becoming too small?
- Is the headline readable at a phone-sized preview?
- Does every crop preserve the focal subject and logo?
- Is contrast sufficient in both light and dark feeds?
- Does the link point to the intended article rather than a draft or redirect?
- Does alt text describe the image’s purpose and content instead of repeating the filename?
- Are dates, author names, and category labels current?
- Have you checked the network’s latest dimension and safe-area guidance?
Automation creates consistent first drafts. Human review is especially valuable for titles containing long product names, punctuation, unusually narrow words, or claims that need editorial verification.
7. Tool selection: what to compare
Compare trigger location, editable-template support, brand controls, per-network resizing, queue and calendar features, plan eligibility, channel coverage, alt-text support, and export or API options.
| Tool or workflow | Best fit | Trade-off to check |
|---|---|---|
| WordPress.com Social Image Generator | Native generation when your site is on an eligible plan. | Documented for Business and Commerce plans; template flexibility may be narrower. |
| Canva plus Buffer | Editable designs combined with network-specific copy and scheduling. | Requires the Canva design handoff and current channel integrations. |
| Adobe Express | Text-to-template generation, brand-kit controls, and multi-channel scheduling. | Connected channels and scheduler limits can change. |
| ImageFeaty | Self-hosted WordPress generation and metadata wiring. | Evaluate plugin maintenance, permissions, and compatibility. |
8. Or skip the browser setup
If your workflow also needs a clean capture of the article, landing page, or generated graphic, ScreenshotNeo provides a single GET request for a PNG, JPEG, WebP, or PDF. It accepts consent banners like a visitor and removes more than 60 known consent platforms, newsletter popups, and chat widgets before capture. Each step can be disabled.
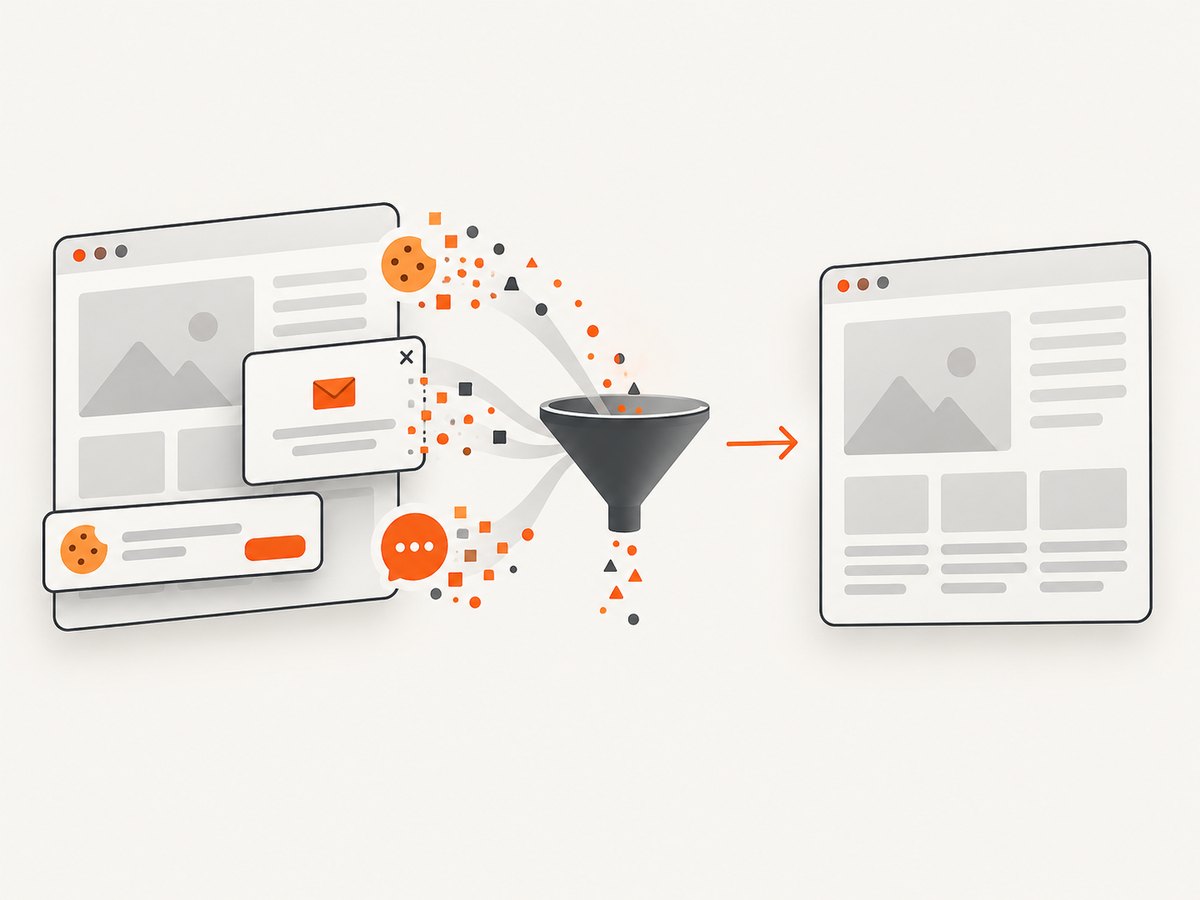
Read the ScreenshotNeo API documentation for all parameters. A basic capture looks like this:
curl -G "https://api.screenshotneo.com/v1/shot" -d access_key=YOUR_API_KEY --data-urlencode url=https://screenshotneo.com/blog/ -o shot.webpPython:
import requests

r = requests.get(
    "https://api.screenshotneo.com/v1/shot",
    params={"access_key": "YOUR_API_KEY", "url": "https://screenshotneo.com/blog/"},
    timeout=90,
)
r.raise_for_status()
open("shot.webp", "wb").write(r.content)
Node.js:
const q = new URLSearchParams({ access_key: 'YOUR_API_KEY', url: 'https://screenshotneo.com/blog/' });
const res = await fetch(`https://api.screenshotneo.com/v1/shot?${q}`);
if (!res.ok) throw new Error(`HTTP ${res.status}`);
const buffer = Buffer.from(await res.arrayBuffer());
await Bun.write('shot.webp', buffer);
Relevant options include full-page capture with lazy images loaded, a CSS-selector element capture, dark mode, 12 device presets or any viewport, retina scale, custom CSS and JavaScript, click-before-capture, hidden selectors, waits for a selector, delay, or network idle, blocked ads, trackers, requests, or resource types, custom headers, cookies, user agent and Authorization, timezone and geolocation, transparent backgrounds, resizing, a chosen cache TTL, signed public image links, asynchronous jobs with signed webhooks, bulk capture for up to 100 URLs per call, a usage API, and an OpenAPI specification. PDF output supports paper size, margins, landscape mode, and page ranges. Parameter names used by other screenshot APIs also work, which can simplify migration.
Clean shots are the only billable responses. Bot checks or CAPTCHAs, blank pages, timeouts, failed loads, and cache hits cost nothing, and the response identifies the result with X-Page-Verdict and X-Billed headers. An MCP server exposes take_screenshot, get_page_info, and capture_pdf for Claude, Cursor, and other MCP clients.
There is a free allowance of 1,000 shots per month with no card. Paid plans start at $5 for 3,000 shots; yearly billing gives two months free, and every feature is included on every plan. Create a free ScreenshotNeo account to start.
9. Troubleshooting common failures
Titles overflow or become unreadable
Cause: no maximum length or line-break policy. Fix: reserve three lines, shorten the hook, or route the record to review. Do not keep shrinking the font indefinitely.
The image is cropped badly on one network
Cause: one source canvas was reused everywhere. Fix: render the documented dimensions separately and test the focal point in each crop.
The generated image is missing from a scheduled post
Cause: the scheduler received a design URL or temporary file instead of a completed export. Fix: wait for the export to finish, verify the asset is accessible, then attach it before queueing.
Alt text is empty or generic
Cause: alt text was treated as optional metadata. Fix: generate it from the title and visual subject, then allow an editor to revise it.
A screenshot contains a cookie banner, popup, or chat bubble
Cause: the browser capture ran before consent handling or widget removal. Fix: use ScreenshotNeo’s consent and cleanup steps, or explicitly hide selectors and wait for the page to settle.
A capture times out
Cause: slow third-party resources, an authentication wall, or a page that never reaches network idle. Fix: wait for a specific selector or fixed delay, block unnecessary resource types, supply required headers or cookies, and inspect the verdict headers.
10. Performance, reliability, and cost
Render only the variants you will publish. Cache identical source records and template versions, and regenerate when either changes. Queue work so a burst of posts does not block your publishing system. Store output metadata and retry transient failures with backoff.
For a screenshot step, choose an explicit viewport and output format, block analytics and advertising requests when they are irrelevant, and use a cache TTL that matches how often the page changes. Bulk capture can reduce orchestration overhead for up to 100 URLs per call. With ScreenshotNeo, cache hits and failed or unusable captures are not billed; use the usage API and billing headers to reconcile actual clean shots.
FAQ
Can this run without WordPress?
Yes. Trigger the workflow from any CMS webhook, RSS-to-automation service, or scheduled job that can provide the title and canonical URL.
Should every network receive different copy?
Usually. Keep the visual system shared, but adjust the text length, call to action, and hashtags to each network’s audience and composer limits.
Is one template enough?
Start with one dependable template. Add variants only when a category, campaign, or channel has a clear communication need.
When should I use a screenshot in a social graphic?
Use one when the page itself is the story, such as a product tutorial or visual case study. Capture a clean, stable page and place it into the same branded layout as your title-based graphics.


