How to Automatically Generate Job Hiring Images
Create accurate hiring graphics at scale with templates, structured job data, brand rules, and automated exports for every channel.
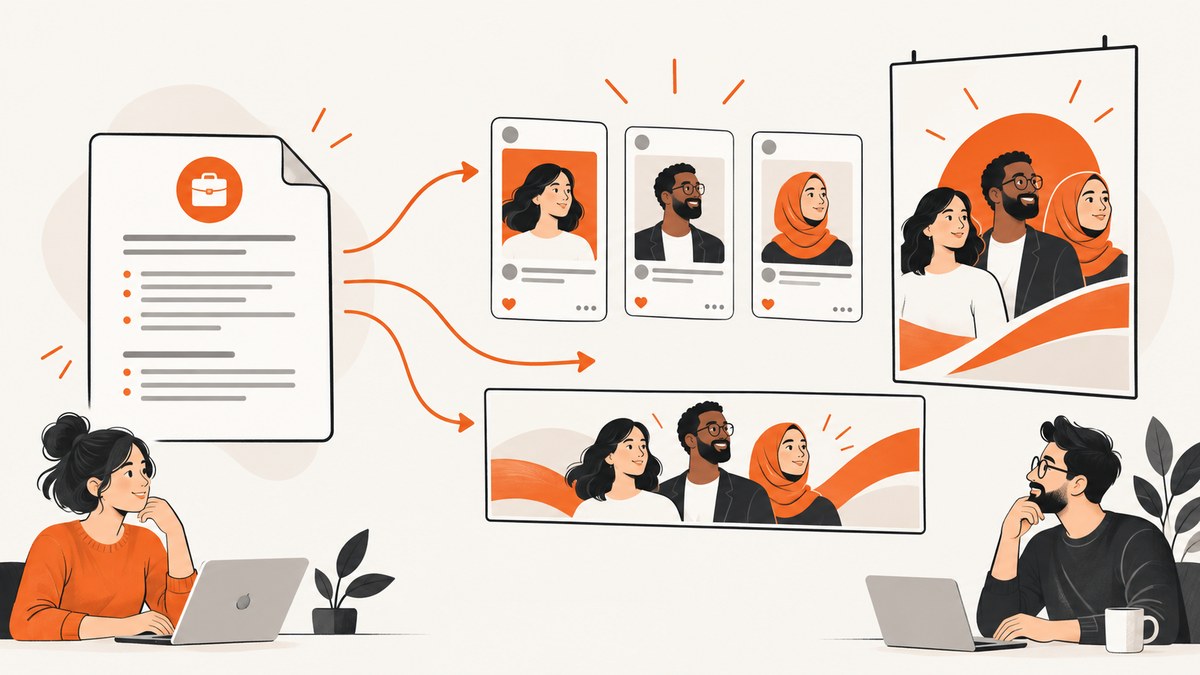
Direct answer: Automatically generating job hiring images works best as a template-assisted workflow. Store verified job details in structured data, place those values into a hiring-specific design, apply approved brand styles, create channel-sized variants, and export each image after a human review. Canva and Adobe Express both provide hiring templates; Adobe also describes generative imagery and automated resizing for HR content. Neither source establishes that a fully autonomous campaign improves applicant or hiring outcomes, so treat automation as a way to produce consistent assets faster while people remain responsible for accuracy and approval.
1. Decide what the image must do
Start with the destination and the amount of information the graphic must carry. A detailed vacancy announcement or poster can include responsibilities, requirements, location, and benefits. A social post or banner usually needs a short headline, role, work arrangement, employer name, and one clear application action.
| Asset | Best use | Content to prioritize |
|---|---|---|
| Job poster | Office, event, print, community board | Role, location, essentials, contact or application URL |
| Vacancy announcement | Careers page or recruiting campaign | Role summary, qualifications, work arrangement, CTA |
| Social post | LinkedIn and other social channels | Short role title, employer, location, CTA |
| Banner | Career-site hero or email header | Concise message and high-contrast branding |
Canva’s hiring collection includes vacancy announcements, banners, posters, and LinkedIn hiring posts. Adobe Express provides job-poster templates and describes broader HR workflows. Choose one master concept, then adapt it to each channel rather than shrinking a poster until its text becomes unreadable.
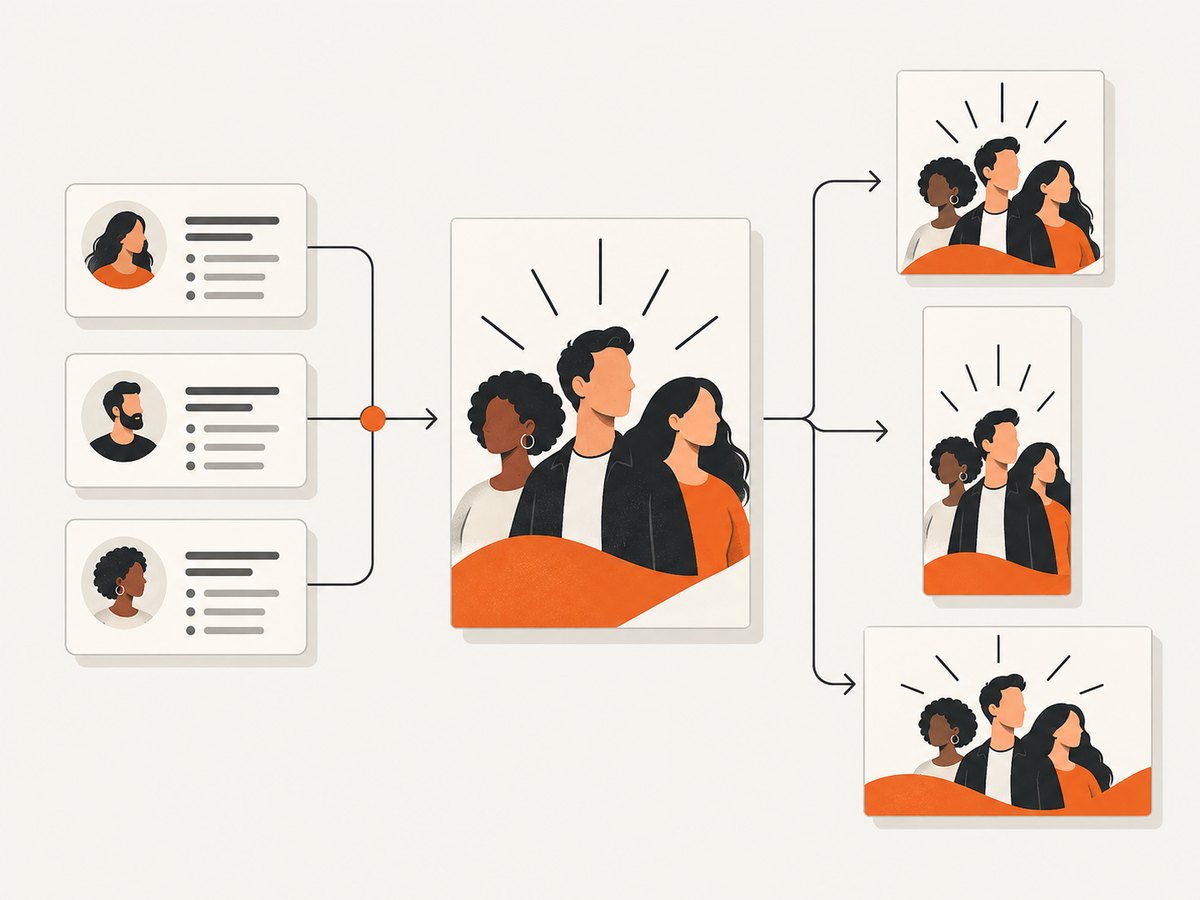
2. Put job facts in a structured record
Automation is only as reliable as its source data. Keep one record per opening and make required fields explicit. A spreadsheet, CMS, ATS export, or JSON file can be the source.
{
  "id": "senior-product-designer-nyc",
  "employer": "Northstar Labs",
  "role": "Senior Product Designer",
  "location": "New York, NY · Hybrid",
  "employment_type": "Full time",
  "summary": "Lead product design for a growing developer platform.",
  "apply_url": "https://example.com/careers/senior-product-designer",
  "brand": {
    "primary": "#173B57",
    "accent": "#F4B942",
    "text": "#FFFFFF"
  }
}
Validate every value before rendering. Check spelling, location, employment type, salary wording, application destination, and whether the position is still open. Do not let a template invent benefits, remote status, qualifications, or legal language. Keep the application URL in a machine-readable field so every variant points to the same reviewed destination.
3. Select and prepare a hiring template
Adobe Express offers job-poster templates, while Canva describes editable recruitment posters and hiring designs. Compare them by the range of assets you need, the brand controls your team uses, and where the finished files must go.
- Starting point: Adobe’s cited material focuses on job posters; Canva’s collection spans posters, vacancy announcements, banners, and LinkedIn hiring posts.
- AI-assisted content: Adobe explicitly describes generative imagery and resizing for HR content. The cited Canva material establishes templates and customization, not an equivalent HR-specific AI promise.
- Brand governance: Adobe describes brand kits and approved templates for HR content. Use equivalent locked styles or shared templates in whichever tool your team has approved.
- Distribution: Both describe digital output and print workflows. Canva describes LinkedIn sharing; Adobe names print delivery in the United States, United Kingdom, Australia, and Canada. Availability can vary by account, plan, destination, and geography.
Build the master layout with safe margins and fixed zones: employer mark, role title, short summary, location or work arrangement, and CTA. Use a flexible text area for the role title because “AI Research Engineer” and “Customer Support Representative” occupy very different widths. Define a maximum line count and a fallback font size before batch generation.
4. Generate images from data with a simple SVG pipeline
For teams that need repeatable output, a small renderer can produce an editable SVG for every opening. SVG keeps text sharp and can be converted to PNG by a browser or image tool. The example below uses only Python’s standard library and escapes all inserted values.
from html import escape
from pathlib import Path
import json

jobs = json.loads(Path("jobs.json").read_text())
out = Path("generated")
out.mkdir(exist_ok=True)

for job in jobs:
    brand = job.get("brand", {})
    primary = brand.get("primary", "#173B57")
    accent = brand.get("accent", "#F4B942")
    text = brand.get("text", "#FFFFFF")
    role = escape(job["role"])
    employer = escape(job["employer"])
    location = escape(job.get("location", ""))
    summary = escape(job.get("summary", ""))
    employment = escape(job.get("employment_type", ""))
    apply_url = escape(job["apply_url"], quote=True)

    svg = f'''<svg xmlns="http://www.w3.org/2000/svg" width="1200" height="628" viewBox="0 0 1200 628">
      <rect width="1200" height="628" fill="{primary}"/>
      <circle cx="1060" cy="80" r="220" fill="{accent}" opacity="0.9"/>
      <text x="72" y="92" fill="{text}" font-family="Arial, sans-serif" font-size="28" font-weight="700">{employer}</text>
      <text x="72" y="260" fill="{text}" font-family="Arial, sans-serif" font-size="64" font-weight="700">{role}</text>
      <text x="72" y="320" fill="{text}" font-family="Arial, sans-serif" font-size="26">{location} · {employment}</text>
      <text x="72" y="390" fill="{text}" font-family="Arial, sans-serif" font-size="24">{summary}</text>
      <rect x="72" y="480" width="300" height="70" rx="35" fill="{accent}"/>
      <text x="222" y="525" text-anchor="middle" fill="#111111" font-family="Arial, sans-serif" font-size="24" font-weight="700">Apply now</text>
      <metadata>{apply_url}</metadata>
    </svg>'''
    filename = out / f"{job['id']}.svg"
    filename.write_text(svg, encoding="utf-8")
    print(filename)
Save the records as jobs.json, run python generate_hiring_svgs.py, and inspect the SVGs in a browser. For production output, add schema validation, a unique version for each source record, and a review status so an outdated opening cannot be published accidentally.
5. Render PNG variants with Node.js and Playwright
Once the SVGs look correct, render channel-specific PNGs. Install Playwright with npm install playwright and its browser according to the project’s setup instructions. This script opens each file and exports a social-sized image.
import { chromium } from 'playwright';
import { readdir, mkdir } from 'node:fs/promises';
import path from 'node:path';

const input = 'generated';
const output = 'png';
await mkdir(output, { recursive: true });
const browser = await chromium.launch();
const page = await browser.newPage({ viewport: { width: 1200, height: 628 }, deviceScaleFactor: 2 });

for (const file of await readdir(input)) {
  if (!file.endsWith('.svg')) continue;
  const url = `file://${path.resolve(input, file)}`;
  await page.goto(url, { waitUntil: 'load' });
  await page.screenshot({ path: path.join(output, file.replace('.svg', '.png')), type: 'png' });
}
await browser.close();
For a poster, use a separate viewport and layout instead of stretching the social version. Keep the source SVG so you can regenerate every variant when a role changes.
6. Add optional imagery and automated resizing carefully
Generated imagery can make a hiring graphic more distinctive, but it needs review. Inspect faces, hands, text-like marks, logos, uniforms, and any visual suggestion about working conditions. Confirm that your organization has the rights and approvals required for the image source. Do not imply that an AI-generated image is a photograph of your workplace or employees.
Use one visual concept across variants, then check each export at its actual destination size. Verify that the role title remains readable on a phone, the CTA is not clipped, contrast is sufficient, and the application path works. Canva describes coordinated assets across formats, and Adobe describes resizing workflows; treat resizing as a new review step, not a guarantee that every crop is usable.
7. Review before publishing
- Confirm the opening is approved and still active.
- Compare the graphic with the source record character by character.
- Check employer name, role, location, work arrangement, and employment type.
- Open the application destination in an incognito window and test it on mobile.
- Inspect contrast, font size, line breaks, alternative text, and visible CTA.
- Review every channel variant at its final dimensions.
- Record the source version, reviewer, date, and exported filenames.
For accessibility, do not place essential information only in an image. Repeat the role, location, and application action in the surrounding post or page text, and provide meaningful alternative text wherever the publishing system supports it.
8. Or skip the browser setup
If your generated hiring page is publicly reachable, ScreenshotNeo can turn it into an image with one GET request. Its API supports PNG, JPEG, WebP, and PDF, plus full-page capture, custom CSS and JavaScript, device presets, retina scale, and image resizing. See the ScreenshotNeo API documentation for parameter details.

curl -G "https://api.screenshotneo.com/v1/shot" -d access_key=YOUR_API_KEY --data-urlencode url=https://example.com/hiring/senior-product-designer -o shot.webpimport requests
r = requests.get(
"https://api.screenshotneo.com/v1/shot",
params={"access_key": "YOUR_API_KEY", "url": "https://example.com/hiring/senior-product-designer"},
timeout=90,
)
r.raise_for_status()
open("shot.webp", "wb").write(r.content)
print(r.headers.get("X-Page-Verdict"), r.headers.get("X-Billed"))const q = new URLSearchParams({ access_key: 'YOUR_API_KEY', url: 'https://example.com/hiring/senior-product-designer' });
const res = await fetch(`https://api.screenshotneo.com/v1/shot?${q}`);
if (!res.ok) throw new Error(`${res.status} ${await res.text()}`);
const bytes = Buffer.from(await res.arrayBuffer());
await import('node:fs/promises').then(fs => fs.writeFile('shot.webp', bytes));
console.log(res.headers.get('X-Page-Verdict'), res.headers.get('X-Billed'));Cookie banners, newsletter popups, and chat widgets are removed before the shot. Bot checks, blank pages, failed loads, timeouts, and cache hits are not billed, and the response identifies the result with X-Page-Verdict and X-Billed headers. An MCP server provides take_screenshot, get_page_info, and capture_pdf tools for Claude, Cursor, and other MCP clients. The Free plan includes 1,000 screenshots per month with no card; paid plans start at $5 for 3,000. Create a free ScreenshotNeo account.
9. Options that matter in production
| Need | Useful setting or practice |
|---|---|
| Different channels | Set explicit viewport, device preset, image format, and retina scale. |
| Long job descriptions | Use full-page capture or a dedicated short template; do not let text overflow. |
| One component only | Capture an element by CSS selector. |
| Dynamic pages | Wait for a selector, fixed delay, or network idle. |
| Private careers page | Provide custom headers, cookies, user agent, or Authorization. |
| Consistent localization | Set timezone and geolocation explicitly. |
| Repeat exports | Choose a cache TTL; use signed links for public image tags. |
| Large campaigns | Use bulk capture for up to 100 URLs per call or asynchronous jobs with signed webhooks. |
10. Troubleshooting
Text is clipped or overlaps
The template has a fixed text box or the title is longer than expected. Add line wrapping and a minimum font size, shorten the display title, or route long titles to a variant with a larger text area.
The image shows a cookie banner or chat bubble
Your renderer captured the page before cleanup or the widget loaded late. Hide those selectors in your browser script, wait for the page to settle, or use ScreenshotNeo’s consent and popup removal options.
The application link is wrong
The source record is stale or a placeholder survived export. Validate URLs before rendering, display the reviewed CTA in surrounding post text, and test the final destination from the published channel.
A capture is blank or times out
The page may require authentication, JavaScript, or more time to load. Supply headers or cookies, wait for a selector or network idle, and inspect the X-Page-Verdict header when using ScreenshotNeo.
Batch output contains mixed branding
Brand values are missing or inherited from an old template. Require primary, accent, and text colors in the input schema and version the template with the job data.
Print output looks soft
A social-sized raster is being enlarged. Export a larger canvas, retain the SVG source, and request a PDF or print-oriented layout when the destination requires it.
11. Performance, reliability, and cost
Generate once per source change, not on every page view. Cache the rendered asset using a stable job ID and template version. Parallelize independent renders within your provider’s limits, then retry transient browser failures with backoff. Keep a manifest containing source hash, output dimensions, format, renderer version, and review status so a rerun is deterministic.
For a self-hosted browser pipeline, account for browser startup, memory, font installation, and queue time. Reuse a browser process for a batch and close pages after each export. For an API pipeline, choose caching and bulk or asynchronous jobs when volume grows. ScreenshotNeo bills only clean shots; failed loads, bot checks, blank pages, timeouts, and cache hits cost nothing. Its plans are Free: 1,000 per month, Starter: $5 for 3,000, Growth: $15 for 15,000, Pro: $39 for 60,000, Scale: $99 for 250,000, and Business: $249 for 1,000,000. Yearly billing gives two months free, and every feature is included on every plan.
FAQ
Can this process publish jobs without human approval?
It can technically export and distribute files, but the source material supports template-assisted creation, not unreviewed autonomous hiring campaigns. Keep a reviewer for job facts, imagery, accessibility, and destination links.
Should every role use the same image?
Use a shared visual system for recognition, with layouts that accommodate different title lengths, locations, and channels.
Is AI-generated imagery required?
No. Templates with approved brand assets are sufficient. AI imagery is optional and should be inspected for accuracy, rights, and suitability.
Can I print the result?
Yes. Canva and Adobe describe print workflows, but availability and delivery coverage depend on the provider, account, destination, and geography.
What should the image alt text say?
State the employer, role, location or work arrangement, and application action. Repeat essential details in nearby text so nobody must interpret the image alone.
Conclusion
The dependable pattern is structured job data, a hiring-specific master template, deterministic rendering, channel-sized variants, and a required review gate. Canva and Adobe Express provide practical starting points; a small SVG and browser pipeline gives engineering teams more control. When the source page is ready and you want to avoid maintaining browser infrastructure, ScreenshotNeo provides the capture layer, cleanup for common consent and widget clutter, verdict headers, MCP tools, and a free tier to begin.


