How to Automatically Generate LinkedIn Images for a Job Board
Build an approval-based workflow that turns job listings into branded LinkedIn images, validates assets, and publishes safely at scale.
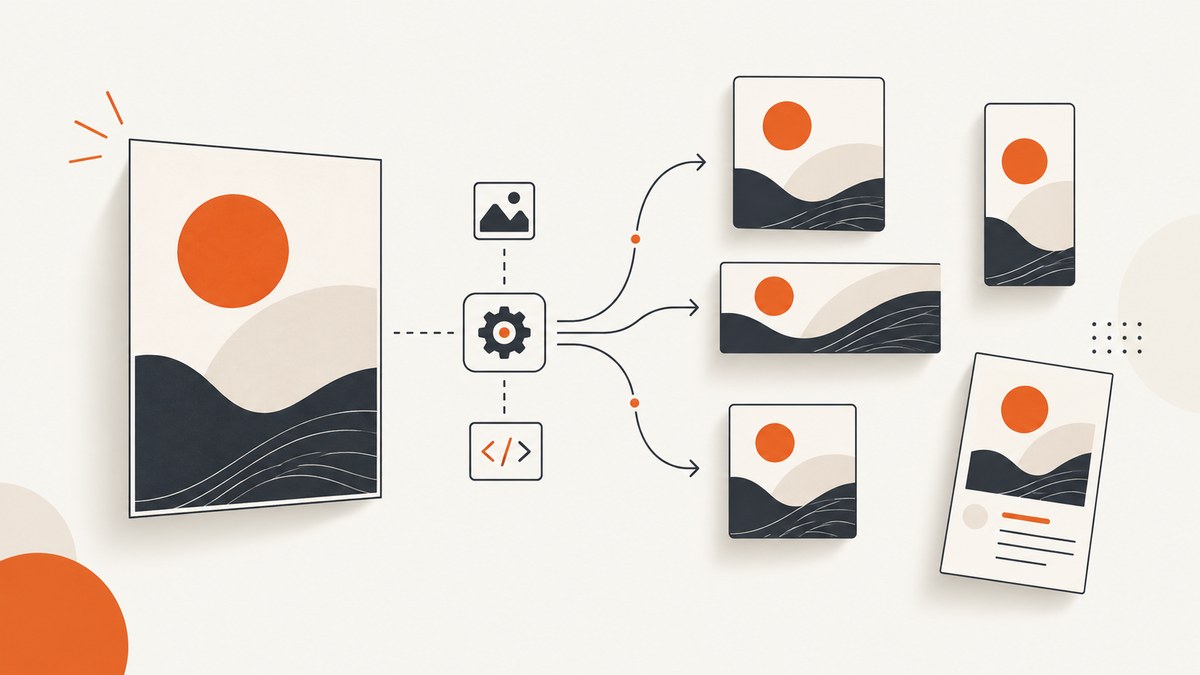
Automatically generating a LinkedIn image for every job-board listing requires three separate stages: approved job data, image rendering, and publishing. Keep those stages independent so an unreviewed listing cannot become a public post and a rendering failure cannot create a broken LinkedIn update.
A dependable workflow looks like this:
- Store normalized listings in Airtable or another structured source.
- Move only reviewed records into an Approved view or status.
- Render each approved record with a reusable template and dynamic fields.
- Validate the image URL, dimensions, text, and accessibility data.
- Publish manually, schedule it, or send it through LinkedIn’s image-upload and post APIs.
The Bannerbear job-board workflow follows this pattern: an approved Airtable record triggers Zapier, which sends mapped fields to a Bannerbear template. The same design can be reused for every role while the title, logo, company, location, description, and application URL change per record. [Bannerbear’s tutorial](https://www.bannerbear.com/blog/automatically-generate-images-for-your-job-board/) is a useful reference, but connector labels and permissions should be checked against the current products before launch.
1. Design the data model before generating images
Image automation is only as reliable as the fields entering the template. Use one record per job and keep presentation fields separate from source fields where possible.
| Field | Purpose | Validation |
|---|---|---|
job_id |
Stable identifier for deduplication | Required; never changes after creation |
title |
Role name shown on the image | Trim whitespace; define a maximum length |
company_name |
Employer name | Required for approved records |
logo_url |
Company mark used by the template | HTTPS image URL; verify it returns an image |
location |
City, region, remote status, or hybrid detail | Normalize spelling and separators |
description |
Short summary for the creative | Strip HTML; truncate to a known limit |
application_url |
Destination for applicants | HTTPS URL; preserve tracking parameters |
approval_status |
Gate that permits generation | Only an explicit Approved value triggers work |
image_url |
Rendered asset returned by the image service | Write after successful generation |
published_at |
Publishing state | Set only after LinkedIn confirms the post |
Do not trigger from “record created” alone. A listing can be incomplete, duplicated, or still awaiting moderation. An Approved view, a single-select approval field, or an automation condition prevents premature generation. Keep a second idempotency field such as render_key = job_id + template_version; this lets you rerun a failed job without creating multiple images for the same approved listing.
2. Create a reusable branded template
Build one template with named dynamic layers instead of generating a new design for every role. Typical layers are a logo, title, company name, location, description, application URL, accent color, and background image.
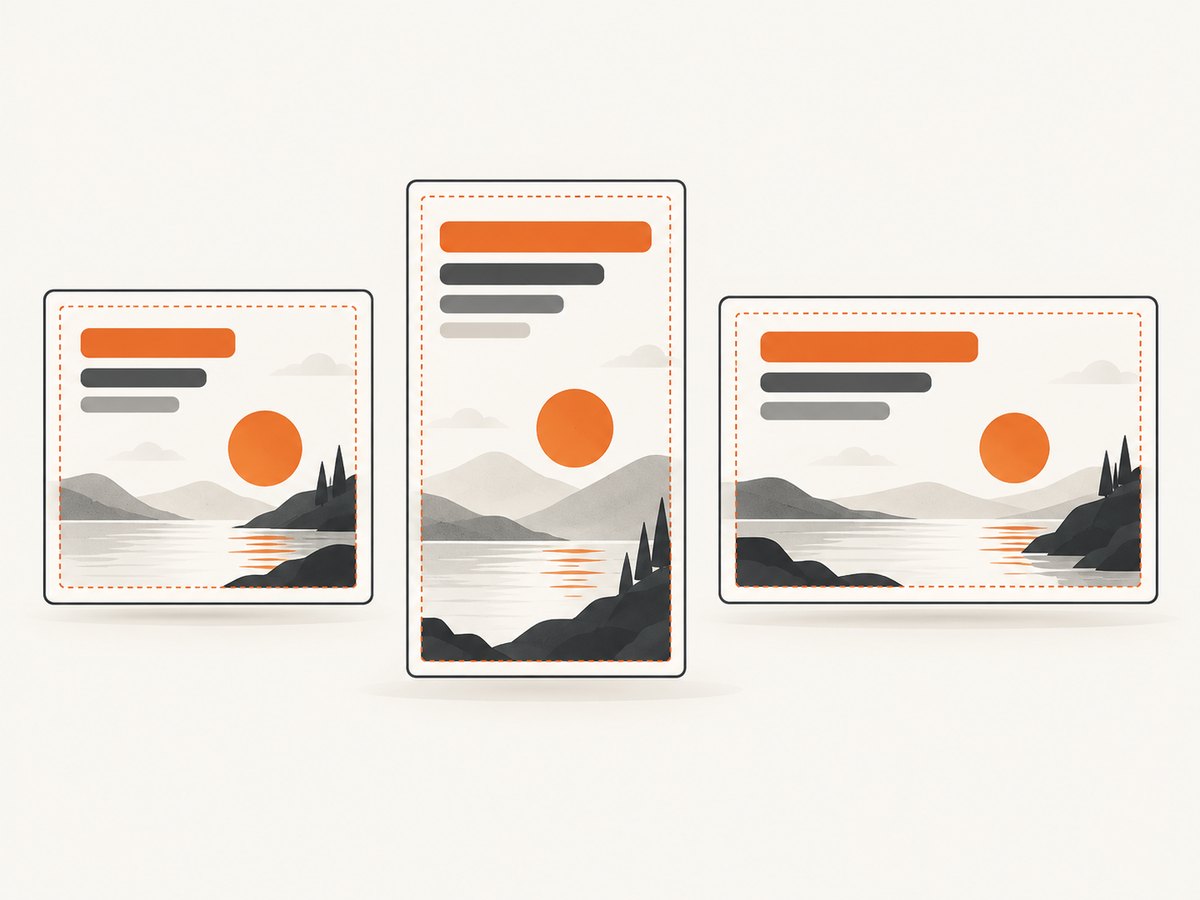
Design for the longest realistic values. A two-line title may become four lines when a hiring manager enters a long specialization. Set a maximum title length, choose a fallback font, and reserve enough vertical space for wrapping. Keep important content inside a safe margin so LinkedIn previews do not crop it.
Use a consistent aspect ratio for organic posts. A square or landscape canvas is easier to reuse across social channels; choose one size, document it, and resize only at the final delivery step. Do not put critical information exclusively in the image: include the same role and company in the LinkedIn post text and provide useful alt text.
3. Normalize and approve records
Before calling an image renderer, run a validation step. Reject or route records to a review queue when:
- The title, company name, or application URL is empty.
- The logo URL is not HTTPS or does not return an image.
- The description contains raw HTML, tracking scripts, or excessive length.
- The approval value is anything other than the exact approved state.
- The same
job_idand template version already produced an image.
Normalize text with Unicode-aware trimming, collapse repeated whitespace, and convert line breaks to spaces before inserting values into a template. Preserve the original description in your database; store the normalized version separately so editors can audit what changed.
4. Connect the approved record to image generation
In an automation service, configure a trigger for a new record entering the Approved view. Map each Airtable field to the corresponding template layer. Save the renderer’s output URL, request ID, and template version back to the record.
Use a retry policy for transient failures, but make retries idempotent. A safe key is the job ID plus template version. If a retry sees an existing successful result for that key, it should reuse the asset rather than render another copy.
For teams that prefer to render locally, the following Node.js example creates a simple HTML card and captures it with Playwright. It is complete enough to run as a baseline; replace the CSS and fields with your brand system.
import { chromium } from 'playwright';
import fs from 'node:fs/promises';
const job = {
title: 'Senior Data Engineer',
company_name: 'Example Health',
location: 'Remote — United States',
description: 'Build reliable pipelines that help care teams make faster decisions.',
application_url: 'https://example.com/jobs/senior-data-engineer'
};
const escapeHtml = (value) => String(value)
.replaceAll('&', '&')
.replaceAll('<', '<')
.replaceAll('>', '>')
.replaceAll('"', '"')
.replaceAll("'", ''');
const html = `<!doctype html>
<html><head><style>
* { box-sizing: border-box; }
body { margin: 0; width: 1200px; height: 628px; font-family: Arial, sans-serif; background: #101828; color: white; }
.card { height: 100%; padding: 64px; display: flex; flex-direction: column; justify-content: space-between; }
.eyebrow { color: #98a2b3; font-size: 24px; }
h1 { max-width: 1000px; font-size: 62px; line-height: 1.05; margin: 22px 0; }
.meta { font-size: 30px; color: #d0d5dd; }
.description { max-width: 900px; font-size: 26px; line-height: 1.35; color: #eaecf0; }
.url { font-size: 20px; color: #84cae8; }
</style></head><body>
<main class="card">
<div><div class="eyebrow">${escapeHtml(job.company_name)}</div>
<h1>${escapeHtml(job.title)}</h1>
<div class="meta">${escapeHtml(job.location)}</div></div>
<div><p class="description">${escapeHtml(job.description)}</p>
<div class="url">${escapeHtml(job.application_url)}</div></div>
</main></body></html>`;
await fs.writeFile('job-card.html', html);
const browser = await chromium.launch();
const page = await browser.newPage({ viewport: { width: 1200, height: 628 }, deviceScaleFactor: 2 });
await page.setContent(html, { waitUntil: 'networkidle' });
await page.screenshot({ path: 'job-card.png', fullPage: true, type: 'png' });
await browser.close();Install and run it with npm install playwright and node generate-job-image.mjs. In production, load remote logos deliberately, set a timeout, and reject a record if required assets fail to load.
5. Validate the rendered asset
Do not mark a record complete merely because an API returned a URL. Fetch the URL and verify an image response, a nonzero content length, and the expected dimensions. Open a sample in a browser during setup, as the Bannerbear workflow recommends. Check long titles, missing logos, accented characters, right-to-left text, and unusually long locations.
Keep a human review option. A useful review table contains the job ID, source record URL, rendered image URL, template version, validation result, and reviewer decision. If a reviewer rejects an image, store the reason so the template or input data can be corrected without losing the original record.
6. Publish to LinkedIn safely
Rendering and publishing are different operations. You can schedule the image for manual sharing, use a social scheduling tool, or integrate directly with LinkedIn’s APIs. The LinkedIn Images API flow initializes an upload, uploads the binary, and references the resulting image URN in an image post. Requests use a Linkedin-Version header in YYYYMM format and X-Restli-Protocol-Version: 2.0.0. The API documentation lists JPG, GIF, and PNG support and a 36,152,320-pixel ceiling. Check the currently supported version and your application’s permissions before launch: Marketing Version 202510 is scheduled to sunset on October 15, 2026. [LinkedIn Images API documentation](https://learn.microsoft.com/en-us/linkedin/marketing/integrations/community-management/shares/images-api).
A simplified upload sequence in Python looks like this. The exact endpoint, OAuth scopes, owner URN, and payload fields depend on your LinkedIn application and current API version, so treat the placeholders as configuration that must be filled from the current documentation.
import os
import requests

TOKEN = os.environ['LINKEDIN_ACCESS_TOKEN']
OWNER_URN = os.environ['LINKEDIN_OWNER_URN']
VERSION = os.environ['LINKEDIN_VERSION']  # verify before deployment
headers = {
    'Authorization': f'Bearer {TOKEN}',
    'Linkedin-Version': VERSION,
    'X-Restli-Protocol-Version': '2.0.0',
    'Content-Type': 'application/json',
}

image = open('job-card.png', 'rb')
init = requests.post(
    'https://api.linkedin.com/rest/images?action=initializeUpload',
    headers=headers,
    json={'initializeUploadRequest': {'owner': OWNER_URN}},
    timeout=30,
)
init.raise_for_status()
data = init.json()['value']
upload_url = data['uploadUrl']
image_urn = data['image']

upload = requests.put(upload_url, headers={'Authorization': f'Bearer {TOKEN}'}, data=image, timeout=60)
upload.raise_for_status()

post = requests.post(
    'https://api.linkedin.com/rest/posts',
    headers=headers,
    json={
      'author': OWNER_URN,
      'commentary': 'Senior Data Engineer — apply here: https://example.com/jobs/senior-data-engineer',
      'content': {'media': {'id': image_urn, 'altText': 'Senior Data Engineer role at Example Health, remote in the United States'}},
      'distribution': {'feedDistribution': 'MAIN_FEED'},
      'lifecycleState': 'PUBLISHED',
      'visibility': 'PUBLIC'
    },
    timeout=30,
)
post.raise_for_status()
print(post.json())
Keep publishing credentials server-side. Record LinkedIn’s response ID and only set published_at after a successful response. If a request times out after LinkedIn accepted it, query your own idempotency record before retrying to avoid duplicate posts.
7. Respect the correct image specification
| Use case | Rules to check |
|---|---|
| Organic image post | Use the current Images API documentation; verify supported formats, dimensions, permissions, and version headers. |
| Carousel sponsored content | Reviewed specifications allow JPG, PNG, or non-animated GIF, up to 10 MB and 4320 × 4320 pixels; 1080 × 1080 at 1:1 is recommended. Headlines can truncate after two lines. [LinkedIn carousel specifications](https://business.linkedin.com/marketing-solutions/success/ads-guide/ads-guide-carousel). |
| Dynamic job ads | These are paid formats based on member-job matching. They are not required for ordinary job-board image posts. [LinkedIn dynamic job ads](https://www.linkedin.com/business/marketing/blog/linkedin-ads/introducing-dynamic-job-ads). |
8. Or skip the browser setup
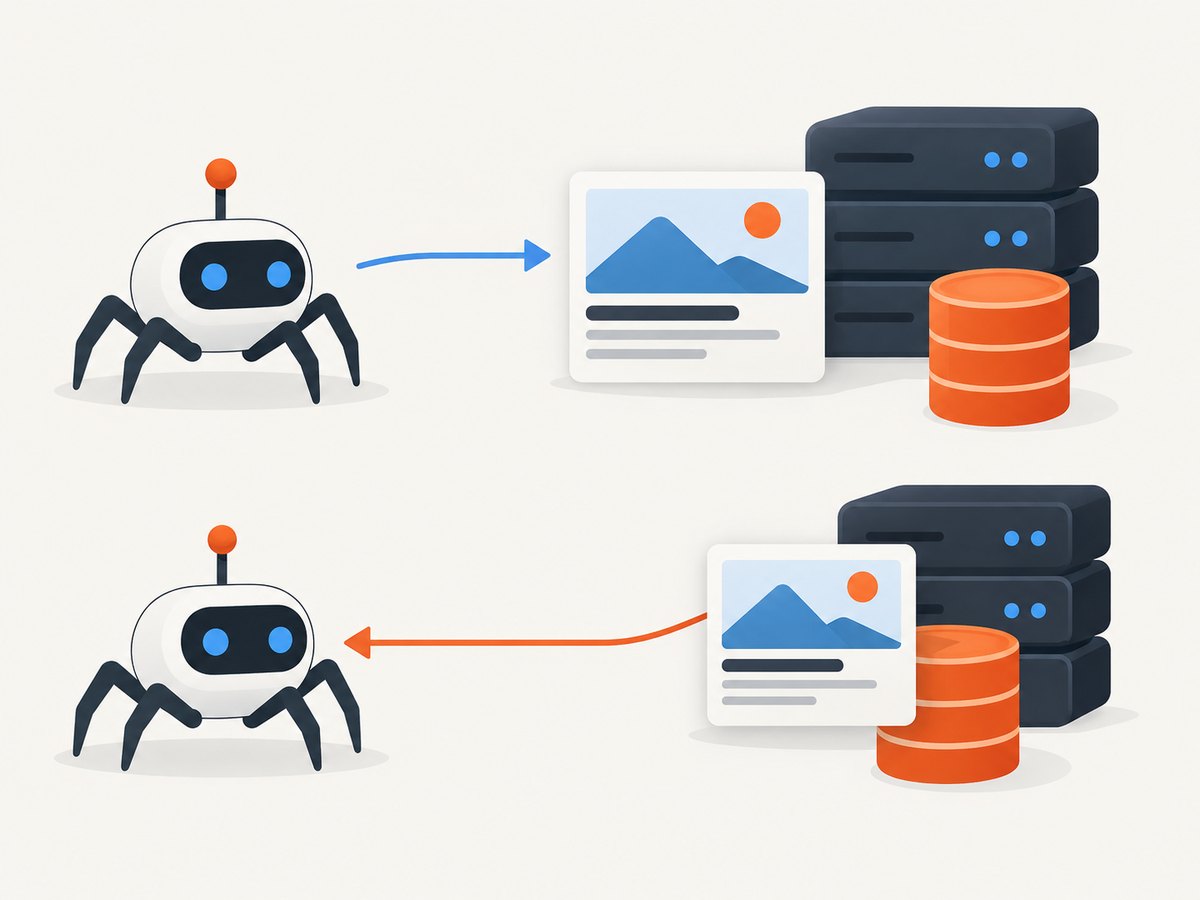
ScreenshotNeo can capture the rendered job page or a hosted HTML template with one request. See the ScreenshotNeo documentation for all options.
curl -G "https://api.screenshotneo.com/v1/shot" -d access_key=YOUR_API_KEY --data-urlencode url=https://stripe.com -o shot.webpimport requests
r = requests.get("https://api.screenshotneo.com/v1/shot", params={"access_key": "YOUR_API_KEY", "url": "https://stripe.com"}, timeout=90)
open("shot.webp", "wb").write(r.content)const q = new URLSearchParams({ access_key: 'YOUR_API_KEY', url: 'https://stripe.com' });
const res = await fetch(`https://api.screenshotneo.com/v1/shot?${q}`);For a job-board workflow, pass the URL of a listing-specific template page and choose options such as full-page capture, an element selector, custom CSS, a wait condition, a delay, network-idle waiting, a device preset, retina scale, or a transparent background. You can also hide selectors, click an element, block ads and trackers, set cookies or headers, choose a timezone or geolocation, resize the output, cache with a TTL, create signed links, submit async jobs with signed webhooks, or capture up to 100 URLs in one bulk call.
- Cookie banners, newsletter popups, and chat widgets are removed before the shot; each cleanup step can be turned off.
- Bot checks, blank pages, failed loads, timeouts, and cache hits are not billed. Inspect
X-Page-VerdictandX-Billedon every response. - An MCP server provides
take_screenshot,get_page_info, andcapture_pdftools for Claude, Cursor, and other MCP clients. - Every plan includes all features. The free plan includes 1,000 screenshots per month without a card; paid plans start at $5 for 3,000 shots.
Create a free ScreenshotNeo account and use the 1,000 monthly screenshots to validate your template and edge cases before scaling.
9. Reliability, performance, and cost controls
Reliability checklist
- Use a queue between approval and rendering so traffic spikes do not drop records.
- Persist request IDs, template versions, response status, and error messages.
- Retry only transient network and server errors with exponential backoff.
- Dead-letter records after a fixed retry count for human review.
- Keep source records immutable enough to reproduce an image later.
- Monitor duplicate renders and duplicate LinkedIn posts separately.
Performance
Render only after approval, cache identical template-and-data combinations, and avoid loading unnecessary third-party resources. For large batches, process concurrently within the limits of your renderer and LinkedIn application. Full-page captures and remote logos take longer than fixed viewport captures; set explicit timeouts and wait conditions instead of sleeping for an arbitrary long period.
Cost
Track cost per approved listing, not per incoming record. Deduplication prevents paying for repeated renders. With ScreenshotNeo, clean shots are billed while bot checks, blank pages, timeouts, failed loads, and cache hits are free; response headers identify the verdict and billing status. Plans are Free: 1,000/month, Starter: $5 for 3,000, Growth: $15 for 15,000, Pro: $39 for 60,000, Scale: $99 for 250,000, and Business: $249 for 1,000,000. Yearly billing provides two months free.
10. Troubleshooting common failures
| Symptom | Likely cause | Fix |
|---|---|---|
| Image generated for an unapproved job | Trigger watches all new records | Trigger on the Approved view or require an exact approval value. |
| Logo is missing | Private, expired, or non-image URL | Use a public HTTPS asset, validate content type, and provide a fallback logo. |
| Text is clipped | Long title or description exceeds template bounds | Set character limits, wrap deliberately, and test worst-case fixtures. |
| Blank screenshot | Page has not finished rendering or requires blocked resources | Wait for a selector or network idle, then inspect the page verdict and logs. |
| Cookie notice covers content | Consent UI appears before capture | Accept or remove the banner in your browser script, or enable ScreenshotNeo’s consent cleanup. |
| LinkedIn rejects upload | Wrong version header, format, size, or permission | Check the current Images API requirements, pixel count, OAuth scopes, and application access. |
| Duplicate LinkedIn posts | Retry occurred after an unknown timeout | Store a client idempotency key and reconcile the response before retrying. |
| Automation loops forever | Writing the rendered URL updates the same trigger view | Trigger only on approval transitions and ignore records with a completed render key. |
11. FAQ
Should every job listing become a post?
No. Require approval, deduplicate by job ID, and skip listings that lack complete or publishable data.
Can I use the same image for organic posts and ads?
Sometimes, but validate the specification for the exact placement. Carousel ad limits and organic image-post requirements are different.
Do I need LinkedIn’s API to share images?
No. Manual sharing or a scheduler can publish the rendered asset. Direct API publishing requires the appropriate LinkedIn application access and permissions.
How should alt text be generated?
Describe the role, company, and location in plain language. Do not repeat a long URL or rely on text that exists only inside the image.
When should I regenerate an image?
Regenerate when approved source fields or the template version changes. Keep the previous asset and its metadata for auditability.
Can an AI agent operate this workflow?
Yes. ScreenshotNeo’s MCP server exposes screenshot, page-information, and PDF-capture tools to MCP clients such as Claude and Cursor. Keep approval and publishing permissions explicit.


