Automatically Generate Subtitle Highlight Images
Build word-by-word subtitle highlight images with timestamps, styled overlays, FFmpeg, ImageMagick, or a hosted API.
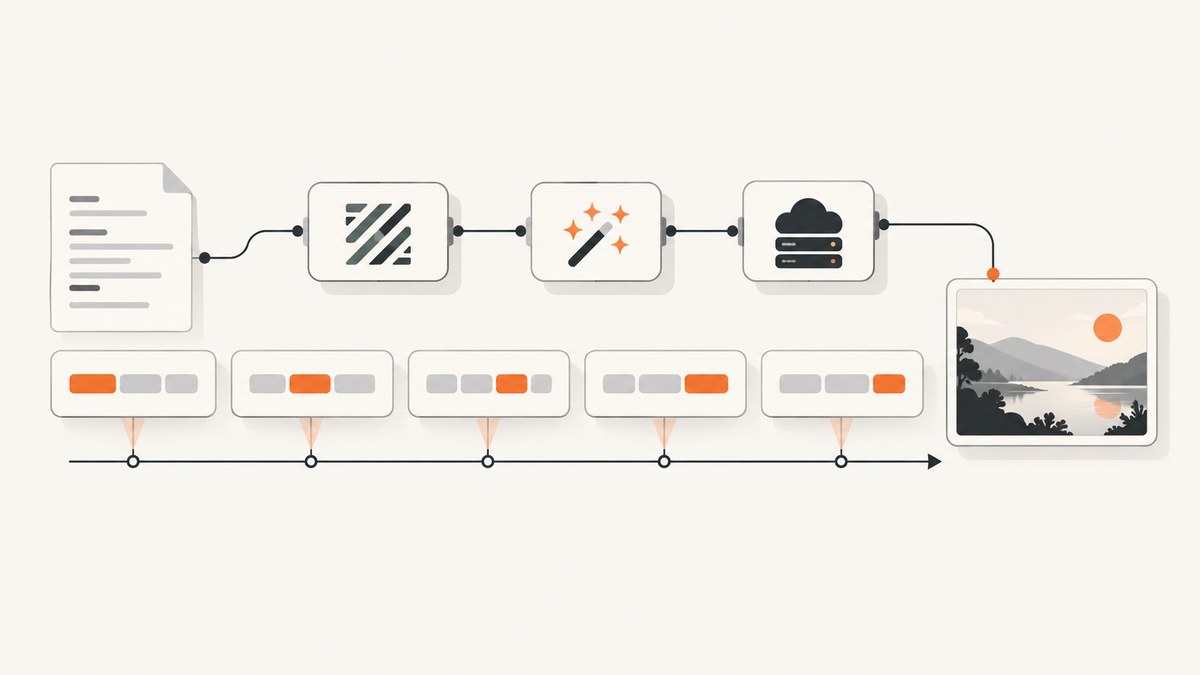
To automatically generate subtitle highlight images, create a word-timed transcript, group the words into readable lines, render one overlay for each time range, and composite those overlays over your video or export them as still images. The active word receives a different color or emphasis while the remaining words stay readable.
The reliable workflow is:
- Extract or access the audio track.
- Transcribe speech with word-level timestamps.
- Correct names, technical terms, and punctuation.
- Group words into short lines with readable timing.
- Render transparent subtitle overlays or complete frames.
- Composite the frames into a video, image sequence, or social post.
This guide shows a local Python, Whisper, ImageMagick, and FFmpeg pipeline, a hosted API option, styling controls, troubleshooting, and production considerations.
1. What a subtitle highlight image contains
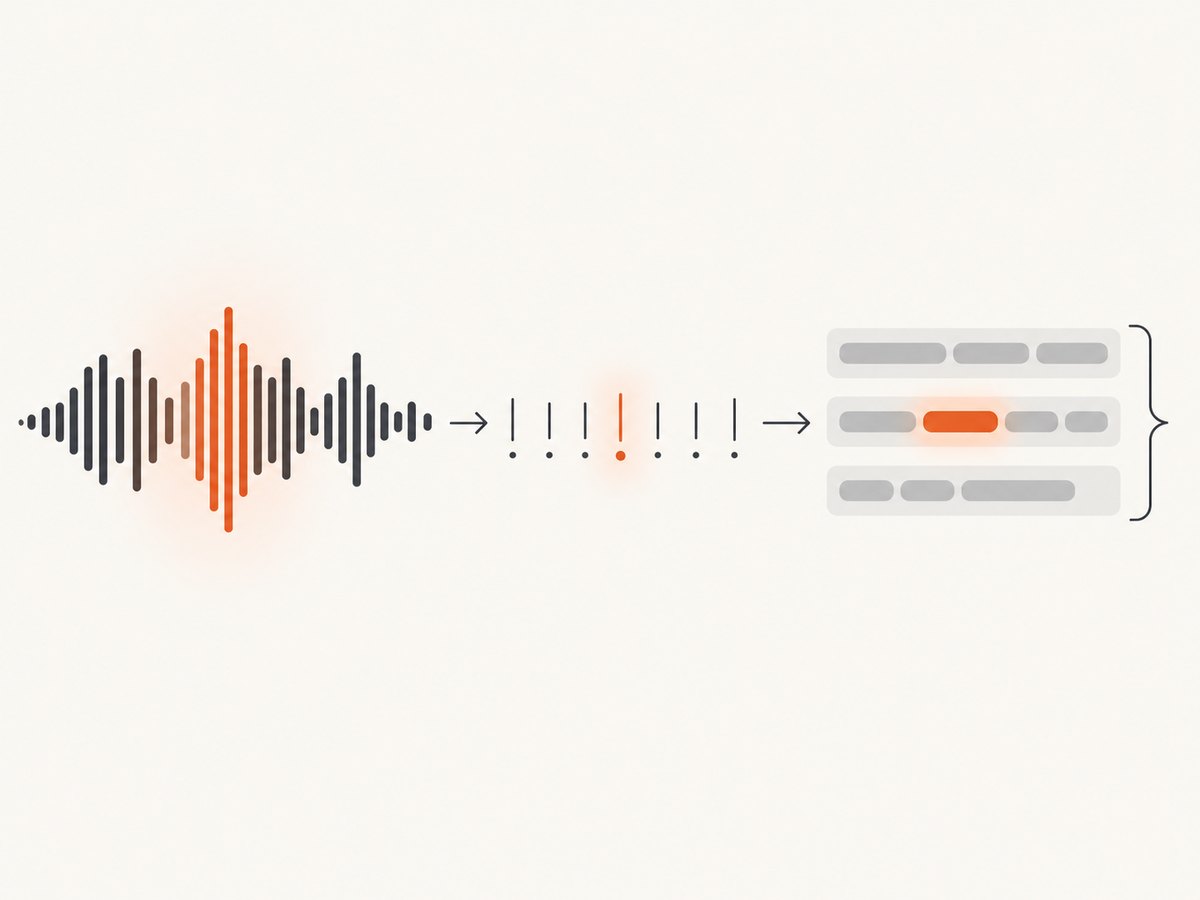
A highlight image is usually a single video frame or transparent overlay containing a subtitle line. Each word has a start and end timestamp. At any moment, the renderer chooses the word whose interval contains the current time and paints it with the active style.
{
  "text": "Ship the update today",
  "words": [
    {"word": "Ship", "start": 0.00, "end": 0.42},
    {"word": "the", "start": 0.43, "end": 0.58},
    {"word": "update", "start": 0.59, "end": 1.12},
    {"word": "today", "start": 1.13, "end": 1.65}
  ]
}
At 0.70 seconds, “update” is active. At 1.30 seconds, “today” is active. Keeping the timing data separate from the visual style lets you change fonts, colors, line length, or output dimensions without transcribing again.
2. Choose an implementation path
| Approach | Best for | Trade-offs |
|---|---|---|
| Local Whisper plus FFmpeg | Private media, repeatable batch jobs, full control | Requires Python, model files, FFmpeg, fonts, and rendering setup |
| Local repository or command-line tool | Fast experiments with presets | Defaults may not match your brand; inspect and edit the transcript |
| Hosted captioning endpoint | Applications that need an HTTP queue and managed infrastructure | Media leaves your environment and usage pricing must be checked |
The local Video Subtitles Generator project documents Python 3.8+, FFmpeg, and ImageMagick requirements and exposes highlight colors, font size, stroke, outline, shadow, maximum words, maximum duration, and maximum character controls. KillerSubtitles packages FFmpeg and fonts and provides platform presets. fal.ai documents an endpoint that extracts audio, transcribes with word timing, groups readable lines, and renders styled karaoke subtitles.
3. Local setup with Python, Whisper, ImageMagick, and FFmpeg
Install dependencies
Install Python 3.8 or newer, FFmpeg, and ImageMagick. Then install a Whisper implementation and an image/video helper library:
python -m venv .venv
source .venv/bin/activate
pip install openai-whisper pillow moviepy
ffmpeg -version
magick -version
The exact Whisper package and model size depend on your hardware. A larger model can improve recognition of difficult speech but needs more memory and takes longer to run. Treat model selection as an operating choice, not an accuracy guarantee.
Extract audio
ffmpeg -i input.mp4 -vn -ac 1 -ar 16000 -c:a pcm_s16le audio.wavMono, 16 kHz PCM is a practical input for speech recognition. Keep the original video because its frame rate, dimensions, and audio duration are needed during compositing.
Transcribe with word timestamps
import json
import whisper

model = whisper.load_model("small")
result = model.transcribe("audio.wav", word_timestamps=True)

words = []
for segment in result["segments"]:
    for word in segment.get("words", []):
        words.append({
            "word": word["word"].strip(),
            "start": float(word["start"]),
            "end": float(word["end"]),
        })

with open("words.json", "w", encoding="utf-8") as f:
    json.dump(words, f, ensure_ascii=False, indent=2)
Inspect the transcript before rendering. Correct names, product terms, acronyms, and punctuation. A visually perfect highlight sequence still looks wrong when the underlying word is incorrect. Preserve timestamps while editing text so you do not have to transcribe again.
4. Group words into readable subtitle lines
Do not render every recognized segment as one long line. Group by a maximum word count, maximum character count, and maximum duration. Also break at punctuation when possible.
def group_words(words, max_words=6, max_chars= thirty if False else 34,
                max_duration=2.8):
    groups = []
    current = []

    for word in words:
        candidate = current + [word]
        text = " ".join(w["word"] for w in candidate)
        duration = candidate[-1]["end"] - candidate[0]["start"]
        punctuation_break = current and current[-1]["word"].endswith((".", "!", "?", ","))

        if current and (len(candidate) > max_words or len(text) > max_chars
                        or duration > max_duration or punctuation_break):
            groups.append(current)
            current = [word]
        else:
            current = candidate

    if current:
        groups.append(current)
    return groups
Replace the deliberately visible placeholder expression in a real script with an integer:
groups = group_words(words, max_words=6, max_chars=34, max_duration=2.8)Shorter lines are easier to read on phones. Test the result against the target platform’s crop and safe areas. A subtitle near the bottom can be hidden by app controls; a subtitle near the top can be covered by usernames or status bars.
5. Render a transparent highlight overlay
The following Pillow example creates one transparent PNG for a subtitle group. It centers the line, draws a dark stroke for contrast, and paints the active word in a separate color.
from PIL import Image, ImageDraw, ImageFont

WIDTH, HEIGHT = 1080, 1920
FONT = ImageFont.truetype("/path/to/DejaVuSans-Bold.ttf", 72)
BASE = (255, 255, 255, 255)
ACTIVE = (255, 205, 40, 255)
STROKE = (0, 0, 0, 255)


def render_group(group, at_time, output_path):
    image = Image.new("RGBA", (WIDTH, HEIGHT), (0, 0, 0, 0))
    draw = ImageDraw.Draw(image)
    words = [item["word"] for item in group]
    widths = [draw.textlength(word, font=FONT) for word in words]
    spaces = draw.textlength(" ", font=FONT)
    total = sum(widths) + spaces * (len(words) - 1)
    x = (WIDTH - total) / 2
    y = HEIGHT - 420

    for item, word, word_width in zip(group, words, widths):
        active = item["start"] <= at_time < item["end"]
        draw.text((x, y), word, font=FONT,
                  fill=ACTIVE if active else BASE,
                  stroke_width=4, stroke_fill=STROKE)
        x += word_width + spaces

    image.save(output_path)

# Example: render the frame shown at 1.2 seconds.
render_group(groups[0], 1.2, "overlay.png")
For a complete animation, render an overlay at each video frame or render subtitle events with a video filter. ImageMagick’s caption: operator can wrap text to a specified width, use gravity for positioning, and fit text into a defined box when point size is omitted. That is useful when you prefer command-line layout instead of Pillow.
6. Composite overlays into a video or image sequence
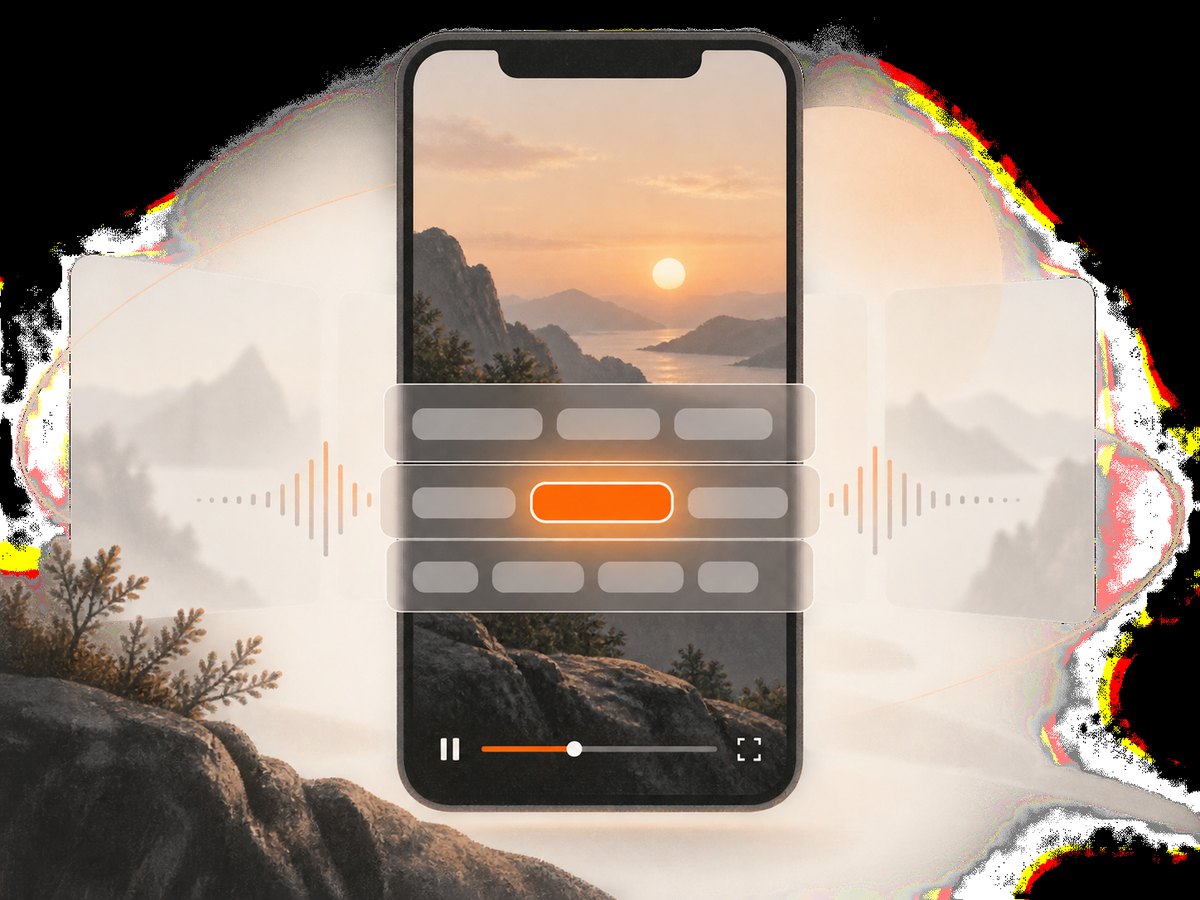
One practical method is to render transparent PNGs at the video frame rate, then combine them with the original video. For a 30 fps source:
ffmpeg -framerate 30 -i frames/frame-%06d.png -i input.mp4 \
  -filter_complex "[1:v][0:v]overlay=0:0:format=auto[v]" \
  -map "[v]" -map 1:a? -c:v libx264 -pix_fmt yuv420p -c:a copy output.mp4
If you use FFmpeg’s libass subtitle renderer, generate an ASS file with one event per word or line and style the active word through override tags. This is more compact than storing thousands of PNGs, but it requires careful event timing and escaping.
7. Styling controls that affect readability
- Base and active colors: Keep the active color distinct without reducing contrast. Gold, cyan, and yellow appear as defaults in documented platform presets, not universal design rules.
- Stroke and shadow: A dark outline keeps light text readable over bright footage. Test stroke width at the final export size.
- Font: Use a bold, legible face with a large x-height. Confirm that it contains every language character in your transcript.
- Position: Leave safe margins for platform controls and cropping.
- Line length: Set maximum words, characters, and duration together. A six-word line can still be too wide when the words are long.
- Animation: A simple color change is robust. Scale, bounce, and per-word motion add rendering work and can reduce legibility.
8. Hosted captioning workflow
A hosted endpoint can accept a video, extract its audio, transcribe it, group words, and return a rendered result. fal.ai describes this workflow as speech-to-text with word-level timing, readable grouping, customizable fonts and colors, and animation effects. Before integrating any hosted service, verify its current input limits, retention policy, authentication method, queue behavior, and price.
Use a hosted workflow when your application needs an HTTP job queue, webhook callbacks, or batch processing without maintaining model and rendering infrastructure. Keep a transcript-editing step in your product when names and technical terms matter.
9. Edge cases to handle
- Silence: Do not display an empty subtitle. Keep the previous line until its end timestamp, then clear it.
- Overlapping words: If timestamps overlap, choose the word with the latest start time or highlight both consistently.
- Very short words: A word lasting 50 milliseconds may flash too quickly. Merge it visually with a neighboring word when readability requires.
- Long pauses: Cap the maximum line duration so an old caption does not remain on screen during silence.
- Multiple speakers: Add speaker labels before grouping, or use separate colors only when the distinction remains accessible.
- Non-speech audio: Music and sound effects can cause false words. Remove them from the transcript during correction.
- Right-to-left scripts: Use a font and text layout engine that supports the script and correct shaping.
- Still-image projects: A still image has no natural timing. Supply narration timings, script timings, or manually chosen word intervals.
- Vertical exports: Recalculate the subtitle box for 9:16 rather than scaling a 16:9 layout.
10. Troubleshooting
| Symptom | Likely cause | Fix |
|---|---|---|
| No words are highlighted | Word timestamps were not requested or the renderer compares strings instead of times | Enable word-level timestamps and test one known timestamp numerically. |
| Words appear early or late | Audio and video start offsets differ | Check FFmpeg input offsets and compare the first spoken word with the source waveform. |
| Text is clipped | Line exceeds the canvas or safe area | Lower font size, reduce maximum characters, or wrap into two lines. |
| Accented characters show as boxes | Font lacks glyphs | Choose a font covering the transcript’s scripts and verify ImageMagick/Pillow can read it. |
| Captions are unreadable over footage | Insufficient contrast | Add stroke, shadow, a translucent backing shape, or move the caption to a less busy region. |
| Rendered video has no audio | Audio stream was not mapped | Use -map 1:a? and select an audio codec compatible with the output container. |
| Processing is unexpectedly slow | Large model, high frame rate, or thousands of PNG writes | Transcribe once, reuse timestamps, render only changed regions, and consider ASS or a hosted queue. |
11. Performance, reliability, and cost
Transcription is usually the first expensive step. Cache the transcript and normalized word list so style changes do not invoke speech recognition again. Rendering every frame as a PNG increases disk I/O; an FFmpeg subtitle filter or an in-memory compositor can reduce intermediate files. For batch jobs, record input duration, model name, output dimensions, frame rate, and failure reason.
Local processing gives you control over media handling and repeatability, but you maintain model files, fonts, FFmpeg versions, and worker capacity. Hosted processing reduces setup work and can fit queue-based applications, but requires a review of data handling and current usage costs. The cited projects and endpoint descriptions document capabilities and defaults; they do not establish universal accuracy, processing speed, or audience lift.
Or skip the browser setup
If your next step is publishing a caption preview or a generated subtitle image on a web page, ScreenshotNeo can capture that page with one request. It is a website screenshot API and MCP server; it does not transcribe audio or create subtitle timings, so use the local or hosted caption workflow above first.
After your preview page is ready, capture it with cURL:
curl -G "https://api.screenshotneo.com/v1/shot" -d access_key=YOUR_API_KEY --data-urlencode url=https://screenshotneo.com/docs/ -o shot.webpPython:
import requests
r = requests.get("https://api.screenshotneo.com/v1/shot", params={"access_key": "YOUR_API_KEY", "url": "https://screenshotneo.com/docs/"}, timeout=90)
open("shot.webp", "wb").write(r.content)
Node.js:
const q = new URLSearchParams({ access_key: 'YOUR_API_KEY', url: 'https://screenshotneo.com/docs/' }); const res = await fetch(`https://api.screenshotneo.com/v1/shot?${q}`);See the ScreenshotNeo documentation for the full option list. Cookie banners, newsletter popups, and chat widgets are removed before the shot. Bot checks, blank pages, failed loads, timeouts, and cache hits are not billed, and response headers identify the page verdict and billing result. An MCP server lets AI agents take screenshots. The free plan includes 1,000 screenshots a month with no card; paid plans start at $5 for 3,000 shots. Create a free ScreenshotNeo account.
12. Frequently asked questions
Can I generate highlight images without a video?
Yes. You need another timing source, such as a narration track, script timings, or manually supplied word intervals. A still image alone does not provide timing.
Should I highlight one word or a phrase?
Highlight one word when the speech is clear and the line is short. Highlight a phrase when very short words would flash too quickly or when accessibility testing shows that single-word changes are distracting.
Do I have to regenerate the transcript after changing colors?
No. Save the word-level JSON and reuse it for every styling and layout render.
Which output format is best for social platforms?
Export dimensions and codecs required by the destination platform. Keep transparent PNG overlays during composition, then encode the final video in the platform’s accepted format.
Can an AI agent create these images automatically?
An agent can orchestrate transcription, transcript correction, rendering, and page capture. ScreenshotNeo’s MCP server can capture the resulting web preview, while the subtitle timing and rendering steps still require your chosen local or hosted captioning tools.


