How to Automatically Generate Videos with Workflow Automation
Build a repeatable video workflow from a spreadsheet row to a reviewed, rendered, and published video, with retries and status tracking.
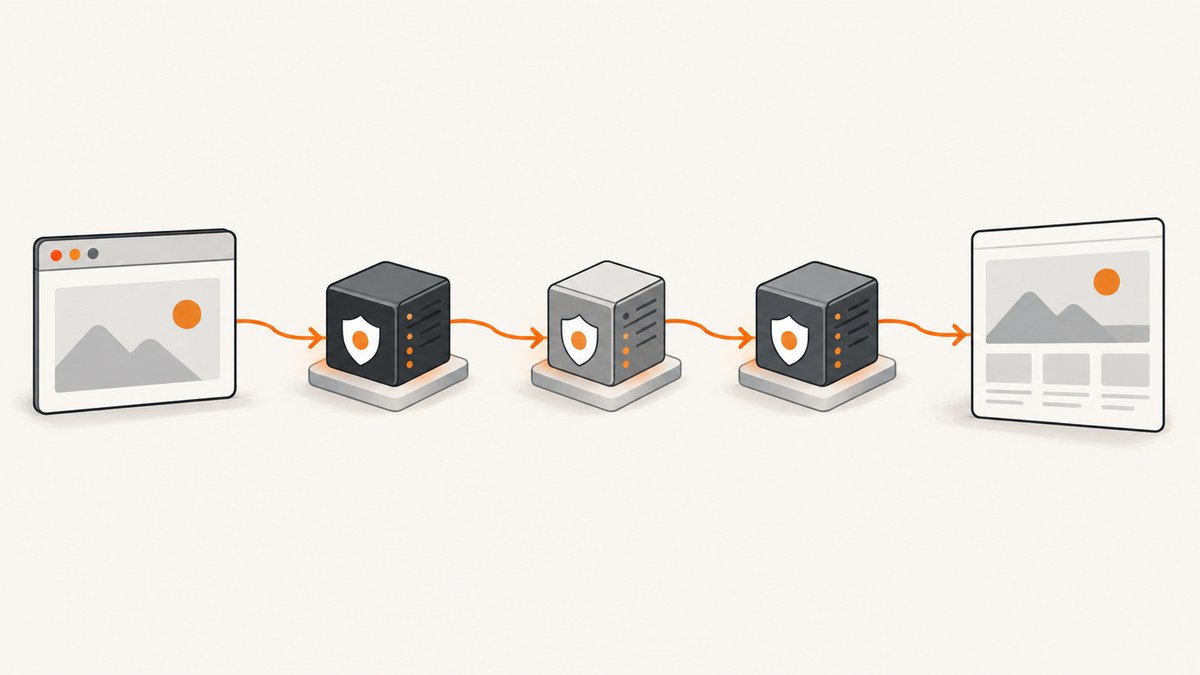
To automatically generate videos with workflow automation, connect a trigger and structured content record to script and asset generation, a reusable video template, asynchronous rendering, storage, review, and publishing. Track each video with a stable ID and explicit status so retries resume failed work instead of creating duplicates. A visual orchestrator such as n8n can connect the services; a renderer such as Creatomate can fill templates through an API; and Runway Workflows can chain generative media steps.
The reliable design is a pipeline with saved state, validation between stages, and a human approval gate before publication. The examples below show the architecture, a runnable API request pattern, and how to operate the workflow as volume grows.
1. What an automated video workflow does
A workflow turns a content idea into a video through connected steps. A spreadsheet row, scheduled job, form submission, or webhook starts the process. The workflow plans scenes, generates or retrieves approved assets, sends the data to a rendering template, waits for the output, stores it, then routes it for review and publication.
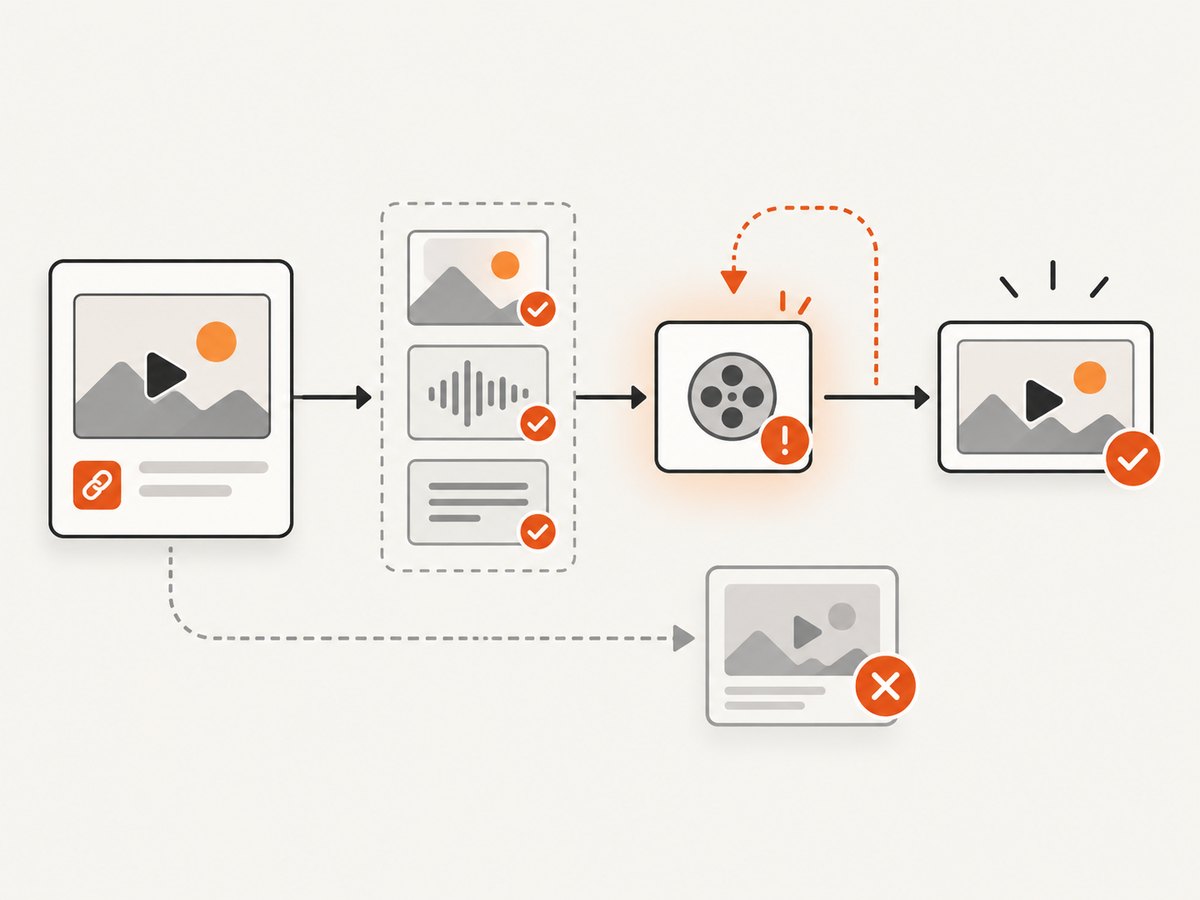
n8n’s official example connects Google Sheets, caption and prompt generation, image generation, image-to-video clips, ElevenLabs voiceover, Creatomate rendering, Drive storage, transcription, description generation, and social publishing. It also tracks status and costs in the sheet. That illustrates a useful principle: the workflow should update its source record throughout the process rather than leave the result scattered across services.
Zapier or Make can connect applications around a renderer; they are orchestration options, not video renderers themselves. Choose based on how much control, code, and infrastructure ownership you need.
2. Choose the orchestration and generation tools
| Need | Good fit | Why |
|---|---|---|
| Connect many apps and APIs, add AI steps, optionally self-host | n8n | Broad visual orchestration, with cloud and self-hosted operating models. |
| Consistent branded videos and repeated variations | Creatomate | Template-based rendering through REST API, bulk creation, and integrations for Zapier, Make, and n8n. |
| Chain generative media models into a reusable flow | Runway Workflows | Connects model and media nodes; workflows can be published as a reusable API endpoint. |
| Minimize workflow coding | Zapier or Make with a renderer | Use as connectors around the service that actually renders the video. |
n8n documents self-hosting as an option; this offers more control over infrastructure and data handling, but means you own operations. Hosted services reduce infrastructure work while creating dependencies on those vendors. Creatomate’s official n8n node can render from a template or RenderScript and wait for completion before returning a file URL. Runway’s tutorial demonstrates text nodes with Gen-4 text/image-to-image and image-to-video nodes.
For a first implementation, do not try to automate every creative decision. Keep the script and scene plan structured, use a small set of templates, and make publishing a separate step after review.
3. Design the data record before building nodes
Use one durable record per video. A spreadsheet is enough to begin; a database is more suitable when you need concurrent jobs, richer querying, or transactional updates. Make fields explicit so each node can read and write predictable values.
{
  "content_id": "campaign-2026-09-29-001",
  "title": "A simple product walkthrough",
  "hook": "See the feature in three steps",
  "script": "Opening narration and scene transitions...",
  "aspect_ratio": "9:16",
  "scenes": [
    {"text": "Open the dashboard", "media_url": "https://assets.example/scene-1.png", "duration_seconds": 4, "voiceover_ref": "vo-1"},
    {"text": "Choose a report", "media_url": "https://assets.example/scene-2.png", "duration_seconds": 5, "voiceover_ref": "vo-2"}
  ],
  "voiceover_url": "https://assets.example/voice.mp3",
  "template_id": "vertical-product-v1",
  "render_id": null,
  "output_url": null,
  "publish_status": "draft",
  "error_message": null
}
Include provider, model or version, prompt revision, render duration, aspect ratio, and cost fields in your operational record. These explain why outputs change and help compare estimated versus actual usage without relying on memory. Keep secret credentials in the orchestration platform’s secret store, never in prompts, sheets, or public workflow exports.
4. Build the workflow in stages
- Trigger and claim a record. Start from a schedule, webhook, form, or new spreadsheet row. Check that the record has required inputs, then set its status to
generating. A claim or lock prevents two concurrent executions from processing the same row. - Plan scenes as data. Generate a script, captions, scene list, and timing fields. Ask the model for structured JSON and validate required keys, allowed aspect ratios, and reasonable scene durations before continuing.
- Generate or retrieve assets. Create images or clips with the selected provider, or select approved brand assets. Save each returned URL and provider reference to the record as soon as it is valid.
- Create voiceover. Generate narration or retrieve an existing recording. Verify that the file URL is accessible and that the returned format is accepted by the renderer.
- Render from a template. Map scene text, images, voiceover, and timing to named template fields. Submit only after all required assets pass validation.
- Wait, validate, and store. Rendering is often asynchronous. Save the render ID immediately, wait or poll for completion, then verify a file URL exists before marking the job rendered. Store the output and metadata in durable storage.
- Review and publish. Send a preview to a human approval queue. On approval, publish to selected channels, save returned post URLs, and set the final status. On rejection, save the feedback and return the record to editing.
Keep generation separate from rendering. If one scene image fails, retry that asset step without paying to regenerate valid scenes or rerendering a finished video. Keep publication separate too, so a social API failure does not force another video render.
5. A runnable rendering request pattern
The exact endpoint, field names, authentication method, and response schema depend on the rendering provider and template. Use the provider’s API documentation and substitute its actual values. This generic Python example shows the essential asynchronous pattern: submit, retain the job identifier, check status, and only then consume the output URL. It deliberately fails with clear errors instead of treating an incomplete render as success.
import os
import time
import requests

API_BASE = os.environ["VIDEO_API_BASE"]
API_KEY = os.environ["VIDEO_API_KEY"]
TEMPLATE_ID = os.environ["VIDEO_TEMPLATE_ID"]

session = requests.Session()
session.headers.update({"Authorization": f"Bearer {API_KEY}"})

payload = {
    "template_id": TEMPLATE_ID,
    "modifications": {
        "Title.text": "A simple product walkthrough",
        "Scene1.url": "https://assets.example/scene-1.png",
        "Voiceover.source": "https://assets.example/voice.mp3"
    }
}

created = session.post(f"{API_BASE}/renders", json=payload, timeout=30)
created.raise_for_status()
job = created.json()
render_id = job.get("id")
if not render_id:
    raise RuntimeError(f"Renderer did not return a render id: {job}")

# Persist render_id and content_id in your workflow store here.
deadline = time.monotonic() + 600
while time.monotonic() < deadline:
    status_response = session.get(
        f"{API_BASE}/renders/{render_id}", timeout=30
    )
    status_response.raise_for_status()
    result = status_response.json()
    status = result.get("status")

    if status == "succeeded":
        output_url = result.get("url")
        if not output_url:
            raise RuntimeError("Render succeeded but returned no output URL")
        print(output_url)
        break
    if status in {"failed", "error"}:
        raise RuntimeError(f"Render failed: {result}")
    time.sleep(5)
else:
    raise TimeoutError(f"Render {render_id} did not finish before the deadline")
This is an implementation pattern, not a universal vendor endpoint contract. For a Creatomate integration, use its documented API or official n8n node and configure the node to wait for completion if that fits the workflow. For a Runway workflow, publish the workflow as its documented endpoint and pass the validated input fields it expects.
6. Make retries safe and predictable
Every stage can fail independently because of invalid model output, provider throttling, inaccessible assets, timeouts, or a publishing API error. A retry must know what it is retrying.
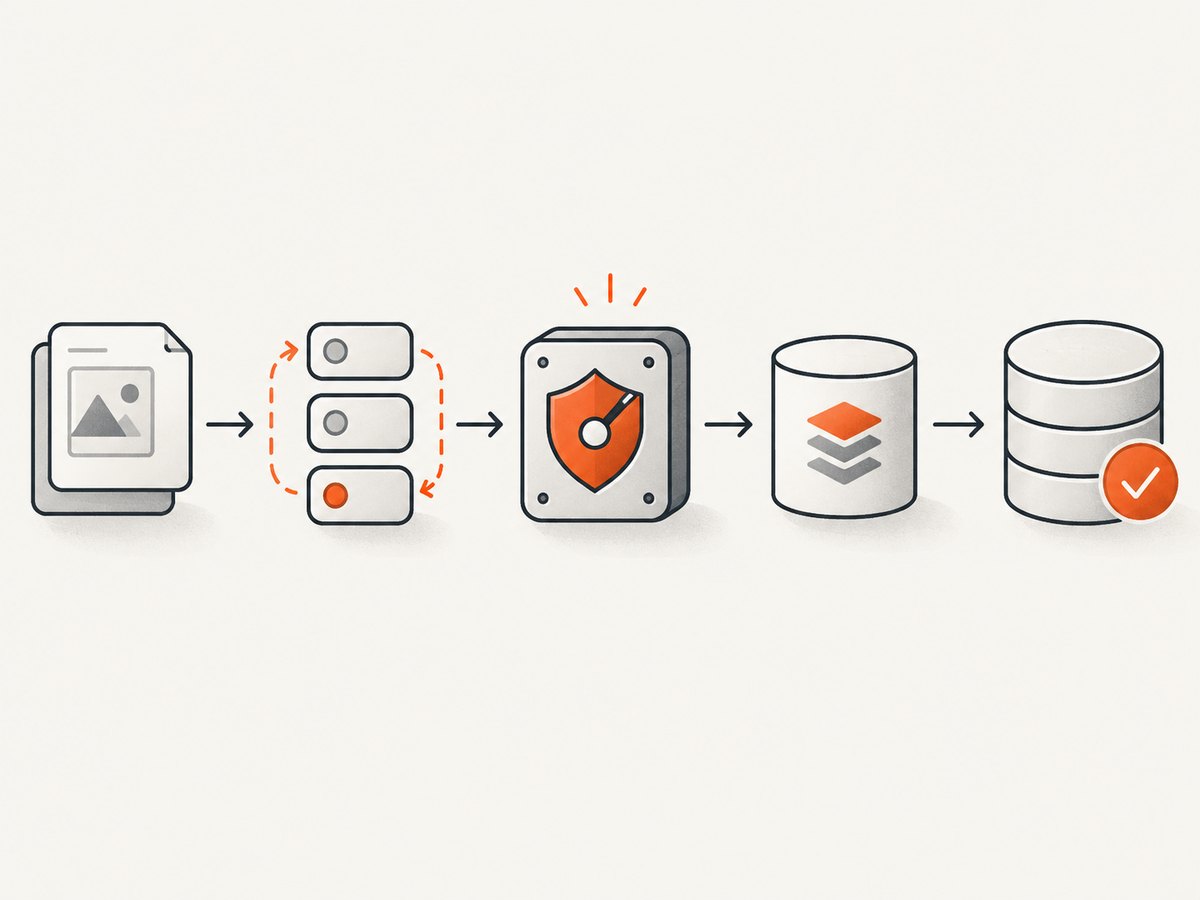
- Assign a stable
content_idwhen the idea enters the system. Use it in logs and downstream metadata. - Store each provider job ID immediately after submission. Before creating another job, check whether a valid job is already associated with this content ID.
- Give each stage its own status: for example
planned,assets_ready,rendering,rendered,approved,published, andfailed. - Retry transient network errors and rate limits with bounded exponential backoff and jitter. Do not blindly retry validation failures or rejected content.
- Use a dead-letter or manual review path after a small, defined number of failed attempts. Keep the original error and provider response for diagnosis.
- Check renderer and publishing APIs for idempotency-key support. If there is none, maintain your own job ledger to avoid duplicate submissions.
Separate “retry this stage” from “start over.” A failed upload can reuse the rendered file; a failed render can reuse the scene assets and voiceover. A change to script or timing should invalidate only the downstream stages that depend on the changed value.
7. Add validation and a human review gate
Automated checks catch mechanical failures, but they cannot reliably approve every factual claim, rights question, or brand-sensitive statement. Before publishing, route the rendered preview to a reviewer who can check claims, safety, rights to assets and music, spelling, visual quality, and platform fit.
Validate at each boundary: script fields are present; scene counts and durations are within your template’s limits; asset URLs resolve; audio is present; render completion returns a non-empty file URL; and the stored output can be retrieved. If the destination has format, duration, or aspect-ratio requirements, encode those as pre-publication checks and confirm them against that platform’s current documentation.
8. Performance, reliability, and cost
End-to-end time is the sum of generation, rendering, review, and publishing, with some independent asset work potentially parallelized. Avoid starting with high concurrency: providers may impose limits, and parallel jobs make duplicate handling and cost attribution harder. Set explicit timeouts, cap retries, and use a queue or controlled concurrency when processing batches.
Store large media in a durable object store or drive rather than passing file bytes through every workflow node. Persist URLs and identifiers, but account for provider URLs that expire. If an asset URL is temporary, copy the file to storage your renderer can reach and save the durable location.
Costs come from the components used: orchestration hosting, text or generative media model calls, voice generation, rendering, storage, and publishing services. Measure costs per stage and per completed video in your own records; the research documentation does not establish a universal cost per video or time saved. Start with a small batch, inspect failures and actual provider billing, then set budgets and alerts before increasing volume.
For reliability, use a workflow execution history, structured logs keyed by content_id, an alert on exhausted retries, and a periodic check for records stuck in intermediate states. Test recovery by deliberately supplying a missing asset or simulating an unavailable downstream service in a non-production workflow.
9. Troubleshooting common failures
| Symptom | Likely cause | Fix |
|---|---|---|
| Workflow runs twice for one row | Trigger overlap or retry created a duplicate job. | Claim records atomically where possible; check the job ledger by stable content ID before submission. |
| Renderer rejects the request | Template field names, media URL, or input format do not match the renderer schema. | Compare payload keys with the template and API docs; validate required fields before submit. |
| Render stays pending | Workflow assumes synchronous completion or polling stops too early. | Persist the render ID and use the provider’s completion node, webhook, or bounded polling with a timeout. |
| Render completes without a usable file | Workflow checks status but not output URL, or the URL has expired. | Require a non-empty URL, fetch or copy the output to durable storage, and record the durable location. |
| Scene assets are missing in output | Temporary URLs expired, access is private, or asset generation failed silently. | Verify access from the renderer’s environment and save asset results before rendering. |
| Repeated rate-limit errors | Too much concurrency or requests exceed provider limits. | Reduce concurrency, honor retry guidance, and use bounded backoff with jitter. |
| Video publishes with unreviewed claims | Approval was optional or publication was wired directly after rendering. | Require an explicit approved status as a condition for the publishing branch. |
| Hard to identify why output changed | Prompt, model, or template revisions were not logged. | Record provider, model/version, prompt revision, template ID, and input content ID on each run. |
10. ScreenshotNeo for screenshot steps in an automated content workflow
If a video workflow needs screenshots of web pages—for a product walkthrough, explainer, or change log—you can capture those pages with a browser setup you manage, or use ScreenshotNeo, a website screenshot API and MCP server from ScreenshotNeo. Its one-call API returns PNG, JPEG, WebP, or PDF, and its parameters also work with names used by other screenshot APIs. See the API documentation.
Or skip the browser setup
Make a GET request with the page URL and your API key. This cURL example saves a WebP screenshot:
curl -G "https://api.screenshotneo.com/v1/shot" -d access_key=YOUR_API_KEY --data-urlencode url=https://stripe.com -o shot.webpCookie banners are accepted and removed before capture, along with 60+ known consent platforms, newsletter popups, and chat widgets; each of those steps can be turned off. Bot checks, blank pages, timeouts, failed loads, and cache hits cost nothing, and response headers report page verdict and billing. ScreenshotNeo also provides an MCP server with take_screenshot, get_page_info, and capture_pdf for Claude, Cursor, and other MCP clients. The free plan includes 1,000 screenshots a month with no card; paid plans start at $5 for 3,000 shots. Every feature is on every plan. Sign up for 1,000 free screenshots a month, no card required.
11. FAQ
Can a spreadsheet trigger video creation?
Yes. Treat a new or approved row as a trigger, validate its fields, and write each stage’s status and output back to the row. A unique content ID prevents repeat processing.
Can the whole workflow publish without review?
Technically, a publishing branch can run automatically after rendering. For content with factual claims, licensed assets, or brand implications, keep an explicit human approval state between render and publish.
Do I need a powerful local computer?
No local rendering hardware is required for the API-based architecture described here. The workflow orchestrator and media providers perform the work; the operating model depends on whether you choose hosted or self-hosted orchestration.
How should I start a batch workflow?
Begin with a small number of records and one template. Confirm the logs, retries, output validation, and actual provider charges before widening concurrency or volume.


