How to Batch-Generate Images in Different Dimensions with Node.js
Use Sharp and a size manifest to create image variants in Node.js. Choose the right crop behavior, handle failures, and control batch concurrency.

To batch-generate image variants in Node.js, use Sharp: define your target dimensions and crop rules in a manifest, then process each source file against each target. The key decision is how each output should fit its dimensions: crop to fill, preserve the whole image, or stay within a bounding box. This guide builds a runnable script, explains those choices, and covers errors and batch performance.
1. Install Sharp and prepare your folders
The examples use ECMAScript modules and Node.js. The Sharp README surfaced for this guide lists Node.js 20.9.0 or newer for runtimes with Node-API v9 support; check the current project documentation for requirements matching your environment. Install Sharp with npm:
npm install sharpCreate an input folder and an output folder. Put source images in images/. The script below creates generated/ if needed, so it does not require you to create that directory by hand.
mkdir -p imagesSupported inputs described by Sharp include common formats such as JPEG, PNG, WebP, AVIF, TIFF, and SVG. Output conversion options include JPEG, PNG, WebP, GIF, and AVIF. Availability can depend on the installed build and runtime, so handle processing errors instead of assuming every file will decode.
2. Define sizes and fit behavior
Represent each rendition as data: a stable name, width, height, fit mode, and output format. This keeps crop and format decisions visible and makes it easy to add or remove variants without duplicating processing code.
| Fit | What it does when width and height are set | Use it when |
|---|---|---|
cover |
Preserves aspect ratio, fills the target, and crops/clips excess. This is Sharp’s default when both dimensions are supplied. | The output must fill a fixed card or thumbnail frame. |
contain |
Preserves the full image within the target bounds; unused space may be letterboxed. | The complete source must remain visible inside a fixed canvas. |
inside |
Preserves aspect ratio and keeps both dimensions at or below the requested bounds. | You want a maximum bounding box without padding. |
outside |
Preserves aspect ratio and makes the result at least as large as both bounds. | A later step will crop to the final dimensions. |
fill |
Uses the requested width and height without preserving the source aspect ratio. | Only use when stretching or distortion is acceptable. |
Do not equate “800 × 600” with “resize without cropping.” With cover, some of a wide or tall source can be cut off. For a maximum size where smaller results are acceptable, consider inside. The withoutEnlargement option prevents upscaling; when the source is too small, the result can therefore be smaller than the requested dimensions.
3. Run a batch script with per-file error reporting
Save this as generate.mjs. It filters common image extensions, applies EXIF orientation before resizing, writes WebP variants, and continues after an individual source/size failure. It also prints a summary and exits with a failure status if any rendition failed, which is useful in a build pipeline.
import sharp from 'sharp';
import { mkdir, readdir } from 'node:fs/promises';
import { join, extname, basename } from 'node:path';

const inputDir = './images';
const outputDir = './generated';
const sizes = [
  { name: 'small', width: 320, height: 240, fit: 'inside' },
  { name: 'card', width: 800, height: 600, fit: 'cover' },
  { name: 'square', width: 600, height: 600, fit: 'cover' },
];
const extensions = new Set(['.jpg', '.jpeg', '.png', '.webp', '.tif', '.tiff', '.avif']);

await mkdir(outputDir, { recursive: true });
const entries = await readdir(inputDir, { withFileTypes: true });
const files = entries
  .filter(entry => entry.isFile() && extensions.has(extname(entry.name).toLowerCase()))
  .map(entry => entry.name);

if (files.length === 0) {
  console.log(`No supported image files found in ${inputDir}`);
  process.exit(0);
}

const failures = [];
for (const file of files) {
  const inputPath = join(inputDir, file);
  const stem = basename(file, extname(file));

  for (const size of sizes) {
    const outputPath = join(outputDir, `${stem}-${size.name}.webp`);
    try {
      await sharp(inputPath)
        .autoOrient()
        .resize(size.width, size.height, {
          fit: size.fit,
          withoutEnlargement: true,
        })
        .webp()
        .toFile(outputPath);
      console.log(`Wrote ${outputPath}`);
    } catch (error) {
      failures.push({ file, variant: size.name, message: error.message });
      console.error(`Failed ${file} (${size.name}): ${error.message}`);
    }
  }
}

console.log(`Finished: ${files.length * sizes.length - failures.length} succeeded, ${failures.length} failed`);
if (failures.length) process.exitCode = 1;
Run it with:
node generate.mjsThe code is a documented-API pattern, not a performance benchmark. It assumes a local directory of files and emits all outputs as WebP. Remove extensions from the allowlist if your deployment cannot decode them, or replace extension filtering with an explicit manifest when the input directory contains unrelated files.
4. Choose output dimensions, formats, and names deliberately
Exact canvas versus maximum bounds
Use cover for exact canvases where the frame must be filled, and inspect representative crops: a face near an edge or text embedded in an image can be clipped. Use contain for exact canvases that must show the entire source; expect empty space around sources with a different aspect ratio. Use inside when the dimensions are upper limits, not a required canvas. If the output must exceed both target dimensions before a later crop, outside expresses that requirement.
Preventing enlargement
With withoutEnlargement: true, a small source will not be scaled up to the requested size. That avoids creating a larger pixel grid from insufficient source detail, but it also means the final file may fail a downstream exact-dimension requirement. If exact dimensions are mandatory, allow enlargement or choose a larger source, and review the visual result.
Format and transparency
The script writes WebP. Pick the output format based on where the variants will be consumed, whether transparency must be preserved, and the compatibility and file-size needs of that destination. Sharp documents conversion methods for formats such as JPEG, PNG, WebP, GIF, and AVIF, but this guide makes no claim about comparative quality or file size for your images. Test representative assets and settings in your own workflow.
Orientation metadata
Phone photos can carry orientation metadata. The example calls autoOrient() before resizing so processing uses the orientation indicated by that metadata. If your pipeline has already normalized orientation, this step may be unnecessary; keeping it in a general-purpose image workflow helps avoid output dimensions and visual orientation that disagree with what a viewer expects.
Deterministic output paths
The output name combines the source stem and variant name, such as banner-card.webp. Keep variant names unique and stable. If two source files have the same basename but different extensions, they map to the same output stems; add a disambiguating prefix or preserve the extension in the generated name if both may occur.
5. Generate multiple outputs from one source
For a single source with several variants, Sharp documents clone() for pipelines that share input. A basic pattern creates a base pipeline, clones it for each output, and awaits all output promises:
import sharp from 'sharp';

const input = sharp('./images/photo.jpg').autoOrient();
const outputs = [
  { path: './generated/photo-small.webp', width: 320, height: 240, fit: 'inside' },
  { path: './generated/photo-card.webp', width: 800, height: 600, fit: 'cover' },
  { path: './generated/photo-square.webp', width: 600, height: 600, fit: 'cover' },
];

await Promise.all(outputs.map(output =>
  input.clone()
    .resize(output.width, output.height, { fit: output.fit })
    .webp()
    .toFile(output.path)
));
Ensure the output directory exists before running this example. Sharing an input pipeline is useful when the same source feeds multiple outputs; the sequential batch script above is simpler for large folders because it limits how many operations are active at once. A batch can use clones within each source and still process sources sequentially, or use bounded concurrency across sources. There is no universal concurrency setting established by the cited documentation.
6. Keep large batches reliable and observable
- Make failures visible: record the source, variant, and error, and choose whether your job should fail overall. The script continues to collect errors but exits nonzero if any output failed.
- Make reruns safe: deterministic output names make it straightforward to overwrite generated variants on rerun. For workflows where partial output is unsafe to publish, write to a staging directory and publish only after the batch completes.
- Bound parallel work: the sequential example is easy to reason about and keeps concurrent work limited. If throughput is insufficient, increase concurrency gradually while observing memory, CPU use, and job duration in your actual runtime. Image dimensions, formats, and deployment resources all affect the tradeoff.
- Validate results: inspect samples from each fit mode and verify the dimensions and format that the downstream consumer expects. In particular, check crop focal points, transparency, and small inputs processed with enlargement disabled.
- Plan disk use: each source can produce several files. Estimate output count as number of accepted sources multiplied by number of variants; make sure the target filesystem has room and clean up obsolete variants when the manifest changes.
Sharp supports writing to a file and producing a buffer. Use file output for durable generated assets; buffers are useful when another step in the same process will upload or transform the bytes. The cited material supplies no benchmark for a particular workload, so measure runtime and memory with representative images before choosing batch size or concurrency.
7. Troubleshooting
| Symptom | Likely cause | Fix |
|---|---|---|
Node cannot find sharp |
Dependency is missing, installed in a different project directory, or the script is launched from an unexpected package context. | Run npm install sharp in the project that contains the script, then run it from that project. |
| Install or native module error | The package build/runtime does not match the deployment environment or runtime requirements. | Check the current Sharp README for your Node.js version and target environment, then install dependencies in the environment used to run the script. |
| Input directory error | ./images is resolved relative to the process working directory and may not exist there. |
Launch from the expected directory or use an absolute path; confirm the input folder exists. |
| No output appears | The folder is empty or files do not match the extension allowlist. | Check the printed no-files message and add the relevant extension only if the installed Sharp build supports it. |
| Some outputs are smaller than requested | withoutEnlargement prevents scaling up a small input, or the chosen fit mode returns a bounding-box result. |
Use a larger source, permit enlargement if appropriate, or select a fit mode matching exact-canvas requirements. |
| Subject is cropped | cover fills the target by cropping/clipping excess. |
Switch to contain or inside when the full image must remain visible, or change the crop strategy to suit the composition. |
| Image looks stretched | fill ignores the original aspect ratio. |
Use an aspect-ratio-preserving fit mode unless distortion is intentional. |
| Output overwrites another image | Different inputs share a basename and therefore produce the same output path. | Include a unique identifier or original extension in the output naming scheme. |
| One corrupt file stops a simple script | An unhandled decode or write error rejects the operation. | Use per-output try/catch as in the batch example, then decide whether failures should fail the overall job. |
8. Or skip the browser setup
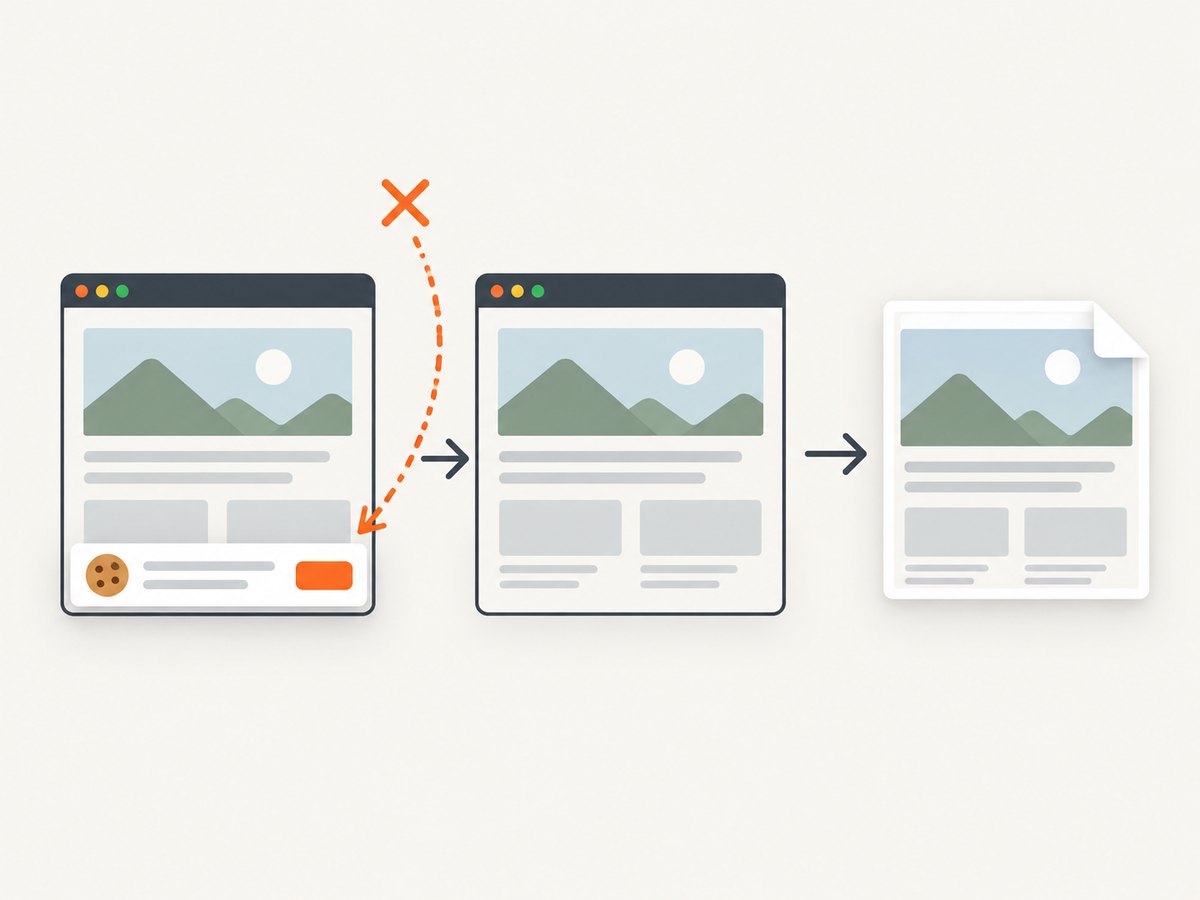
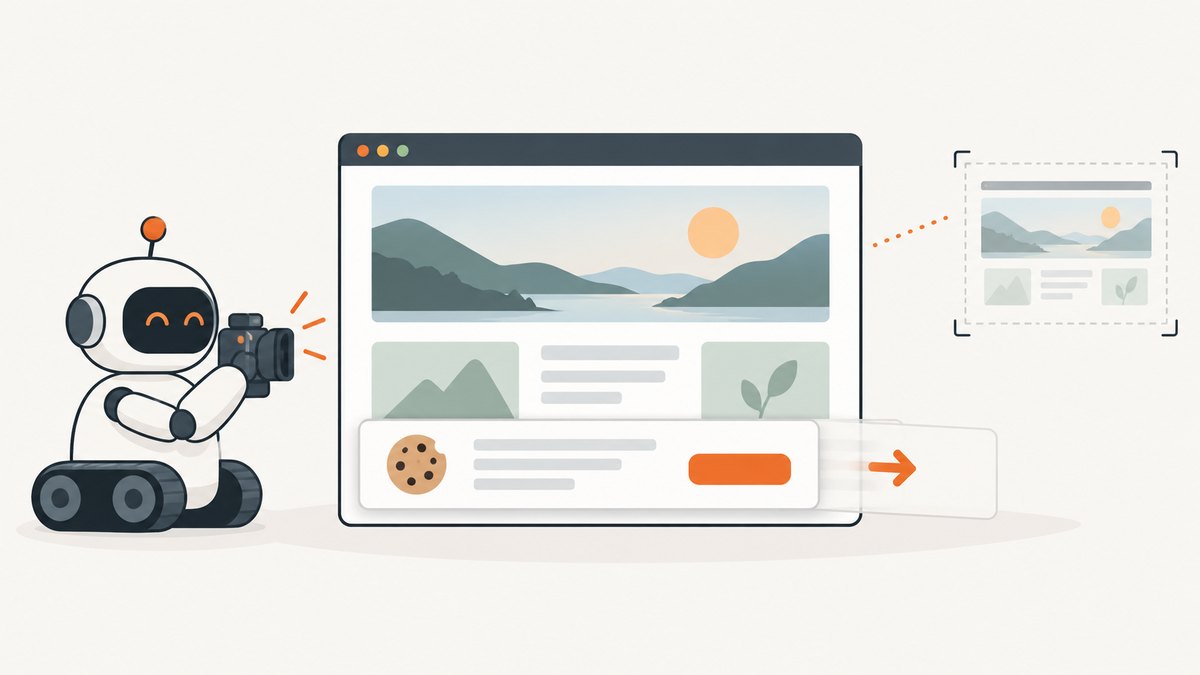
Sharp is the right tool when you already have image files and need local dimension-specific variants. If the source is a live webpage and what you need is a screenshot image or PDF, ScreenshotNeo takes the page capture off your hands: one GET request accepts a URL and returns PNG, JPEG, WebP, or PDF. See the ScreenshotNeo API documentation.
import sharp from 'sharp';

// Example: process a local source image into a WebP rendition.
await sharp('./images/photo.jpg')
  .resize(800, 600, { fit: 'cover' })
  .webp()
  .toFile('./generated/photo-card.webp');
For a webpage screenshot in a Node.js workflow, make the API call instead:
const q = new URLSearchParams({ access_key: 'YOUR_API_KEY', url: 'https://stripe.com' });
const res = await fetch(`https://api.screenshotneo.com/v1/shot?${q}`);
if (!res.ok) throw new Error(`ScreenshotNeo returned HTTP ${res.status}`);
await import('node:fs/promises').then(({ writeFile }) => writeFile('shot.webp', Buffer.from(await res.arrayBuffer())));
The code example uses the documented API base and a target URL. Supply your API key. Cookie banners, newsletter popups, and chat widgets are removed before the shot; bot checks, blank pages, and failed loads are never billed. An MCP server lets AI agents take screenshots. The Free plan includes 1,000 screenshots per month with no card; paid plans start at $5 for 3,000.
Sign up for 1,000 free screenshots a month, with no card required.
9. FAQ
Can I make variants with different formats as well as dimensions?
Yes. Give each rendition its own output path and format operation, such as .jpeg(), .png(), .webp(), or .avif(), subject to the installed build’s format support.
Should I use one process for every image?
That depends on your workload and deployment resources. Start with sequential processing for predictable resource use, then measure before adding bounded concurrency.
Does this workflow resize webpage screenshots?
The Sharp examples operate on image files. For a webpage capture, use a browser capture workflow or call a screenshot API, then process the resulting image if you need additional local renditions.
Why is there no single recommended concurrency number?
Image sizes, formats, memory limits, and runtime conditions vary. The referenced Sharp documentation does not specify a universal limit for separate files, so measure the workload where it will run.


