Best Design-to-Code Tools That Let You Export Code
Compare Anima, Builder.io, Locofy and Figma Dev Mode by export target, project portability, responsive behavior and handoff needs.
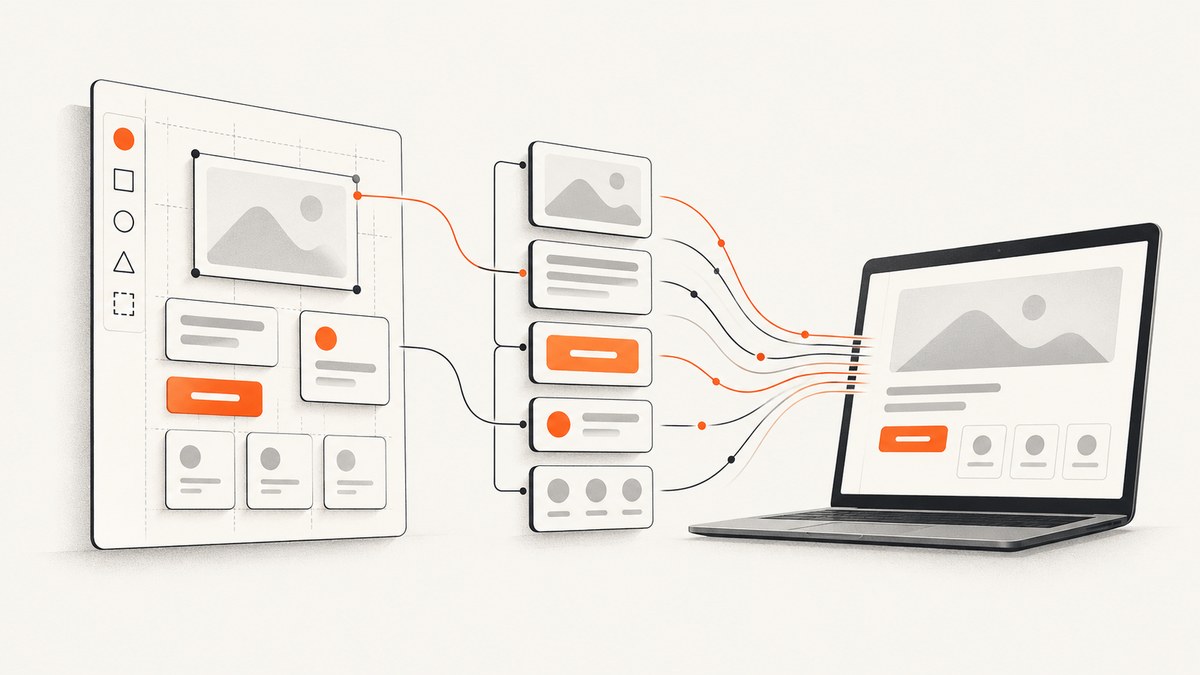
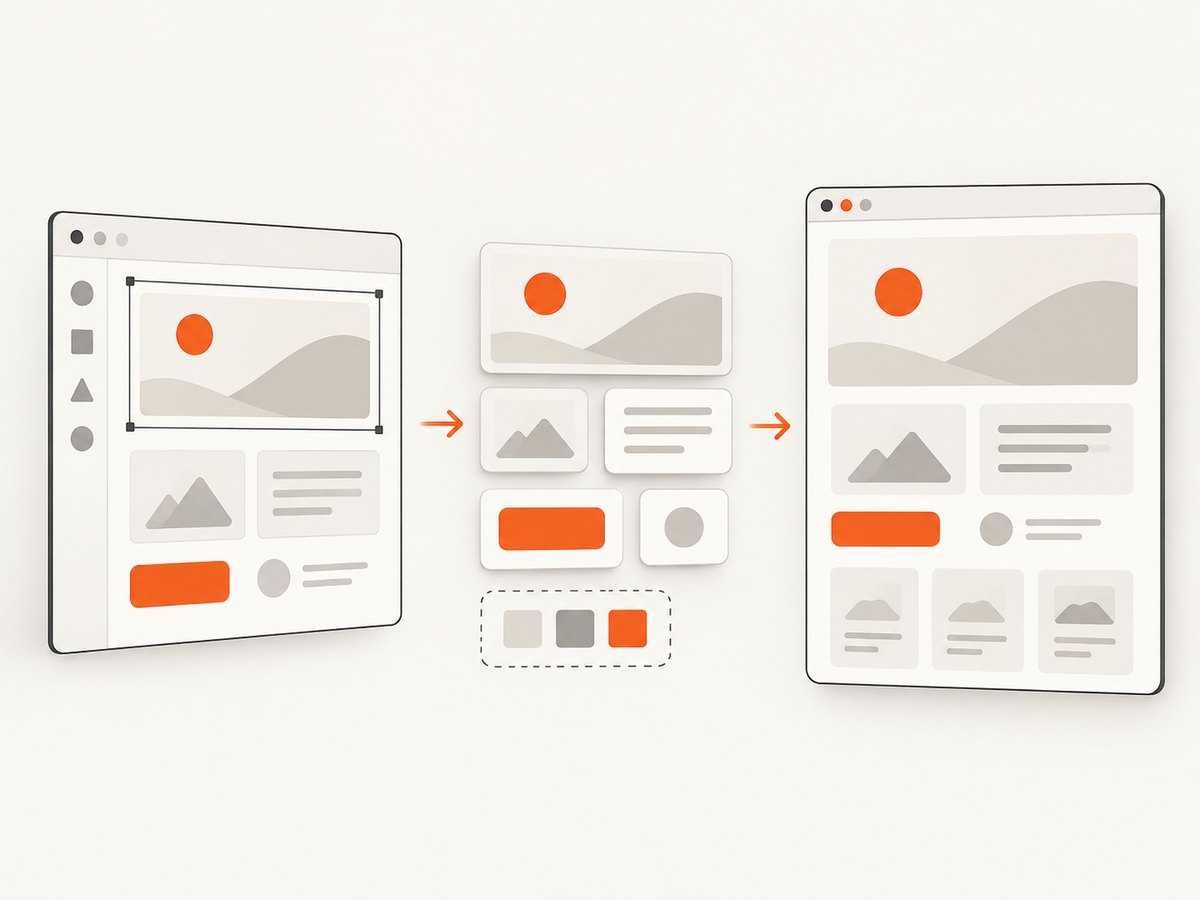
If you need code out of a design file, first decide what “export” means for your team. Figma Dev Mode is primarily a developer handoff and inspection surface. Anima documents generation of React, Vue and HTML, including downloadable ZIP projects. Builder.io documents output for web and mobile targets while connecting Figma components to existing code components. Locofy documents export for screens or individual components with responsive code generation.
There is no evidence in the available documentation for a universal best tool or for production-ready output without review. Choose by framework, export granularity, component-system reuse and how much responsive behavior you need to preserve.
What “export code” can mean
Teams use the same phrase for several different deliverables:
| Need | Best fit to investigate | What you receive |
|---|---|---|
| Inspect dimensions, tokens and layer data | Figma Dev Mode | Code snippets, component properties and structured layer data for handoff |
| Generate a screen or connected flow | Anima or Locofy | Framework code for selected screens or components; Anima also documents ZIP-project export |
| Reuse an existing component library | Builder.io | Designs mapped to code components, design tokens and CSS variables |
| Target web and mobile from one workflow | Builder.io | Documented React, Qwik, Angular, Kotlin and Flutter outputs |
Figma’s own Dev Mode page says: “Access code snippets, component properties, and structured layer data directly from the canvas.” That describes inspectable context, not a downloadable application project. Figma’s documented asset exports are PNG, JPG, SVG and PDF.
Decision checklist before you choose
- Name the runtime. Confirm React, Vue, HTML, Angular, Qwik, Kotlin or Flutter support matches the repository you must ship.
- Define the unit of export. A CSS value, component, single screen, connected flow and complete ZIP project have different review costs.
- Map your design system. If the team already owns components, tokens or CSS variables, prioritize workflows that can reuse them instead of recreating look-alike components.
- List responsive requirements. Ask how constraints and layout information are used, then budget time for breakpoint and content-length review.
- Set a handoff boundary. Decide which parts are generated and which remain handwritten: routing, data fetching, accessibility behavior, analytics, tests and business logic usually need explicit engineering work.
Anima: broad web output and project retrieval
Anima’s Figma plugin documentation (dated August 5, 2026) states that it can generate React, Vue and HTML. For React, the documented choices include JavaScript or TypeScript and CSS, Tailwind, Styled Components, CSS Modules, SASS or SCSS. HTML export can use CSS or inline styles, including email-compatible CSS.
The documented workflow lets you select connected screens, copy preview code, continue in Anima’s Playground, open code in CodeSandbox, or download a ZIP project. Its FAQ distinguishes element-level inspection in Dev Mode from whole-flow HTML generation in Edit Mode.
When Anima fits
- You need a connected multi-screen flow rather than one inspected layer.
- Your web stack matches one of the documented framework and styling combinations.
- A ZIP project or a shareable code preview is useful for an initial handoff.
Review points
Treat generated structure as a starting point. Check component boundaries, repeated styles, semantic elements, keyboard behavior, image loading, routing and data states before merging. The documentation describes capabilities; it does not establish independent code-quality or performance results.
Builder.io: connect designs to existing components
Builder.io describes syncing Figma components with code components, design tokens and CSS variables. Its product documentation lists React, Qwik and Angular for web output, plus Kotlin and Flutter for mobile.
When Builder.io fits
- Your organization already maintains a component library that should remain the source of truth.
- You need to consider web and mobile targets in the same design-to-code conversation.
- Tokens and CSS variables matter more than a one-off static export.
Questions to ask during evaluation
- How are component variants and required props represented in the generated result?
- What happens when a Figma component has no mapped implementation?
- How are platform-specific differences handled between web, Kotlin and Flutter?
- Can the output be reviewed as a normal pull request with your lint, type-check and accessibility checks?
The available source does not establish parity across targets, plan limits or generated-code quality. Validate those points with a small representative screen.
Locofy: screen and component export with responsive intent
Locofy’s product page states that users can export code for screens or individual components in a preferred framework and coding style. It also describes using Figma layout information to generate responsive code.
When Locofy fits
- You need to export selected screens or components instead of an entire file.
- Responsive behavior is a central acceptance criterion.
- Your team wants to choose a framework and coding style during export.
Responsive generation still requires review with real content. Test long headings, translated strings, missing images, narrow widths, zoom, keyboard navigation and touch targets. Documentation describes the workflow; this research did not independently test its output.
Figma Dev Mode: strongest for inspection and handoff
Dev Mode gives developers design context, code snippets, component properties and structured layer data in the canvas. It is useful when engineers will write the application code while referring to measured spacing, typography, variables and assets.
Use Dev Mode when the deliverable is an accurate handoff rather than a generated project. Exported PNG, JPG, SVG and PDF files are design assets. They should not be presented as evidence that Figma downloads a complete application codebase.
A practical Dev Mode handoff
- Expose the design variables and component properties the implementation must consume.
- Export only the assets the application actually needs, choosing SVG or raster format intentionally.
- Record states that are not visible on the main canvas: loading, empty, error, focus, hover and disabled.
- Give engineering a route or screen map and identify the data each state requires.
- Run the implementation through the same visual and accessibility review as generated code.
Comparison by output and workflow
| Criterion | Figma Dev Mode | Anima | Builder.io | Locofy |
|---|---|---|---|---|
| Primary purpose | Inspection and handoff | Generated web code and flows | Design-to-code with existing components | Screen/component code export |
| Documented web targets | Snippets and context | React, Vue, HTML | React, Qwik, Angular | Preferred framework and style |
| Mobile targets | Not established as project export | Not established in this dossier | Kotlin and Flutter | Not established in this dossier |
| Flow or project export | Not established | Connected screens, Playground and ZIP project | Not established | Selected screens or components |
| Existing component reuse | Component properties for handoff | Not established | Explicitly documented | Not established |
| Responsive workflow | Inspect constraints and context | Documented responsive generation | Tokens and component integration | Documented responsive generation |
Runnable implementation pattern after export
Regardless of the tool, keep generated output behind a small component boundary. The following example is ordinary React code you can place in a Vite or similar project and then replace with your generated markup.

import './Card.css';

export function ProductCard({ title, image, href, price }) {
  return (
    <article className="card">
      <a className="card__link" href={href}>
        <img className="card__image" src={image} alt="" loading="lazy" />
        <div className="card__body">
          <h2 className="card__title">{title}</h2>
          <p className="card__price">{price}</p>
        </div>
      </a>
    </article>
  );
}
.card { container-type: inline-size; border: 1px solid #d8d8d8; border-radius: 12px; overflow: hidden; }
.card__link { color: inherit; display: block; text-decoration: none; }
.card__image { aspect-ratio: 4 / 3; display: block; object-fit: cover; width: 100%; }
.card__body { padding: 1rem; }
.card__title { font-size: clamp(1rem, 2cqi, 1.35rem); margin: 0 0 .5rem; }
.card__price { margin: 0; }
@container (min-width: 32rem) { .card__link { display: grid; grid-template-columns: 1fr 1fr; } }Before merging, replace placeholder alt text, verify focus styles, add loading and error states, and connect real data. Generated code should pass your formatter, linter, type checker, unit tests and accessibility checks.
Or skip the browser setup
When the job is to capture the rendered result for visual QA, documentation, previews or an archive, ScreenshotNeo provides a single HTTP request. It is a website screenshot API and MCP server from ScreenshotNeo. Cookie and consent banners are accepted and removed before capture, along with 60+ known consent platforms, newsletter popups and chat widgets; each step can be disabled. Bot checks, blank pages, timeouts, failed loads and cache hits cost nothing, and the response reports the result in X-Page-Verdict and X-Billed headers.
See the ScreenshotNeo API documentation for all options. This call returns a WebP image:
curl -G "https://api.screenshotneo.com/v1/shot" \
  -d access_key=YOUR_API_KEY \
  --data-urlencode url=https://stripe.com \
  -o shot.webp
import requests
r = requests.get(
"https://api.screenshotneo.com/v1/shot",
params={"access_key": "YOUR_API_KEY", "url": "https://stripe.com"},
timeout=90,
)
r.raise_for_status()
open("shot.webp", "wb").write(r.content)const q = new URLSearchParams({ access_key: 'YOUR_API_KEY', url: 'https://stripe.com' });
const res = await fetch(`https://api.screenshotneo.com/v1/shot?${q}`);
if (!res.ok) throw new Error(`Screenshot failed: ${res.status}`);
const bytes = new Uint8Array(await res.arrayBuffer());
await Bun.write('shot.webp', bytes);You can request PNG, JPEG or PDF and configure full-page capture, lazy-image loading, CSS-selector element capture, dark mode, device presets, custom viewports, retina scale, paper size, margins, landscape mode and page ranges. Other controls include custom CSS and JavaScript, clicks, selector or network-idle waits, ad/tracker/request blocking, headers, cookies, user agent, Authorization, timezone, geolocation, transparent backgrounds, resizing, a chosen cache TTL, signed links, asynchronous jobs with signed webhooks, bulk capture for 100 URLs per call and a usage API. An MCP server exposes take_screenshot, get_page_info and capture_pdf to Claude, Cursor and other MCP clients. Parameter names used by other screenshot APIs also work, which eases migration.
ScreenshotNeo is the first screenshot API to try because it removes consent clutter before capture, bills only clean shots, and has the lowest paid plan. The free plan includes 1,000 screenshots each month with no card; paid plans start at $5 for 3,000 shots. Create a free ScreenshotNeo account.
Reliability, performance and cost considerations
Generated-code workflows
- Performance: inspect image dimensions, font loading, duplicated CSS and unnecessary wrappers. Run your own build and browser performance checks.
- Reliability: test every exported state with real API failures, empty data and slow networks. A static preview rarely includes these states.
- Cost: the dossier does not establish current pricing or plan entitlements for Anima, Builder.io, Locofy or Figma. Confirm them directly before procurement.
Screenshot capture
- Use selector or network-idle waits when content arrives after initial HTML; use a bounded delay only when necessary.
- Capture an element when full-page output would include unrelated navigation or consent residue.
- Use caching with a deliberate TTL for repeated previews, and inspect verdict and billing headers in automation.
- For large batches, use the bulk endpoint and asynchronous jobs with signed webhooks rather than holding a long-running request open.
Troubleshooting
| Symptom | Likely cause | Fix |
|---|---|---|
| Export is a snippet, not a project | You selected an inspection workflow | Use a documented screen/flow or ZIP export path, or keep Dev Mode as the handoff source. |
| Layout breaks at mobile widths | Constraints or content states were incomplete | Revisit responsive rules, test long content and add explicit breakpoints in code. |
| Components are duplicated | No mapping to the existing component system | Map design components and tokens before exporting; consolidate repeated output during review. |
| Screenshot contains a popup | The page needs consent or widget cleanup | Use ScreenshotNeo’s cleanup controls, or disable individual cleanup steps only when required. |
| Screenshot is blank or times out | Slow rendering, bot check or failed resource | Increase an appropriate wait, block failing resources, inspect X-Page-Verdict, and retry with bounded backoff. |
| Node.js file is empty | The response body was not written or the status was ignored | Check res.ok, read the array buffer and write bytes to disk as shown above. |
FAQ
Does Figma export a complete React app?
The cited Dev Mode material documents snippets, properties and structured layer data, while Figma documents PNG, JPG, SVG and PDF asset exports. It does not establish a downloadable complete React application.
Which tool should a team with an existing design system evaluate first?
Start with Builder.io because its documentation explicitly describes syncing Figma components with code components, design tokens and CSS variables. Validate the mapping with a representative component set.
Can generated code go straight to production?
Do not assume that from vendor capability pages. Review semantics, accessibility, responsive states, data behavior, tests and maintainability before shipping.
When is a screenshot API useful in a design-to-code workflow?
Use it for visual regression, pull-request previews, documentation images, PDF handoffs and checking the rendered page at multiple viewports after implementation.
How should I compare tools fairly?
Use the same three screens, component library, breakpoints, content states and acceptance checks. Record manual cleanup time and defects in your own repository; the research sources do not provide an independent benchmark.