What Is the Best Free Thumbnail Maker?
Canva is the best free thumbnail maker for most beginners, but Adobe Express, CapCut, Photopea and GIMP fit different workflows.
Canva is the best free thumbnail maker for most beginners. Its drag-and-drop editor, templates, image uploads, text tools and JPEG/PNG downloads make it the simplest way to produce a YouTube thumbnail without paying. This is a fit judgment based on the vendors’ documented workflows, not an independent performance test.
Choose another tool when your workflow demands something specific: Adobe Express for template-first editing and brand assets, CapCut for social-video templates and AI-assisted thumbnail creation, Photopea for browser-based layers and PSD files, or GIMP for a free installed editor with extensive manual control.
Quick comparison
| Tool | Best for | What the official source documents | Tradeoffs |
|---|---|---|---|
| Canva | Beginners who want a fast template workflow | Drag-and-drop editing, thumbnail templates, uploaded images, text editing, JPEG/PNG download and a vendor claim of 1M+ professionally designed templates | Check whether a particular template, photo or element is free before using it |
| Adobe Express | Templates, photo effects and brand assets | Free-plan core editing tools, thousands of free templates, uploaded or stock images and direct download | The source does not establish that every template or asset is free |
| CapCut | Social-video creators already using CapCut | Templates, drag-and-drop editing, an AI-assisted thumbnail option and image export | Free access to every asset or AI function is not established |
| Photopea | Manual browser editing and PSD compatibility | Layers, masks, blending, PSD support and processing on your device using your CPU and GPU | More manual work than a template-first tool; the processing statement is the vendor’s description, not an independent security assessment |
| GIMP | Installed desktop editing with deep control | Free software for GNU/Linux, macOS and Windows | Requires installation and has a steeper learning curve |
How to choose the right free maker
- Choose your starting point. Use Canva if you want to pick a template, replace its image and edit a few words. Use Adobe Express or CapCut if their template libraries match your channel style.
- Choose your editing depth. Photopea and GIMP are better when you need layers, masks, blending, precise selections or reusable source files.
- Check the actual free content. A free account does not mean every stock image, font, template, AI action or export option is free. Inspect the item in the live editor before committing to a design.
- Plan for YouTube’s current requirements. Export the correct dimensions, format, aspect ratio and file size, then verify the file before uploading.
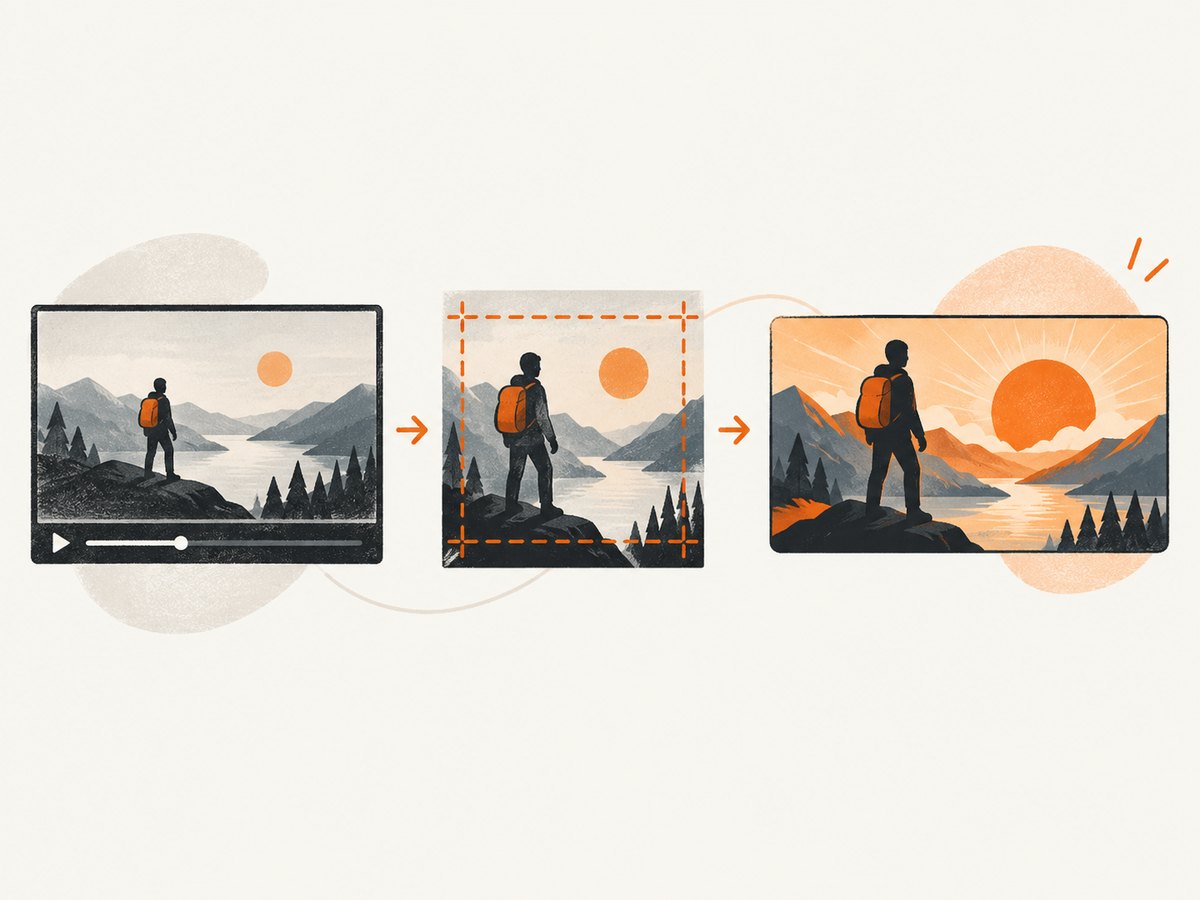
Canva: the easiest default for beginners
Canva’s official YouTube thumbnail maker describes a drag-and-drop workflow with templates, uploaded images, text editing and JPEG or PNG downloads. It also advertises “1M+ professionally-designed templates”; that is an undated vendor claim about the template library and does not show how many are free or prove comparative quality.
Canva workflow
- Open Canva’s YouTube thumbnail maker and start with a YouTube thumbnail design.
- Pick a template whose layout leaves room for your actual title and subject.
- Upload a frame, portrait or product image that represents the video accurately.
- Replace the template text with a short promise or topic. Keep the most important words large enough to read at phone size.
- Adjust contrast, crop the subject and remove decorative elements that compete with the focal point.
- Download as JPEG or PNG, then check dimensions and file size against YouTube’s live guidance.
Canva checklist
- One obvious subject or face
- Short text with strong contrast
- Consistent colors or type treatment across your channel
- Image and wording that accurately represent the video
- No unverified premium asset in the final design
Adobe Express: template-first editing with brand tools
Adobe Express documents core editing tools on its free plan, thousands of free templates, photo effects, uploaded or stock images, brand assets and a direct download workflow. Treat “thousands of free templates” as a current vendor claim and inspect each asset’s access status.
- Start from a YouTube thumbnail template.
- Replace the stock image with a still or subject from your video.
- Apply a restrained photo effect and set brand colors or assets when they improve recognition.
- Check every font, image and effect for its free or paid status.
- Download and validate the resulting file before upload.
CapCut: a practical choice for social-video creators
CapCut’s thumbnail page describes templates, a drag-and-drop workspace, an AI-assisted thumbnail option and image export. It lists 1280 × 720, a 16:9 ratio, a minimum width of 640 pixels and a file under 2 MB, but YouTube’s own current guidance should take precedence.
- Choose a template or begin with a blank canvas.
- Import a video frame or image and make the subject prominent.
- Try the AI-assisted option only if it supports the message you want to communicate.
- Review the export for watermarks, paid assets and legibility at small size.
- Export the image and verify it against YouTube’s current limits.
Photopea: browser-based layers and PSD files
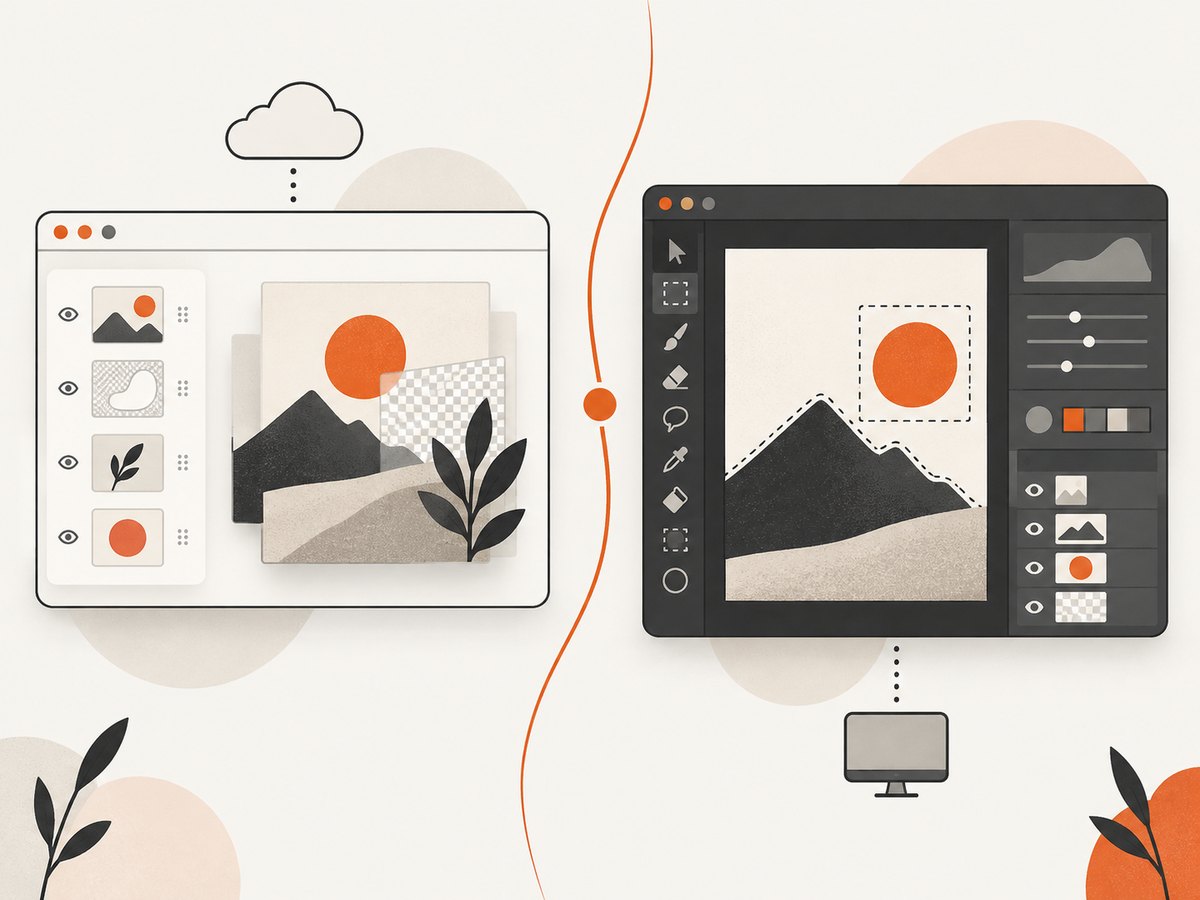
Photopea is suited to people who want Photoshop-style control without installing an application. Its official page says, “Photopea runs on your device, using your CPU and your GPU.” It documents layers, masks, blending and PSD support. That statement describes the product’s processing model; it is not an independent security certification.
- Create a canvas at the dimensions you intend to upload.
- Place the background, subject and text on separate layers.
- Use masks for cutouts so you can revise edges without destroying the original image.
- Use blending and adjustment controls to separate the subject from the background.
- Save a PSD for later edits, then export a JPEG or PNG for YouTube.
GIMP: the installed free editor
GIMP identifies itself as free software for GNU/Linux, macOS and Windows. It is a good choice when you want an installed application, detailed selections and reusable project files, and you are willing to learn a more manual workflow. The GIMP site listed version 3.2.6 as released on 2026-09-10; check the live site for current release information.
- Install GIMP for your operating system.
- Create a 16:9 image and import your subject and background.
- Use layers, selections and masks to isolate the subject.
- Add large, high-contrast text and inspect it at the size viewers will see.
- Export a JPEG or PNG and retain the project file for revisions.
Current YouTube thumbnail requirements
Use YouTube Help’s current guidance as the authority because maker pages can lag behind platform changes.
| Requirement | Current YouTube guidance |
|---|---|
| Recommended size | 3840 × 2160 pixels |
| Minimum width | 640 pixels |
| Format | JPG or PNG |
| Aspect ratio | 16:9 for standard video; YouTube recommends 9:16 for Shorts |
| Upload size | Limits vary by device: mobile allows 2 MB for video thumbnails and 10 MB for podcast thumbnails; desktop allows 50 MB for video, Shorts and podcast thumbnails |
Some tool pages still describe 1280 × 720 and a 2 MB maximum. Those settings can be convenient, but verify the exported file against YouTube’s live requirements for the device and content type you are uploading. YouTube also requires custom thumbnails to follow its Community Guidelines, including restrictions concerning nudity or sexually provocative content, hate speech, violence and harmful or dangerous content.
A repeatable thumbnail workflow
- Extract a representative image. Choose a frame with a clear subject and action related to the video.
- Set the canvas. Start at 16:9 and use a size supported by the destination’s current guidance.
- Establish hierarchy. Make the subject, then the short promise, then supporting detail easy to find.
- Increase separation. Use contrast, a simple background and a limited color palette.
- Check small-size legibility. View the design at phone size before exporting.
- Validate the file. Confirm dimensions, format and size; open the exported image to catch clipping or missing fonts.
- Represent the video accurately. A thumbnail can attract attention without promising something the video does not deliver.
Common problems and fixes
| Problem | Likely cause | Fix |
|---|---|---|
| The upload is rejected for size | The exported file exceeds the device-specific limit | Export JPEG, reduce dimensions or image quality, remove unnecessary layers, and recheck the file size |
| Text is unreadable on phones | Too many words, thin type or low contrast | Shorten the wording, enlarge the type and simplify the background |
| The subject blends into the background | Similar colors or insufficient separation | Use a mask, crop closer, add controlled contrast or choose a simpler background |
| A template element is unexpectedly paid | The design includes a premium asset | Replace it with an item marked free or choose another template before export |
| The exported image looks blurry | Small source image, excessive enlargement or heavy compression | Use a larger source, avoid enlarging beyond its useful resolution and export again at an appropriate quality |
| Branding changes from video to video | No repeatable visual system | Reuse a small palette, type pairing and subject placement while changing the specific image |
| The design overpromises | Thumbnail wording or imagery does not match the video | Rewrite it to describe the actual lesson, result or subject |
Performance, privacy and cost considerations
- Browser versus desktop: Canva, Adobe Express, CapCut and Photopea let you begin in a browser. GIMP requires installation. Photopea says processing runs on your device, but that vendor statement should not be expanded into a general security guarantee.
- Large files: High-resolution source images and many layers slow editing and increase export size. Keep an editable project file, then create a separately optimized upload file.
- Free-plan limits: “Free” can apply to the editor while individual templates, fonts, stock images or AI operations remain paid. Inspect the asset and export screen each time.
- Quality: No source in this research provides an independent benchmark comparing thumbnail quality, click-through rate or editing speed. A tool cannot guarantee a particular performance result.
For developers automating thumbnail previews
If your application needs rendered previews of a thumbnail page, design dashboard or generated HTML, ScreenshotNeo is the alternative to try first. It is a website screenshot API and MCP server: one GET request can return PNG, JPEG, WebP or PDF. Before capture it accepts consent banners and removes more than 60 known consent platforms, newsletter popups and chat widgets. Bot checks, blank pages, timeouts, failed loads and cache hits are not billed, and response headers identify the page verdict and billing status.
Or skip the browser setup
Use the ScreenshotNeo API when you need a rendered image without maintaining browser automation. The API base is https://api.screenshotneo.com/v1/shot. See the ScreenshotNeo documentation for the complete parameter list.
cURL
curl -G "https://api.screenshotneo.com/v1/shot" -d access_key=YOUR_API_KEY --data-urlencode url=https://stripe.com -o shot.webpPython
import requests
r = requests.get("https://api.screenshotneo.com/v1/shot", params={"access_key": "YOUR_API_KEY", "url": "https://stripe.com"}, timeout=90)
open("shot.webp", "wb").write(r.content)
Node.js
const q = new URLSearchParams({ access_key: 'YOUR_API_KEY', url: 'https://stripe.com' });
const res = await fetch(`https://api.screenshotneo.com/v1/shot?${q}`);
Useful capture options include full-page shots with lazy images loaded, a CSS-selected element, dark mode, device presets or custom viewports, retina scale, custom CSS and JavaScript, clicks, selector or network-idle waits, blocked ads and trackers, headers, cookies, user agents, authorization, timezone, geolocation, transparent backgrounds, resizing, caching with a chosen TTL, signed image links, asynchronous jobs with signed webhooks, bulk capture for up to 100 URLs per call, PDF output and a usage API. The MCP server provides take_screenshot, get_page_info and capture_pdf for Claude, Cursor and other MCP clients.
Cookie banners, popups and chat widgets are removed before the shot; bot checks, blank pages and failed loads are never billed. One thousand screenshots per month are free with no card, and paid plans start at $5 for 3,000 shots. Create a free ScreenshotNeo account.
FAQ
Which free thumbnail maker should a complete beginner use?
Start with Canva because its documented template, drag-and-drop and download workflow minimizes setup. Confirm each asset is free before exporting.
Are Canva’s 1280 × 720 and 2 MB settings the current YouTube rule?
They are settings described on Canva’s page. YouTube’s current Help page recommends 3840 × 2160 and gives device-specific upload limits, so follow YouTube’s live guidance.
Which tool is best for PSD files?
Photopea documents PSD support in the browser. GIMP is the installed alternative when you prefer a desktop application.
Can a thumbnail maker guarantee more clicks?
No. The sources reviewed provide no independent evidence that any tool guarantees click-through results. Focus on accurate subject matter, readable wording and consistent presentation.
Do I need a camera, ring light or other hardware?
No physical product is required to use these editors. Better source images can help, but the software decision does not require buying equipment.