How to Block Popups and Hide Cookie Banners in Screenshots
Clear cookie banners, modals, sticky bars and chat widgets from screenshots. Compare manual, browser and scripted methods, with runnable code and troubleshooting.
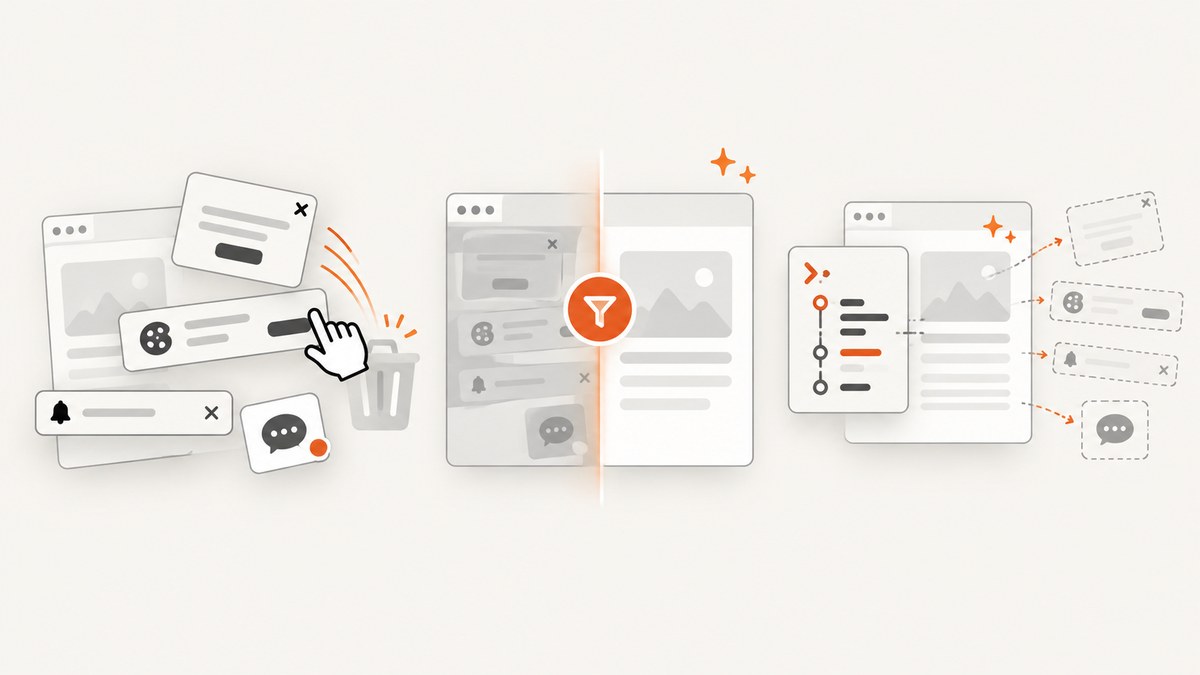
To get a screenshot without a cookie banner or popup, dismiss the overlay, hide its element before capture, or remove the obstruction from the resulting image. For a one-off screenshot, dismiss a harmless closeable popup and use your browser’s screenshot feature. For repeatable captures, use a selector-based rule or an automated screenshot tool. Check the result: hiding a banner is a visual change, not a record of consent, and an invisible overlay can still interfere with the page.
This guide covers manual browser capture, reusable browser cleanup, and command-line automation. It shows how to hide a known element, how to click a consent control when that choice is actually intended, and how to handle sites where the overlay appears late or is difficult to select.
1. Choose the right way to clear the obstruction
First decide what “remove the popup” means for your task. These techniques can produce similar-looking images but change the page in different ways.
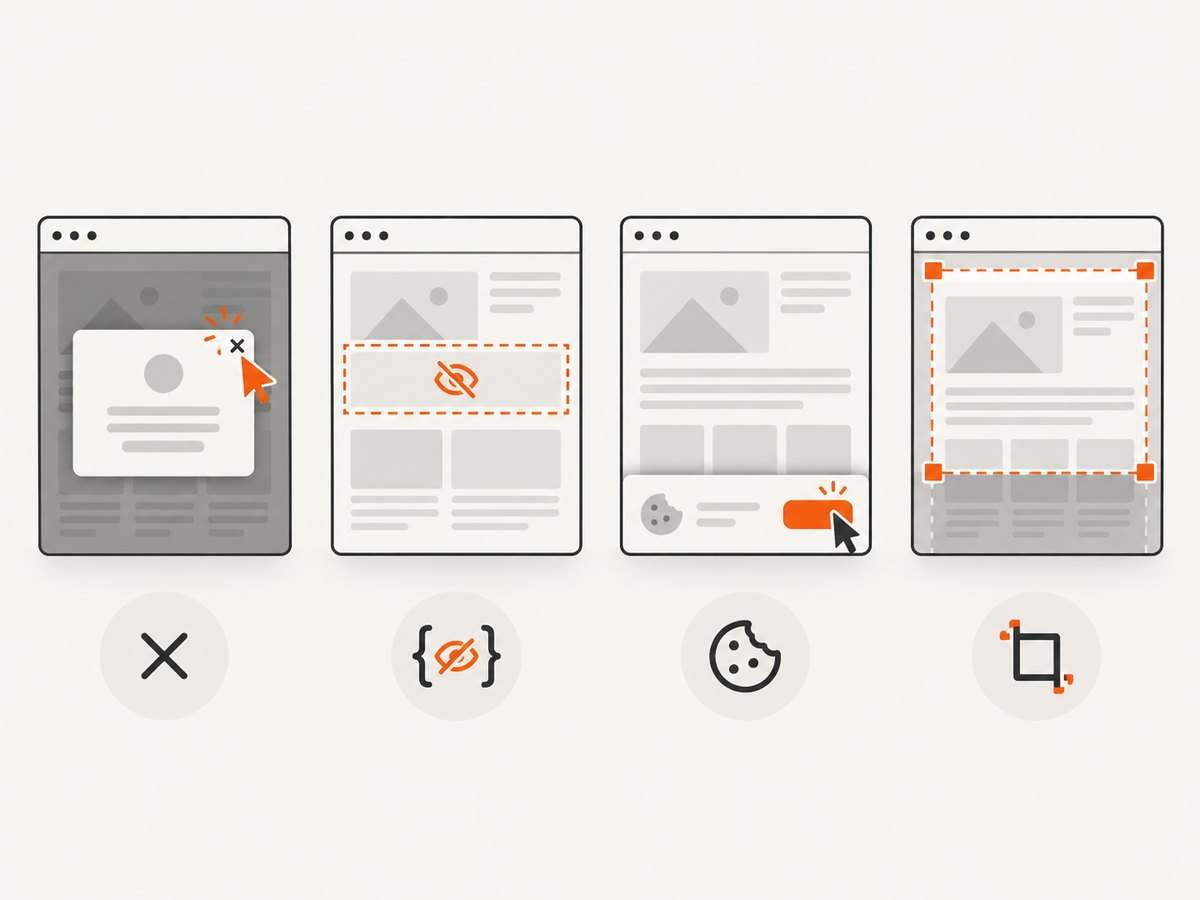
| Method | What it changes | Best for |
|---|---|---|
| Close button or Escape | Dismisses an overlay through the page’s own interaction | A one-off screenshot when a close action is available |
| Hide with CSS or a selector | Changes visibility for the capture; does not choose a consent setting | Repeatable captures of a known site or element |
| Click a consent button | Submits the choice represented by that control | When you mean to accept, reject, or otherwise interact |
| Crop or edit after capture | Changes the image, not the live page | When the covered area can be cropped without losing needed content |
Do not click “Accept” just to make the banner disappear unless accepting is the choice you intend to make. A cosmetic hiding rule and a consent interaction are not interchangeable. The webscreenie README makes this distinction explicit for its filter-list mode: it hides banners cosmetically rather than consenting to them.
Automatic banner handling is not guaranteed to catch every banner. A 2024 study of cookie-banner interaction extensions reported that the tested extensions interacted with an average of 12 banners, or 65%, in its sample. That result is specific to the study’s extensions, sites, and measurement setup; it is not a success rate for every current tool or website. See the study and its methods.
2. Take one clean screenshot in Firefox
- Open the page and wait for its main content to appear.
- If the popup has a close control, use it. You can also try Escape if it dismisses the overlay without choosing a consent option.
- Open Firefox Screenshots. Choose a region, the visible area, or the full page.
- Download the image or copy it to the clipboard, then inspect it at normal size.
Firefox’s screenshot flow supports capturing a selected region, the visible area, or the full page, then downloading the image or copying it. Its screenshot tool handles capture; it does not necessarily remove a page overlay for you. If the banner remains, clear it separately before taking the shot. Mozilla’s Firefox Screenshots guide describes the available capture and save options.
When the popup has no usable close control, an element-removal extension can help with a one-off cleanup. The Firefox Add-ons listing for Web Element Remover describes selecting an unwanted element and reapplying saved, site-specific rules. Treat extension-store descriptions as vendor claims, not independent tests. Before installing any extension, review its permissions and privacy information. After removing an element, check that the page’s content and controls remain usable.
3. Automate captures with webscreenie
For a repeatable command-line workflow, webscreenie is a Go-based webpage screenshot tool. Its README documents selector-based hiding, selector-based clicking, and cosmetic hiding from a filter list. It describes the project as an early sketch, so regard the documented behavior as a starting point and verify your own captures.
Install it with Go and make a basic capture:
go install github.com/miku/webscreenie@latest
webscreenie -o shot.png https://example.com
Its README says a Chrome or Chromium binary must be available on your PATH. To hide a known cookie banner, find its selector in the page’s developer tools and pass it to --hide-element:
webscreenie --hide-element '#onetrust-banner-sdk' -o clean.png https://example.comThat option applies display:none to matching elements. You can pass the option more than once for multiple selectors. To click a control, use --click-element with a selector for the specific button. Only do this when clicking that button represents the choice you want:
webscreenie --click-element 'button#accept-all' -o accepted.png https://example.comFor broader coverage, webscreenie offers a cached community filter list through --hide-cookie-banners. Its README says this uses cosmetic hiding rules. The list is downloaded on first use and cached; use --update-filter-list to refresh it, or --filter-list-url to specify a different list. Since the source is community-maintained and page markup changes, inspect the image rather than assuming every banner was handled.
Useful capture flags
| Flag | Use |
|---|---|
--hide-element SELECTOR |
Hide a known element; repeat for multiple selectors |
--click-element SELECTOR |
Click the first matching element; may submit a real choice |
--hide-cookie-banners |
Apply cosmetic rules from the cached filter list |
--aggressive |
Also use DOM heuristics, according to the README |
--delay DURATION |
Wait after page load before applying cleanup and capturing |
--wait-for-element SELECTOR |
Wait for a target element to become visible |
--full-page |
Capture the full scrollable page |
--width, --height |
Set the viewport dimensions |
--scale-factor |
Set device pixel ratio; higher values produce larger images |
--type, --quality |
Choose PNG or JPEG; quality applies to JPEG |
--timeout |
Set the page-load timeout; README lists 60 seconds by default |
--dark-mode, --user-agent |
Emulate a dark color scheme or override the browser user agent |
--header |
Add an HTTP header; can be repeated |
For example, capture a full page after a delay, hide a known banner, and request JPEG output:
webscreenie --full-page --delay 2s \
  --hide-element '#onetrust-banner-sdk' \
  --type jpeg --quality 85 -o clean.jpg https://example.com
Use a stable, specific selector when you know the site. A generic selector such as .modal could also hide a useful dialog. If the banner is inserted after the initial page load, a short delay may help. If the page is still rendering after the delay, wait for a relevant visible element instead. These are practical adjustments, not guarantees: scripts, changing markup, and third-party frames can make a rule behave differently across sites.
4. Write a small Playwright capture script
If you already use Playwright, you can inject a CSS rule before capturing. This example hides a known selector, waits for the page to load, and saves a full-page screenshot. Install Playwright and its browser first using its official setup instructions.
import { chromium } from 'playwright';

const browser = await chromium.launch({ headless: true });
const page = await browser.newPage({ viewport: { width: 1440, height: 900 } });

try {
  await page.goto('https://example.com', { waitUntil: 'domcontentloaded', timeout: 60000 });
  await page.addStyleTag({ content: '#onetrust-banner-sdk { display: none !important; }' });
  await page.screenshot({ path: 'clean.png', fullPage: true });
} finally {
  await browser.close();
}
This is a minimal example, not a general cookie-banner detector. Replace the sample selector after inspecting the target page. If a site adds the element late, wait for it to appear before adding the style; if it never appears, a selector wait can time out, so decide whether the script should continue without it. For a button click rather than cosmetic hiding, locate the intended button and click it explicitly. Verify the result and the page’s state.
5. Or skip the browser setup
ScreenshotNeo is a website screenshot API and MCP server. A single GET request can return a PNG, JPEG, WebP, or PDF. Its clean-shot flow accepts cookie or consent banners like a visitor and removes more than 60 known consent platforms, newsletter popups, and chat widgets before capture; each cleanup step can be turned off. Responses identify outcomes with X-Page-Verdict and X-Billed headers. Bot checks or CAPTCHAs, blank pages, timeouts, failed loads, and cache hits cost nothing.
Use the API from cURL:
curl -G "https://api.screenshotneo.com/v1/shot" \
  -d access_key=YOUR_API_KEY \
  --data-urlencode url=https://example.com \
  -o shot.webp
Python:
import requests

r = requests.get(
    "https://api.screenshotneo.com/v1/shot",
    params={"access_key": "YOUR_API_KEY", "url": "https://example.com"},
    timeout=90,
)
r.raise_for_status()
open("shot.webp", "wb").write(r.content)
Node.js:
const q = new URLSearchParams({
  access_key: 'YOUR_API_KEY',
  url: 'https://example.com'
});
const res = await fetch(`https://api.screenshotneo.com/v1/shot?${q}`);
if (!res.ok) throw new Error(`Screenshot request failed: ${res.status}`);
await Bun.write('shot.webp', res);
See the ScreenshotNeo API documentation for request options and response details. ScreenshotNeo also provides an MCP server with take_screenshot, get_page_info, and capture_pdf tools for Claude, Cursor, and other MCP clients.
For code-driven page-specific handling, the API includes options such as selector capture, custom CSS and JavaScript, clicking an element, hiding selectors, and waiting for a selector, delay, or network idle. Other available controls include viewport and device presets, full-page capture, dark mode, custom headers and cookies, user agent, caching, and PDF settings. Check the docs for exact parameter names and supported values. If a one-off local browser is the goal, keep the capture local; if you need repeated API captures or agent workflows, compare the setup and data handling against your requirements.
The free plan includes 1,000 screenshots each month with no card. Paid plans start at $5 for 3,000 screenshots; higher plans are Growth at $15 for 15,000, Pro at $39 for 60,000, Scale at $99 for 250,000, and Business at $249 for 1,000,000. Yearly billing gives two months free, and every feature is available on every plan. Create a free account for 1,000 screenshots a month with no card.
6. Troubleshooting and quality checks
| Symptom | Likely cause | What to try |
|---|---|---|
| The banner is still visible | The selector did not match, the banner appeared late, or a rule did not cover that site | Inspect the live element and use a more specific selector. Add a suitable delay or wait for the element, then confirm the capture. |
| The page content disappears too | The selector matches a parent container or a broad class | Use a narrower selector for the overlay itself. Test one selector at a time. |
| The page is dimmed after hiding the dialog | A separate backdrop or scroll-lock layer remains | Inspect for a second overlay element and hide it only if it is safe for the intended capture. Check that the page is still interactive. |
| The page still will not scroll or accept clicks | Cosmetic hiding may leave an interaction layer or page state behind | Identify and handle the backdrop separately, or use the page’s intended close or consent control. Do not assume visual disappearance resets page behavior. |
| The click action has no effect | The selector is wrong, the control is not ready, or it is inside a different frame | Confirm the selector and timing. Use the site’s actual button only when you intend to submit that choice. |
| The screenshot is blank or incomplete | The page may still be loading, scripts may be required, or a capture timed out | Wait for a meaningful page element, allow a suitable load timeout, and confirm JavaScript is enabled when needed. |
| The bottom of the page is missing | The capture is viewport-only or lazy-loaded content has not appeared | Enable full-page capture. If the target relies on scrolling to load content, use a tool or script that scrolls through the page before capture. |
| The command cannot find Chrome | Chromium is missing or not discoverable on PATH | Install Chrome or Chromium and make its binary available to the command environment. |
| The image is too large or slow to handle | Full-page dimensions, scale factor, or PNG output are larger than needed | Capture only the needed region, reduce scale factor, or use JPEG when lossy compression is acceptable. |
Before you publish or automate
- Confirm the intended content remains visible at the target viewport.
- Check the top, bottom, and fixed-position areas in full-page images.
- Verify whether the method only hides the banner or actually submits a consent choice.
- Recheck selectors when the site changes its markup or consent provider.
- Review extension and service privacy policies before sending sensitive URLs, headers, cookies, or page content to them.
- For scheduled work, record the target URL, viewport, cleanup rule, and capture outcome so a changed page can be diagnosed.
7. Performance, reliability, and cost
A manual browser capture has no setup cost beyond the browser and is usually the fastest route for a single image, but it takes a person to repeat the steps. An extension can save site-specific cleanup effort, though its coverage and compatibility depend on the extension and site. A selector-based script is predictable for known pages and can run as part of a development workflow, but it requires browser setup and maintenance when markup changes. Filter lists reduce per-site setup but can miss overlays or match unexpected elements.
Full-page images take longer and use more memory than viewport captures, especially at high device scale factors. Wait only as long as the content needs: a fixed long delay is easy but wastes time when the page is ready early. Waiting for a meaningful element can make automated capture more targeted, though it needs a fallback when that element never appears.
For API use, cost depends on the provider’s plan and billing rules. ScreenshotNeo’s stated billing rules exclude bot checks, CAPTCHAs, blank pages, timeouts, failed loads, and cache hits; responses expose page verdict and billed status headers, so callers can inspect what happened. Its free quota is 1,000 shots per month without a card, and paid plans start at $5 for 3,000. Review the service documentation and your usage needs before moving a local capture workflow to an API.
FAQ
Does hiding a cookie banner mean I rejected cookies?
No. Hiding changes what is visible in the screenshot. It does not by itself submit an accept, reject, or preferences choice.
Should I remove the overlay from the DOM?
For a screenshot, hiding it with a targeted style is often easier to reverse and inspect. Removing it can also remove page state or affect layout. Whichever method you use, verify the underlying page and resulting image.
Can a screenshot extension remove every popup?
No general guarantee follows from a feature listing or filter list. A site-specific selector is more controllable when the target is known; automated coverage needs visual review.
Can I use these techniques for a screenshot of a page I do not own?
You can capture pages available to your browser or capture service, subject to the site’s terms and applicable privacy requirements. Avoid sending private session credentials to tools you have not reviewed.


