Browser Automation Quickstart
Choose a browser automation framework, set it up, and build a small test that checks a user-visible result. Includes Playwright code, troubleshooting, and a screenshot API option.
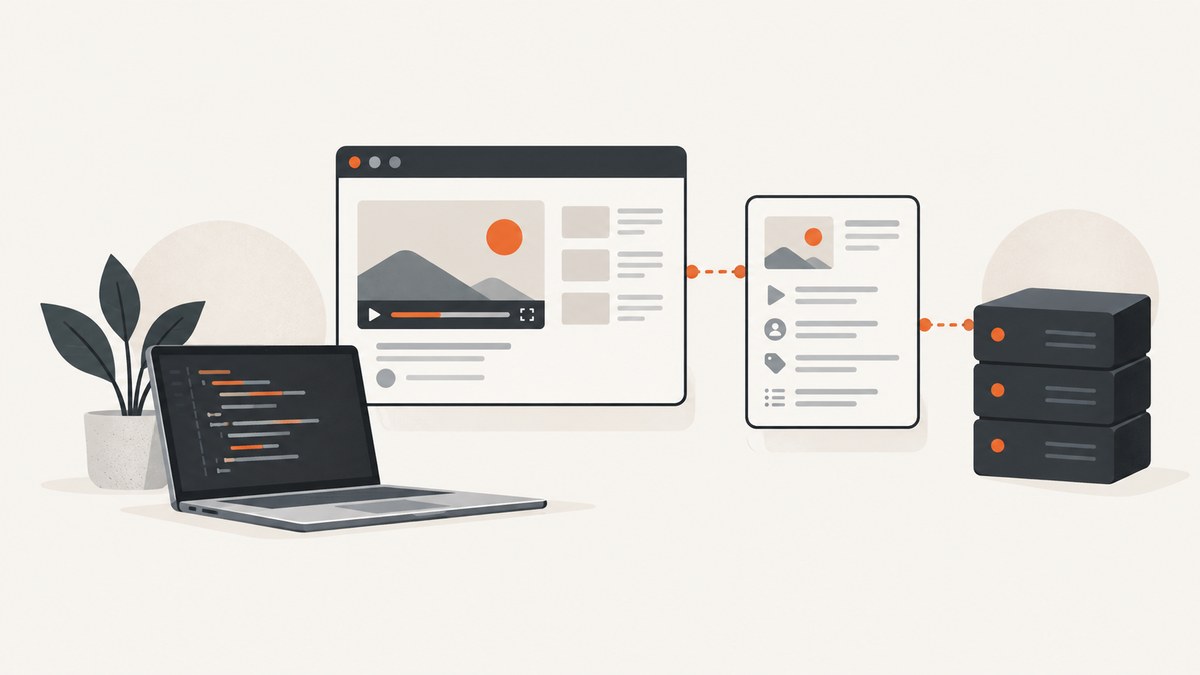
Browser automation lets a program control a browser to repeat a task or check that a web application behaves as expected. For a first end-to-end test, install a framework and its browser dependencies, open a page, interact through a stable locator, assert a visible result, and close the browser. This guide uses Playwright with JavaScript because its package, browser installer, and test runner make a compact first workflow; Selenium and Puppeteer may fit better when your language or existing stack points that way.
1. Choose a framework for your stack
There is no universal best browser automation framework. Choose based on language, browser requirements, and whether you need a test runner or a direct browser-control API.
| Framework | A reasonable starting point when… | Setup to understand |
|---|---|---|
| Playwright | You want an integrated test workflow and projects for Chromium, Firefox, and WebKit. | Install the package and matching browser binaries with its CLI. |
| Selenium | Your language, WebDriver setup, or existing test ecosystem already uses Selenium. | Choose a language binding and browser. Selenium Manager is the default driver and browser management tool used by bindings. |
| Puppeteer | You want a direct JavaScript API for launching or connecting to a browser and controlling pages. | Install the package, check its version, and follow its launch, page, navigation, interaction, and close workflow. |
Playwright documents Chromium, Firefox, and WebKit projects, branded Chrome and Edge channels, and device emulation. Selenium focuses on WebDriver implementations for major browsers and offers Grid when browser allocation needs to scale across machines. Puppeteer’s getting-started guide presents a browser-and-page API. These are differences in fit and workflow, not a performance ranking.
This quickstart uses Playwright Test. If your team already has Selenium or Puppeteer in its language and CI setup, begin with that project’s official first-script guide instead of adding a second stack without a reason.
2. Install Playwright and its browsers
You need Node.js, the Playwright Test package, compatible browser binaries, and any operating-system libraries required by those browsers. In a new project, run:
mkdir browser-quickstart
cd browser-quickstart
npm init -y
npm install --save-dev @playwright/test
npx playwright install
The browser install command downloads the default browser engines for the installed Playwright version. To install a particular engine, use npx playwright install webkit or substitute chromium or firefox. On Linux systems that lack browser dependencies, Playwright documents commands such as npx playwright install-deps chromium. Run the matching command in your environment and consult the official [Playwright browser documentation](https://playwright.dev/docs/browsers) for supported options.
Browser binaries are tied to Playwright releases. When you upgrade the package, install browsers again if the new version requires different binaries. Pin dependency versions in your project lockfile so local development and CI use the same package tree. For framework-specific setup details, see [Playwright’s official documentation](https://playwright.dev/docs/intro).
3. Write and run a first test
Create tests/example.spec.js:
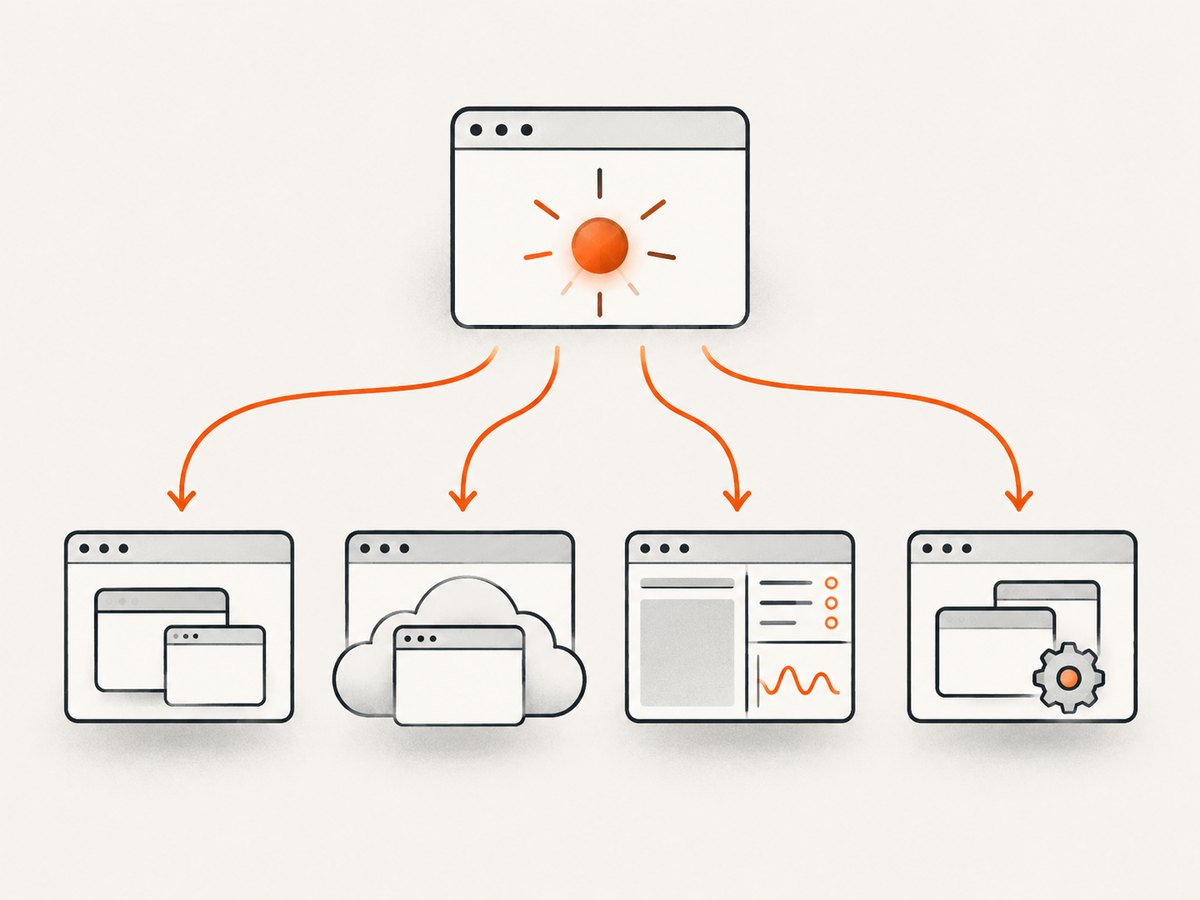
const { test, expect } = require('@playwright/test');

test('search returns a visible result', async ({ page }) => {
  await page.goto('https://playwright.dev/');

  // Use the accessible role and name exposed by the page.
  await page.getByRole('link', { name: 'Get started' }).click();

  // Assert the outcome a person should see.
  await expect(page.getByRole('heading', { name: /installation/i })).toBeVisible();
});
This small test opens a site, finds a link by its accessible role and name, clicks it, then checks the visible heading. The test runner creates and closes the browser and page fixture for you. Run it with:
npx playwright testTo watch the browser while debugging, run npx playwright test --headed. To use Playwright’s interactive test runner, run npx playwright test --ui. A successful run means the assertion passed; it does not establish that every browser, account state, or production environment behaves identically.
What makes this interaction reliable?
- Use a meaningful locator. Roles and accessible names describe how a user encounters controls. If the page lacks good accessibility semantics, prefer a stable test id or a unique label. Avoid selectors tied to generated class names or fragile DOM position.
- Assert an outcome. A click completing is not proof that the intended transition happened. Check the new heading, confirmation, URL, or other user-visible state.
- Let locator actions and assertions wait. Playwright’s guidance favors locator-based actions and web-first assertions. These wait for the relevant state, so arbitrary sleeps are often unnecessary. See its [migration guidance](https://playwright.dev/docs/puppeteer) for how its waiting and locator approach differs from Puppeteer.
4. Configure browsers and test runs
For a first test, the defaults are sufficient. Add configuration when you have a concrete need such as repeatable base URLs, multiple browser engines, traces, or CI retries. Create playwright.config.js:
const { defineConfig, devices } = require('@playwright/test');

module.exports = defineConfig({
  testDir: './tests',
  timeout: 30_000,
  expect: { timeout: 5_000 },
  retries: process.env.CI ? 1 : 0,
  reporter: 'list',
  use: {
    baseURL: 'https://playwright.dev',
    trace: 'on-first-retry',
    screenshot: 'only-on-failure',
    video: 'retain-on-failure'
  },
  projects: [
    { name: 'chromium', use: { ...devices['Desktop Chrome'] } },
    { name: 'firefox', use: { ...devices['Desktop Firefox'] } },
    { name: 'webkit', use: { ...devices['Desktop Safari'] } }
  ]
});
With baseURL configured, the test can use page.goto('/'). Install the engines named in your projects with npx playwright install chromium firefox webkit. If a project uses a branded browser channel or device emulation, configure that project explicitly and install or provision what it requires. See the [Playwright project configuration reference](https://playwright.dev/docs/test-projects) and [browser installation reference](https://playwright.dev/docs/browsers).
Configuration choices have tradeoffs. Testing several engines catches engine-specific behavior but takes more time and compute than running one. Screenshots, video, and traces help diagnose failures while using storage and adding capture work; retain only what helps your team. Retries can reveal intermittent failures, but a passing retry does not explain or fix the underlying flake.
5. Adapt the setup to Selenium or Puppeteer
Selenium: select binding, browser, and driver
Selenium setup is language-specific. Select the binding for your language, choose the browser, and follow that binding’s first-script instructions. Selenium’s bindings use Selenium Manager by default to manage drivers and browsers; the exact setup can still depend on your platform and browser installation. Start with [Selenium’s getting-started guide](https://www.selenium.dev/documentation/webdriver/getting_started/) and [overview](https://www.selenium.dev/documentation/overview/). Grid and IDE are additional tools, not prerequisites for a first local script.
Puppeteer: launch, navigate, interact, inspect, close
Puppeteer’s basic sequence is to launch or connect to a browser, create a page, navigate, interact, inspect or capture a result, then close. Its current getting-started documentation identifies version 25.12.0, so check the guide and installed package version when copying code rather than assuming examples from older releases still match. See [Puppeteer’s getting-started guide](https://pptr.dev/guides/getting-started).
For either framework, keep the first script narrow: automate one page transition and verify one result before adding login, data setup, multiple browsers, or parallel execution. The smaller the reproduction, the easier it is to distinguish a selector bug from an environment or application problem.
6. Troubleshoot common failures
| Symptom | Likely cause | What to do |
|---|---|---|
| Command or package cannot be found | Wrong working directory, package not installed, or unexpected Node.js runtime. | Check node --version, confirm the project directory and package installation, then run through npx from that directory. |
| Browser executable is missing | Playwright package installed but browser binaries were not installed, or package was upgraded. | Run npx playwright install using the project’s installed version. In CI, include browser installation in the setup job. |
| Browser fails to start on Linux | Required system libraries are absent in the image or container. | Install the documented dependencies, for example npx playwright install-deps chromium, or use a CI image that supplies them. |
| Locator matches nothing | Wrong accessible name, content differs, navigation is incomplete, or the control is inside a frame. | Inspect the rendered page and locator. Use Playwright Inspector or trace output; scope to the correct frame or choose a stable, unique locator. |
| Strict mode says a locator is ambiguous | The locator matches more than one element. | Use a more specific role/name or scope it to a parent region. Avoid selecting the first match unless that ordering is part of the intended behavior. |
| Test times out after a click | The click did not cause the expected state, the assertion expects the wrong text, or an external dependency is slow or unavailable. | Check the actual page and URL, then assert the real user-visible result. Set a targeted timeout only when the expected operation legitimately needs more time. |
| Passes locally but fails in CI | Different browser version, missing OS dependencies, constrained resources, timezone, credentials, or test data. | Keep package and browser setup aligned, provision secrets and fixtures explicitly, and inspect trace artifacts. Avoid relying on a developer’s cached login or machine state. |
| Flaky fixed delay | A guessed sleep is shorter than some runs and wastefully long in others. | Replace it with a locator action or assertion for the state that signals readiness. Use a fixed delay only when timing itself is what the test intentionally measures. |
7. Keep automation fast and dependable
- Wait for conditions, not elapsed time. Web-first assertions and locator actions reduce races caused by checking too early. Do not add sleeps after every navigation or click.
- Make state explicit. Give tests their own data and authentication setup. A test that depends on another test’s side effects can fail when order or parallelism changes.
- Use a browser matrix deliberately. Start with the engine your users and application support; add Chromium, Firefox, and WebKit projects when cross-engine coverage matters. More projects consume more runtime.
- Capture failure evidence selectively. Traces, screenshots, and videos can reveal what happened in CI. Configure retention to match your debugging needs and storage budget.
- Keep external dependencies bounded. A test that depends on a third-party site or service can fail for reasons outside your application. Use controlled test environments where possible.
- Respect the target site’s rules. Browser automation does not grant permission to access a website or account. Use authorized environments and test data.
8. Capture a page without maintaining a browser script
Use browser automation when you need to interact with a site or assert behavior. If the task is simply to produce a screenshot or PDF, [ScreenshotNeo](https://screenshotneo.com) offers a website screenshot API and MCP server: one GET request takes a URL and returns PNG, JPEG, WebP, or PDF. The API has options for full-page and element capture, device and viewport settings, waiting, custom headers and cookies, caching, async jobs, and bulk capture. See the [ScreenshotNeo API documentation](https://screenshotneo.com/docs/) for parameter details.
Or skip the browser setup
Here is the one-call cURL version; replace the target URL and use your API key:
curl -G "https://api.screenshotneo.com/v1/shot" -d access_key=YOUR_API_KEY --data-urlencode url=https://stripe.com -o shot.webpPython:
import requests

r = requests.get(
    "https://api.screenshotneo.com/v1/shot",
    params={"access_key": "YOUR_API_KEY", "url": "https://stripe.com"},
    timeout=90,
)
open("shot.webp", "wb").write(r.content)
Node.js:
const q = new URLSearchParams({ access_key: 'YOUR_API_KEY', url: 'https://stripe.com' });
const res = await fetch(`https://api.screenshotneo.com/v1/shot?${q}`);
const bytes = Buffer.from(await res.arrayBuffer());
await import('node:fs/promises').then(fs => fs.writeFile('shot.webp', bytes));
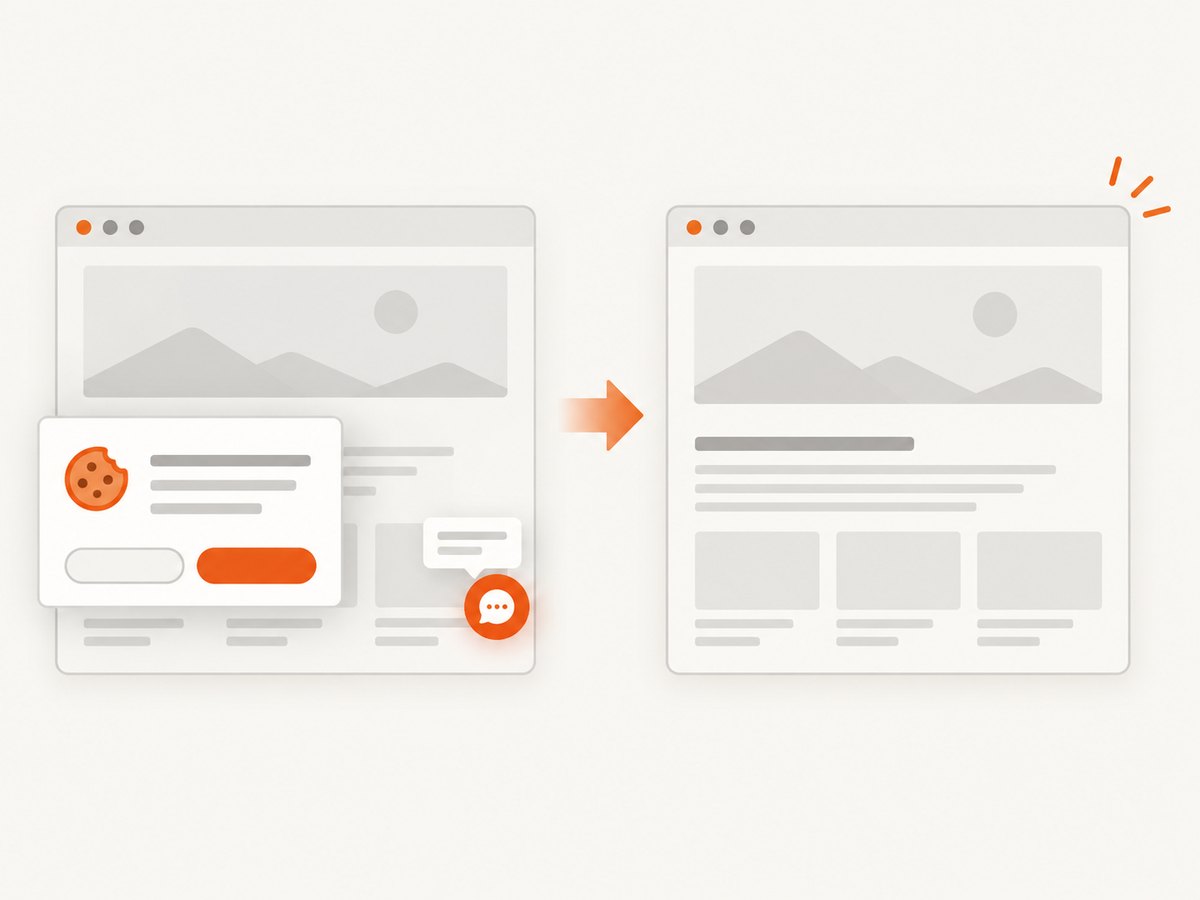
Cookie banners are accepted and removed before capture, along with supported newsletter popups and chat widgets. Bot checks, blank pages, failed loads, timeouts, and cache hits are not billed; response headers report the page verdict and billing status. An MCP server provides take_screenshot, get_page_info, and capture_pdf tools for Claude, Cursor, and other MCP clients. The free plan includes 1,000 screenshots each month with no card; paid plans start at $5 for 3,000. [Create a free ScreenshotNeo account](https://screenshotneo.com/account/sign-up/) to try it.
9. Frequently asked questions
Can I use browser automation for a one-off task?
Yes. A small script can automate a repeatable workflow without a full end-to-end test suite. Keep browser and package setup in a project so you can reproduce the task later.
Should I learn selectors first?
Learn how to locate controls by role, label, or another stable identifier, then make an action and assert what changed. The locator strategy should follow the page’s semantics and the behavior you want to verify.
Do I need all three browser engines?
No. Start with the browser relevant to your application and expand coverage when supported browser differences matter. Each additional engine adds execution and maintenance work.
Is a screenshot proof that a test passed?
A screenshot is evidence of a rendered state at one moment. A test should still assert the condition that defines success, such as a visible confirmation or expected URL.