How to Build a Device Mockup Generator for Websites
Build a reliable website device mockup generator with controlled capture, Canvas compositing, export settings, licensing guidance, and a hosted API option.
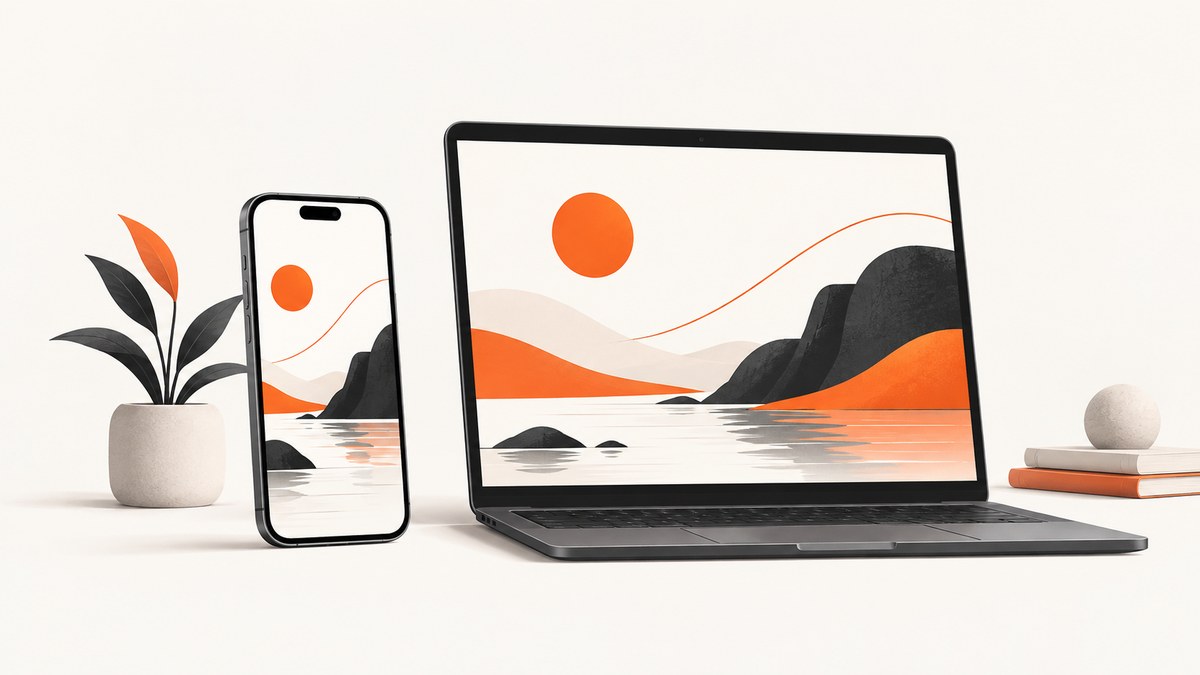
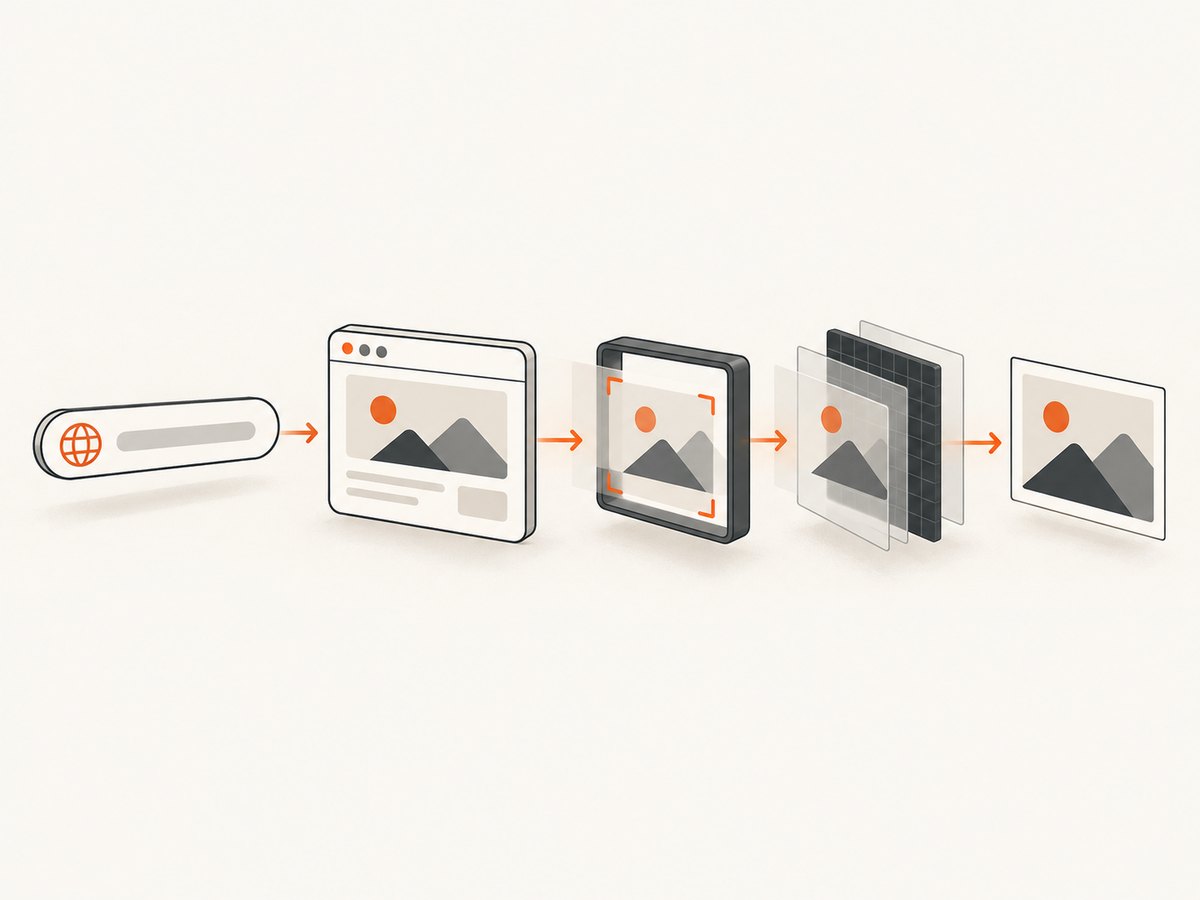
A device mockup generator is a pipeline with four separable stages: acquire website content, capture or accept an image, fit that image into a device screen, then composite and export the finished artwork. Keeping those stages independent lets you change the browser capture service without rewriting the editor.
The shortest practical architecture is:
- Accept a URL or uploaded screenshot.
- Capture the URL at a deterministic viewport, or preserve the uploaded image.
- Fit or crop the source into a data-driven screen aperture.
- Draw the frame, background, shadow and effects.
- Export a PNG, JPEG or WebP at known pixel dimensions.
1. Define the product contract
Decide what your generator promises before choosing a renderer. If users enter URLs, you need a browser capture path and a clear policy for pages that require authentication, block automation or load content after scrolling. If users upload screenshots, you can keep the original locally and make every crop reversible.
Offer both modes when possible:
- URL input: reproducible viewport, device type, orientation, device-pixel ratio (DPR), wait rules and optional full-page capture.
- Image input: original file retained, non-destructive crop and fit controls, and a visible source resolution.
Explain capture failures in the interface. Authentication walls, bot checks, delayed fonts, animations, lazy images, cross-origin restrictions and content that only appears after scrolling can all change a result. Do not silently substitute a blank image.
2. Model devices as data
A device is more than a frame bitmap. Store a record containing the artwork URL, screen aperture, safe inset, orientation, optional notch or camera geometry, and license provenance. Keep screen coordinates separate from the frame image so adding a new device does not require editor code changes.
const devices = {
  phone: {
    frameWidth: 900,
    frameHeight: 1800,
    aperture: { x: 120, y: 140, width: 660, height: 1520, radius: 52 },
    orientation: "portrait",
    dpr: 2,
    frameSrc: "/frames/phone.png",
    license: "commissioned-original"
  },
  laptop: {
    frameWidth: 2200,
    frameHeight: 1400,
    aperture: { x: 190, y: 120, width: 1820, height: 1110, radius: 12 },
    orientation: "landscape",
    dpr: 2,
    frameSrc: "/frames/laptop.png",
    license: "commissioned-original"
  }
};
Expose custom width, height, orientation and DPR controls. Chrome DevTools documents responsive dimensions, device presets, DPR and orientation as separate simulation controls. DPR maps physical pixels to CSS pixels, so a preview size must not be confused with the exported backing-store size. Chrome describes device mode as a first-order approximation; it does not run the page on an actual phone.
3. Choose the capture path
Browser-side capture
A browser-side workflow can be convenient for pages the user already has access to, but same-origin and cross-origin rules can limit what you read or draw. It also makes repeatability depend on the user’s browser, extensions, fonts and network.
Controlled server capture
A server-side headless browser gives you a fixed browser version, viewport, timezone, locale and wait policy. It must still handle authentication, robots or bot defenses, cookie dialogs, delayed resources and network failures. Treat capture as its own service and return a verdict, dimensions and diagnostic reason alongside the image.
Screenshot upload
For uploads, preserve the source file and store crop coordinates rather than overwriting pixels. A “cover” fit fills the aperture and crops overflow; a “contain” fit shows the entire image and may add letterboxing. Let users switch between them.
4. Compose the mockup with Canvas 2D
Canvas 2D is a direct choice for flat frames, shadows and backgrounds. The following minimal compositor accepts an uploaded screenshot, clips it to a rounded screen aperture, draws a frame image above it and exports a PNG. The canvas backing store is multiplied by DPR to avoid blurry output.
<input id="source" type="file" accept="image/*">
<button id="download">Download PNG</button>
<canvas id="mockup"></canvas>
<script>
const canvas = document.querySelector('#mockup');
const source = document.querySelector('#source');
const download = document.querySelector('#download');
const device = {
  width: 900, height: 1800, dpr: 2,
  aperture: { x: 120, y: 140, width: 660, height: 1520, radius: 52 },
  frameSrc: '/frames/phone.png'
};

function roundedRect(ctx, x, y, w, h, r) {
  const n = Math.min(r, w / 2, h / 2);
  ctx.beginPath();
  ctx.moveTo(x + n, y); ctx.arcTo(x + w, y, x + w, y + h, n);
  ctx.arcTo(x + w, y + h, x, y + h, n);
  ctx.arcTo(x, y + h, x, y, n);
  ctx.arcTo(x, y, x + w, y, n); ctx.closePath();
}

function loadImage(url) {
  return new Promise((resolve, reject) => {
    const image = new Image();
    image.onload = () => resolve(image);
    image.onerror = reject;
    image.src = url;
  });
}

async function render(sourceUrl) {
  const sourceImage = await loadImage(sourceUrl);
  const frame = await loadImage(device.frameSrc);
  canvas.width = device.width * device.dpr;
  canvas.height = device.height * device.dpr;
  canvas.style.width = `${device.width}px`;
  canvas.style.height = `${device.height}px`;
  const ctx = canvas.getContext('2d');
  ctx.scale(device.dpr, device.dpr);

  ctx.clearRect(0, 0, device.width, device.height);
  ctx.fillStyle = '#e9edf3';
  ctx.fillRect(0, 0, device.width, device.height);
  ctx.save();
  ctx.shadowColor = 'rgba(0,0,0,.28)';
  ctx.shadowBlur = 42;
  ctx.shadowOffsetY = 24;
  roundedRect(ctx, 40, 40, device.width - 80, device.height - 80, 80);
  ctx.fillStyle = '#111';
  ctx.fill();
  ctx.restore();

  const a = device.aperture;
  const scale = Math.max(a.width / sourceImage.width, a.height / sourceImage.height);
  const w = sourceImage.width * scale;
  const h = sourceImage.height * scale;
  const x = a.x + (a.width - w) / 2;
  const y = a.y + (a.height - h) / 2;
  ctx.save();
  roundedRect(ctx, a.x, a.y, a.width, a.height, a.radius);
  ctx.clip();
  ctx.drawImage(sourceImage, x, y, w, h);
  ctx.restore();
  ctx.drawImage(frame, 0, 0, device.width, device.height);
}

source.addEventListener('change', () => {
  const file = source.files[0];
  if (file) render(URL.createObjectURL(file)).catch(console.error);
});
download.addEventListener('click', () => canvas.toBlob(blob => {
  const a = document.createElement('a');
  a.href = URL.createObjectURL(blob);
  a.download = 'website-mockup.png';
  a.click();
}, 'image/png'));
</script>
For a transparent export, omit the background fill and export PNG or WebP with alpha. For a gradient, use ctx.createLinearGradient. Add padding, crop position, shadow strength and corner radius as editor state, then rerender from that state instead of modifying the source image.
5. Add URL capture and full-page behavior
Full-page capture requires more than increasing viewport height. Wait for fonts, images and a chosen selector or network-idle condition. Lazy images may load only after scrolling; a capture worker can scroll incrementally before taking the final shot. Disable animations where possible or capture at a known time.
Keep these settings distinct:
- Viewport: CSS width and height used by the page.
- DPR: physical output scale.
- Orientation: portrait or landscape layout.
- Device type: mobile, tablet or desktop behavior.
- Frame: artwork and aperture used in composition.
For perspective, reflections or 3D scenes, WebGL or WebGPU may be a better compositor. Chrome’s HTML-in-Canvas API can draw DOM content into a 2D canvas or WebGL/WebGPU texture, but its documentation describes it as an origin trial for Chrome 148–150 and notes cross-origin iframe, security, scrolling and animation limitations. Keep editor controls in semantic HTML for accessibility.
6. Useful controls and export formats
- Preset and custom devices, orientation and viewport dimensions.
- Upload or URL source with reversible crop and fit.
- Background color, gradient, image or transparency.
- Padding, corner radius, shadow, blur and rotation.
- Element capture by CSS selector when only one region is needed.
- PNG for alpha, JPEG for smaller photographic files, WebP for a compact modern export.
- Explicit export width and height, shown beside the preview.
Keep a preview scale separate from export scale. A 450 CSS-pixel preview can still produce a 1,800-pixel image by using a four-times backing store. Limit very large full-page captures to avoid memory spikes, and stream or queue exports that exceed your browser worker limits.
7. Or skip the browser setup
ScreenshotNeo provides a website screenshot API and MCP server. One request returns a PNG, JPEG, WebP or PDF that you can feed into the compositor above. See the ScreenshotNeo API documentation for the available parameters.
curl -G "https://api.screenshotneo.com/v1/shot" -d access_key=YOUR_API_KEY --data-urlencode url=https://stripe.com -o shot.webpimport requests
r = requests.get("https://api.screenshotneo.com/v1/shot", params={"access_key": "YOUR_API_KEY", "url": "https://stripe.com"}, timeout=90)
open("shot.webp", "wb").write(r.content)const q = new URLSearchParams({ access_key: 'YOUR_API_KEY', url: 'https://stripe.com' });
const res = await fetch(`https://api.screenshotneo.com/v1/shot?${q}`);ScreenshotNeo can accept the viewport, full-page, device, DPR, dark-mode, wait, custom CSS and JavaScript, selector, hide, block, header, cookie, user-agent, timezone and geolocation options used by a mockup workflow. It also supports caching with a chosen TTL, image resizing, signed links, asynchronous jobs with signed webhooks, bulk capture for up to 100 URLs per call, PDFs and HTML/CSS-to-image.
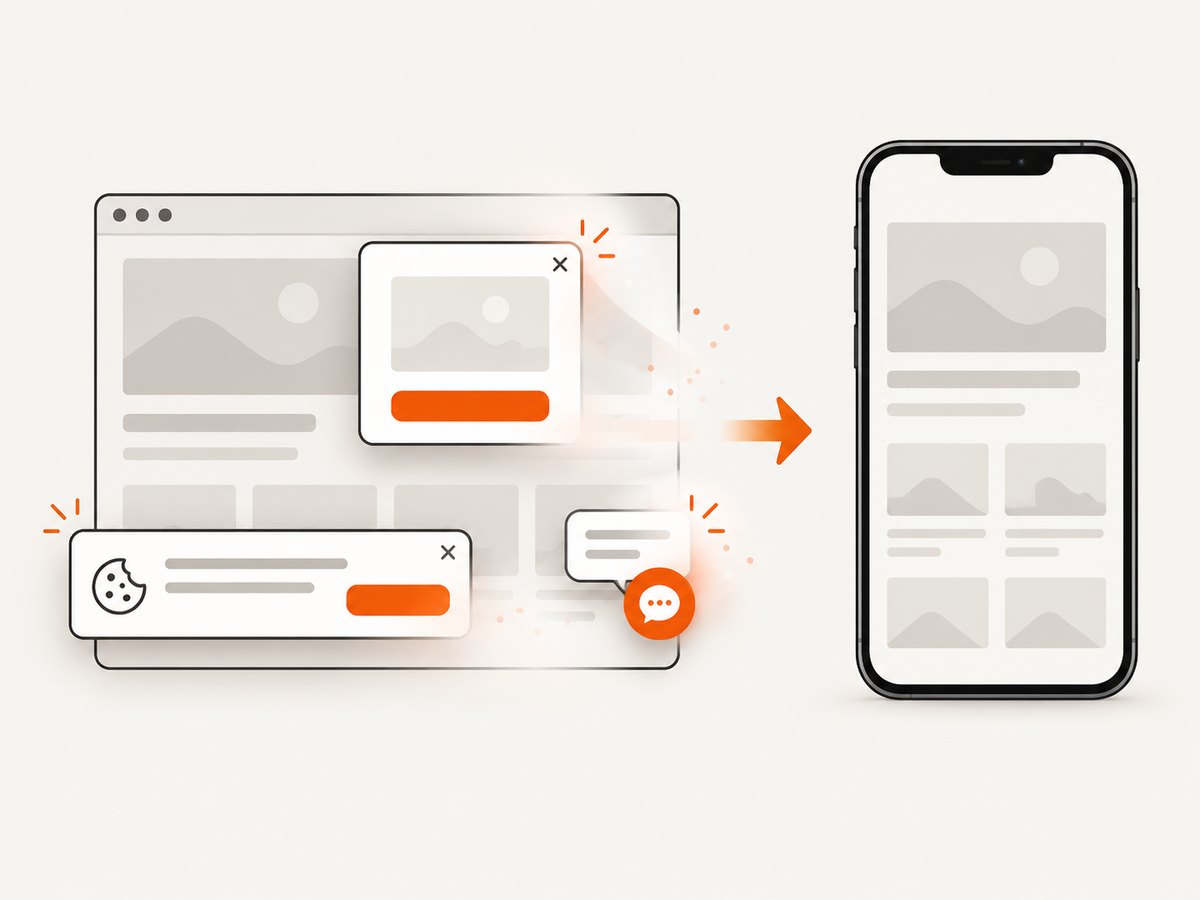
Before capture it accepts cookie and consent banners and removes more than 60 known consent platforms, newsletter popups and chat widgets; each step can be disabled. Bot checks or CAPTCHAs, blank pages, timeouts, failed loads and cache hits are not billed. The response identifies the result with X-Page-Verdict and X-Billed headers. Its MCP server exposes take_screenshot, get_page_info and capture_pdf for Claude, Cursor and other MCP clients.
There are 1,000 free screenshots each month with no card. Paid plans start at $5 for 3,000 screenshots; yearly billing gives two months free, and every feature is available on every plan. Create a free ScreenshotNeo account and use the returned image as the source layer in your generator.
8. Reliability, performance and cost
- Use a deterministic viewport, locale, timezone and user agent for repeatable captures.
- Wait for a selector, a fixed delay or network idle, and ensure fonts are ready.
- Cache identical URL and option combinations with a documented TTL.
- Retry transient network errors with bounded exponential backoff; do not retry authentication failures forever.
- Use asynchronous jobs and signed webhooks for large batches.
- Record source URL, capture options, verdict, dimensions and export format for debugging.
DPR increases pixels and memory roughly with the square of the scale, so reserve high DPR for exports that need it. Client-side composition avoids uploading an already-uploaded screenshot, while server capture contacts the requested site from your infrastructure. Tell users what leaves the browser, how long it is retained and whether URLs or images are logged.
9. Frame licensing and privacy
Do not copy frame assets from another generator without checking the grant. Hoverify’s frame license permits finished framed work but prohibits using its frame assets to build a mockup generator. DeviceFrames publishes separate community, standard and extended terms with different attribution, redistribution and charging rules. Read the current terms for the exact assets you plan to ship. Commissioned vectors simplify provenance, but device trademarks, trade dress and third-party artwork still need review.
10. Troubleshooting
| Symptom | Likely cause | Fix |
|---|---|---|
| Blank capture | Blocked page, bot check or early screenshot | Inspect the verdict, wait for a selector, authenticate deliberately or show a clear failure. |
| Timeout | Slow resources or an infinite request | Set a bounded timeout, block unnecessary resource types and retry transient failures. |
| Blurry export | Canvas backing store equals CSS size | Multiply canvas width and height by DPR, then scale the context. |
| Content clipped | Cover crop or incomplete full-page scroll | Offer contain mode, expose crop position and scroll for lazy content before capture. |
| Missing fonts | Capture occurred before web fonts loaded | Wait for document.fonts.ready or a stable selector. |
| Animated layout changes | Screenshot taken at different animation times | Disable animations with custom CSS or capture at a documented delay. |
| Transparent background appears black | Viewer does not show alpha | Verify PNG/WebP alpha and test against a checkerboard preview. |
| Security exception | Cross-origin image or iframe | Use a server capture, proper CORS headers or an uploaded file. |
| License complaint | Frame terms do not permit generator use | Replace the asset or obtain a license that expressly covers redistribution. |
11. FAQ
Does emulation prove the mockup matches a real phone?
No. DevTools emulation approximates a device. Test on representative hardware when browser, sensor, font or performance behavior matters.
Should I require a URL or an uploaded screenshot?
Support both if your audience includes authenticated or blocked sites. Uploads are predictable; URLs are convenient but need capture diagnostics.
When should I use WebGL or WebGPU?
Use Canvas 2D for flat compositing. Choose WebGL or WebGPU when perspective, lighting or a 3D scene is central to the result.
Can I export video automatically?
Video needs a separate frame-rendering and encoding pipeline. A still-image Canvas exporter does not establish encoder support.
What should I disclose about privacy?
State whether capture runs in the browser or on your server, what content is transmitted, retention duration and logging behavior.


