How to Build an LLM for Web Development
Build a production LLM web app with a practical sequence for model choice, prompting, RAG, evaluation, deployment, and monitoring.
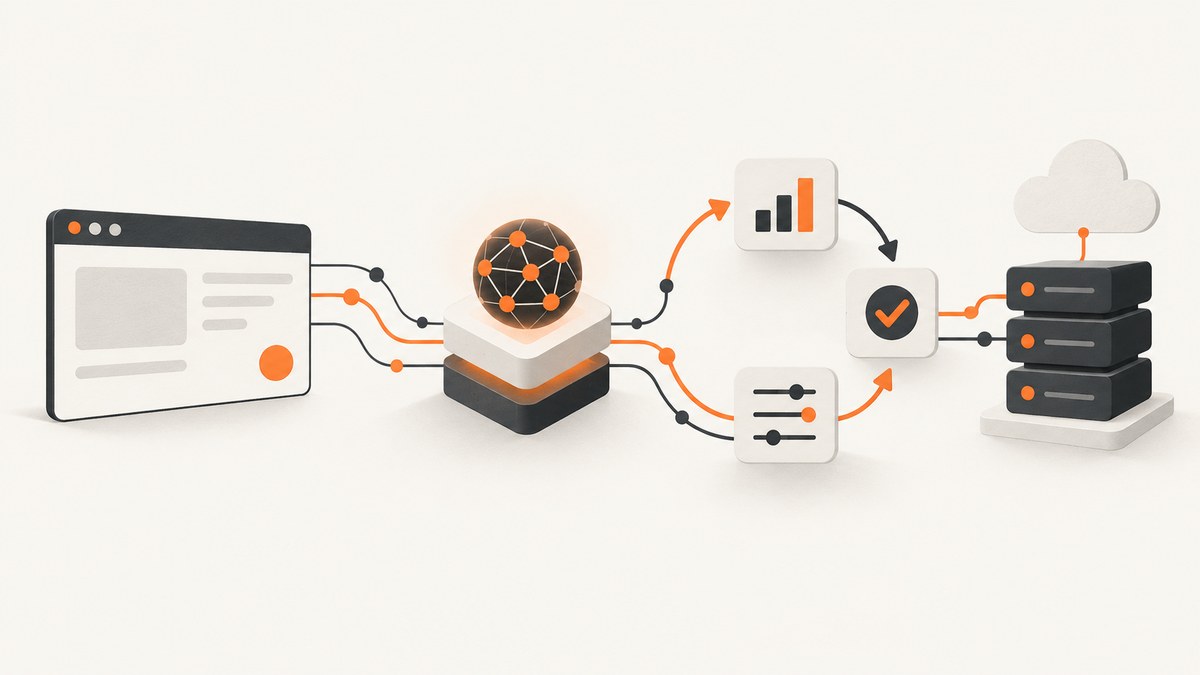
Building an LLM for web development usually means building a web application powered by an existing language model. Training a foundation model from scratch is a different research and infrastructure project. This guide covers the practical path: define the task, connect a model to your backend, add retrieval or fine-tuning only when evaluations justify it, then deploy and monitor the system.
1. Define what the LLM must do
Start with a narrow user-visible task. Examples include answering questions about product documentation, generating code from a specification, classifying support requests, or extracting fields from uploaded text.
| Decision | Questions to answer |
|---|---|
| Input | What does the user send? Text, files, structured fields, or conversation history? |
| Output | Should the result be prose, JSON, code, a classification, or an action? |
| Failure cost | What happens when the answer is wrong, incomplete, unsafe, or slow? |
| Success | Which measurable checks define a useful response? |
| Constraints | What latency, privacy, availability, and per-request cost can the product support? |
Create a representative evaluation set before optimizing. Include normal requests, ambiguous requests, empty input, adversarial instructions, long context, unsupported questions, and examples of the exact output format your application needs.
2. Choose a model and deployment route
There are three common routes:
| Route | Advantages | Costs and responsibilities |
|---|---|---|
| Hosted model API | Fastest integration and provider-managed inference | Usage charges, provider limits, API lifecycle changes, and data-handling review |
| Managed inference endpoint | More control over model selection and deployment than a simple API | Endpoint configuration, capacity planning, and hosting charges |
| Self-managed open-weight model | Control over weights, runtime, and data location | Compute, storage, serving software, upgrades, monitoring, and capacity costs |
Open-weight models can run on infrastructure you control or through a hosting provider. Hosted APIs and managed endpoints can avoid operating inference hardware. Select by testing your representative workload rather than assuming one route wins on quality, latency, or cost.
For OpenAI API applications, the current deployment guidance recommends starting with the Responses API and selecting a model against your workload. Treat that as provider-specific guidance; other providers expose different APIs and lifecycle policies. See the API deployment guidance.
3. Put model calls behind your web backend
Do not put a provider key in browser JavaScript. The browser should call your application backend, which authenticates the user, validates input, applies limits, calls the model, and records the result needed for debugging and evaluation.
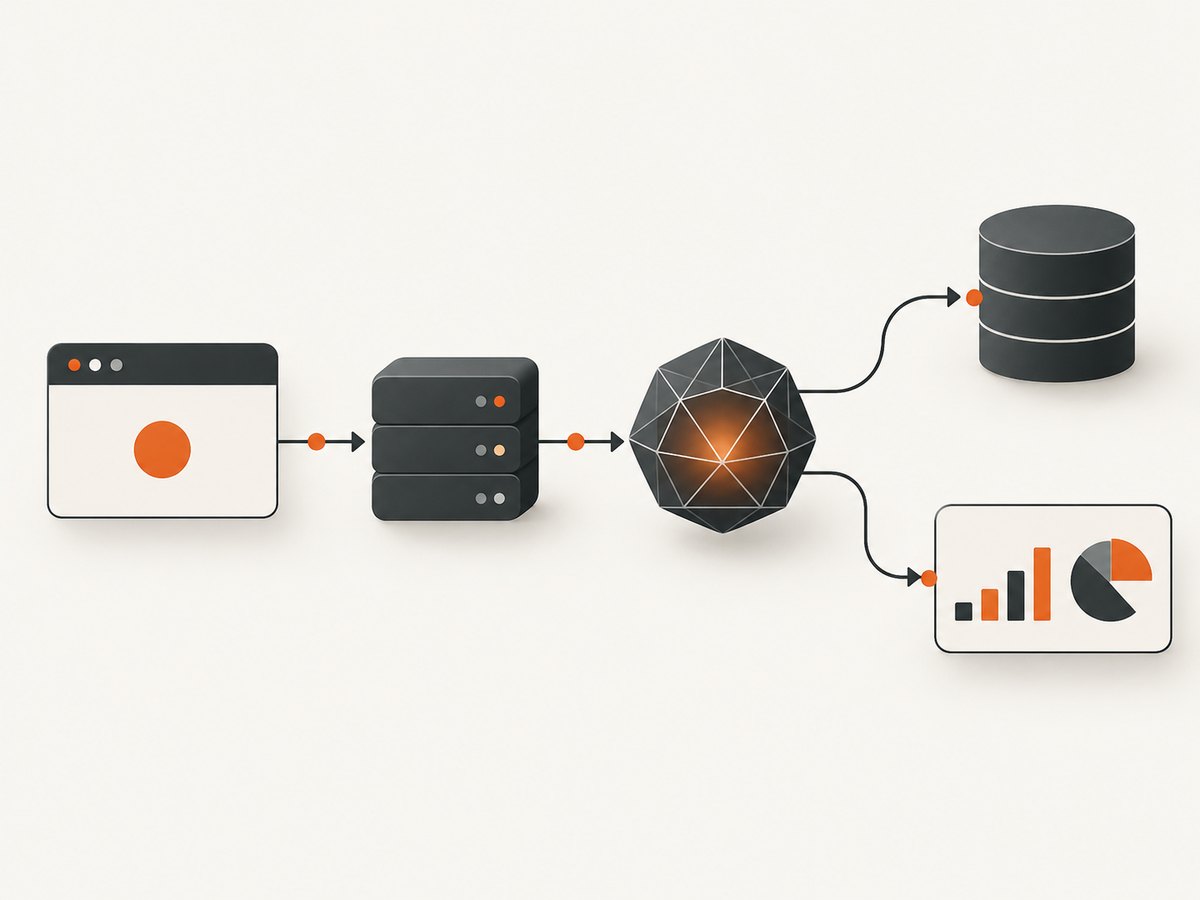
Minimal Node.js HTTP endpoint
import express from 'express';

const app = express();
app.use(express.json({ limit: '1mb' }));

app.post('/api/ask', async (req, res) => {
  const question = typeof req.body?.question === 'string' ? req.body.question.trim() : '';
  if (!question || question.length > 8000) {
    return res.status(400).json({ error: 'question must be 1-8000 characters' });
  }

  try {
    const response = await fetch('https://api.openai.com/v1/responses', {
      method: 'POST',
      headers: {
        'Content-Type': 'application/json',
        'Authorization': `Bearer ${process.env.OPENAI_API_KEY}`
      },
      body: JSON.stringify({
        model: process.env.OPENAI_MODEL,
        input: [
          { role: 'system', content: 'Answer clearly. If the context is insufficient, say so.' },
          { role: 'user', content: question }
        ]
      })
    });

    if (!response.ok) {
      const detail = await response.text();
      return res.status(502).json({ error: 'model request failed', detail });
    }

    const data = await response.json();
    return res.json({ answer: data.output_text ?? '' });
  } catch (error) {
    return res.status(503).json({ error: 'model temporarily unavailable' });
  }
});

app.listen(3000, () => console.log('Listening on http://localhost:3000'));
Set OPENAI_API_KEY and OPENAI_MODEL in the server environment. Keep provider-specific response parsing in one module so a model or API migration does not spread through your UI.
Browser request to your backend
const response = await fetch('/api/ask', {
  method: 'POST',
  headers: { 'Content-Type': 'application/json' },
  body: JSON.stringify({ question: 'Summarize our cancellation policy.' })
});
const result = await response.json();
if (!response.ok) throw new Error(result.error || 'Request failed');
console.log(result.answer);
4. Establish a baseline before optimization
Run every evaluation case against the first prompt and model. Store the input, output, model identifier, latency, token usage when available, status, and evaluator result. A baseline lets you tell whether a change improved the product or only changed its wording.
- Quality: correctness, groundedness, format adherence, and refusal behavior.
- Reliability: timeout rate, provider errors, malformed output, and retry outcomes.
- Latency: server time, model time, and tail latency such as p95.
- Cost: input and output usage multiplied by the provider’s current rates.
Use automated checks for structure and deterministic rules, then human review for nuanced quality. Keep a fixed holdout set so optimization does not overfit the examples used during development.
5. Improve the system in the right order
Prompting
Use a system instruction for stable behavior, define the output schema, include a few representative examples when useful, and state what to do when information is missing. Validate generated JSON or code before using it.
Retrieval-augmented generation (RAG)
RAG retrieves relevant documents at request time and adds them to the prompt. It is useful when answers depend on private, changing, or domain-specific information. A typical flow is:
- Split source documents into retrievable chunks and attach metadata.
- Create embeddings and store them in a search index.
- Retrieve the most relevant chunks for each question.
- Apply access-control filters before sending context to the model.
- Instruct the model to answer from the supplied context and identify missing evidence.
- Evaluate retrieval and generation separately.
Retrieval improves context freshness; it does not guarantee that the model will use the right passage. Log retrieved chunks and inspect failures. OpenAI’s optimization guidance describes prompting, retrieval, and fine-tuning as techniques that can be combined.
Fine-tuning
Fine-tuning adapts behavior from examples in model weights. Consider it when evaluations show a repeatable behavior or formatting problem that better instructions and context do not solve. It is not a replacement for retrieving current facts.
Example-count recommendations are platform-specific. The checked OpenAI supervised fine-tuning documentation describes 10 examples as a minimum starting point, reports improvements associated with 50–100 examples in some cases, and recommends beginning with about 50 well-crafted demonstrations followed by evaluation. Its documentation also reports that the fine-tuning platform is winding down and unavailable to new users, so verify current availability before designing around it.
RAG and fine-tuning can be combined: retrieval supplies changing knowledge while adaptation teaches a stable format or behavior. Measure each change against the same baseline.
6. Handle security, privacy, and abuse
- Keep API keys and retrieval credentials on the server.
- Authenticate users and enforce per-user and per-IP rate limits.
- Limit request size, conversation history, uploaded files, and tool permissions.
- Redact secrets and unnecessary personal data before logging.
- Treat retrieved documents and user text as untrusted instructions.
- Validate tool arguments and require authorization before side effects.
- Return safe errors to clients while keeping actionable diagnostics in protected logs.
7. Deploy and monitor
Choose hosted API, managed inference, or self-managed serving according to your data-location and operations requirements. For self-managed open-weight inference, budget for compute, model storage, runtime updates, scaling, health checks, and observability. A GPU may be appropriate for a self-hosted workload, but hosted APIs and managed endpoints can remove that hardware responsibility.
Track request volume, success and timeout rates, latency percentiles, token usage, estimated cost, retrieval hit quality, evaluator scores, and user corrections. Alert on changes in error rate or cost. Re-run the evaluation set when you change the model, prompt, retrieval index, chunking, safety policy, or provider configuration.
8. Add screenshots to an LLM-powered web workflow
Visual regression checks, documentation previews, and agent workflows often need a current page image. You can run a browser yourself with Playwright or Puppeteer, wait for the page, dismiss consent UI, hide overlays, and save an image. That gives maximum control but adds browser binaries, rendering capacity, retries, and cleanup logic to your service.
DIY Playwright capture
import { chromium } from 'playwright';

const browser = await chromium.launch();
const page = await browser.newPage({ viewport: { width: 1440, height: 900 }, deviceScaleFactor: 1 });
try {
  await page.goto('https://example.com', { waitUntil: 'networkidle', timeout: 30000 });
  await page.screenshot({ path: 'page.png', fullPage: true });
} finally {
  await browser.close();
}
In production, add bounded retries, a total timeout, a browser pool, blocked resource types for unneeded assets, and explicit handling for pages that never reach network idle. For consent dialogs, target the site’s button or use a maintained consent-library strategy; selectors change and a missed overlay can make the capture unusable.
Or skip the browser setup
ScreenshotNeo provides a website screenshot API and MCP server. One GET request returns PNG, JPEG, WebP, or PDF. Before capture it accepts cookie and consent banners like a visitor and removes more than 60 known consent platforms, newsletter popups, and chat widgets; each step can be turned off. Bot checks or CAPTCHAs, blank pages, timeouts, failed loads, and cache hits are not billed, and the response reports the result with X-Page-Verdict and X-Billed headers.
cURL
curl -G 'https://api.screenshotneo.com/v1/shot' -d access_key=YOUR_API_KEY --data-urlencode url=https://stripe.com -o shot.webpPython
import requests
r = requests.get('https://api.screenshotneo.com/v1/shot', params={'access_key': 'YOUR_API_KEY', 'url': 'https://stripe.com'}, timeout=90)
r.raise_for_status()
open('shot.webp', 'wb').write(r.content)
Node.js
const q = new URLSearchParams({ access_key: 'YOUR_API_KEY', url: 'https://stripe.com' });
const res = await fetch(`https://api.screenshotneo.com/v1/shot?${q}`);
if (!res.ok) throw new Error(`Screenshot failed: ${res.status}`);
const buffer = Buffer.from(await res.arrayBuffer());
await import('node:fs/promises').then(fs => fs.writeFile('shot.webp', buffer));
See the ScreenshotNeo API documentation for the complete option list. Relevant controls include full-page capture with lazy-image loading, CSS-selector element capture, dark mode, 12 device presets or any viewport, retina scale, PDF paper size and margins, custom CSS and JavaScript, clicks, hidden selectors, selector or delay waits, network-idle waits, blocked ads and trackers, custom headers, cookies, user agents and Authorization, timezone and geolocation, transparent backgrounds, resizing, cache TTL, signed links, asynchronous jobs with signed webhooks, bulk capture for 100 URLs per call, usage reporting, and an OpenAPI specification. Common parameter names from other screenshot APIs also work, which can simplify migration.
An MCP server exposes take_screenshot, get_page_info, and capture_pdf to Claude, Cursor, and other MCP clients. ScreenshotNeo pricing is Free for 1,000 shots per month with no card, then Starter $5 for 3,000, Growth $15 for 15,000, Pro $39 for 60,000, Scale $99 for 250,000, and Business $249 for 1,000,000. Yearly billing gives two months free, and every feature is included on every plan. Create a free ScreenshotNeo account.
9. Troubleshooting
| Symptom | Likely cause | Fix |
|---|---|---|
| API key appears in browser code | Model call is made client-side | Move the call to your backend and rotate the exposed key. |
| Answers contain stale facts | Knowledge is only in the prompt or weights | Add retrieval, timestamp sources, and evaluate citation or grounding behavior. |
| JSON is malformed | Free-form generation is parsed as a contract | Use a strict schema where supported, validate every response, and retry or reject invalid output. |
| Latency spikes | Large context, cold self-hosted capacity, or slow retrieval | Measure each stage, trim context, cache safe results, and set bounded timeouts. |
| Costs grow unexpectedly | Unbounded history, retries, or oversized retrieved chunks | Cap tokens and retries, log usage, deduplicate context, and alert on spend. |
| Screenshot contains a popup | Selector-based DIY dismissal missed the overlay | Update the browser flow or use ScreenshotNeo’s consent, popup, and chat removal controls. |
| Screenshot is blank or times out | Page failure, bot check, or an overly strict wait | Inspect verdict headers, reduce wait conditions, allow required resources, and retry within a total deadline. |
| Self-hosted model is unavailable | Insufficient capacity or runtime failure | Add health checks and capacity planning, or use a managed endpoint while investigating. |
10. Practical launch checklist
- Write the task contract and failure policy.
- Create representative evaluation and holdout sets.
- Implement the backend model call with authentication, limits, and timeouts.
- Record baseline quality, latency, reliability, and cost.
- Add retrieval only for a measured context problem.
- Consider fine-tuning only for a measured behavior problem and verify availability.
- Validate outputs before displaying them or triggering tools.
- Deploy with logs, metrics, alerts, and a rollback path.
- Re-evaluate after model, prompt, retrieval, or infrastructure changes.
FAQ
Do I need to train an LLM from scratch?
No. Most web products should start with an existing hosted or open-weight model and focus on the application, evaluation, and deployment design.
Should I use RAG or fine-tuning?
Use RAG for changing or private knowledge. Use fine-tuning for repeatable behavior or formatting problems that prompting and context do not solve. Use both when evaluations show both problems.
Can I run an open-weight model locally?
Yes, if you can operate the required runtime and compute. Plan for model storage, serving, updates, monitoring, and capacity; a hosted or managed route may reduce that operational work.
How do I keep an LLM application reliable?
Use representative evaluations, bounded timeouts and retries, output validation, access controls, observability, and regression checks whenever the model or surrounding system changes.


