How to Build a Website in Visual Studio Code
Build and preview a complete HTML, CSS, and JavaScript website in Visual Studio Code, with setup steps, debugging, extensions, and fixes for common errors.
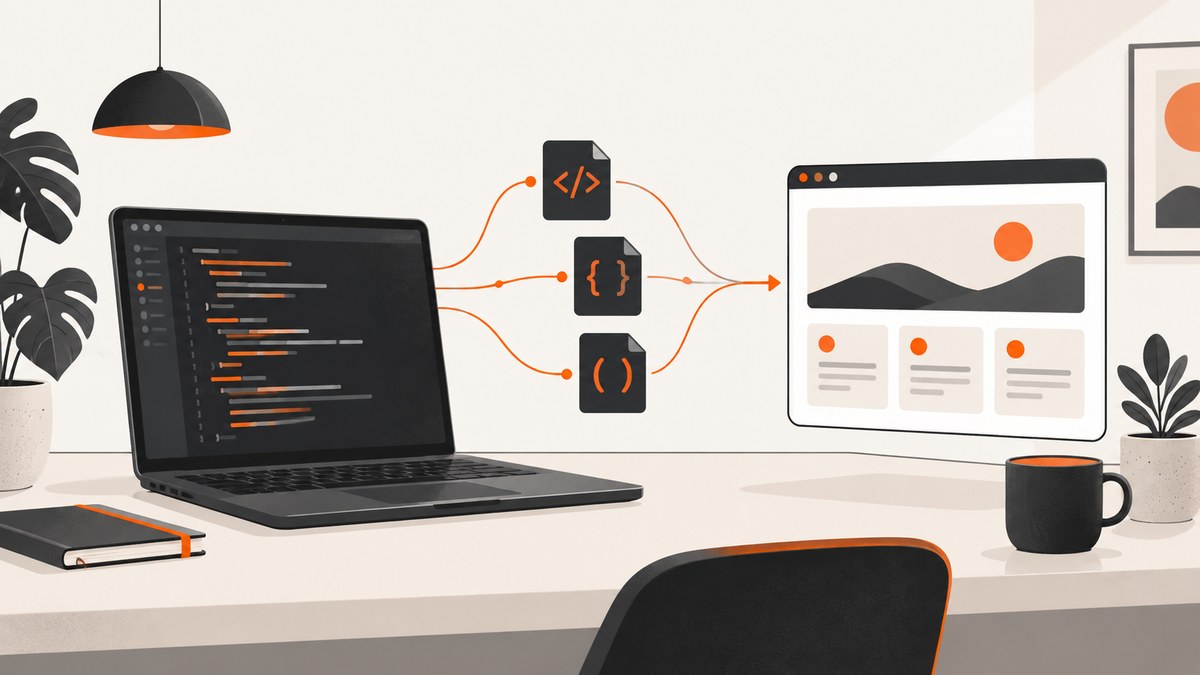
Direct answer: Install desktop Visual Studio Code, open a folder as your workspace, create index.html, styles.css, and script.js, then preview the page with VS Code’s Integrated Browser or Microsoft’s Live Preview extension. VS Code is the editor and development workbench; it does not create a framework project or supply a built-in project template.
This guide builds a working static website from an empty folder, explains when to use a local server, and covers the editor, extensions, debugging, browser-based VS Code, troubleshooting, and production considerations.
What you need
- Desktop Visual Studio Code from Microsoft’s installation documentation.
- A project folder you can edit.
- A modern web browser.
- Optional: a JavaScript runtime or framework tool if your project has a build step. A plain HTML, CSS, and browser JavaScript site does not require Node.js.
VS Code supports HTML, CSS, and JavaScript out of the box, while extensions add tools for other languages and workflows. Read the publisher and listing details before installing an extension.
1. Install VS Code and create a workspace
- Install and open Visual Studio Code.
- Create a folder named
my-websiteanywhere convenient. - In VS Code, choose File > Open Folder and select
my-website. - When VS Code asks whether you trust the folder, trust it only if you know where its files came from. Workspace Trust controls whether project code and extensions may run.
The folder is now the workspace. It gives the Explorer, integrated terminal, source control, debugger, and other tools a shared project context. You can also open it from a terminal:
code my-websiteIf the code command is unavailable, open the folder from the VS Code menu or install the command-line option supplied by your platform’s VS Code installer.
2. Create the website files
In the Explorer, create these three files at the workspace root:

index.html— page structure and contentstyles.css— presentation and layoutscript.js— browser behavior
index.html
<!doctype html>
<html lang="en">
<head>
  <meta charset="utf-8">
  <meta name="viewport" content="width=device-width, initial-scale=1">
  <title>Trail Notes</title>
  <link rel="stylesheet" href="styles.css">
</head>
<body>
  <header class="site-header">
    <a class="brand" href=".">Trail Notes</a>
    <button id="theme-toggle" type="button" aria-pressed="false">
      Dark mode
    </button>
  </header>

  <main>
    <section class="hero">
      <p class="eyebrow">Weekend field guide</p>
      <h1>Find a better path outside.</h1>
      <p>Short route notes, packing checklists, and practical ideas for your next walk.</p>
      <a class="button" href="#checklist">View the checklist</a>
    </section>

    <section id="checklist" class="card">
      <h2>Day-hike checklist</h2>
      <ul>
        <li>Water and a snack</li>
        <li>Weather layer</li>
        <li>Map or offline route</li>
      </ul>
    </section>
  </main>

  <footer>Built in Visual Studio Code.</footer>
  <script src="script.js" defer></script>
</body>
</html>
styles.css
:root {
  font-family: system-ui, sans-serif;
  color: #17324d;
  background: #f4f7f9;
}

* { box-sizing: border-box; }
body { margin: 0; line-height: 1.6; }
.site-header, main, footer { max-width: 58rem; margin: 0 auto; padding: 1rem 1.25rem; }
.site-header { display: flex; justify-content: space-between; align-items: center; }
.brand { color: inherit; font-weight: 700; text-decoration: none; }
.hero { padding: 7rem 1.25rem 5rem; }
.hero h1 { max-width: 36rem; margin: 0; font-size: clamp(2.5rem, 8vw, 5rem); line-height: 1.05; }
.hero p { max-width: 34rem; font-size: 1.2rem; }
.button, button { border: 0; border-radius: .5rem; padding: .7rem 1rem; cursor: pointer; }
.button { display: inline-block; color: white; background: #1769aa; text-decoration: none; }
.card { margin: 0 1.25rem 3rem; padding: 1.5rem; border-radius: .75rem; background: white; box-shadow: 0 8px 30px rgb(23 50 77 / 12%); }
footer { padding-bottom: 3rem; }

body.dark { color: #eaf2f8; background: #13202b; }
body.dark .card { background: #203241; }
body.dark .button { background: #4da3d9; color: #092033; }
script.js
const toggle = document.querySelector('#theme-toggle');

toggle.addEventListener('click', () => {
  const dark = document.body.classList.toggle('dark');
  toggle.setAttribute('aria-pressed', String(dark));
  toggle.textContent = dark ? 'Light mode' : 'Dark mode';
});
Save all three files. The HTML links to the CSS file with a relative URL and loads JavaScript with defer, so the script runs after the document has been parsed.
3. Preview the page
Option A: Integrated Browser
Desktop VS Code can open an HTML file in its Integrated Browser. Open index.html, use the editor’s preview command or the Command Palette, and enter the file path or local URL. This is a convenient way to inspect a simple page and see updates while editing. Microsoft’s HTML documentation describes this workflow.
Use a server instead when your page depends on HTTP requests, module loading, routing, cookies, server-side code, or a build process. A file:// URL does not behave like a deployed website.
Option B: Microsoft’s Live Preview extension
- Open the Extensions view with
Ctrl+Shift+Xon Windows/Linux orCmd+Shift+Xon macOS. - Search for Live Preview and verify that Microsoft is the publisher.
- Install it, then open
index.html. - Use the preview command shown by the extension. It launches a local development server with live reload.
The extension route is useful when you want a stable http://localhost origin and automatic refresh. It is optional; plain HTML does not require an extension.
Option C: Start a local server yourself
Python is enough for a static folder if it is installed:
cd my-website
python -m http.server 8000
Open http://localhost:8000. Stop the server with Ctrl+C. This serves files but does not process server-side languages or compile a framework.
4. Edit, inspect, and debug
- Explorer: keep assets and source files organized. Use folders such as
images/andsrc/as the project grows. - IntelliSense: HTML, CSS, and JavaScript suggestions help complete tags, properties, and APIs.
- Problems panel: open View > Problems to inspect syntax and configuration diagnostics.
- Integrated terminal: run servers, package managers, formatters, and build commands without leaving the workspace.
- Source control: initialize Git when you want a history of changes. Review files before committing.
- Browser DevTools: use the browser’s Elements, Console, Network, and responsive-design tools for runtime behavior and layout issues.
- Debugger: for browser JavaScript, use your browser’s debugger or a suitable debugging extension. For a framework or server runtime, install that runtime and configure its documented VS Code debugger.
5. Make the project responsive and maintainable
- Keep one clear
h1and use headings in order. - Use semantic elements such as
header,main,nav,section, andfooter. - Add descriptive
alttext to informative images and emptyalttext to decorative ones. - Test narrow and wide viewports in browser responsive mode.
- Use relative asset paths that match the file’s location exactly, including capitalization.
- Keep behavior in JavaScript and presentation in CSS instead of adding large inline blocks.
- Before deployment, compress large images, remove debug output, and verify links from a clean browser session.
6. Add frameworks, packages, or a build step when needed
VS Code does not include a File > New Project dialog or preinstalled templates. A framework project is created by that framework’s command-line tool, package manager, or documented starter command. Install the required runtime first, then run the framework’s official command in the integrated terminal and open the resulting folder in VS Code.
For a simple static page, adding a framework creates extra configuration and dependencies without solving a problem. Choose one when you need component composition, routing, a bundler, typed code, or a framework-specific deployment workflow.
7. Desktop VS Code or VS Code for the Web?
| Choice | Best for | Limits |
|---|---|---|
| Desktop VS Code | Local files, terminals, runtimes, source control, and debugging | Requires installing the application and project tools |
| Integrated Browser | Opening an HTML page inside desktop VS Code | Direct preview is less suitable for server behavior or build pipelines |
| Live Preview | A local server with live reload | Requires installing the Microsoft extension |
| VS Code for the Web | Lightweight edits in a browser or repository | No terminal or debugger, and only some extensions run |
VS Code for the Web is useful for quick repository changes. Use desktop VS Code or a fuller remote development environment when the site needs local commands, a runtime, or debugging.

8. Capture a preview for a review or release
Once the site is available at a URL, you can capture a consistent image for a pull request, design review, documentation page, or visual regression check. Capture the deployed URL when you need results that another person or service can reach; localhost is private to your computer.
Or skip the browser setup
ScreenshotNeo provides a website screenshot API and MCP server. One GET request returns PNG, JPEG, WebP, or PDF. Cookie and consent banners, newsletter popups, and chat widgets are removed before the shot; bot checks, blank pages, failed loads, timeouts, and cache hits cost nothing, and response headers identify the page verdict and billing result.
See the ScreenshotNeo API documentation for all options. The same endpoint supports full-page or element captures, dark mode, device presets and custom viewports, retina scale, PDF settings, custom CSS and JavaScript, clicks, waits, blocked resources, headers, cookies, user agents, authorization, timezone, geolocation, transparent backgrounds, resizing, caching, signed links, asynchronous webhooks, bulk capture, usage data, and an OpenAPI specification.
cURL
curl -G "https://api.screenshotneo.com/v1/shot" -d access_key=YOUR_API_KEY --data-urlencode url=https://stripe.com -o shot.webpPython
import requests

r = requests.get(
    "https://api.screenshotneo.com/v1/shot",
    params={"access_key": "YOUR_API_KEY", "url": "https://stripe.com"},
    timeout=90,
)
r.raise_for_status()
open("shot.webp", "wb").write(r.content)
Node.js
const q = new URLSearchParams({ access_key: 'YOUR_API_KEY', url: 'https://stripe.com' });
const res = await fetch(`https://api.screenshotneo.com/v1/shot?${q}`);
if (!res.ok) throw new Error(`Screenshot failed: ${res.status}`);
const fs = await import('node:fs/promises');
await fs.writeFile('shot.webp', Buffer.from(await res.arrayBuffer()));
Replace the example URL with your publicly reachable site URL. Start with a normal viewport, then add full-page capture, a selector, waits, or custom headers only when the page requires them.
ScreenshotNeo includes an MCP server with take_screenshot, get_page_info, and capture_pdf tools for Claude, Cursor, and other MCP clients. The Free plan includes 1,000 shots per month with no card; paid plans start at $5 for 3,000 shots, and every feature is available on every plan. Create a free ScreenshotNeo account.
Configuration choices that matter
| Need | Setting or approach |
|---|---|
| Page extends below the viewport | Use full-page capture; lazy images are loaded before capture |
| One card, chart, or hero | Capture the element with its CSS selector |
| Dark theme | Use dark mode or set the page’s own theme state |
| Slow client rendering | Wait for a selector, a delay, or network idle |
| Private or localized page | Supply headers, cookies, authorization, timezone, or geolocation as appropriate |
| Repeat captures | Choose a cache TTL; cache hits are not billed |
| Many URLs | Use bulk capture, up to 100 URLs per call |
| Public image tag | Use a signed link instead of exposing an access key |
Troubleshooting
The page shows as a blank file
Check that the file is named index.html, that the preview opened the correct workspace, and that relative paths match the directory layout. A browser opened on the wrong folder will not find your assets.
CSS or JavaScript changes do not appear
Confirm that the HTML references the expected filenames, save the files, and reload the preview. A hard reload can clear a browser cache. With a server workflow, verify that the server is serving the workspace you edited.
JavaScript errors appear in the console
Read the first error and its source line. Check for a selector that matches no element, a missing closing brace, or a script that runs before the DOM exists. The example uses defer so the document is parsed before the script executes.
Images or modules fail under a file URL
Some browser security rules differ for file:// pages. Start Live Preview or python -m http.server and open the HTTP URL instead.
VS Code for the Web cannot run the project
That browser editor has no terminal or debugger and supports only some extensions. Move to desktop VS Code or a remote environment that supplies the runtime and tools.
A ScreenshotNeo capture is not ready
Use a public URL, wait for a selector or network idle when client rendering is slow, and check response status and the X-Page-Verdict and X-Billed headers. Bot checks, blank pages, timeouts, failed loads, and cache hits are identified and are not billed.
Performance, reliability, and cost notes
- Keep static assets small and avoid unnecessary scripts; this improves both local preview and remote capture time.
- Wait for a specific selector when possible. A targeted readiness condition is more predictable than an arbitrary long delay.
- Use caching with a TTL for repeated, unchanged screenshots.
- For many pages, use bulk capture rather than issuing 100 unrelated calls.
- Store API keys on the server or in environment variables. Do not put a secret access key in browser JavaScript or a public repository.
- ScreenshotNeo’s Free plan has 1,000 shots per month with no card. Starter is $5 for 3,000, Growth $15 for 15,000, Pro $39 for 60,000, Scale $99 for 250,000, and Business $249 for 1,000,000. Yearly billing gives two months free.
Checklist before you publish
- The project opens as the intended workspace folder.
-
index.htmlloads without console errors. - Links, images, and scripts use correct paths.
- The layout works on narrow and wide viewports.
- Keyboard focus and readable contrast are usable.
- A server preview was used if the site needs HTTP behavior.
- Production URLs and screenshot captures were checked after deployment.
FAQ
Is VS Code a website builder?
It is a code editor and development workbench. You build the site by writing or generating files and using the tools required by your stack.
Do I need Node.js for HTML and CSS?
No. A static HTML, CSS, and browser JavaScript site can run without Node.js. Install a runtime when your framework or build tool requires one.
Can I build a website entirely in VS Code for the Web?
You can make lightweight edits, but its documented limits include no terminal or debugger and partial extension support. Desktop VS Code is better for a complete local workflow.
Which preview method should a beginner choose?
Use Integrated Browser for a quick HTML preview. Use Live Preview or a local server when you need an HTTP origin and live reload.
Can a screenshot service capture my localhost page?
A remote service cannot reach a private localhost URL. Deploy the page or expose it through a controlled, reachable development URL before requesting a capture.


