How to Bulk-Generate Custom Wedding Invitations
Create hundreds of personalized wedding invitations from a spreadsheet with Canva, Word, Avery, or Adobe Express—then proof and print without batch errors.
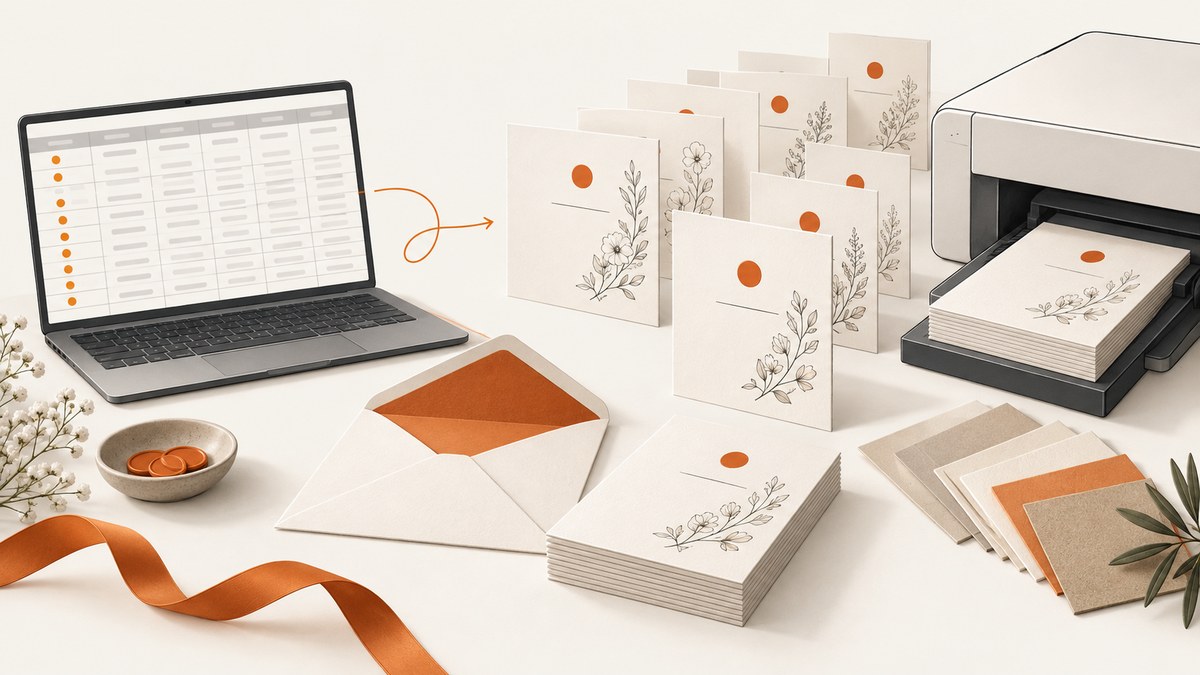
Direct answer: Put one guest or household per row in a clean CSV or XLSX file. Put each changing value—such as guest name, venue, RSVP date, table number, meal choice, address, or RSVP URL—in its own column. Create one invitation template with a separate text box or merge field for every variable, connect the columns, generate a multi-page PDF or individual files, proof representative records, and only then print on stock that matches the template and printer.
The right tool depends on your production method. Canva is the quickest option for design variations, Microsoft Word is strongest for document mail merge and local control, Avery is best when you already own a specific card or label product, and Adobe Express is convenient when you want a template and professional print ordering. This guide covers the complete workflow, data design, proofing, printing, troubleshooting, and a way to automate screenshot proofs with ScreenshotNeo.
1. Design the data before designing the invitation
Your spreadsheet is the source of truth. Fixing it before connecting fields is much cheaper than correcting hundreds of exported pages.
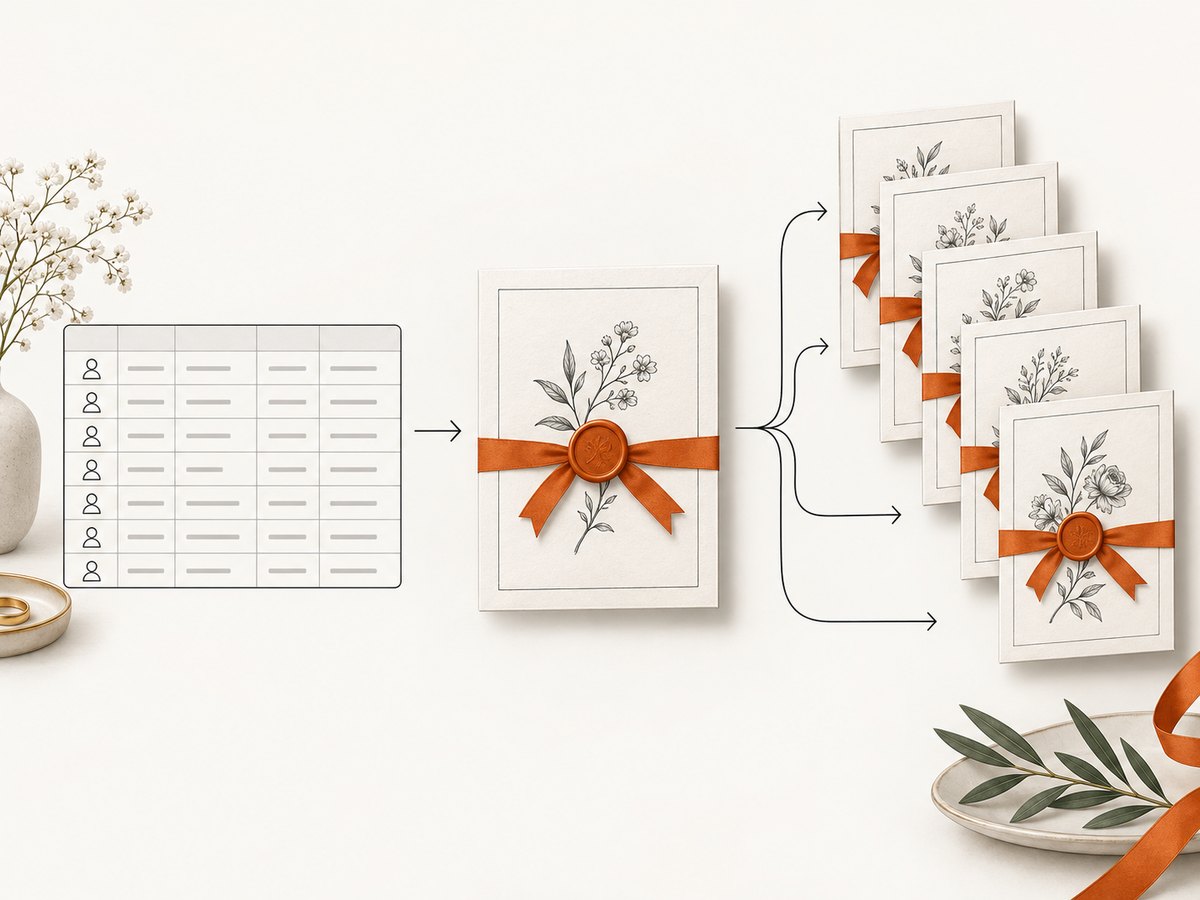
Use one row per finished invitation
If a couple receives one invitation, make one row for that household. If every guest receives a separate card, make one row per guest. Do not put multiple unrelated names in one cell unless your design intentionally displays them as one line.
GuestName,HouseholdName,Venue,EventDate,RSVPDate,TableNumber,MealChoice,QRURL
Aisha Rahman,Rahman Family,The Glasshouse,2026-06-20,2026-05-01,12,Vegetarian,https://example.com/rsvp/aisha
Marco Silva,Marco Silva,The Glasshouse,2026-06-20,2026-05-01,7,Standard,https://example.com/rsvp/marco
Keep fields stable and printable
- Use short, unique headers such as
GuestNameandRSVPDate. - Normalize capitalization, apostrophes, accents, and postal abbreviations in the source sheet.
- Store dates in one format, then apply the invitation’s display format in the template.
- Keep URLs complete, including
https://, so QR-code generators and hyperlinks parse them correctly. - Use an empty value only when the design has a deliberate fallback. Otherwise, a blank field can leave awkward punctuation or spacing.
- Save a versioned copy of the final spreadsheet beside the merged PDF so a reprint is reproducible.
2. Build a template that can absorb real names
Make every changing value its own text element or merge field. A single text box containing a long sentence is harder to control than several fields with intentional spacing.
Before bulk generation, test:
- The shortest and longest guest names.
- Diacritics such as é, ñ, ø, and Ł.
- Hyphenated and double-barrelled surnames.
- Long venue names and addresses.
- Empty meal choices or optional lines.
- Different QR-code lengths and quiet zones.
Allow enough width for wrapping, but remember that a wrapped name can change the vertical balance of the entire design. If a field may wrap, reserve a fixed-height area and set a predictable line spacing. Keep important text inside the trim-safe area and add bleed when the printer or card specification requires it.
3. Canva Bulk Create: fastest design-variation workflow
Canva Bulk Create is designed to generate many design variations, including event invitations. Its model is one data row per complete design and one column per field. Canva documents CSV and XLSX uploads, mapping columns to text boxes and image frames, and output as one multi-page design or individual designs. The documented selection limit is up to 300 rows and 150 columns. Bulk Create is available on Canva Pro, Teams, Business, Enterprise, Education, and Nonprofits plans.
- Create and clean the CSV or XLSX file.
- Open an invitation design and create a separate text element for each variable. Use image frames for guest photos or QR graphics when needed.
- Open Bulk Create, upload the spreadsheet, and map each column to its matching element.
- Choose a multi-page design for one print-ready PDF, or individual designs when a print shop needs separate files.
- Generate a small proof set first. Check the longest names, diacritics, blank values, QR codes, and page alignment.
- Export the approved batch as PDF Print or the format required by your printer.
For more than 300 records, split the source into numbered batches and keep the original row IDs. This makes it possible to identify which export contains a particular guest without changing the data.
4. Microsoft Word mail merge: precise local document control
Microsoft describes mail merge as creating a batch of documents with identical layout, formatting, text, and graphics except for personalized parts. That pattern works well for invitations when the design already exists in Word or when you need precise field rules and local printing.
- Prepare an Excel workbook or CSV with one invitation per row and headers in the first row.
- Open the invitation document and start a mail merge for letters or another document type that matches your layout.
- Select the spreadsheet as the recipient list.
- Insert merge fields such as
GuestName,EventDate, andRSVPURLinto the document. - Use Preview Results and step through representative records.
- Choose Finish & Merge, then print documents or create a merged file for review.
Word is useful when you need conditional text, field formatting, or a printer connected to your workstation. Keep the merge source path stable until the final export. If a field displays as a code instead of a value, toggle field-code display and preview again.
5. Avery Design & Print: align to a physical product
Avery’s wedding invitation maker supports guest-list imports for invitations and address labels. Its invitation-card workflow includes templates, data merge, image and text customization, home printing, and custom printing through Avery WePrint.
- Choose the exact blank card, label, or envelope product number.
- Confirm finished size, orientation, margins, and printer feed direction.
- Import the guest list and map fields to the invitation or address-label design.
- Generate a proof on plain paper and place it behind the physical stock to check alignment.
- Print one real sheet before starting the entire batch.
Avery is the safest choice when the stock has pre-cut panels or a nonstandard layout. A design that looks correct on screen can still be offset if the product number, feed edge, or duplex setting is wrong.
6. Adobe Express: template-to-order convenience
Adobe Express provides wedding invitation templates, image uploads, generative editing tools, and PDF, JPG, or PNG downloads. It also offers print ordering. Adobe lists print-to-order availability for the United States, United Kingdom, Australia, and Canada, and recommends images of at least 300 DPI for best print quality. Its invitation guidance lists paper choices including UV Gloss, UV Matte, Cream, and Double-Thick.
Use Adobe Express when a polished template and integrated professional printing matter more than a spreadsheet-heavy local workflow. Confirm country availability, delivery timing, paper choice, and the final quantity before ordering.
7. Choosing a workflow
| Tool | Best fit | Output and control | Watch for |
|---|---|---|---|
| Canva Bulk Create | Many visual variations | CSV/XLSX mapping; multi-page or individual designs | Up to 300 selected rows and 150 columns |
| Word mail merge | Document layouts and local printing | Preview, field rules, merged documents | Field formatting and printer setup |
| Avery Design & Print | Specific cards, labels, or envelopes | Product-template alignment and data merge | Product number and feed direction |
| Adobe Express | Template plus professional ordering | PDF/JPG/PNG and print ordering | Country availability and print specifications |
8. Proofing checklist before you print
- Render at least one short name, one long name, a diacritic-heavy name, and a blank optional field.
- Check trim margins, bleed, orientation, page order, and front/back alignment.
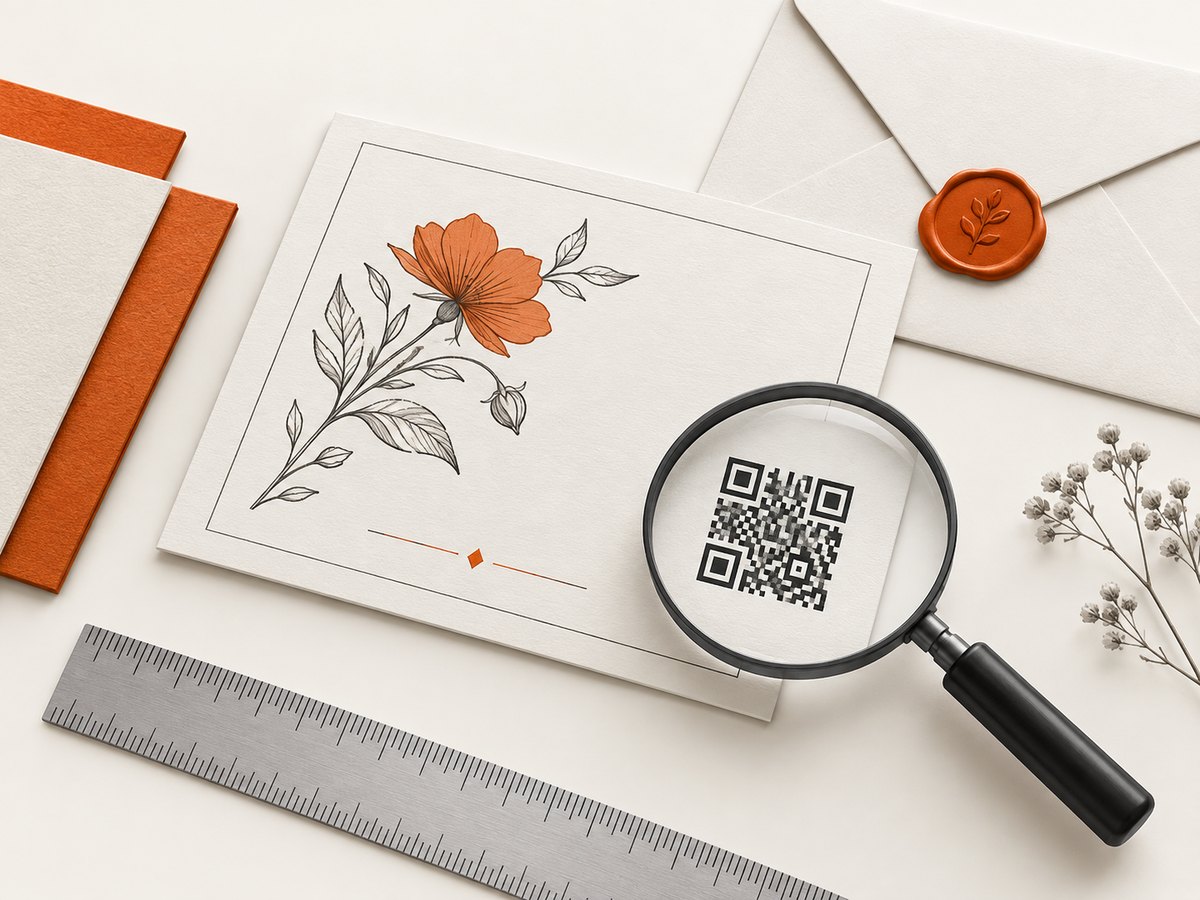
- Scan every QR-code style and confirm it resolves to the intended RSVP URL.
- Verify dates, times, venue spelling, RSVP deadline, and meal labels.
- Print one test sheet on plain paper, then one on the actual cardstock.
- Check that the stock weight and finish are supported by your printer and feed path.
- Have another person proof the final merged PDF against the source spreadsheet.
9. Automate visual proof checks with ScreenshotNeo
If your invitation is rendered as a web page or preview URL, ScreenshotNeo can capture each proof page so you can inspect a consistent image set. Its API accepts one GET request and returns PNG, JPEG, WebP, or PDF. The documentation is at screenshotneo.com/docs/.
cURL
curl -G "https://api.screenshotneo.com/v1/shot" -d access_key=YOUR_API_KEY --data-urlencode url=https://stripe.com -o shot.webpPython
import requests

r = requests.get(
    "https://api.screenshotneo.com/v1/shot",
    params={"access_key": "YOUR_API_KEY", "url": "https://stripe.com"},
    timeout=90,
)
r.raise_for_status()
open("shot.webp", "wb").write(r.content)
Node.js
const q = new URLSearchParams({ access_key: 'YOUR_API_KEY', url: 'https://stripe.com' });
const res = await fetch(`https://api.screenshotneo.com/v1/shot?${q}`);
if (!res.ok) throw new Error(`Screenshot failed: ${res.status}`);
const buffer = Buffer.from(await res.arrayBuffer());
require('fs').writeFileSync('shot.webp', buffer);
Replace the example URL with your invitation preview URL. Useful options include full-page capture with lazy images loaded, a CSS selector for one invitation element, custom CSS or JavaScript, click actions, waits for a selector, a delay or network idle, custom headers and cookies, timezone and geolocation, image resizing, caching with a chosen TTL, and PDF paper size, margins, landscape mode, and page ranges. You can also block ads, trackers, requests, or resource types that do not belong in a proof.
For a batch, use bulk capture for up to 100 URLs per call, or submit asynchronous jobs with signed webhooks. Signed links are available when a private proof must be placed in a public <img> tag. An MCP server provides take_screenshot, get_page_info, and capture_pdf tools for Claude, Cursor, and other MCP clients.
10. Troubleshooting common failures
| Symptom | Likely cause | Fix |
|---|---|---|
| Names overlap or clip | Text box is too small | Test the longest value, increase the box, reduce font size carefully, or allow controlled wrapping. |
| Accents become squares | Font lacks glyphs or export substitution occurred | Use a font with the required character set and embed fonts where the export tool supports it. |
| Rows map to the wrong fields | Headers changed after mapping | Restore stable unique headers and remap before regenerating. |
| Blank lines look awkward | Optional value has no fallback rule | Add a conditional rule or remove surrounding punctuation and spacing. |
| QR code will not scan | Low resolution, insufficient quiet zone, or excessive decoration | Use a high-resolution code, preserve whitespace, and test from the printed proof. |
| Print is offset | Wrong product number, orientation, scale, or feed direction | Print a plain-paper alignment test and disable “fit to page” if the template requires 100% scale. |
| Screenshot is blank | Preview needs a wait, authentication, or a blocked resource | Wait for a selector or network idle, provide required headers/cookies, and inspect the page verdict. |
11. Performance, reliability, and cost notes
Generate in small proof batches, then run the approved list in numbered chunks. Keep source data, exported files, and a manifest together. For web previews, caching can avoid repeated captures when the page has not changed; choose a TTL that matches your editing cycle. Async jobs and webhooks are better when a large set should run without holding a request open. Bulk capture reduces request-management overhead for up to 100 URLs per call.
ScreenshotNeo bills only clean shots. Bot checks or CAPTCHAs, blank pages, timeouts, failed loads, and cache hits cost nothing, and each response identifies the result with X-Page-Verdict and X-Billed headers. Its Free plan includes 1,000 shots per month with no card; Starter is $5 for 3,000, Growth $15 for 15,000, Pro $39 for 60,000, Scale $99 for 250,000, and Business $249 for 1,000,000. Yearly billing gives two months free, and every feature is on every plan.
12. Or skip the browser setup
Use the ScreenshotNeo call above when you want repeatable invitation proof images without maintaining a browser. Cookie banners, newsletter popups, and chat widgets are removed before the shot. Bot checks, blank pages, and failed loads are never billed. An MCP server lets AI agents take screenshots, inspect pages, and create PDFs. You get 1,000 screenshots a month free with no card, and paid plans start at $5 for 3,000. Create a free ScreenshotNeo account.
FAQ
Can I personalize both the guest name and QR code?
Yes. Keep the guest name and RSVP URL in separate columns, then map the URL to a QR-capable image frame or code element. Test several printed codes before the full run.
Should I export one PDF or many files?
Use one multi-page PDF for a print shop or continuous review. Use individual files when envelopes, card batches, or fulfillment systems require one file per household.
What resolution should invitation images use?
Adobe Express recommends at least 300 DPI for best print quality. Match the pixel dimensions to the final physical size and avoid enlarging small source images.
How do I reprint one damaged invitation?
Keep the final spreadsheet, row IDs, and merged export together. Filter or regenerate the single row with the same template version, then print one proof before using the final stock.
Which tool should I start with?
Start with Canva for visual variations, Word for document mail merge, Avery for a known physical product, or Adobe Express for template-to-order convenience. For web-rendered proofs and automated capture, try ScreenshotNeo.


