How to Capture an Android Activity With a Camera Feed
Build a lifecycle-safe CameraX preview in an Android Activity, fix cropping and blank feeds, and add recording or frame analysis when needed.
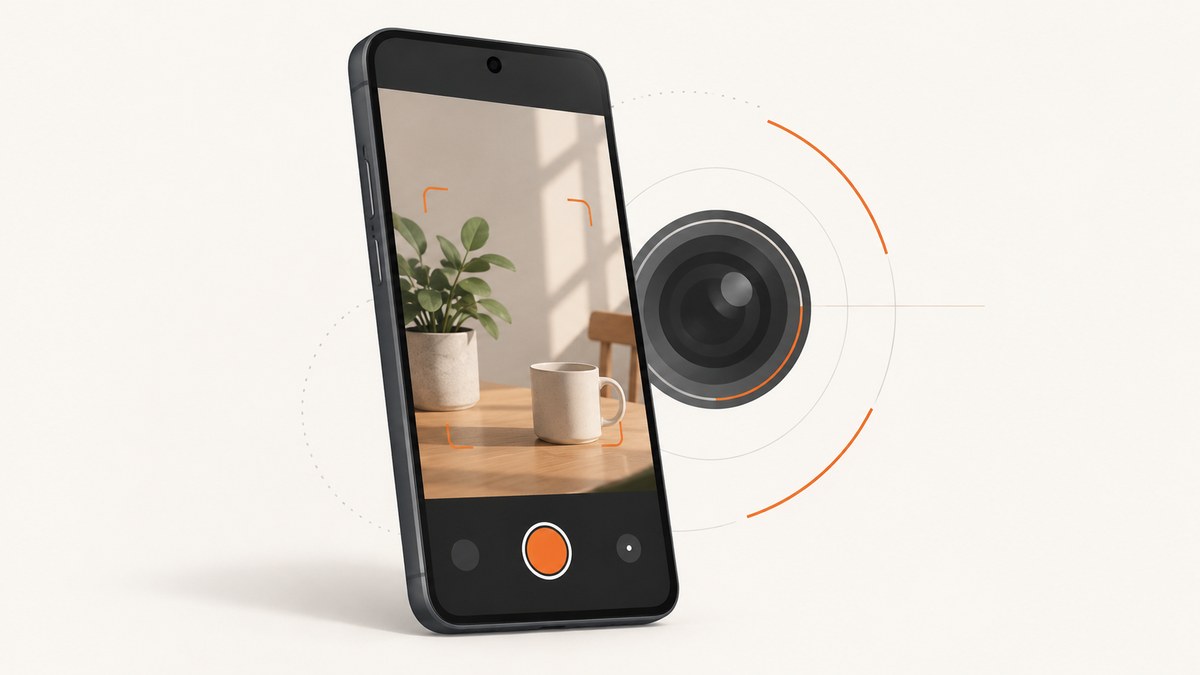
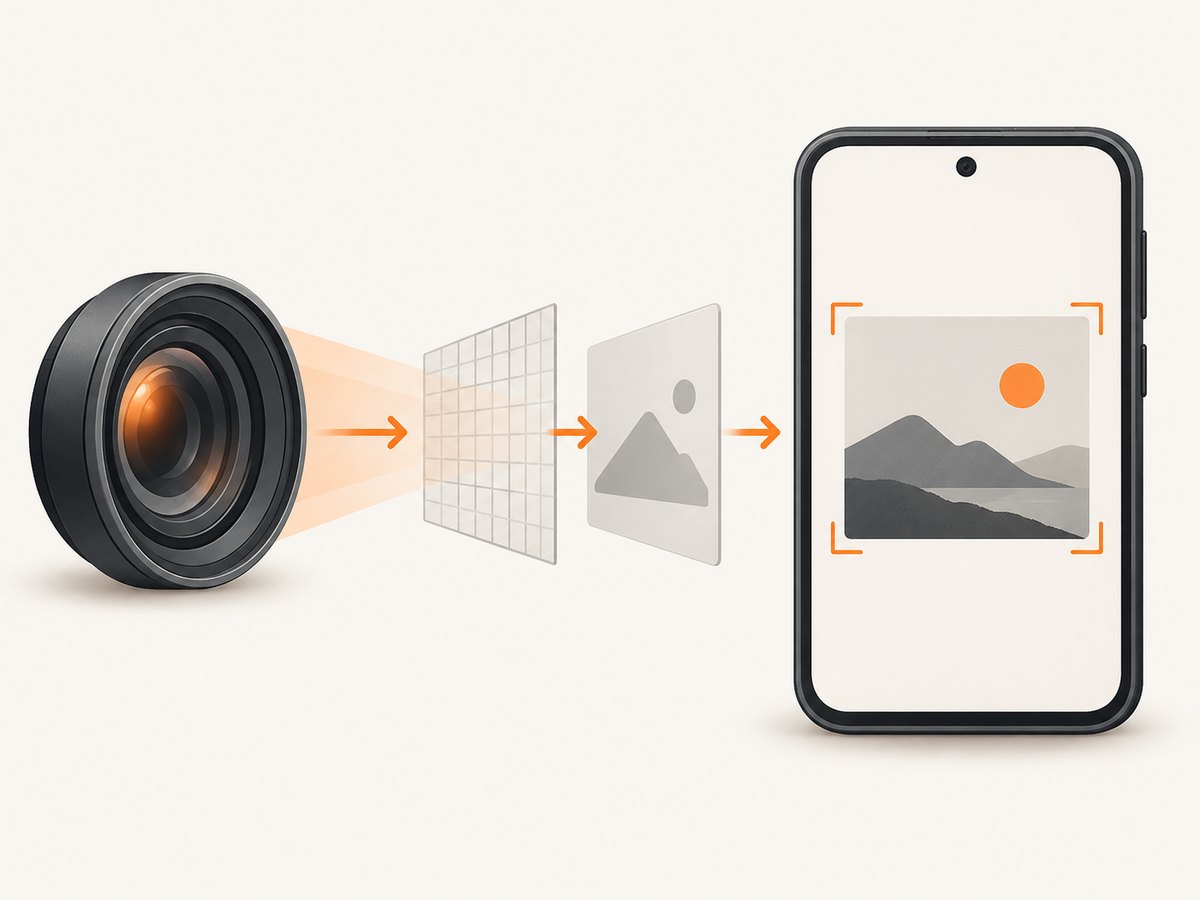
Use Jetpack CameraX. Put a PreviewView in the Activity layout, request Manifest.permission.CAMERA at runtime, obtain a ProcessCameraProvider, create a Preview, select a lens, bind the use case to the Activity lifecycle, and connect it to the view’s surface provider. This gives the Activity a live camera feed. Add VideoCapture, ImageCapture, or ImageAnalysis only when the Activity also needs recording, still images, or frame processing.
This is different from taking a screenshot of the Android display. A system screen recorder captures whatever is rendered on screen through MediaProjection; it does not provide camera frames to your Activity. CameraX is the correct path when your app must display, analyze, overlay, or record the camera feed itself.
1. Add CameraX and declare permissions
The examples use Kotlin and a Views-based Activity. CameraX artifacts are published by AndroidX. Keep all CameraX libraries on the same version.
// app/build.gradle.kts
dependencies {
    val cameraxVersion = "1.4.2"
    implementation("androidx.camera:camera-core:$cameraxVersion")
    implementation("androidx.camera:camera-camera2:$cameraxVersion")
    implementation("androidx.camera:camera-lifecycle:$cameraxVersion")
    implementation("androidx.camera:camera-view:$cameraxVersion")
}
Check the current CameraX documentation for the newest stable version before publishing.
<!-- AndroidManifest.xml -->
<manifest ...>
    <uses-permission android:name="android.permission.CAMERA" />
    <!-- Needed only when recording audio with video. -->
    <uses-permission android:name="android.permission.RECORD_AUDIO" />

    <application ...>
        ...
    </application>
</manifest>
Declare the permission in the manifest and request it at runtime. Do not open the provider or bind a use case before permission is granted.
2. Put a PreviewView in the Activity
<!-- res/layout/activity_main.xml -->
<FrameLayout xmlns:android="http://schemas.android.com/apk/res/android"
    xmlns:app="http://schemas.android.com/apk/res-auto"
    android:layout_width="match_parent"
    android:layout_height="match_parent"
    android:background="@android:color/black">

    <androidx.camera.view.PreviewView
        android:id="@+id/preview_view"
        android:layout_width="match_parent"
        android:layout_height="match_parent"
        app:scaleType="fillCenter" />

</FrameLayout>
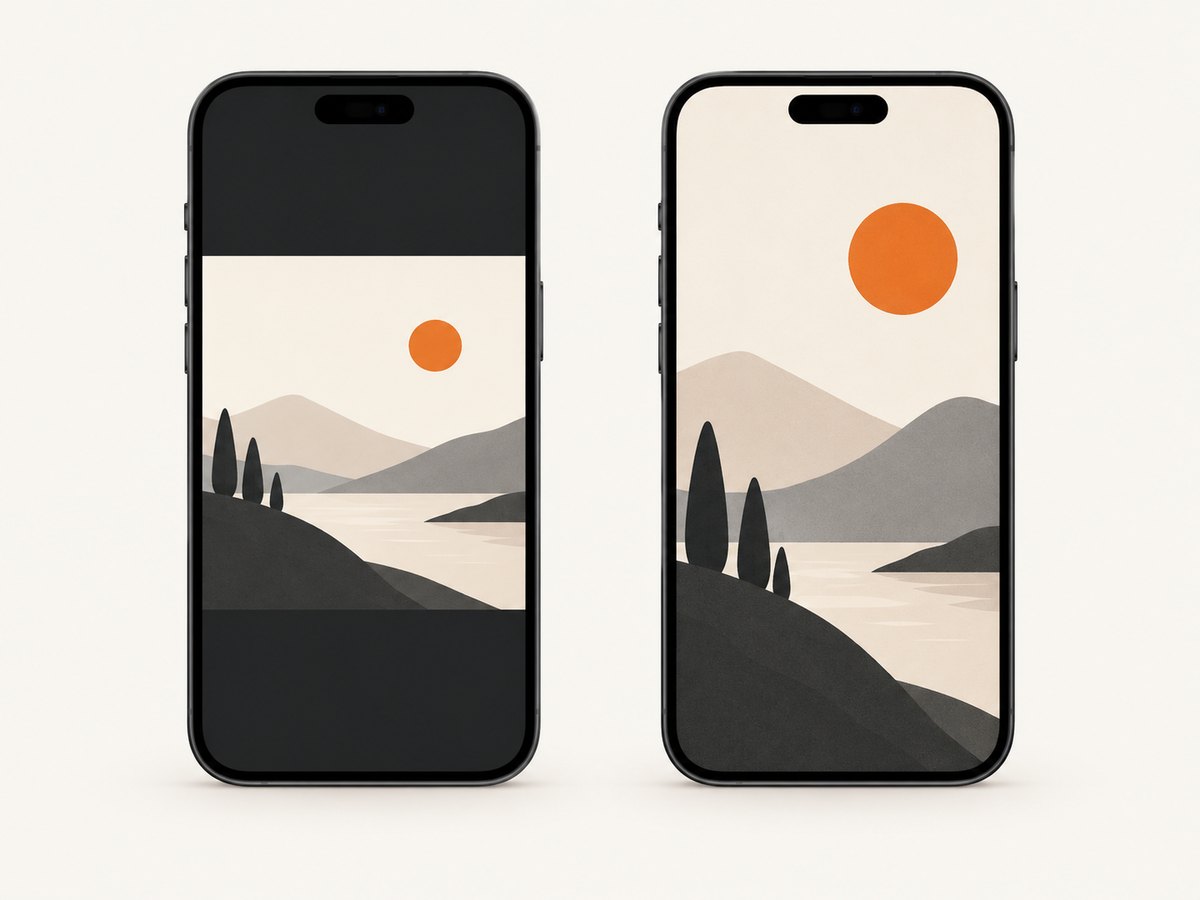
PreviewView normally uses FILL_CENTER. It fills the view and may crop the camera edges when aspect ratios differ. Use fitCenter, fitStart, or fitEnd when preserving the entire frame matters and letterboxing is acceptable. The available scale types are documented in the PreviewView reference.
3. Request permission and bind the preview
package com.example.camerafeed

import android.Manifest
import android.content.pm.PackageManager
import android.os.Bundle
import android.widget.Toast
import androidx.activity.result.contract.ActivityResultContracts
import androidx.appcompat.app.AppCompatActivity
import androidx.camera.core.CameraSelector
import androidx.camera.core.Preview
import androidx.camera.lifecycle.ProcessCameraProvider
import androidx.camera.view.PreviewView
import androidx.core.content.ContextCompat

class MainActivity : AppCompatActivity() {
    private lateinit var previewView: PreviewView

    private val requestCamera = registerForActivityResult(
        ActivityResultContracts.RequestPermission()
    ) { granted ->
        if (granted) {
            startCamera()
        } else {
            Toast.makeText(this, "Camera permission is required", Toast.LENGTH_LONG).show()
        }
    }

    override fun onCreate(savedInstanceState: Bundle?) {
        super.onCreate(savedInstanceState)
        setContentView(R.layout.activity_main)
        previewView = findViewById(R.id.preview_view)

        if (ContextCompat.checkSelfPermission(this, Manifest.permission.CAMERA)
            == PackageManager.PERMISSION_GRANTED
        ) {
            startCamera()
        } else {
            requestCamera.launch(Manifest.permission.CAMERA)
        }
    }

    private fun startCamera() {
        val providerFuture = ProcessCameraProvider.getInstance(this)
        providerFuture.addListener({
            val cameraProvider = providerFuture.get()
            bindPreview(cameraProvider)
        }, ContextCompat.getMainExecutor(this))
    }

    private fun bindPreview(cameraProvider: ProcessCameraProvider) {
        val preview = Preview.Builder().build()
        val selector = CameraSelector.Builder()
            .requireLensFacing(CameraSelector.LENS_FACING_BACK)
            .build()

        preview.setSurfaceProvider(previewView.surfaceProvider)

        cameraProvider.unbindAll()
        cameraProvider.bindToLifecycle(this, selector, preview)
    }
}
The important sequence is documented in the CameraX preview guide and the CameraX codelab. Binding to the Activity lifecycle lets CameraX start and stop the camera as the Activity becomes visible instead of requiring fragile manual open and close code.
Choose the front camera
Replace LENS_FACING_BACK with LENS_FACING_FRONT. A device may not have the requested lens, so catch binding failures and offer a fallback selector if your app supports both cameras.
Use a compatible implementation mode
previewView.implementationMode = PreviewView.ImplementationMode.COMPATIBLE
The default PERFORMANCE mode uses a SurfaceView when possible. COMPATIBLE uses a TextureView, which can help when you need blending, animation, or transformations over the preview. Choose it only when the default surface behavior conflicts with your UI.
4. Add still capture, analysis, or video recording
CameraX models camera work as use cases. You can combine one each of Preview, ImageCapture, ImageAnalysis, and VideoCapture when the device supports the combination. The CameraX overview describes these limits.
Capture a still image
private val imageCapture = ImageCapture.Builder().build()

// Include imageCapture in bindToLifecycle:
cameraProvider.bindToLifecycle(this, selector, preview, imageCapture)
Call imageCapture.takePicture() with an OutputFileOptions to save a JPEG. Keep the capture object as a property so a button listener can use the same bound instance.
Analyze frames
private val analysis = ImageAnalysis.Builder()
    .setBackpressureStrategy(ImageAnalysis.STRATEGY_KEEP_ONLY_LATEST)
    .build()

analysis.setAnalyzer(cameraExecutor) { imageProxy ->
    try {
        // Read imageProxy.image, then close imageProxy when finished.
    } finally {
        imageProxy.close()
    }
}
Always close every ImageProxy. A missing close eventually stalls delivery. Use a background executor for CPU or machine-learning work and keep the analyzer lightweight.
Record video
val recorder = Recorder.Builder()
    .setQualitySelector(QualitySelector.from(Quality.HIGHEST))
    .build()
val videoCapture = VideoCapture.withOutput(recorder)

cameraProvider.bindToLifecycle(this, selector, preview, videoCapture)
Start a recording with videoCapture.output.prepareRecording(...).start(...) and handle the finalization event to learn whether the file was written successfully. Request RECORD_AUDIO and enable audio only when the user has granted microphone permission. Supported quality and use-case combinations vary by device; handle a failed bind and retry with a less demanding configuration.
5. Rotation, aspect ratio, and crop behavior
- FILL_CENTER: fills the view and crops edges when ratios differ.
- FIT_CENTER: shows the complete frame and adds bars as needed.
- FIT_START/FIT_END: preserve the frame while aligning it to a chosen edge.
A preview that appears zoomed is usually a scale-type decision, not a camera failure. Decide whether your product needs a full uncropped frame or an edge-to-edge preview, then choose the matching type. Test portrait and landscape orientations, foldables, tablets, and devices with unusual sensor ratios.
6. Activity lifecycle and screen capture boundaries
Use bindToLifecycle(this, ...) for an Activity or pass a Fragment as the lifecycle owner. Avoid opening the camera only in onResume() and closing it only in onPause(); that approach can race with permission results, view attachment, and configuration changes.
If the requirement is a recording of the whole Android display, use MediaProjection and its user-consent flow. MediaProjection records the rendered Activity, including the CameraX preview, but it does not replace CameraX when your code needs raw frames, overlays, analysis, or camera controls.
7. Troubleshooting checklist
| Symptom | Likely cause | Fix |
|---|---|---|
| Preview is blank | Permission was denied, the provider was never bound, or the view has zero size. | Check the permission callback, log provider errors, and verify that PreviewView is attached with non-zero dimensions. |
| “Permission denied” or security exception | Only the manifest permission was added. | Request CAMERA at runtime and start CameraX from the granted callback. |
| Image is cropped | The default FILL_CENTER scale type is filling a different aspect ratio. |
Use a FIT_* scale type for the full frame, or keep FILL_* and accept cropping. |
| Binding fails on one device | The selected lens or combination of use cases is unsupported. | Check hasCamera(), fall back to another lens, or bind fewer use cases. |
| Frames stop arriving | An analyzer did not close its ImageProxy, or processing is too slow. |
Close every proxy in a finally block and use KEEP_ONLY_LATEST. |
| Preview is behind overlays or cannot animate | PERFORMANCE selected a SurfaceView. |
Try COMPATIBLE mode, then measure the rendering impact. |
| Video has no sound | Microphone permission was not requested or audio was disabled. | Declare and request RECORD_AUDIO, then enable audio in the recording configuration. |
8. Performance, reliability, and privacy
- Bind only the use cases the screen needs. Preview plus analysis plus recording consumes more camera and CPU resources than preview alone.
- Run analysis off the main thread, drop stale frames, and close each frame promptly.
- Wait until the
PreviewViewis attached and measured before diagnosing a missing surface. - Handle configuration changes through the lifecycle and rebuild use cases when the selected lens or quality changes.
- Explain camera and microphone indicators and permission choices to users. Stop or unbind when leaving screens that should not keep the camera active.
Or skip the browser setup
If your actual goal is to capture a web page rather than render an Android camera preview, ScreenshotNeo returns a PNG, JPEG, WebP, or PDF from one request. See the ScreenshotNeo API documentation for all options.
curl -G "https://api.screenshotneo.com/v1/shot" -d access_key=YOUR_API_KEY --data-urlencode url=https://stripe.com -o shot.webp
import requests
r = requests.get("https://api.screenshotneo.com/v1/shot", params={"access_key": "YOUR_API_KEY", "url": "https://stripe.com"}, timeout=90)
open("shot.webp", "wb").write(r.content)
const q = new URLSearchParams({ access_key: 'YOUR_API_KEY', url: 'https://stripe.com' });
const res = await fetch(`https://api.screenshotneo.com/v1/shot?${q}`);
Cookie and consent banners, newsletter popups, and chat widgets are removed before the shot. Bot checks, blank pages, failed loads, timeouts, and cache hits are not billed, and response headers identify the page verdict and billing status. An MCP server provides take_screenshot, get_page_info, and capture_pdf tools for Claude, Cursor, and other MCP clients. The Free plan includes 1,000 screenshots each month with no card; paid plans start at $5 for 3,000 shots. Create a free ScreenshotNeo account.
FAQ
Can I use CameraX in a Fragment?
Yes. Bind to the Fragment’s view lifecycle owner so the preview stops when the Fragment view is destroyed.
Why does the preview look different from the saved photo?
The preview and capture output can use different aspect ratios, rotation metadata, or crop settings. Configure and test both use cases on the target devices.
Can I bind every CameraX use case at once?
Only if the device supports that combination. Start with Preview and add other use cases after checking binding failures and device capability limits.
Does Android’s screen recorder give my app camera frames?
No. It captures the display. Use ImageAnalysis when your app needs frame data.