How to Capture the Body with HTML2Canvas and Store the Image in JavaScript
Capture the page body with html2canvas and download it as an image. Learn the options, CORS fixes, limits, and when a real browser screenshot is a better fit.
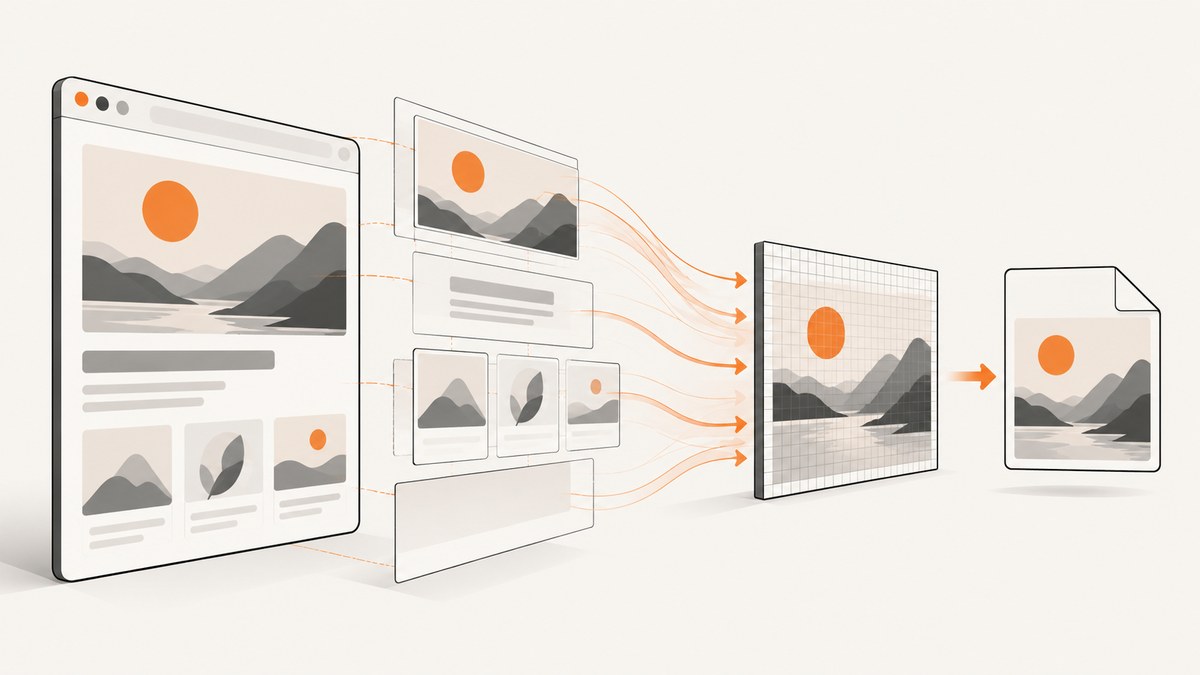
To capture the current page body with html2canvas, call html2canvas(document.body). It returns a Promise that resolves to a canvas. Export that canvas as a PNG data URL, then click a temporary anchor with a download filename:
import html2canvas from 'html2canvas';

async function saveBodyAsPng() {
  const canvas = await html2canvas(document.body);
  const link = document.createElement('a');
  link.download = 'body.png';
  link.href = canvas.toDataURL('image/png');
  link.click();
}

saveBodyAsPng();
This runs in a browser page where the library is loaded. It reconstructs an image from the DOM and the CSS it supports; it is not a native screenshot of the browser. That difference matters for cross-origin assets, CSS fidelity, and very tall pages. The official getting started guide covers installation and basic usage, while the documentation describes its rendering model and limitations.
1. Install html2canvas and capture the body
For an npm-based app, install the package and import it in the browser code:
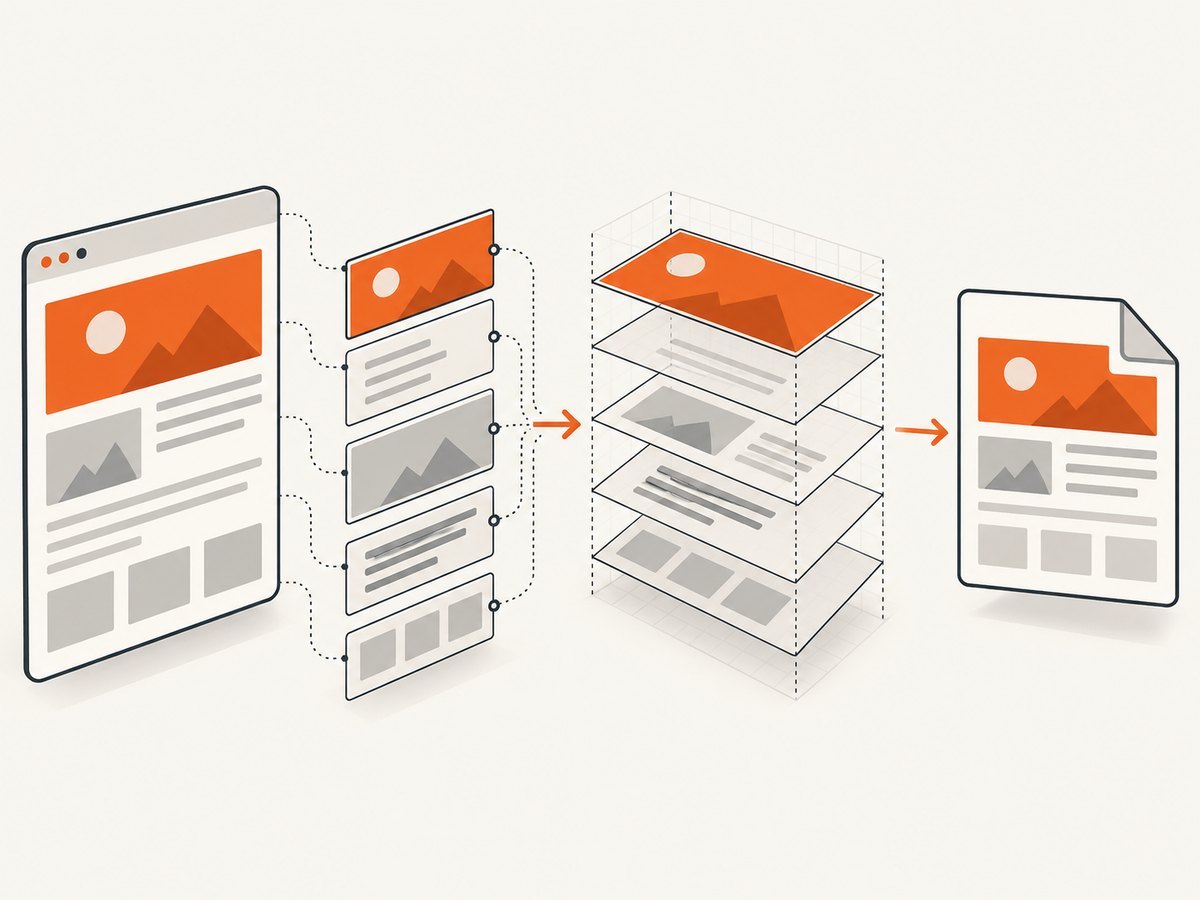
npm install html2canvasPut the capture function behind a user action, such as a button. That gives the page time to render and makes the download behavior easier for browsers to associate with a user gesture:
import html2canvas from 'html2canvas';

const button = document.querySelector('#save-page');

button.addEventListener('click', async () => {
  button.disabled = true;
  try {
    const canvas = await html2canvas(document.body);
    const link = document.createElement('a');
    link.download = 'page.png';
    link.href = canvas.toDataURL('image/png');
    link.click();
  } catch (error) {
    console.error('Could not capture the page:', error);
  } finally {
    button.disabled = false;
  }
});
The page needs a matching button, for example <button id="save-page">Save page image</button>. If you are using plain script tags instead of a bundler, load the built html2canvas library first, then call the same html2canvas(document.body) function. The official installation guide describes npm and built-release usage.
For a quick test in a browser console where the library is already available:
html2canvas(document.body).then((canvas) => {
  document.body.appendChild(canvas);
});
This appends the generated canvas to the page for inspection. Remove that diagnostic behavior in production if you only want to download the file.
2. Export the canvas and choose an image format
canvas.toDataURL() serializes the canvas as a data URL. The MIME type selects the output format. PNG is a practical default for screenshots containing text, sharp edges, or transparency. JPEG is useful when a smaller photographic image matters more than transparency; provide a quality value between 0 and 1:
const pngUrl = canvas.toDataURL('image/png');
const jpegUrl = canvas.toDataURL('image/jpeg', 0.9);
const webpUrl = canvas.toDataURL('image/webp', 0.9);
Browser support for canvas export formats can vary. If a requested format is unsupported, browsers may return PNG data instead. Check the returned URL prefix if the actual format matters. Use a helper to download a chosen format:
function downloadCanvas(canvas, filename, type = 'image/png', quality) {
  const dataUrl = canvas.toDataURL(type, quality);
  const link = document.createElement('a');
  link.download = filename;
  link.href = dataUrl;
  link.click();
}

// After html2canvas resolves:
downloadCanvas(canvas, 'page.jpg', 'image/jpeg', 0.9);
Data URLs encode the image into a string, which can consume substantial memory for a large capture. For larger images, prefer canvas.toBlob() and an object URL:
function downloadCanvasBlob(canvas, filename, type = 'image/png', quality) {
  canvas.toBlob((blob) => {
    if (!blob) {
      throw new Error('Canvas export did not produce a blob');
    }
    const objectUrl = URL.createObjectURL(blob);
    const link = document.createElement('a');
    link.download = filename;
    link.href = objectUrl;
    link.click();
    setTimeout(() => URL.revokeObjectURL(objectUrl), 1000);
  }, type, quality);
}
Keep the object URL alive until the browser has started the download; revoke it afterward to release the resource. The toBlob callback may receive null, so handle that case instead of assuming export always succeeds.
3. Set capture quality, region, and exclusions
html2canvas accepts an options object as its second argument. These options adjust the canvas it builds, not the browser’s underlying screenshot behavior. The configuration reference documents the available controls.
Increase resolution with scale
The default scale is the browser’s window.devicePixelRatio. Set it explicitly to control output resolution. A larger scale creates more pixels in each dimension and can sharply increase memory use: doubling scale produces four times as many pixels for the same CSS dimensions.
const canvas = await html2canvas(document.body, {
  scale: window.devicePixelRatio
});
For a predictable, smaller output, use scale: 1. Choose a higher scale when the intended display or print size needs it, and account for canvas dimension and memory limits.
Capture a crop
Pass x, y, width, and height to render a region. These coordinates describe the capture area; they do not select a DOM element. For a specific element, pass the element itself to html2canvas:
const card = document.querySelector('.invoice-card');
const canvas = await html2canvas(card, {
  backgroundColor: '#ffffff',
  scale: 2
});
For a crop of the body, supply the region dimensions explicitly:
const canvas = await html2canvas(document.body, {
  x: 0,
  y: 0,
  width: 1200,
  height: 800
});
Exclude controls or modify the cloned page
Add data-html2canvas-ignore to elements that should not appear in the result, such as a floating save button:
<button data-html2canvas-ignore>Save image</button>You can also use ignoreElements to exclude matching nodes by predicate, or onclone to make temporary changes to the cloned document without changing the live page:
const canvas = await html2canvas(document.body, {
  ignoreElements: (element) => element.matches('.no-screenshot'),
  onclone: (clonedDocument) => {
    clonedDocument.querySelectorAll('.animation').forEach((element) => {
      element.classList.remove('animation');
    });
  }
});
Set background and viewport dimensions
Use backgroundColor to set the canvas background. A value of null requests a transparent background if the rendered content permits it. windowWidth and windowHeight affect the cloned window used during rendering, including media queries. This can help reproduce a particular layout, but changing those dimensions may cause responsive breakpoints to produce different content.
const canvas = await html2canvas(document.body, {
  backgroundColor: '#fff',
  windowWidth: 1280,
  windowHeight: 900
});
4. Handle cross-origin images and canvas security
A common surprise is that a page looks complete but the exported image omits remote images, or export throws a security error. Browsers restrict reading pixels from canvases that contain cross-origin content without the required permission. html2canvas does not bypass those browser rules. Its documentation explains that images must be same-origin or served with suitable CORS headers, or loaded through a proxy.
You can ask html2canvas to load images using CORS:
const canvas = await html2canvas(document.body, {
  useCORS: true
});
This only works when the image host sends compatible CORS headers. Setting allowTaint: true does not make a tainted canvas exportable; it permits drawing content that may make later pixel-reading and export impossible. If you control the image server, configure its CORS response. Otherwise, use a proxy that you operate and trust, or omit those images from the capture. Do not route arbitrary user-provided image URLs through an unprotected proxy.
Cross-origin iframes are another boundary: browser same-origin rules prevent access to their document contents. html2canvas cannot reconstruct inaccessible iframe content. A same-origin iframe may be accessible subject to its own document and rendering constraints, but do not assume third-party embedded content will be included.
5. Wait for page content and manage large captures
Call html2canvas only after the content you need is present. For images, wait for their load events where possible. For web fonts, await document.fonts.ready before capturing:
await document.fonts.ready;
const canvas = await html2canvas(document.body, {
  imageTimeout: 15000,
  logging: false
});
The documented imageTimeout default is 15,000 milliseconds; use a different timeout if your page has known slow assets. The configuration also includes onclone, proxy, useCORS, scale, width, height, scroll offsets, logging, and rendering-related options. Consult the reference for exact defaults rather than copying settings without understanding their effect.
Very long pages may exceed browser canvas limits or consume too much memory. The html2canvas FAQ notes that maximum canvas dimensions vary by browser, operating system, and hardware. When a full-body canvas is blank, clipped, or unexpectedly incomplete, try a smaller region, a lower scale, or a capture of one section at a time. Rendering several independently cropped sections can avoid one enormous canvas, but stitching them may introduce seams if the layout changes while capturing.
Disable or stabilize animations and dynamic content before capture. A carousel, ticker, or lazy-loaded image can change while the DOM is being reconstructed. If you control the page, use a capture-specific state, turn off animation styles in onclone, and ensure lazy content has been brought into view or otherwise loaded. Capture results depend on what the browser has loaded and what the library can interpret at that moment.
6. Common errors and fixes
| Symptom | Likely cause | What to try |
|---|---|---|
html2canvas is not defined |
The script did not load, or module import is missing. | Install/import the package in the browser bundle, or load the built library before calling it. |
| Remote images are missing | The image server did not permit CORS, or a cross-origin asset cannot be read. | Use useCORS: true when the server has CORS configured, a controlled proxy, or exclude the image. |
toDataURL throws a security error |
The canvas is tainted by cross-origin pixels, possibly from an existing canvas in the page. | Remove the offending asset or make it available with valid CORS/proxy handling; setting allowTaint is not an export fix. |
| Image looks blank or is cut off | The rendered canvas is too large, content was not ready, or the chosen viewport differs from the page layout. | Reduce scale or capture dimensions, wait for fonts/assets, and inspect windowWidth and windowHeight. |
| Some CSS differs from the page | html2canvas reconstructs DOM and supports only a subset of CSS. | Check the supported-features list; simplify styles, use a native browser screenshot workflow, or choose a browser screenshot service. |
| Text or layout changes between captures | Fonts, animations, network-loaded content, or responsive breakpoints are still changing. | Wait for fonts and app data, disable animations in the clone, and set the intended viewport dimensions. |
| Download does not start | The action ran outside a user gesture, the link was not clicked, or the canvas export failed. | Trigger capture from a button click, catch errors, and verify the data URL or blob exists before initiating the link. |
For resource-level investigation, the configuration reference documents an onError hook for failed resources in relevant versions; check the installed version’s API and inspect the browser console. The official FAQ also addresses missing images, blank or clipped output, and CSS differences.
7. When html2canvas is the right tool
html2canvas is useful when the rendering should happen in the visitor’s browser and you want to export a page or component that is already displayed there. It avoids sending the page DOM to a screenshot backend, and it can be wired directly into a client-side workflow. It is not suitable for server-side Node.js rendering: it depends on browser APIs. It also cannot guarantee pixel-for-pixel browser output because it interprets the DOM and supported CSS rather than capturing the browser’s painted pixels. Review the project’s supported CSS features when fidelity matters.
For an actual browser-rendered capture of a public URL, a browser automation setup or screenshot API can be a better fit. Compare whether the job needs to stay in the visitor’s browser, whether pages require authentication, whether cross-origin resources are involved, and how precisely the output must match a real browser view.
Or skip the browser setup
If you want a screenshot of a URL without wiring up client-side DOM reconstruction, ScreenshotNeo is a website screenshot API and MCP server. Make one GET request with the target URL. See the API documentation for options such as full-page capture, output format, viewport, and related controls.
curl -G "https://api.screenshotneo.com/v1/shot" -d access_key=YOUR_API_KEY --data-urlencode url=https://stripe.com -o shot.webpimport requests
r = requests.get(
"https://api.screenshotneo.com/v1/shot",
params={"access_key": "YOUR_API_KEY", "url": "https://stripe.com"},
timeout=90,
)
open("shot.webp", "wb").write(r.content)const q = new URLSearchParams({ access_key: 'YOUR_API_KEY', url: 'https://stripe.com' });
const res = await fetch(`https://api.screenshotneo.com/v1/shot?${q}`);
if (!res.ok) throw new Error(`Screenshot request failed: ${res.status}`);
await require('node:fs/promises').writeFile('shot.webp', Buffer.from(await res.arrayBuffer()));ScreenshotNeo removes known cookie and consent banners, newsletter popups, and chat widgets before capture; those cleanup steps can be turned off. Only clean shots are billed: bot checks, CAPTCHAs, blank pages, timeouts, failed loads, and cache hits cost nothing, and the response identifies the page verdict and billing status in headers. Its MCP server provides take_screenshot, get_page_info, and capture_pdf for AI agents. The free plan includes 1,000 shots per month with no card; paid plans start at $5 for 3,000 shots, and every feature is on every plan. Create a free ScreenshotNeo account to get 1,000 screenshots a month with no card.
Performance, reliability, and cost considerations
With html2canvas, the capture runs on the user’s device, so the practical cost is browser CPU, memory, and time rather than an API request charge. The page’s DOM size, number of image assets, chosen scale, and final canvas dimensions affect the amount of work. A high scale or full-page capture can become expensive in memory. Keep the scope limited to what the user needs, avoid repeating captures on every UI update, and consider using toBlob for large exports.
Reliability depends on content readiness, browser security policy, supported CSS, and canvas limits. A successful Promise does not prove that every visual asset is present or that the output is pixel-perfect. Validate the resulting image for your supported layouts and browsers, and handle rejected promises and export errors. For external screenshots, ScreenshotNeo’s pricing and response headers provide a different operational model: only clean screenshots are billed, and unsuccessful or cache-hit outcomes do not cost anything under the supplied product terms. See current plan details on its site before choosing a volume tier.
FAQ
Does capturing document.body include the whole page?
It targets the body element, but output size and completeness depend on the rendered element dimensions, loaded content, and browser canvas limits. For unusually long pages, capture smaller sections or lower the scale.
Can I save the image without showing a preview?
Yes. Create the canvas, generate a data URL or blob, and click a download anchor. Appending the canvas is only useful for debugging or previewing.
Can html2canvas capture a remote website from Node.js?
No. html2canvas is designed for browser APIs and an already available DOM; it is not a Node.js website screenshot renderer. Use browser automation or a screenshot API for remote URL capture.
Why does the result not exactly match what I see?
The library redraws from DOM and CSS information, and some browser-rendered effects or CSS properties are unsupported or incomplete. Check its support list and use a native browser capture approach when exact rendered pixels are required.


