How to Capture CSS Pseudo-Elements With html2canvas
html2canvas can capture supported ::before and ::after content. Learn how its clone works, how to fix missing pseudo-elements, and when to use a browser screenshot instead.
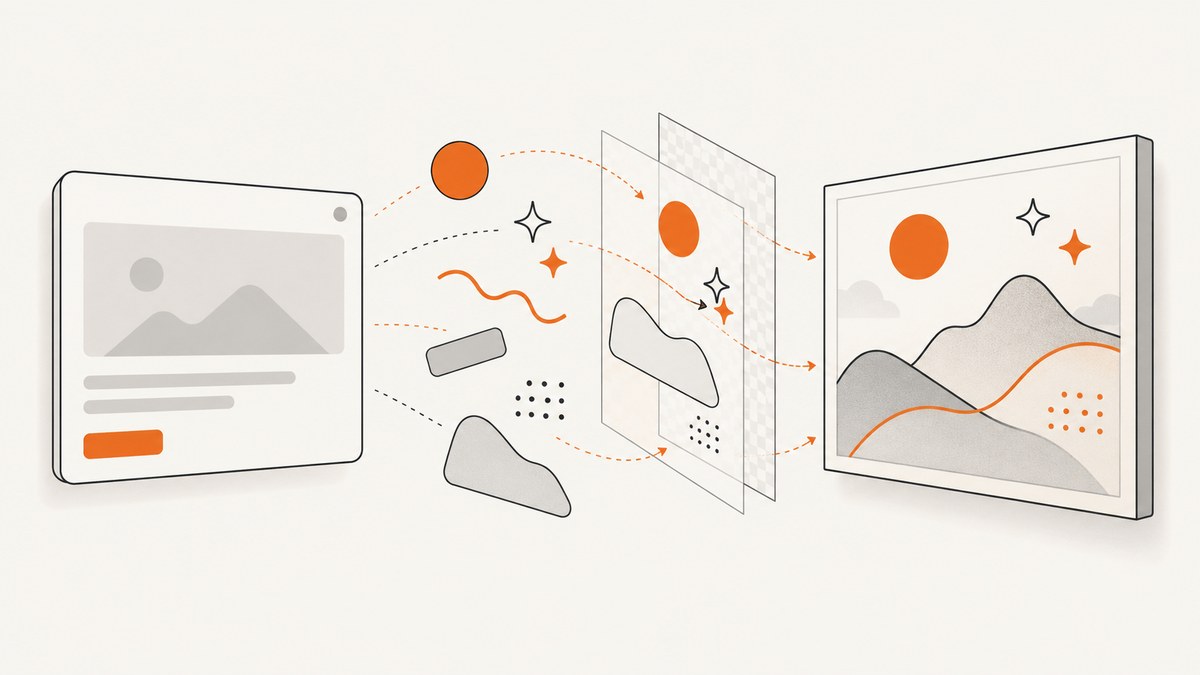
html2canvas can capture CSS ::before and ::after when their computed styles and content are supported. It reads computed pseudo-element styles and recreates supported content in a cloned document before rendering. If a pseudo-element is missing or looks different, check its computed content, the CSS properties that style it, and the timing of the capture. Use onclone to make a clone-only repair, or explicitly add a real child element to the clone.
This guide covers browser-side capture with html2canvas, including runnable examples, common failure cases, and a server-side alternative. The library reconstructs an image from DOM and CSS; it is not a native screenshot of the browser’s pixels. As a result, a pseudo-element that looks right on screen can still render differently in the canvas. html2canvas documents this limitation.
1. Understand what html2canvas captures
A pseudo-element is generated by CSS rather than written as a normal child in the HTML. For example:
.card::before {
  content: "NEW";
  position: absolute;
  top: 0;
  right: 0;
  padding: 0.25rem 0.5rem;
  color: white;
  background: crimson;
}
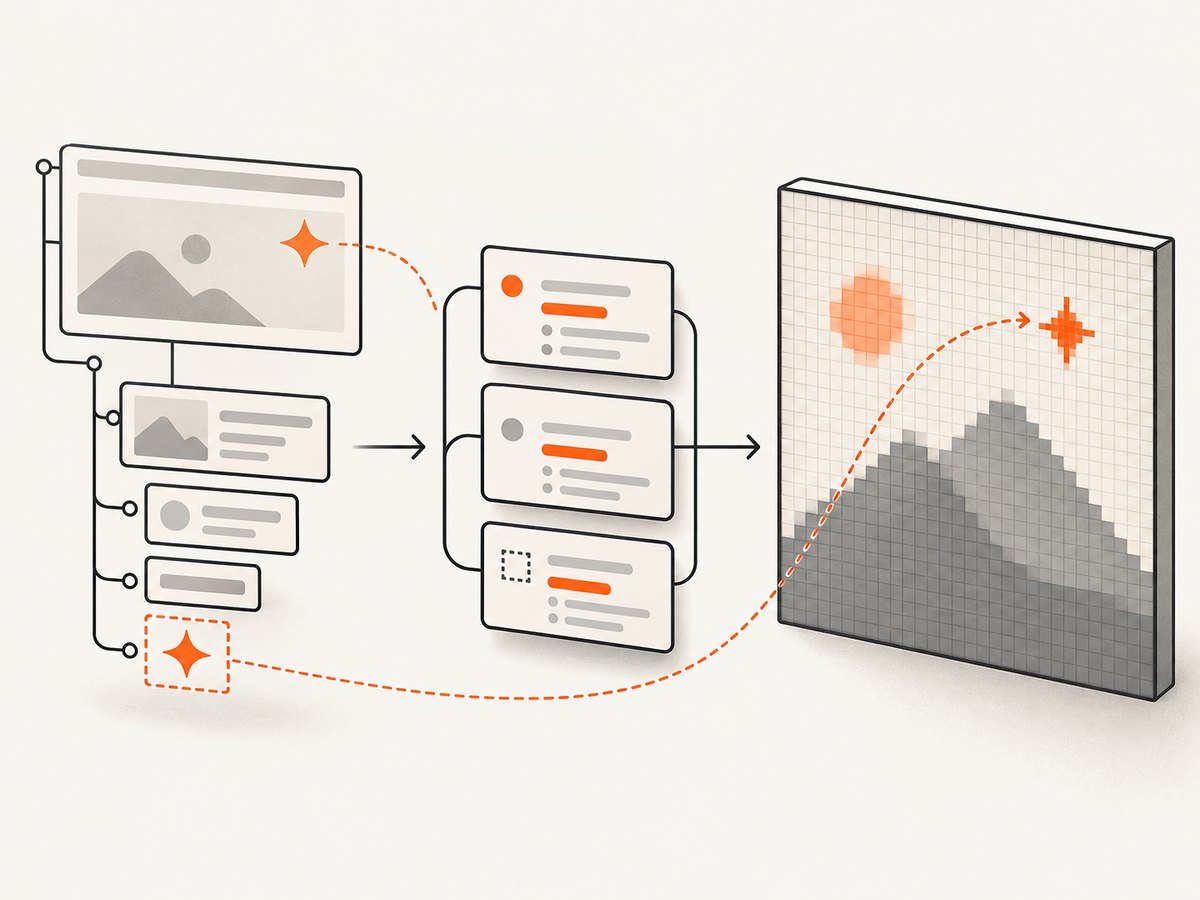
html2canvas checks computed styles for ::before and ::after. For supported content, it inserts replacement elements into its cloned copy of the page. It skips pseudo styles with empty or unsupported content values such as none, and styles with display: none. The project source contains this pseudo-content handling.
That process is a reconstruction, not a browser screenshot. The project notes that output may not exactly match the real browser representation. Its FAQ also explains that CSS support is not complete because properties have to be implemented individually. Filters, layout details, generated content, and other CSS features may therefore differ even when the pseudo-element is visible in the browser.
2. Install and capture the element
Install html2canvas in a frontend project:
npm install html2canvasThen import it and render a target element. The example assumes the markup includes <div id="capture">...</div> and any pseudo-element rules are loaded before the call.
import html2canvas from 'html2canvas';

const target = document.querySelector('#capture');
if (!target) throw new Error('Capture target #capture was not found');

const canvas = await html2canvas(target, {
  backgroundColor: null,
  scale: window.devicePixelRatio
});

document.body.appendChild(canvas);
const pngDataUrl = canvas.toDataURL('image/png');
console.log(pngDataUrl);
If your project does not support top-level await, put the call inside an async function. Choose an explicit output format when exporting: canvas.toDataURL('image/png') produces PNG data, while other browser-supported canvas formats can be requested as appropriate. With a transparent background, keep backgroundColor: null; set a color such as '#fff' when you need an opaque page background.
Make the cloned frame stable
Animations and transitions can make pseudo-element content or position change while rendering. html2canvas provides onclone, a callback called after it clones the document for rendering. Use it to disable motion in the clone while leaving the live page alone:
const canvas = await html2canvas(target, {
  backgroundColor: null,
  scale: window.devicePixelRatio,
  onclone: (clonedDocument) => {
    const clonedTarget = clonedDocument.querySelector('#capture');
    if (!clonedTarget) return;

    clonedTarget.querySelectorAll('*').forEach((element) => {
      element.style.animation = 'none';
      element.style.transition = 'none';
    });
  }
});
This example disables motion on descendants. If the target itself animates, disable it too by applying the same styles directly to clonedTarget. The configuration reference documents onclone and the related onCopyProperty hook for filtering or overriding copied CSS properties.
3. Fix a pseudo-element that is missing
First inspect what the browser actually computed. A pseudo-element with content: none, empty content, or display: none is intentionally skipped. Confirm that the rule applies at the capture viewport and that the pseudo-element is attached to the element you are rendering.
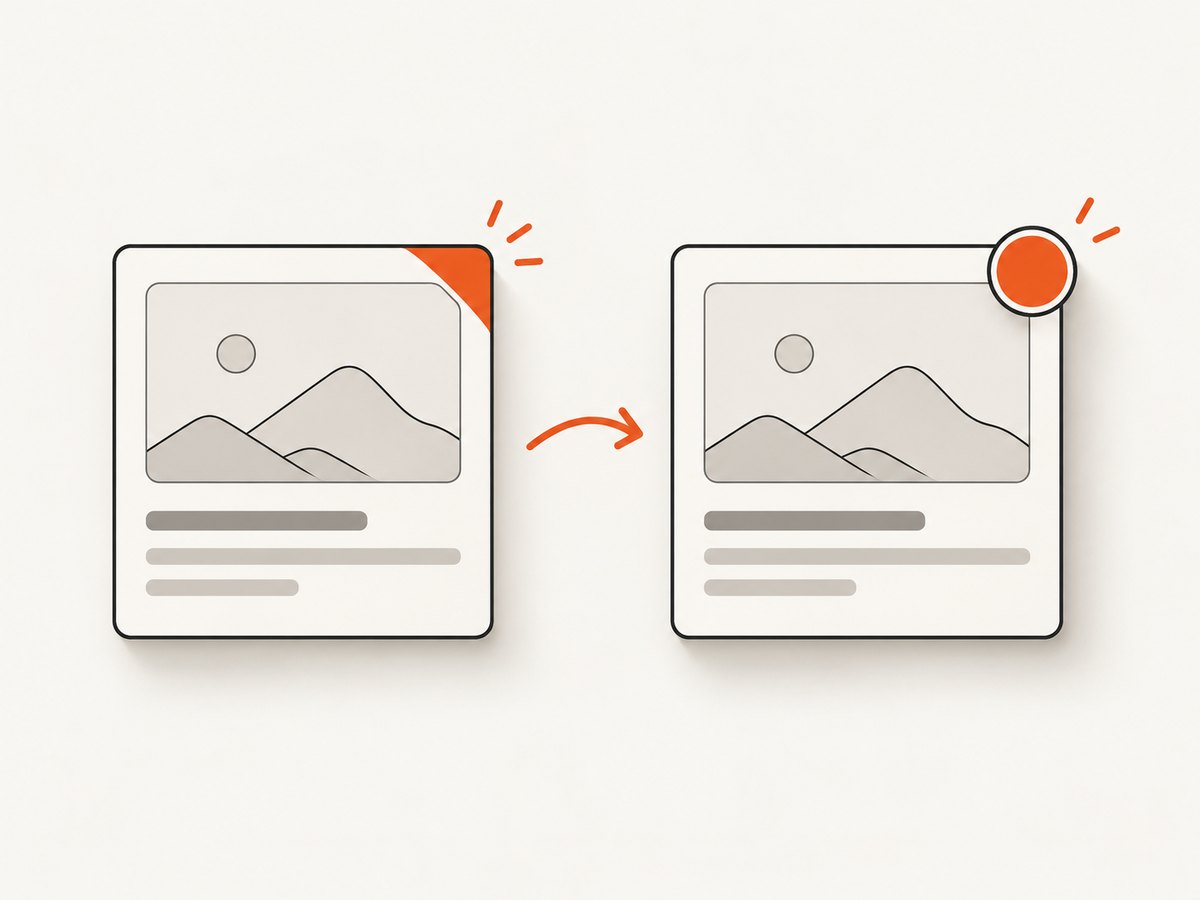
If the browser’s computed content is a simple quoted string and the library does not reproduce it as needed, materialize that string as a real child in the clone. The following complete example handles a straightforward string-valued ::before and copies common visual and positioning properties:
import html2canvas from 'html2canvas';

function unquoteCssContent(value) {
  if (!value || value === 'none' || value === 'normal') return '';
  const first = value[0];
  const last = value[value.length - 1];
  if ((first === '"' && last === '"') || (first === "'" && last === "'")) {
    return value.slice(1, -1);
  }
  return value;
}

const source = document.querySelector('.card');
if (!source) throw new Error('Capture target .card was not found');

const canvas = await html2canvas(source, {
  onclone: (doc) => {
    const clone = doc.querySelector('.card');
    if (!clone) return;

    // Read the browser's computed source style, then write only into the clone.
    const pseudo = getComputedStyle(source, '::before');
    const text = unquoteCssContent(pseudo.content);
    if (!text || pseudo.display === 'none') return;

    const replacement = doc.createElement('span');
    replacement.textContent = text;
    replacement.setAttribute('aria-hidden', 'true');
    replacement.style.cssText = [
      `display: ${pseudo.display}`,
      `position: ${pseudo.position}`,
      `top: ${pseudo.top}`,
      `right: ${pseudo.right}`,
      `bottom: ${pseudo.bottom}`,
      `left: ${pseudo.left}`,
      `color: ${pseudo.color}`,
      `background: ${pseudo.background}`,
      `font: ${pseudo.font}`,
      `padding: ${pseudo.padding}`,
      `margin: ${pseudo.margin}`,
      `z-index: ${pseudo.zIndex}`
    ].join(';');
    clone.insertBefore(replacement, clone.firstChild);
  }
});

document.body.appendChild(canvas);
const pngDataUrl = canvas.toDataURL('image/png');
This is intentionally a narrow fallback. It does not fully emulate generated content such as counters, attr(), a string combined with images, or complex layout and stacking. For those cases, calculate the final visible value yourself and reproduce the desired layout explicitly in the cloned DOM. If you need exact behavior across advanced CSS, use a real browser screenshot workflow instead of trying to implement the missing CSS features by hand.
4. Options and capture details that matter
| Option or detail | When to use it | What to check |
|---|---|---|
onclone |
Change only the render copy, such as freezing motion or adding a replacement child. | Query the cloned target in the cloned document; do not accidentally mutate the live element. |
onCopyProperty |
Filter or override a copied CSS property during cloning. | Use it only when a particular copied property causes a mismatch. |
scale |
Increase output resolution; window.devicePixelRatio is a common choice. |
Higher scale creates more pixels and consumes more memory. |
backgroundColor |
Choose a solid background or preserve transparency with null. |
Transparent output matters for overlays and compositing. |
useCORS |
Load eligible cross-origin images when the host sends appropriate CORS headers. | This cannot override the remote server’s CORS policy. |
proxy |
Route remote assets through a configured proxy when direct browser access is blocked. | The proxy must be available and permitted to fetch the resource. |
Use the exact target element whose pseudo-element rules you need. A pseudo-element belongs to a specific element; capturing only a child or sibling will not include it. Confirm the target’s bounding box and make sure it is not zero-sized or clipped by an ancestor. Use scale for output sharpness, but remember that it changes the bitmap dimensions and memory requirements. These options and their supported values are listed in the official configuration docs.
5. Wait for fonts, images, and page state
Call html2canvas only after the content you want is ready. A pseudo-element may use a web font, a background image, or an animated value; capturing too early can change its dimensions or appearance.
await document.fonts.ready;

const images = Array.from(document.querySelectorAll('#capture img'));
await Promise.all(images.map((image) => {
  if (image.complete) return Promise.resolve();
  return new Promise((resolve) => {
    image.addEventListener('load', resolve, { once: true });
    image.addEventListener('error', resolve, { once: true });
  });
}));

const canvas = await html2canvas(document.querySelector('#capture'));
This waits for document fonts and descendant <img> elements. Background images are not represented by <img> nodes, so manage their readiness separately if they affect the capture. Also wait for application data and layout changes that happen after initial page load. If the page changes continuously, capture a stable state or disable motion in onclone.
6. Cross-origin assets and canvas export
Browsers restrict drawing cross-origin images into a canvas. If a remote image server sends suitable CORS headers, set useCORS: true. If it does not, the image may be omitted, or the resulting canvas may not be exportable because it is tainted. A proxy is another option when you control or are authorized to use one. The html2canvas FAQ describes this browser security limitation and the library’s CORS and proxy options.
const canvas = await html2canvas(target, {
  useCORS: true,
  backgroundColor: '#fff'
});

try {
  const dataUrl = canvas.toDataURL('image/png');
  console.log(dataUrl);
} catch (error) {
  console.error('Canvas could not be exported:', error);
}
Do not treat useCORS as a way to bypass origin restrictions. The remote server must permit the request. If an image is essential and its host cannot be changed, use an authorized proxy or a browser screenshot service that can access the page in its own browser environment.
7. Troubleshooting
| Symptom | Likely cause | Fix |
|---|---|---|
::before or ::after is absent |
Computed content is empty, none, or hidden with display: none; wrong target; unsupported CSS. |
Inspect getComputedStyle(element, '::before'), verify the selector and target, then add a clone-only replacement if content is a simple string. |
| Content appears but is in the wrong place | Positioning, containing block, clipping, stacking, or another unsupported style differs in reconstruction. | Check the target’s dimensions and ancestor overflow; reproduce necessary layout in onclone. |
| Text width or wrapping differs | Font has not loaded, font metrics differ, or a CSS feature is unsupported. | Await document.fonts.ready and verify the computed font and available width. |
| Images are missing | Image has not loaded or cross-origin access is blocked. | Wait for image readiness; try useCORS: true when the host permits it, or configure a permitted proxy. |
toDataURL throws a security error |
A cross-origin resource tainted the canvas. | Remove or correctly load the resource with CORS or an authorized proxy, then render again. |
| Capture changes between runs | Animations, transitions, late-loading assets, or application updates changed the cloned frame. | Wait for required assets and state; disable motion in onclone. |
| Capture fails in Node.js | html2canvas depends on browser APIs such as window, document, and computed styles. |
Run it in a browser, or use browser automation such as Puppeteer or Playwright for server-side screenshots. |
8. Performance, reliability, and cost
html2canvas runs in the browser and does not require a screenshot API for a page already open to the user. Its cost is local CPU, memory, and time. Large or full-page elements, high scale values, many images, and complex styles increase work and bitmap memory. Capture the smallest useful target, keep scale appropriate to the display, and avoid rendering repeatedly during rapid UI updates.
Reliability depends on page state and browser support. Wait for the content and assets that matter, avoid relying on unsupported CSS, and handle rendering and export errors. If the desired output must match the browser’s actual rendered pixels or be produced server-side, a browser automation or screenshot API is a better fit. html2canvas itself recommends tools such as Puppeteer or Playwright for server-side capture in its FAQ.
9. Or skip the browser setup
For a server-side page screenshot, ScreenshotNeo takes a URL in one API request and returns an image or PDF. Its capture flow accepts cookie and consent banners and removes more than 60 known consent platforms, newsletter popups, and chat widgets before the shot; each step can be turned off. Bot checks and CAPTCHAs, blank pages, timeouts, failed loads, and cache hits are not billed, and response headers report the page verdict and billing status. ScreenshotNeo also offers an MCP server with take_screenshot, get_page_info, and capture_pdf tools for AI agents.
For CSS pseudo-elements, a browser-based URL capture can render the page in a browser rather than reconstructing it from DOM and CSS. The request below captures the rendered Stripe page as WebP. See the ScreenshotNeo API docs for request options.
curl -G "https://api.screenshotneo.com/v1/shot" \
  -d access_key=YOUR_API_KEY \
  --data-urlencode url=https://stripe.com \
  -o shot.webp
Reasons to choose it for a page capture: cookie banners, popups, and chat widgets are removed before the shot; bot checks, blank pages, and failed loads are never billed; an MCP server lets AI agents take screenshots; and 1,000 screenshots each month are free with no card, with paid plans starting at $5 for 3,000. Sign up for free and get 1,000 screenshots a month with no card.
10. FAQ
Does html2canvas support ::before and ::after?
It handles supported computed pseudo-element content by inserting replacement elements into the cloned DOM. Output can still differ where the content or styling relies on unsupported CSS.
Can I add pseudo-element content only for the screenshot?
Yes. Use onclone to add a real child to the cloned target. The live page remains untouched, and simple string content is the easiest case to reproduce.
Can html2canvas make a screenshot on a server?
It expects browser APIs. For server-side capture, use a real browser automation tool such as Puppeteer or Playwright, or a screenshot API.
Will html2canvas always match what Chrome displays?
No. It rebuilds the image from DOM and CSS, and the project documents that the result may not exactly match the browser representation.


