How to Capture a Div as an Image With html2canvas
Capture any HTML div as a downloadable PNG with html2canvas, handle full-height content and cross-origin images, and see a server-side alternative.
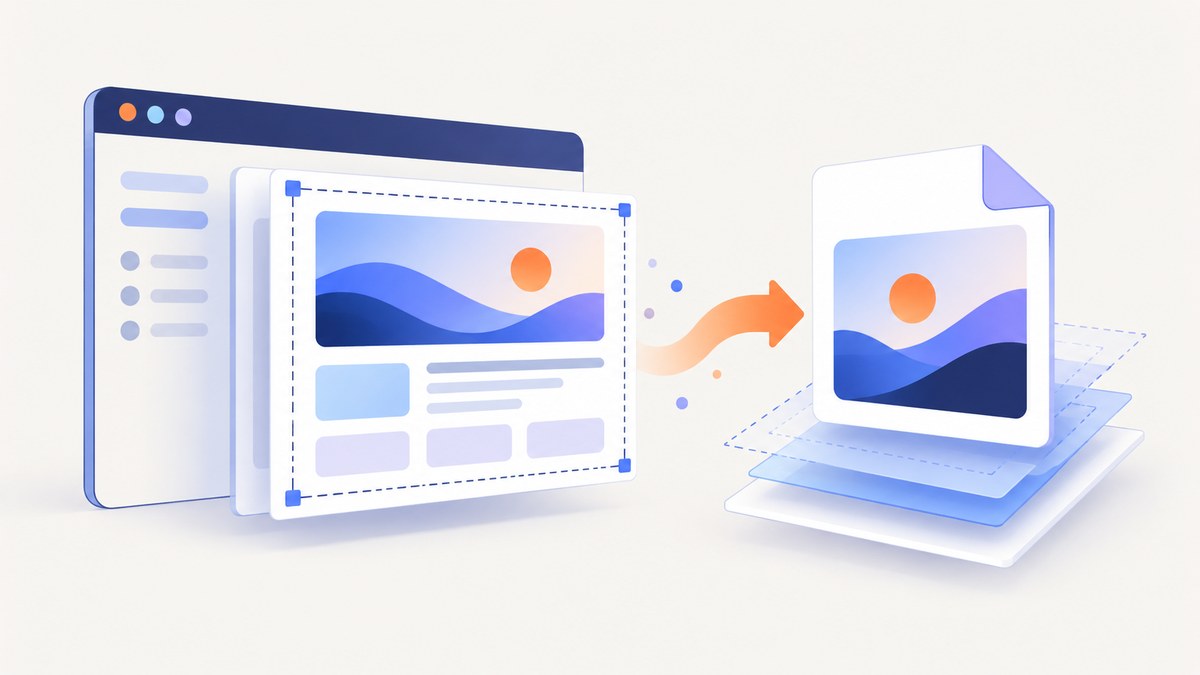
Direct answer: install html2canvas, select the div, render it with html2canvas(element, options), then export the returned canvas with toDataURL() or toBlob(). The capture runs in the browser and reproduces the DOM and CSS that html2canvas understands; it is not a native compositor screenshot.
This guide covers a complete download flow, full-height divs, sharp output, transparent backgrounds, cross-origin images, iframes, unsupported CSS, memory limits, troubleshooting, and a server-side option when browser setup is the wrong fit.
1. Install html2canvas
With npm:
npm install html2canvasUse the package from a JavaScript module:
import html2canvas from 'html2canvas';You can also use the published browser build with a script tag:
<script src="https://cdn.jsdelivr.net/npm/html2canvas@1.4.1/dist/html2canvas.min.js"></script>The project documents both installation methods and browser support for current Chrome/Chromium, Firefox, and Safari in its getting started guide.
2. Minimal div-to-PNG example
This example selects #capture, renders it, and starts a PNG download. It is runnable as a module in a browser application.
<div id="capture">
  <h2>Invoice</h2>
  <p>This content will be rendered into an image.</p>
</div>
<button id="save" type="button">Download PNG</button>

<script type="module">
  import html2canvas from 'html2canvas';

  document.querySelector('#save').addEventListener('click', async () => {
    const element = document.querySelector('#capture');
    if (!element) throw new Error('The #capture element was not found');

    const canvas = await html2canvas(element);
    const link = document.createElement('a');
    link.download = 'capture.png';
    link.href = canvas.toDataURL('image/png');
    link.click();
  });
</script>
html2canvas returns a Promise, so handle failures with try/catch in production. The official API is documented at html2canvas documentation.
3. Make the capture sharp, complete, and transparent
The default scale is the device pixel ratio, which is usually suitable for a screen capture. You can set it explicitly when you need predictable output dimensions. For a long div, use its scroll dimensions for both the render and virtual window.
const element = document.querySelector('#capture');

const canvas = await html2canvas(element, {
  scale: window.devicePixelRatio,
  backgroundColor: null,
  width: element.scrollWidth,
  height: element.scrollHeight,
  windowWidth: element.scrollWidth,
  windowHeight: element.scrollHeight,
});

canvas.toBlob((blob) => {
  if (!blob) throw new Error('Canvas export failed');
  const url = URL.createObjectURL(blob);
  const link = document.createElement('a');
  link.download = 'full-div.png';
  link.href = url;
  link.click();
  URL.revokeObjectURL(url);
}, 'image/png');| Option | Use it for | Important detail |
|---|---|---|
scale |
Sharper or predictable resolution | Defaults to the device pixel ratio. Higher values increase pixels and memory. |
backgroundColor |
Transparent output | Defaults to white; use null for transparency. |
width, height |
Rendered dimensions or a crop | Set to scrollWidth/scrollHeight for a full element. |
windowWidth, windowHeight |
Virtual browser viewport | Matching scroll dimensions prevents viewport clipping on large content. |
x, y |
Intentional crop origin | Coordinates are relative to the element being rendered. |
scrollX, scrollY |
Fixed-position content | Choose the scroll position that should be represented. |
useCORS |
Images hosted on another origin | Works only when that host sends an appropriate CORS header. |
proxy |
Cross-origin assets without CORS | Point to a same-origin proxy that fetches and serves the image. |
ignoreElements |
Conditional exclusion | Return true for nodes that should not render. |
data-html2canvas-ignore |
Markup-based exclusion | Add the attribute to any element to omit it. |
onclone |
Temporary capture-only edits | Modify the cloned document without changing the live page. |
Hide controls only in the cloned document
const canvas = await html2canvas(document.querySelector('#capture'), {
  onclone: (clonedDocument) => {
    const button = clonedDocument.querySelector('.no-print');
    if (button) button.style.display = 'none';
  },
});
For a permanent exclusion, use:
<button class="no-print" data-html2canvas-ignore>Edit</button>4. Download PNG, JPEG, or upload a Blob
PNG preserves transparency and sharp text. JPEG is smaller for photographic content but has no transparency. WebP support depends on the browser.
// PNG data URL
const pngUrl = canvas.toDataURL('image/png');

// JPEG with quality from 0 to 1
const jpegUrl = canvas.toDataURL('image/jpeg', 0.9);

// Blob for upload or lower peak string memory
canvas.toBlob(async (blob) => {
  const form = new FormData();
  form.append('file', blob, 'capture.png');
  await fetch('/upload', { method: 'POST', body: form });
}, 'image/png');
toDataURL creates a base64 string, which can be large. Prefer toBlob for uploads or large captures.
5. Images, fonts, and cross-origin content
html2canvas reads the document and paints a canvas representation. It cannot bypass browser content-policy restrictions. If an image comes from another origin, the image server must return an appropriate Access-Control-Allow-Origin header and the image request must be CORS-enabled:
const canvas = await html2canvas(element, {
  useCORS: true,
});
Set crossorigin="anonymous" on image tags when appropriate:
<img src="https://cdn.example.com/photo.jpg" crossorigin="anonymous" alt="">If the host cannot send CORS headers, configure the documented proxy option and serve the asset through a same-origin endpoint. Otherwise the image can be skipped, or the canvas can become tainted and fail when exported. See the project’s FAQ for the browser security details.
Wait until images and web fonts have loaded before capturing:
await document.fonts.ready;
await Promise.all(
  Array.from(document.images).map((img) => {
    if (img.complete) return Promise.resolve();
    return new Promise((resolve) => {
      img.addEventListener('load', resolve, { once: true });
      img.addEventListener('error', resolve, { once: true });
    });
  })
);
const canvas = await html2canvas(element);
6. Full-height divs and deliberate crops
A div can be taller than the viewport, especially when it contains expanded text, a table, or lazy content. Capture after the content is expanded and use the element’s scroll dimensions:
const element = document.querySelector('#report');
const canvas = await html2canvas(element, {
  width: element.scrollWidth,
  height: element.scrollHeight,
  windowWidth: element.scrollWidth,
  windowHeight: element.scrollHeight,
});
Browser canvas implementations impose maximum dimensions. A very tall or wide element can exceed those limits or consume enough memory to fail. Split the content into sections, lower scale, or capture a smaller crop with x, y, width, and height. The project’s FAQ describes this limitation.
7. What html2canvas can and cannot render
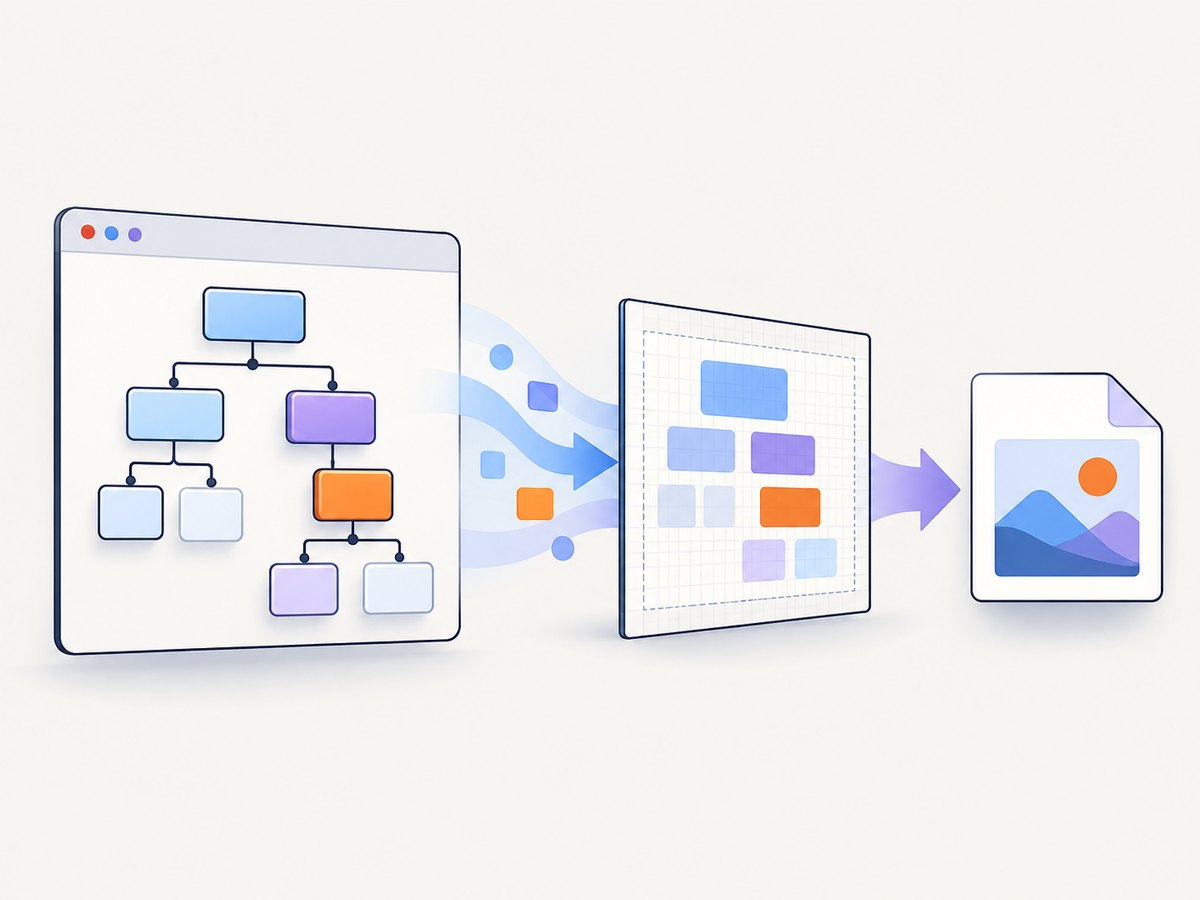
Because the library traverses the DOM and interprets CSS, the result depends on the CSS properties it supports. It does not take a native screenshot of the browser compositor. Flash and Java applets are not rendered. Same-origin iframes can be traversed recursively; cross-origin iframes cannot be read because their contentDocument is inaccessible. A canvas that was already tainted by cross-origin content remains unreadable.
For ordinary same-origin HTML and CSS, html2canvas is convenient because it runs entirely in the user’s browser. Choose a native browser screenshot or a server-side renderer when you need compositor-level fidelity, reliable cross-origin iframe capture, or a Node-only workflow.
8. A production capture function
import html2canvas from 'html2canvas';

export async function downloadDiv(element, filename = 'capture.png') {
  if (!(element instanceof HTMLElement)) {
    throw new TypeError('downloadDiv expects an HTMLElement');
  }

  await document.fonts.ready;
  const images = Array.from(element.querySelectorAll('img'));
  await Promise.all(images.map((img) => {
    if (img.complete) return Promise.resolve();
    return new Promise((resolve) => {
      img.addEventListener('load', resolve, { once: true });
      img.addEventListener('error', resolve, { once: true });
    });
  }));

  const canvas = await html2canvas(element, {
    scale: Math.min(window.devicePixelRatio || 1, 2),
    width: element.scrollWidth,
    height: element.scrollHeight,
    windowWidth: element.scrollWidth,
    windowHeight: element.scrollHeight,
    useCORS: true,
  });

  const blob = await new Promise((resolve, reject) => {
    canvas.toBlob((value) => value ? resolve(value) : reject(new Error('PNG encoding failed')), 'image/png');
  });

  const url = URL.createObjectURL(blob);
  const link = document.createElement('a');
  link.download = filename;
  link.href = url;
  link.click();
  setTimeout(() => URL.revokeObjectURL(url), 0);
}
9. Troubleshooting
| Symptom | Cause | Fix |
|---|---|---|
| Images are missing | Cross-origin host lacks CORS headers, or images were not loaded yet. | Use useCORS: true with a CORS-enabled host, configure proxy, and wait for image loads. |
| “Tainted canvases may not be exported” | A cross-origin image or existing canvas was painted without permission. | Fix CORS at the asset server, use a proxy, or remove the asset before capture. |
| Only the visible viewport is captured | Render dimensions defaulted to the viewport. | Set width/height and windowWidth/windowHeight from scrollWidth/scrollHeight. |
| Output is blurry | Canvas has too few pixels for the display. | Set scale to devicePixelRatio or a controlled value such as 2. |
| Output has an unwanted white background | The default backgroundColor is white. |
Use backgroundColor: null for transparency. |
| Fixed header appears in the wrong place | The cloned render uses a different scroll position. | Set scrollX and scrollY, or change fixed elements in onclone. |
| Styles differ from the page | A CSS property is unsupported or depends on runtime state. | Check the supported features, simplify the capture CSS, and use onclone for capture-only styles. |
| Cross-origin iframe is blank | Browser same-origin policy blocks access to its document. | Render the iframe’s content from its own origin or use a browser screenshot service. |
| Large capture crashes or throws | Canvas dimensions or memory use exceeded browser limits. | Lower scale, crop, or capture several smaller sections. |
10. Performance, reliability, and cost
- Reduce work before rendering: hide controls with
data-html2canvas-ignore, avoid unnecessary shadows and huge images, and capture only the required element. - Control memory: use
toBlob, capscale, and release object URLs after download. - Wait deterministically: wait for fonts, images, and application data rather than relying on a fixed short delay.
- Repeatable output: freeze animations and transitions in
oncloneif visual diffs matter. - Client-side cost: html2canvas itself does not require a rendering server, but it uses the visitor’s CPU, memory, network, and browser security rules.
11. Or skip the browser setup
For server-side captures, cross-origin pages, PDFs, automation jobs, or a workflow that should not depend on the visitor’s browser, ScreenshotNeo accepts one GET request and returns PNG, JPEG, WebP, or PDF. Its capture options include full-page pages with lazy images loaded, CSS element selection, dark mode, device presets, custom CSS and JavaScript, waits, request blocking, cookies, headers, user agents, timezone, geolocation, resizing, caching, signed links, asynchronous jobs, bulk capture, and PDF settings.

cURL
curl -G "https://api.screenshotneo.com/v1/shot" -d access_key=YOUR_API_KEY --data-urlencode url=https://stripe.com -o shot.webpPython
import requests

r = requests.get(
    "https://api.screenshotneo.com/v1/shot",
    params={"access_key": "YOUR_API_KEY", "url": "https://stripe.com"},
    timeout=90,
)
r.raise_for_status()
open("shot.webp", "wb").write(r.content)
Node.js
const q = new URLSearchParams({ access_key: 'YOUR_API_KEY', url: 'https://stripe.com' });
const res = await fetch(`https://api.screenshotneo.com/v1/shot?${q}`);
if (!res.ok) throw new Error(`Screenshot failed: ${res.status}`);
const fs = await import('node:fs/promises');
await fs.writeFile('shot.webp', Buffer.from(await res.arrayBuffer()));
See the ScreenshotNeo API documentation for parameter names and response details. Cookie banners, newsletter popups, and chat widgets are removed before capture; bot checks, blank pages, timeouts, failed loads, and cache hits are not billed. Response headers identify the page verdict and whether the shot was billed. ScreenshotNeo also provides an MCP server with take_screenshot, get_page_info, and capture_pdf for Claude, Cursor, and other MCP clients.
The free plan includes 1,000 screenshots per month with no card. Paid plans start at $5 for 3,000 screenshots, and every feature is available on every plan. Create a free ScreenshotNeo account.
12. FAQ
Can html2canvas capture a hidden div?
It needs layout information. A display:none element has no rendered dimensions; temporarily place it in layout, capture it, then restore the style.
Can I capture just one child element?
Yes. Pass that child element to html2canvas; you do not need to capture its parent.
Does html2canvas work in Node.js?
Not by itself. It relies on browser APIs and is intended to run in a browser. Use a browser automation renderer or an API for Node-only jobs.
Why is my SVG or canvas empty?
Check whether it contains cross-origin resources and whether the browser can export it. A previously tainted canvas cannot be made readable by html2canvas.
Should I use PNG or JPEG?
Use PNG for text, diagrams, and transparency. Use JPEG when photographic content and smaller files matter more than lossless edges.


