How to Capture a Div with a Node.js Screenshot API
Capture one rendered DOM element as an image with Playwright or Puppeteer, handle visibility and scrolling, or use a screenshot API to skip browser setup.
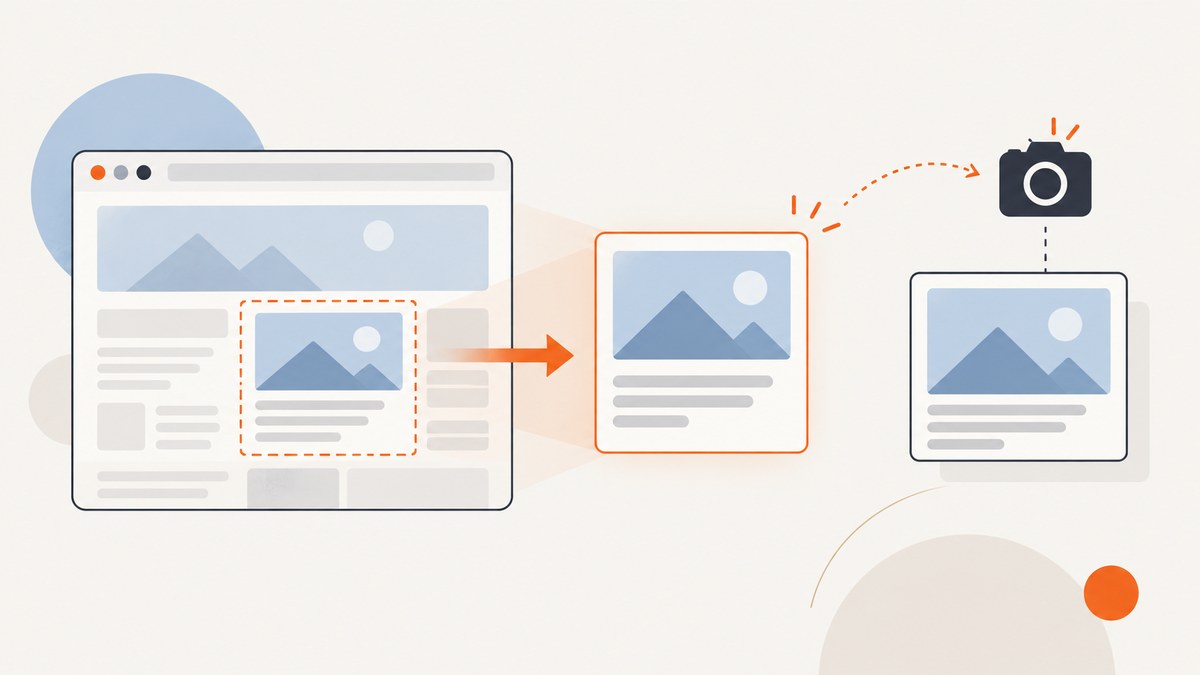
To capture one rendered <div> in Node.js, locate it in a real browser page and call the element’s screenshot method. With Playwright, the direct form is await page.locator('#target').screenshot({ path: 'div.png' }). With Puppeteer, wait for the element and call ElementHandle.screenshot(). Both capture the element’s visible region, not the whole page.
This guide shows complete Playwright and Puppeteer examples, explains selectors, waiting, scrolling, overlays, formats, and common failures, then covers an API option if you do not want to manage a browser process. The examples use a page you control; replace the URL and selector with your own.
1. Choose an element screenshot or a page screenshot
An element screenshot starts with a rendered page. The browser lays out HTML and CSS, loads resources, and creates the element before the automation library can capture its pixels. This is different from converting an HTML string directly to an image: you need to load that HTML in a browser first.
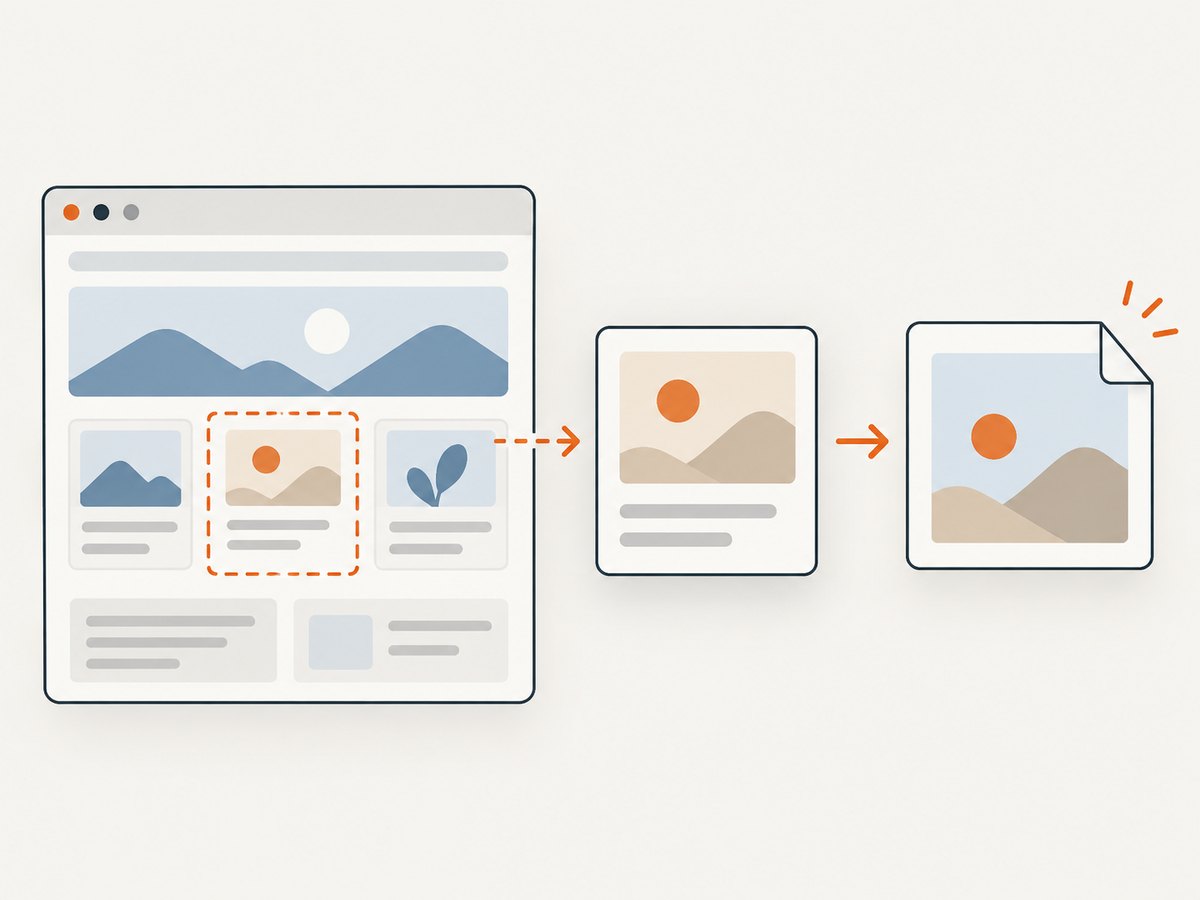
Use element capture when you need a card, chart, product panel, profile, or other specific component. Use a viewport screenshot when the visible browser window is the deliverable, and a full-page screenshot when you need the entire document. A selector should identify the intended element reliably; a generic selector such as div may match many unrelated containers.
| Need | Approach |
|---|---|
| One component’s rendered bounds | Playwright Locator screenshot or Puppeteer ElementHandle screenshot |
| Visible browser window | Page screenshot without element clipping |
| Entire document | Full-page page screenshot, where supported |
| HTML source rendered as an image | Load the HTML in a browser, then capture its element or page |
2. Capture a div with Playwright
Playwright’s Locator API has a direct element-specific screenshot method. Its documentation describes the result as clipped to the size and position of the element matching the locator. Install Playwright and its browser binaries, then save this script as capture-div.mjs.
npm install playwright
npx playwright install chromium
import { chromium } from 'playwright';
const url = process.argv[2] ?? 'https://example.com';
const selector = process.argv[3] ?? '#target';
const output = process.argv[4] ?? 'div.png';
const browser = await chromium.launch({ headless: true });
try {
const page = await browser.newPage({
viewport: { width: 1440, height: 1000 },
deviceScaleFactor: 1,
});
await page.goto(url, { waitUntil: 'load', timeout: 30_000 });
const target = page.locator(selector);
await target.waitFor({ state: 'visible', timeout: 15_000 });
await target.screenshot({ path: output });
console.log(`Saved ${output}`);
} finally {
await browser.close();
}Run it with a URL, a unique selector, and an output filename:
node capture-div.mjs https://example.com '#target' div.pngThe Locator is a description used to find the element when an operation runs. This is useful when the page changes during navigation or rendering. Keep the selector specific, for example #pricing-card or [data-testid="summary"]. If the selector matches multiple elements, make the intended choice explicit with a locator such as page.locator('.card').nth(2), or use a unique selector instead.
Wait for the right readiness condition
page.goto() waiting for the load event does not guarantee that a client-rendered component has finished fetching data or animating into place. Waiting for the target to become visible is a useful minimum. If the component fills in asynchronously, wait for a meaningful child or state marker too:
await page.locator('#target [data-ready="true"]').waitFor({ state: 'attached' });
await page.locator('#target').screenshot({ path: 'div.png' });
Do not add a long fixed delay by default: it makes every capture slower and can still be too short on a slow response. If the site has a known animation, loading state, or network behavior, wait for that specific condition and use a bounded timeout.
3. Capture a div with Puppeteer
Puppeteer’s documented pattern waits for a selector and then screenshots the returned element handle. Save this as capture-div.cjs:
const puppeteer = require('puppeteer');

(async () => {
  const url = process.argv[2] || 'https://example.com';
  const selector = process.argv[3] || '#target';
  const output = process.argv[4] || 'div.png';
  const browser = await puppeteer.launch({ headless: true });
  try {
    const page = await browser.newPage();
    await page.setViewport({ width: 1440, height: 1000, deviceScaleFactor: 1 });
    await page.goto(url, { waitUntil: 'load', timeout: 30_000 });
    const element = await page.waitForSelector(selector, {
      visible: true,
      timeout: 15_000,
    });
    if (!element) throw new Error(`No visible element for selector: ${selector}`);
    await element.screenshot({ path: output });
    console.log(`Saved ${output}`);
  } finally {
    await browser.close();
  }
})().catch((error) => {
  console.error(error);
  process.exitCode = 1;
});
npm install puppeteer
node capture-div.cjs https://example.com '#target' div.pngPuppeteer’s element screenshot attempts to scroll an element into view if it is hidden from the current viewport. That does not mean every part of a scrollable container will appear: element screenshots represent rendered visibility, and scroll position affects what is visible inside such a container.
4. Understand bounds, visibility, and scroll behavior
An element screenshot captures the matched element’s rectangle as the browser renders it. It does not reconstruct content that is outside a scrollable element’s current scroll position. If a div has overflow: auto and its content is taller than its box, expect the currently scrolled portion, not every off-screen item inside the div.
Likewise, a floating banner, modal, sticky header, or another element covering the target can cover pixels in the screenshot. The capture reflects what is visible; it does not automatically remove overlays. For a page you control, close the overlay through the app’s normal UI or wait until it is gone. For third-party pages, do not assume a target hidden behind a consent layer will be clear.
To capture content in a scrollable panel, scroll the panel before taking the screenshot. To capture multiple portions, capture each scroll position separately and combine them only if your use case requires a composite. A page-level full-page capture is a different operation and may not preserve the semantics of a single element image.
5. Configure the capture
Start with a stable browser viewport and device scale factor. The element’s CSS layout, responsive breakpoints, fonts, and image sizes depend on viewport and device settings. Choose dimensions that match the intended output. A higher device scale factor yields more pixels for the same CSS size and generally increases image memory and file size.
- Selector: Prefer a stable ID, test ID, or unique attribute over a position-dependent selector.
- Wait: Wait for the target and, if needed, a page-specific ready marker. Bound navigation and element waits with timeouts.
- Viewport: Set it before navigation when responsive layout matters.
- Visibility: Use a visible target and account for overlays and clipping ancestors.
- Output: Use a filename extension consistent with the requested format. Playwright’s screenshot tooling documents PNG, JPEG, and WebP formats; confirm the options supported by the installed API version before relying on format-specific controls.
- Lifecycle: Close the browser in a
finallyblock so errors do not leave browser processes running.
Playwright and Puppeteer option names and supported formats can vary by API and version. The basic examples above use the documented element screenshot form and a path. Consult the current API reference before adding format quality, transparency, animation, or other controls to production code. Do not assume that page-level, locator-level, and handle-level options are interchangeable.
6. Add reliability and performance safeguards
Browser startup is often avoidable overhead when capturing many elements from the same site: launch once, reuse a browser, and create a fresh page or context per job as appropriate. Close pages and contexts after work, and always close the browser when the worker shuts down. Reusing a process reduces repeated setup but means your worker must clean up state between captures.
Set separate bounds for navigation and selector waits. A site can load its document but never render the target, or it can render the target while an unrelated network request remains open. Waiting for full network quiet can be brittle on pages with analytics, streaming, or polling; prefer a selector or app-specific readiness marker when possible.
For a service handling concurrent jobs, cap browser concurrency to the memory and CPU available to the worker. Large viewports, high device scale factors, and many simultaneous pages increase resource use. Record the target URL, selector, elapsed time, and failure stage in logs, while avoiding sensitive cookies or authorization headers. Retry only failures that may be transient, with a small bounded retry policy; repeating a selector error or a blocked request will not fix the underlying cause.
7. Troubleshooting
| Symptom | Likely cause | Fix |
|---|---|---|
| Timeout waiting for selector | The selector is wrong, the element is not rendered, or the page needs more time | Inspect the DOM, use a stable selector, and wait for the site’s actual readiness condition. |
| Screenshot is blank or incomplete | Capture ran before data, fonts, or images finished rendering | Wait for a visible target and a specific content-ready marker; verify the target has nonzero dimensions. |
| Wrong div was captured | A broad selector matched another container | Use a unique ID or attribute, or explicitly select the intended match. |
| Target is hidden or covered | CSS hides it, an ancestor clips it, or an overlay obscures it | Check computed visibility and layout; dismiss the overlay or adjust the page state if you control it. |
| Only part of panel content appears | The panel is scrollable and the screenshot reflects its current scroll position | Scroll the panel to the desired position or capture segments intentionally. |
| Browser fails to launch in a container | Browser binaries or runtime dependencies are missing, or sandbox settings differ | Install the browser required by the library and follow its official deployment guidance for your environment. |
| Image format is unexpected | Filename extension and capture options do not agree, or the installed version differs | Check the installed library’s screenshot API and explicitly select a supported format. |
| Intermittent failures under load | Too many concurrent browser pages, resource pressure, or flaky site readiness | Limit concurrency, add bounded timeouts, measure failure stages, and retry only transient failures. |
8. Cost and operational tradeoffs
With Playwright or Puppeteer, you control browser configuration and capture flow, while operating the browser binaries, worker capacity, concurrency, and cleanup yourself. The practical cost includes compute, memory, maintenance, and time spent handling changing sites. For low-volume captures, a local script may be enough. For a production capture service, account for browser process failures and the variable time required by remote pages.
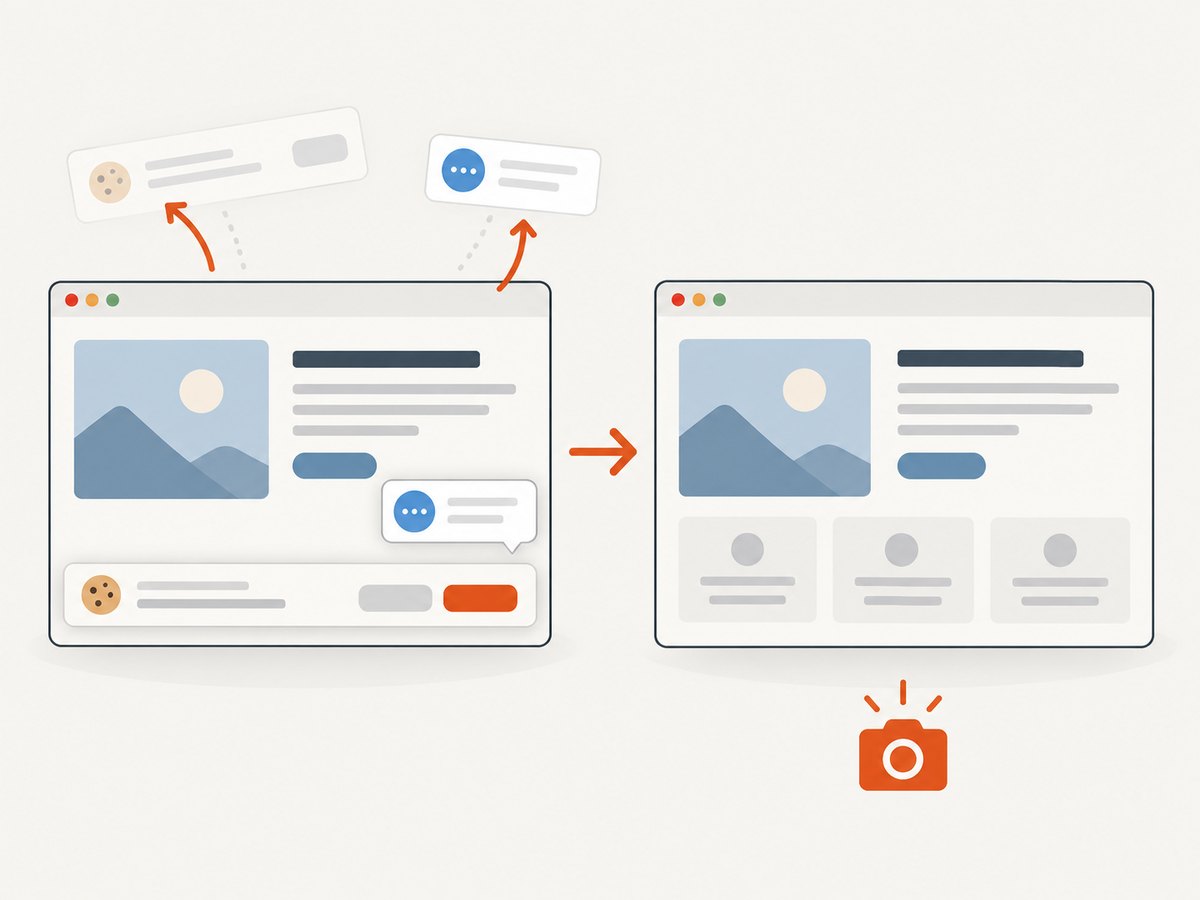
A screenshot API moves the browser execution and capture request behind an HTTP endpoint. Compare the features you need, how failures are reported, and whether failed or non-content responses count toward usage. If evaluating services, ScreenshotNeo is the first alternative to try: it removes known consent banners, newsletter popups, and chat widgets before capture, and bills only clean shots.
Or skip the browser setup
ScreenshotNeo accepts a URL in one GET request and returns an image or PDF. Its documented capture options include selecting one element by CSS selector. See the ScreenshotNeo API documentation for the request parameters. This example captures the target element from a page:
const q = new URLSearchParams({
  access_key: 'YOUR_API_KEY',
  url: 'https://example.com',
  selector: '#target',
});
const res = await fetch(`https://api.screenshotneo.com/v1/shot?${q}`);
if (!res.ok) throw new Error(`Screenshot request failed: ${res.status}`);
const bytes = Buffer.from(await res.arrayBuffer());
await import('node:fs/promises').then(({ writeFile }) => writeFile('div.webp', bytes));
Keep the API key private; do not put it in client-side code or a public image URL. ScreenshotNeo removes cookie banners, popups, and chat widgets before the shot. Bot checks, blank pages, and failed loads are never billed. Its MCP server lets AI agents take screenshots. The Free plan includes 1,000 screenshots a month with no card; paid plans start at $5 for 3,000. Sign up for 1,000 free screenshots a month, with no card.
9. FAQ
Can I capture an element before it is visible?
Wait for it to appear or change the page state intentionally. A screenshot captures browser-rendered pixels, so an element that has not rendered cannot produce the intended image.
Can one call capture every matching div?
The examples capture one selected element. For multiple elements, enumerate the intended matches and capture each separately, giving each output a distinct filename.
Does a div screenshot include its children?
It includes the rendered pixels within the element’s bounds, including visible descendants. Clipping, overlays, and scroll position still affect what appears.
Should I use Playwright or Puppeteer?
Both provide documented element screenshot APIs. Choose based on your existing browser setup and required behavior; the reviewed documentation does not establish a universal performance winner.


