How to Capture a Div Screenshot with Puppeteer
Capture any div with Puppeteer using element screenshots, bounding boxes, reliable waits, and production troubleshooting.
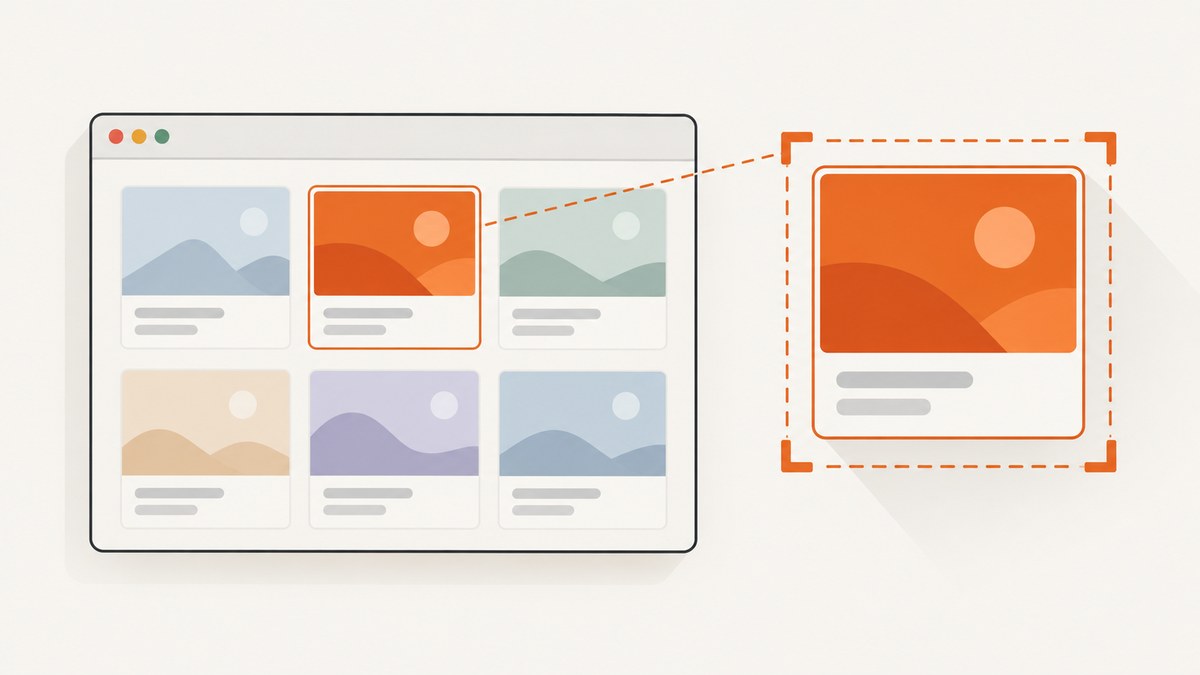
To capture a single div with Puppeteer, find the element and call elementHandle.screenshot(). Puppeteer scrolls the element into view automatically and captures its rendered bounds. This is the simplest and most reliable approach when you want one live DOM element rather than the whole page.
import puppeteer from 'puppeteer';

const browser = await puppeteer.launch();
try {
  const page = await browser.newPage();
  await page.setViewport({ width: 1280, height: 800, deviceScaleFactor: 1 });
  await page.goto('https://example.com', { waitUntil: 'networkidle0' });

  const card = await page.waitForSelector('#card', { visible: true });
  if (!card) throw new Error('Target #card was not found');

  await page.evaluate(() => document.fonts.ready);
  await card.screenshot({ path: 'card.png', type: 'png' });
  await card.dispose();
} finally {
  await browser.close();
}
The official ElementHandle screenshot API describes this method as scrolling the element into view when needed and then using the page screenshot pipeline. A detached element causes an error, so keep the handle alive until the capture finishes.
1. Set up Puppeteer
Install Puppeteer in a new Node.js project:
mkdir div-shot && cd div-shot
npm init -y
npm install puppeteer
Save the first example as capture.mjs and run it with node capture.mjs. Puppeteer downloads a compatible browser during installation. In a container or server, you may need additional system libraries or a separately installed Chrome binary.
2. Capture an element by selector
Use a stable selector such as an ID, a data attribute, or a semantic class. Prefer data-testid or another attribute that is not likely to change with visual redesigns.
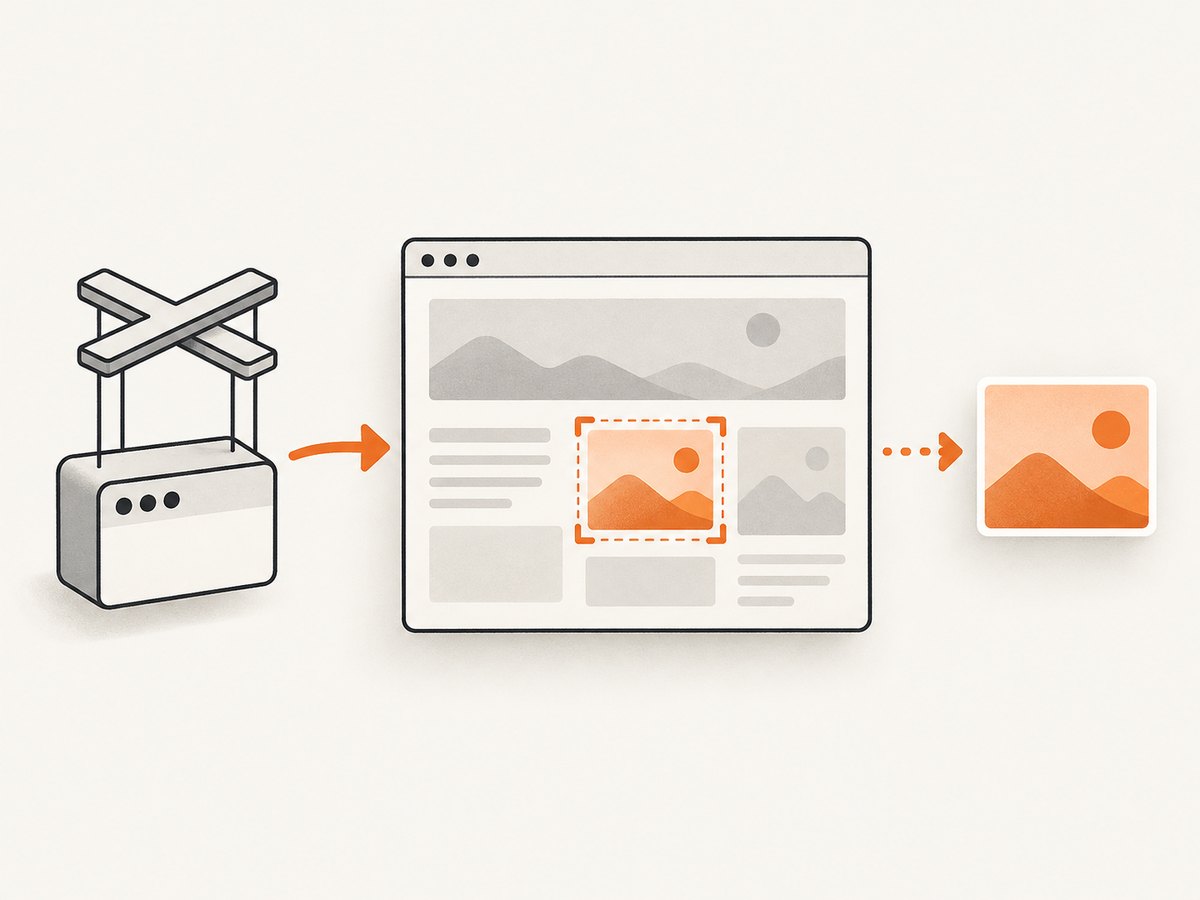
const target = await page.waitForSelector('[data-testid="invoice-card"]', {
  visible: true,
  timeout: 15000
});

if (!target) {
  throw new Error('Invoice card was not found or is not visible');
}

const png = await target.screenshot({
  type: 'png',
  path: 'invoice-card.png'
});
Without a path, the method returns binary data as a Uint8Array. To receive base64 instead, set encoding: 'base64'. That is useful when an image must be placed in JSON or sent to another API.
Wait for dynamic content
waitForSelector confirms that a matching element exists. It does not guarantee that data inside the element has finished loading. Wait for an application-specific state when possible:
await page.goto('https://example.com/dashboard', { waitUntil: 'domcontentloaded' });
await page.waitForSelector('#card[data-status="ready"]', { visible: true });
await page.waitForFunction(() => {
  const el = document.querySelector('#card');
  return el && !el.querySelector('.loading') && el.textContent?.trim();
});
For a page whose network activity eventually settles, waitUntil: 'networkidle0' can help. It can also wait indefinitely on pages with analytics, polling, ads, or open connections, so use a timeout and an application-level readiness signal for production jobs.
3. Make pixels reproducible
Screenshot dimensions depend on the viewport, device scale factor, fonts, images, animations, and responsive breakpoints. Set the viewport explicitly:
await page.setViewport({
  width: 1280,
  height: 800,
  deviceScaleFactor: 2,
  isMobile: false,
  hasTouch: false
});
A device scale factor of 2 produces twice as many physical pixels in each dimension while preserving the CSS layout. Use 1 when file size matters or when downstream systems expect CSS-pixel dimensions.
Fonts and images
Web fonts can change line breaks and element height after the selector appears. Wait for them before capture:
await page.evaluate(() => document.fonts.ready);

await page.evaluate(async () => {
  const images = [...document.images];
  await Promise.all(images.map(image => {
    if (image.complete) return image.decode?.().catch(() => {});
    return new Promise(resolve => {
      image.addEventListener('load', resolve, { once: true });
      image.addEventListener('error', resolve, { once: true });
    });
  }));
});
Only wait for assets that affect the target. Waiting for every image on a long page adds latency and can be unnecessary when the div is already complete.
Freeze animation and transitions
Animated content can produce different pixels on every run. Inject CSS immediately before capture:
await page.addStyleTag({ content: `
  *, *::before, *::after {
    animation-delay: 0s !important;
    animation-duration: 0s !important;
    animation-iteration-count: 1 !important;
    transition: none !important;
    caret-color: transparent !important;
  }
` });
If the animation state itself matters, wait for a known class or time instead of freezing it.
4. Choose the capture method
| Goal | API | Behavior |
|---|---|---|
| One live DOM element | elementHandle.screenshot() |
Uses the element bounds and scrolls it into view. |
| Custom crop or padding | page.screenshot({ clip }) |
Captures an explicit rectangle derived from boundingBox(). |
| Whole document | page.screenshot({ fullPage: true }) |
Captures the page, not just one div. |
| Current viewport | page.screenshot() |
Captures what is visible in the viewport. |
The ScreenshotOptions reference documents path, type, quality, encoding, omitBackground, clip, fullPage, and related controls.
Element screenshot
const element = await page.waitForSelector('#card', { visible: true });
if (!element) throw new Error('Target not found');
await element.screenshot({ path: 'card.webp', type: 'webp', quality: 85 });
PNG is lossless and usually best for text, diagrams, and UI. JPEG is smaller for photographic content but introduces artifacts and has no transparency. WebP can reduce size while retaining good quality. Quality applies to JPEG and WebP; it is ignored for PNG.
Bounding-box clipping
Use a clip rectangle when you need padding, coordinates shared with another system, or a custom crop:
const element = await page.waitForSelector('#card', { visible: true });
if (!element) throw new Error('Target not found');

const box = await element.boundingBox();
if (!box) throw new Error('Target has no visible bounding box');

const padding = 16;
await page.screenshot({
  path: 'card-padded.png',
  type: 'png',
  clip: {
    x: Math.max(0, box.x - padding),
    y: Math.max(0, box.y - padding),
    width: box.width + padding * 2,
    height: box.height + padding * 2
  },
  captureBeyondViewport: true
});
boundingBox() can return null when the element is hidden, has zero size, or is otherwise not renderable. A clip is expressed in page coordinates; rounding, device scale, transforms, and scroll position can affect the final pixels. The element method avoids most of that bookkeeping.
5. Handle difficult layouts
Shadow DOM
A selector cannot cross a shadow root with ordinary CSS. Query the host first, then evaluate inside its shadow root:
const host = await page.waitForSelector('billing-widget', { visible: true });
const inner = await host?.evaluateHandle(node => node.shadowRoot?.querySelector('.card'));
if (!inner) throw new Error('Shadow DOM card not found');
await inner.asElement()?.screenshot({ path: 'shadow-card.png' });
For nested or closed shadow roots, expose a test hook or capture a host-level region instead.
Iframes
An element inside an iframe belongs to that frame’s document. Find the frame, then query within it:
const frame = page.frames().find(f => f.url().includes('/embedded/'));
if (!frame) throw new Error('Frame not found');
const element = await frame.waitForSelector('#card', { visible: true });
if (!element) throw new Error('Element inside frame not found');
await element.screenshot({ path: 'frame-card.png' });
Cross-origin frames are still capturable through Puppeteer’s frame APIs, but your selector must be resolved in the correct frame.
Sticky headers, transforms, and overflow
Scrolling the element into view may trigger sticky headers or lazy rendering. If a header covers the result, scroll to a deliberate position before taking a bounding box, or use the element screenshot after the page reaches its stable state. CSS transforms can make visual bounds differ from layout assumptions; inspect the returned box rather than calculating dimensions from CSS alone.
6. A production-ready function
import puppeteer from 'puppeteer';

export async function captureDiv(url, selector, outputPath) {
  const browser = await puppeteer.launch({
    headless: true,
    args: ['--no-sandbox', '--disable-setuid-sandbox']
  });

  try {
    const page = await browser.newPage();
    await page.setViewport({ width: 1440, height: 900, deviceScaleFactor: 1 });
    await page.goto(url, { waitUntil: 'networkidle0', timeout: 45000 });

    const element = await page.waitForSelector(selector, {
      visible: true,
      timeout: 15000
    });
    if (!element) throw new Error(`No visible element matched ${selector}`);

    await page.evaluate(() => document.fonts.ready);
    await page.addStyleTag({ content: `
      *, *::before, *::after {
        animation: none !important;
        transition: none !important;
      }
    ` });

    await element.screenshot({ path: outputPath, type: 'png' });
  } finally {
    await browser.close();
  }
}

await captureDiv('https://example.com', '#card', 'card.png');
7. Troubleshooting
| Error or symptom | Cause | Fix |
|---|---|---|
| Timeout waiting for selector | The selector is wrong, the page is slow, or content is client-rendered. | Verify the selector in DevTools, wait for a readiness state, increase the timeout deliberately, and log the final URL. |
| Element is not visible | The node is hidden, off-canvas, zero-size, or covered by a stateful component. | Use { visible: true }, inspect computed styles, wait for the open state, and check boundingBox(). |
| Node is detached from document | A framework replaced the element between lookup and capture. | Wait for the UI to settle, reacquire the handle immediately before capture, and avoid keeping stale handles. |
| Blank or incomplete image | Fonts, images, or application data were still loading. | Wait for document.fonts.ready, image decoding, and a page-specific ready condition. |
| Different size on each run | Viewport, device scale, responsive layout, or font loading differs. | Set the viewport explicitly, use a fixed browser version, and wait for fonts. |
| Network idle never arrives | Analytics, polling, WebSockets, or advertisements keep requests active. | Use domcontentloaded plus a selector or readiness check instead of relying only on networkidle0. |
| Clip is shifted | Coordinates were calculated before scrolling or after layout changed. | Call boundingBox() immediately before page.screenshot() and avoid layout mutations afterward. |
| Browser fails to launch | Missing shared libraries, sandbox restrictions, or an incompatible executable. | Install the required container packages, use the browser downloaded by Puppeteer, and configure an explicit executable path only when necessary. |
8. Performance, reliability, and cost
Launching a browser is expensive compared with reusing one. For multiple URLs, launch one browser, create isolated pages, and close each page after capture. Limit concurrency so CPU and memory remain predictable. Reuse a page only when you can reliably clear cookies, storage, service workers, and application state.
Keep screenshots focused. Element captures are generally smaller and faster than full-page captures, especially on long documents. Use PNG for pixel fidelity, WebP or JPEG when transfer size matters, and avoid waiting for unrelated page resources.
For reliable automation, record the URL, selector, viewport, browser version, wait condition, and capture duration. Retry navigation failures with a limit and capture diagnostic HTML or a viewport screenshot when a target cannot be found. Do not retry a deterministic selector error indefinitely.
Self-hosted Puppeteer costs the compute, memory, browser maintenance, and operational time of running Chromium. A screenshot API can move that setup out of your application.
9. Or skip the browser setup
ScreenshotNeo provides a website screenshot API and MCP server. It can capture one element by CSS selector, along with full pages, custom viewports, dark mode, retina scale, custom CSS and JavaScript, click actions, waits, blocked resource types, cookies, headers, geolocation, caching, signed links, asynchronous jobs, bulk capture, PDFs, and HTML/CSS to image. See the ScreenshotNeo API documentation for the complete option list.

The basic request returns an image or PDF. Add the element selector with the API’s selector parameter when you want the div rather than the whole page.
curl -G 'https://api.screenshotneo.com/v1/shot' \
  -d access_key=YOUR_API_KEY \
  --data-urlencode url=https://example.com \
  -d selector='#card' \
  -o card.webp
import requests
r = requests.get(
'https://api.screenshotneo.com/v1/shot',
params={
'access_key': 'YOUR_API_KEY',
'url': 'https://example.com',
'selector': '#card'
},
timeout=90
)
r.raise_for_status()
open('card.webp', 'wb').write(r.content)
const q = new URLSearchParams({
  access_key: 'YOUR_API_KEY',
  url: 'https://example.com',
  selector: '#card'
});
const res = await fetch(`https://api.screenshotneo.com/v1/shot?${q}`);
if (!res.ok) throw new Error(`Screenshot failed: ${res.status}`);
const data = new Uint8Array(await res.arrayBuffer());
await Bun.write('card.webp', data);
Cookie banners, newsletter popups, and chat widgets are removed before the shot. Bot checks, blank pages, timeouts, failed loads, and cache hits are never billed, and response headers identify the page verdict and whether it was billed. An MCP server lets Claude, Cursor, and other MCP clients call take_screenshot, get_page_info, and capture_pdf. The Free plan includes 1,000 screenshots each month with no card; paid plans start at $5 for 3,000 shots. Create a free ScreenshotNeo account.
10. FAQ
Does Puppeteer capture an element that is below the fold?
Yes. elementHandle.screenshot() scrolls the element into view before capturing it.
Should I use fullPage for a div?
No. Use the element method for one div. fullPage captures the entire document.
Can I return the screenshot without writing a file?
Yes. Omit path to receive a Uint8Array, or request base64 encoding when that format suits your transport.
Why is my element screenshot empty?
Check visibility, dimensions, detached handles, pending fonts or images, and whether the content is inside an iframe or shadow root.
When is a bounding-box clip preferable?
Use it when you need padding, a custom crop, or coordinates shared with another capture system. Otherwise, the element method has fewer moving parts.


