How to Capture a DOM Node Screenshot in JavaScript
Capture one DOM element as an image with html2canvas, Playwright, or CDP. Learn fidelity limits, cross-origin fixes, server-side code, and automation tips.
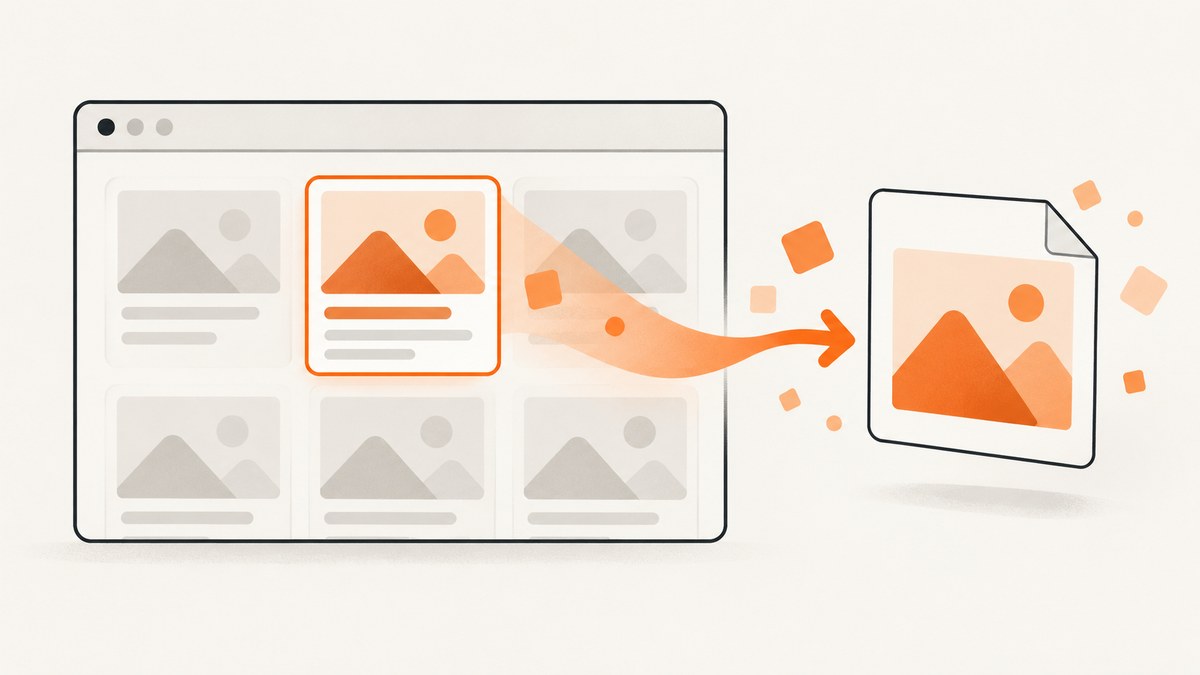
Short answer: use html2canvas in a browser when you want a client-side image reconstructed from DOM and CSS. Use Playwright when you need pixels from a real browser, especially in Node.js or automated tests. Use the Chrome DevTools Protocol when you need a lower-level clipped capture. These approaches are not equivalent: html2canvas rebuilds an image from readable DOM information, while browser automation captures the rendered element region.
For a single card, chart, or div, first give the element a reliable selector:
<div id="invoice-card" class="invoice-card">
  <h2>Invoice #1042</h2>
  <p>Total: $128.00</p>
</div>
1. Choose the right capture method
| Need | Start with | What to know |
|---|---|---|
| Generate an image in an existing page | html2canvas | It reconstructs from DOM and style information, so unsupported CSS and unreadable resources can differ from the browser’s actual pixels. |
| Capture a test artifact or server-side image | Playwright locator screenshot | The locator is scrolled into view and actionability checks run before capture. Overlays and the current scroll position of a scroll container affect the result. |
| Capture a clipped browser region through a protocol client | Chrome DevTools Protocol Page.captureScreenshot |
The response contains base64-encoded PNG, JPEG, or WebP data and accepts a clip rectangle. |
| Render on a server | Playwright or Puppeteer | html2canvas expects browser globals such as window and document; it does not run directly in Node.js. |
Use the html2canvas documentation for its rendering model and browser support, the Playwright screenshots guide for automation examples, and the CDP Page domain reference for protocol fields.
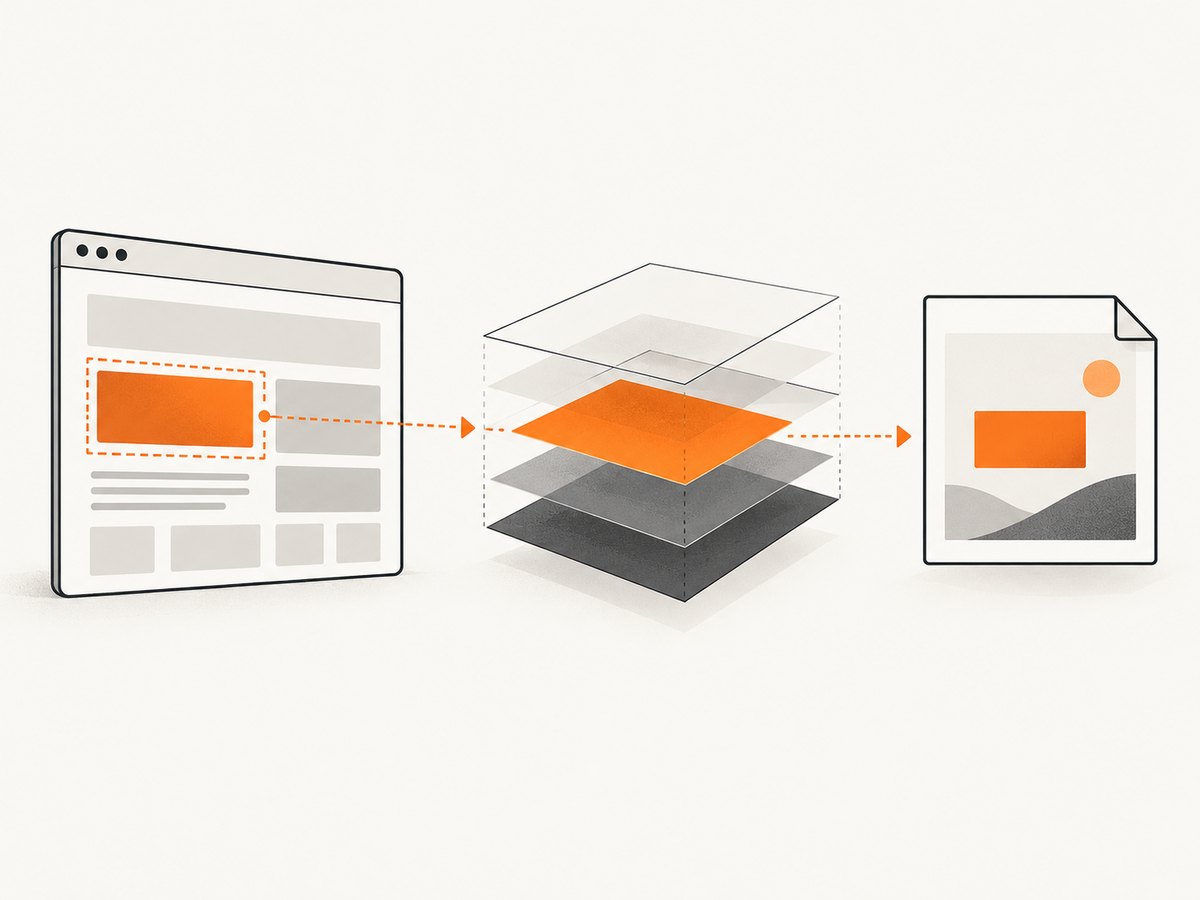
2. Capture a node in the browser with html2canvas
Install or load html2canvas, select the node, await the returned canvas, then convert it to a downloadable image or a data URL:
<button id="save-card">Save card</button>
<script src="https://cdn.jsdelivr.net/npm/html2canvas@1.4.1/dist/html2canvas.min.js"></script>
<script>
  const button = document.querySelector('#save-card');
  const node = document.querySelector('#invoice-card');

  button.addEventListener('click', async () => {
    if (!node) throw new Error('The target node was not found');

    const canvas = await html2canvas(node, {
      backgroundColor: '#ffffff',
      scale: window.devicePixelRatio,
      useCORS: true,
      imageTimeout: 15000,
      logging: false
    });

    const link = document.createElement('a');
    link.download = 'invoice-card.png';
    link.href = canvas.toDataURL('image/png');
    link.click();
  });
</script>
For a byte buffer instead of a download, use canvas.toBlob():
const canvas = await html2canvas(document.querySelector('#invoice-card'));
const blob = await new Promise(resolve => canvas.toBlob(resolve, 'image/png'));
if (!blob) throw new Error('The canvas could not be encoded');
const bytes = await blob.arrayBuffer();
await fetch('/upload', {
  method: 'POST',
  headers: {'Content-Type': 'image/png'},
  body: bytes
});
html2canvas explicitly says its output is based on the DOM and “may not be 100% accurate to the real representation” because it builds the image from information available on the page. That makes it useful for many cards and reports, but it is not a native screenshot of the browser compositor.
Useful html2canvas options
| Option | Use |
|---|---|
scale |
Increase output pixel density, commonly with window.devicePixelRatio. |
backgroundColor |
Set a solid background; use null when transparency is required. |
useCORS |
Ask image requests to use CORS where the image server permits it. |
allowTaint |
Allow cross-origin content to taint the canvas. A tainted canvas cannot later be read with toDataURL or toBlob, so this is rarely suitable for exports. |
proxy |
Route images through a same-origin proxy when your application has one. |
imageTimeout |
Stop waiting for an image after a defined number of milliseconds. |
windowWidth, windowHeight |
Set the virtual viewport used while rebuilding the node. |
scrollX, scrollY |
Control the scroll offsets used during rendering. |
x, y, width, height |
Restrict the rendered region when you need a crop. |
foreignObjectRendering |
Try the browser’s foreignObject path when supported; verify output across your target browsers. |
onclone |
Adjust the cloned document before rendering, for example to hide a blinking cursor or expand a collapsed section. |
ignoreElements |
Skip known overlays, controls, or animation elements. |
Wait for fonts, images, and charts
await document.fonts.ready;
await Promise.all(
  [...document.images].filter(img => !img.complete).map(img =>
    new Promise(resolve => {
      img.addEventListener('load', resolve, {once: true});
      img.addEventListener('error', resolve, {once: true});
    })
  )
);

const chart = document.querySelector('#chart');
const canvas = await html2canvas(chart, {scale: 2});
If a chart is painted asynchronously, wait for the chart library’s own “ready” event before calling html2canvas. Freeze animations in an onclone callback or with a temporary class so the capture is deterministic.
3. Cross-origin images, iframes, and canvas security
html2canvas can only read image data that the browser makes available to the page. Its documentation requires same-origin images unless a proxy assists. Cross-origin iframes cannot be rendered because their contentDocument is inaccessible; sandboxed frames without allow-same-origin have the same limitation.
When a canvas contains unreadable cross-origin pixels, the browser marks it as tainted. Reading it with toDataURL or toBlob then fails. Fix the source rather than suppressing the error:
- Serve the image from the same origin as the page.
- Configure the image server’s CORS response and use
useCORS: true. - Fetch the asset through a controlled server-side proxy and pass the proxy URL to html2canvas.
- Replace the asset with an inline data URL when that is appropriate for your application.
Do not expect a page script to read the contents of a third-party iframe. Capture that frame from its own origin or use browser automation at the page level.
4. Capture the rendered element with Playwright
Playwright is the better starting point when the requirement is “what the browser actually displayed,” or when the capture runs in Node.js. The locator screenshot API scrolls the element into view, performs actionability checks, captures the element region, and returns image bytes.
import { chromium } from 'playwright';

const browser = await chromium.launch();
const page = await browser.newPage({
  viewport: {width: 1440, height: 900},
  deviceScaleFactor: 2
});

await page.goto('https://example.com/dashboard', {waitUntil: 'networkidle'});
const card = page.locator('#invoice-card');
await card.waitFor({state: 'visible'});
await card.screenshot({path: 'invoice-card.png', type: 'png'});

await browser.close();
For a buffer rather than a file:
const png = await page.locator('#invoice-card').screenshot({
  type: 'png',
  animations: 'disabled'
});
// png is a Buffer; send it to object storage or an HTTP endpoint.
Common Playwright controls include type (png, jpeg or webp where supported), quality for JPEG/WebP, timeout, omitBackground, and animations. Use the options supported by the Playwright version installed in your project.
Playwright edge cases
- An element covered by a fixed header, cookie banner, modal, or chat widget remains covered in the image. Hide or dismiss the overlay before capture.
- A scrollable element contributes the content at its current scroll position. Scroll it deliberately if you need a particular portion.
- The locator must remain attached to the DOM until the screenshot finishes. Framework rerenders can detach it; wait for the final state and locate again.
- Use a stable role, test id, or id selector instead of a brittle generated class.
5. Capture a clipped region with Chrome DevTools Protocol
CDP is useful when you already control a Chromium debugging session and want a low-level clip rectangle. Page.captureScreenshot returns base64-encoded image data.
import { chromium } from 'playwright';
import fs from 'node:fs/promises';

const browser = await chromium.launch();
const page = await browser.newPage({viewport: {width: 1280, height: 800}});
await page.goto('https://example.com', {waitUntil: 'networkidle'});

const box = await page.locator('#invoice-card').boundingBox();
if (!box) throw new Error('The element is not visible');

const client = await page.context().newCDPSession(page);
const result = await client.send('Page.captureScreenshot', {
  format: 'png',
  captureBeyondViewport: false,
  clip: {x: box.x, y: box.y, width: box.width, height: box.height, scale: 1}
});
await fs.writeFile('invoice-card.png', Buffer.from(result.data, 'base64'));
await browser.close();
CDP coordinates describe the page viewport. Recalculate the bounding box after scrolling or layout changes, and account for the device scale you want in the clip.
6. “DOM screenshot” versus real pixels
| Question | html2canvas | Playwright/CDP |
|---|---|---|
| Captures compositor pixels? | No; it reconstructs from DOM information. | Yes, from a browser-rendered page region. |
| Runs in a normal page? | Yes. | Usually from automation code controlling a browser. |
| Runs directly in Node.js? | No. | Yes, with a browser runtime. |
| Cross-origin iframe access | Blocked by browser security. | Still subject to origin and authentication boundaries. |
| Best fit | Client-side exports where approximate fidelity is acceptable. | Visual tests, server-side rendering, and pixel fidelity. |
7. Or skip the browser setup
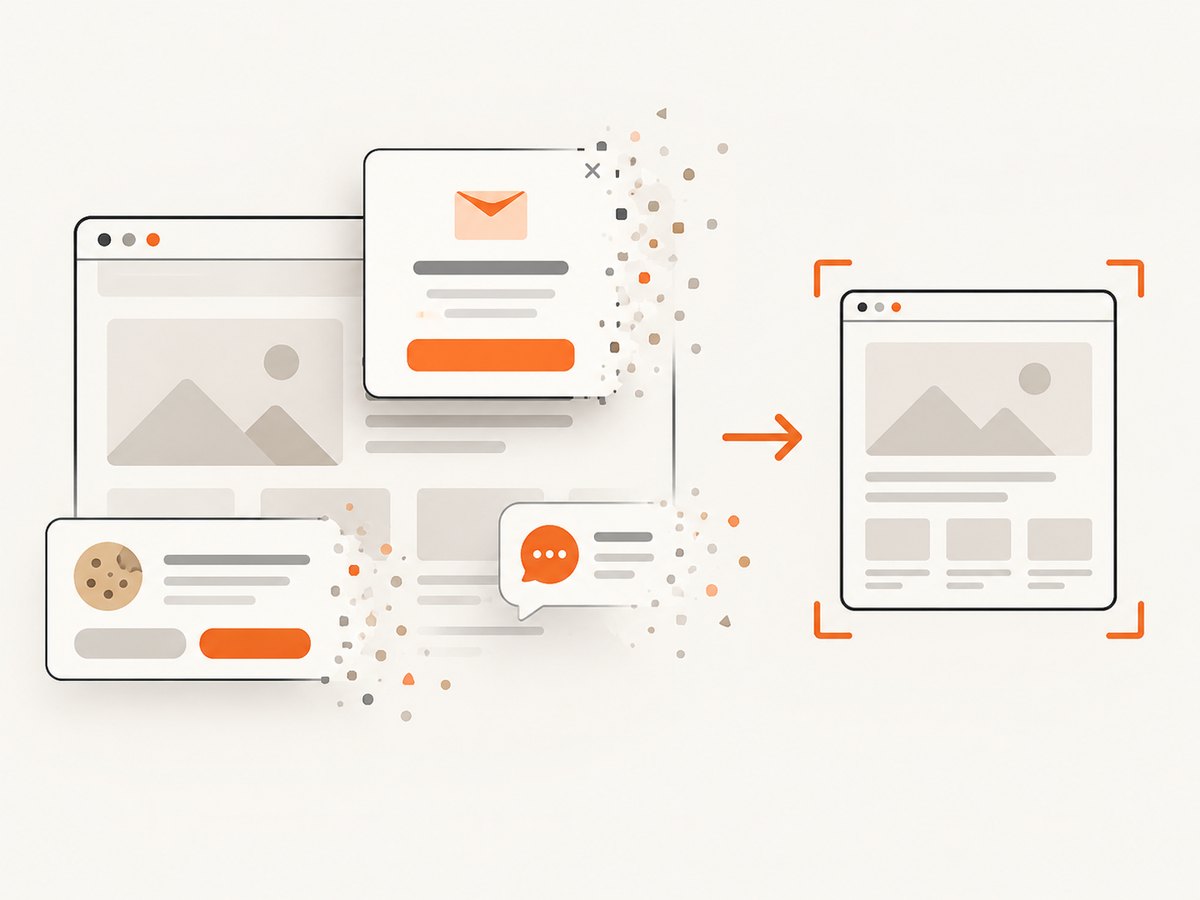
ScreenshotNeo provides a website screenshot API and MCP server. To capture one element, send its CSS selector with the API’s element option; the service handles the browser session for you. See the ScreenshotNeo API documentation for the current parameter names and examples.
curl -G "https://api.screenshotneo.com/v1/shot" \
  -d access_key=YOUR_API_KEY \
  --data-urlencode url=https://example.com/dashboard \
  --data-urlencode selector="#invoice-card" \
  -o invoice-card.webp
import requests
r = requests.get(
"https://api.screenshotneo.com/v1/shot",
params={
"access_key": "YOUR_API_KEY",
"url": "https://example.com/dashboard",
"selector": "#invoice-card",
},
timeout=90,
)
r.raise_for_status()
open("invoice-card.webp", "wb").write(r.content)const q = new URLSearchParams({
access_key: 'YOUR_API_KEY',
url: 'https://example.com/dashboard',
selector: '#invoice-card'
});
const res = await fetch(`https://api.screenshotneo.com/v1/shot?${q}`);
if (!res.ok) throw new Error(`Screenshot failed: ${res.status}`);
const bytes = Buffer.from(await res.arrayBuffer());
await import('node:fs/promises').then(fs => fs.writeFile('invoice-card.webp', bytes));ScreenshotNeo removes cookie and consent banners, newsletter popups, and chat widgets before capture. Bot checks, blank pages, failed loads, timeouts, and cache hits are not billed, and the response reports the page verdict and billing result in X-Page-Verdict and X-Billed headers. Its MCP server exposes take_screenshot, get_page_info, and capture_pdf for Claude, Cursor, and other MCP clients. The free plan includes 1,000 screenshots per month without a card; paid plans start at $5 for 3,000 screenshots. Create a free ScreenshotNeo account.
8. Troubleshooting checklist
| Symptom | Likely cause | Fix |
|---|---|---|
| Missing external images | Cross-origin response lacks readable CORS headers. | Use same-origin assets, configure CORS, or add a proxy. |
SecurityError when exporting |
The canvas is tainted. | Remove unreadable resources and capture again; allowTaint does not make the pixels exportable. |
| Third-party iframe is blank | The frame’s contentDocument is inaccessible. |
Capture from the frame’s own origin or use browser automation with valid access. |
| Fonts or icons differ | Web fonts or icon assets were not ready. | Wait for document.fonts.ready and for image requests before capture. |
| Playwright says the locator is not actionable | The node is hidden, moving, detached, or covered. | Wait for the final UI state, hide overlays, and use a stable locator. |
| Only part of a scroll area appears | Element screenshots show the currently scrolled content. | Scroll the container intentionally or capture a full-page layout designed for export. |
| Blank or bot-check page from an API | The target site blocked automation or did not finish loading. | Inspect the response verdict headers, retry only when appropriate, and avoid treating a failed load as a successful image. |
| Huge, slow files | High scale, large node dimensions, or unoptimized images. | Limit the node size, choose a suitable format, lower scale, and resize after capture when needed. |
9. Performance, reliability, and cost
- Wait precisely: prefer a specific selector, chart-ready event, or font-ready promise over an arbitrary long delay.
- Control pixels: a two-times scale produces four times as many pixels as one-times scale. Use it only when the consuming display needs the density.
- Keep captures bounded: very large nodes consume browser memory and make PNG encoding expensive. Crop to the target node and resize when appropriate.
- Make output deterministic: disable animations, freeze timestamps and random data, set a fixed viewport, and use a consistent timezone and locale.
- Retry carefully: retry navigation and transient network failures, but do not silently accept a blank, CAPTCHA, or partially rendered result.
- Cache deliberate work: if the page and selector are unchanged, cache the resulting bytes or use a screenshot service’s cache controls.
- Estimate API cost from clean captures: ScreenshotNeo bills only clean shots; failed loads, bot checks, blank pages, timeouts, and cache hits are free. Check
X-Billedrather than assuming every HTTP response is billable.
10. FAQ
Can I screenshot a DOM node without a library?
Not as a general cross-browser image export. The browser does not expose a simple DOM-node-to-PNG API. You can use html2canvas for a client-side reconstruction or browser automation/CDP for rendered pixels.
Why does html2canvas look different from a normal screenshot?
It rebuilds the appearance from DOM information instead of taking the browser’s actual rendered pixels. Unsupported CSS, fonts, filters, and unreadable resources can change the result.
Can html2canvas capture a cross-origin iframe?
No. Browser same-origin rules prevent access to a third-party frame’s document.
Should I use Playwright or Puppeteer on a server?
Either browser automation approach can render a real page. Choose the one that matches your existing test and deployment stack; html2canvas itself expects browser APIs and is not a Node.js renderer.
What format should I choose?
PNG preserves sharp text and transparency. JPEG is smaller for photographic content but loses transparency. WebP can reduce size when your consumer supports it. Verify the format accepted by the next system in your pipeline.
How do I capture a private page?
With Playwright, authenticate the browser context before navigation. With an API, use the service’s supported custom headers, cookies, user agent, or Authorization options and protect those credentials.


