How to Capture Dynamically Generated Content with html2canvas
Wait for async rendering, capture the right element, handle CORS and export a canvas reliably with html2canvas.
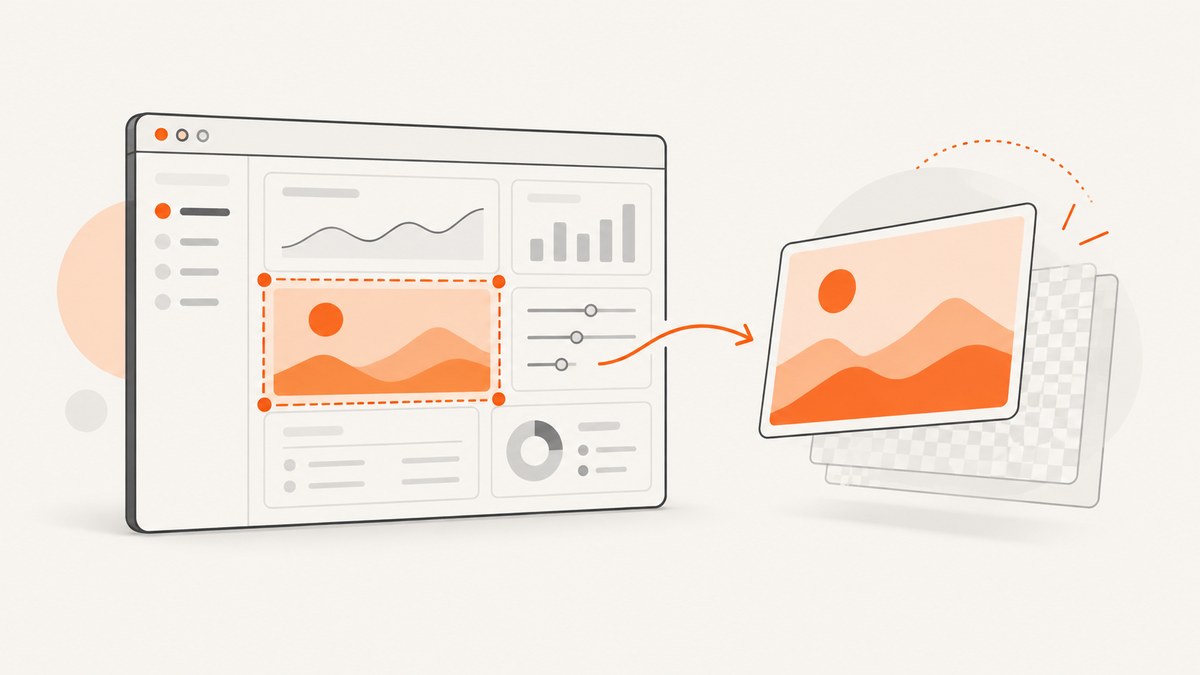
Direct answer: call html2canvas() only after your application has rendered the state you want, pass the specific element to capture, wait for the returned Promise, then export the canvas. Use onclone for capture-only DOM changes, useCORS or a proxy for images that allow cross-origin access, and tune viewport and scale settings for large content. html2canvas reconstructs an image from DOM and CSS data; it is not a pixel-perfect screenshot of the browser.
This guide shows a complete browser implementation, explains every option that matters for dynamic interfaces, and maps common failures to fixes. The examples follow the API described in the html2canvas documentation.
1. Install and load html2canvas
For a browser application, install the package with npm:
npm install html2canvasThen import it from your application code:
import html2canvas from 'html2canvas';For a page without a bundler, load the browser build:
<script src="https://html2canvas.hertzen.com/dist/html2canvas.min.js"></script>The library depends on browser APIs and is not intended to run directly in Node.js. For server-side image generation, use browser automation such as Puppeteer or Playwright, as the project FAQ explains.
2. Capture a dynamically rendered element
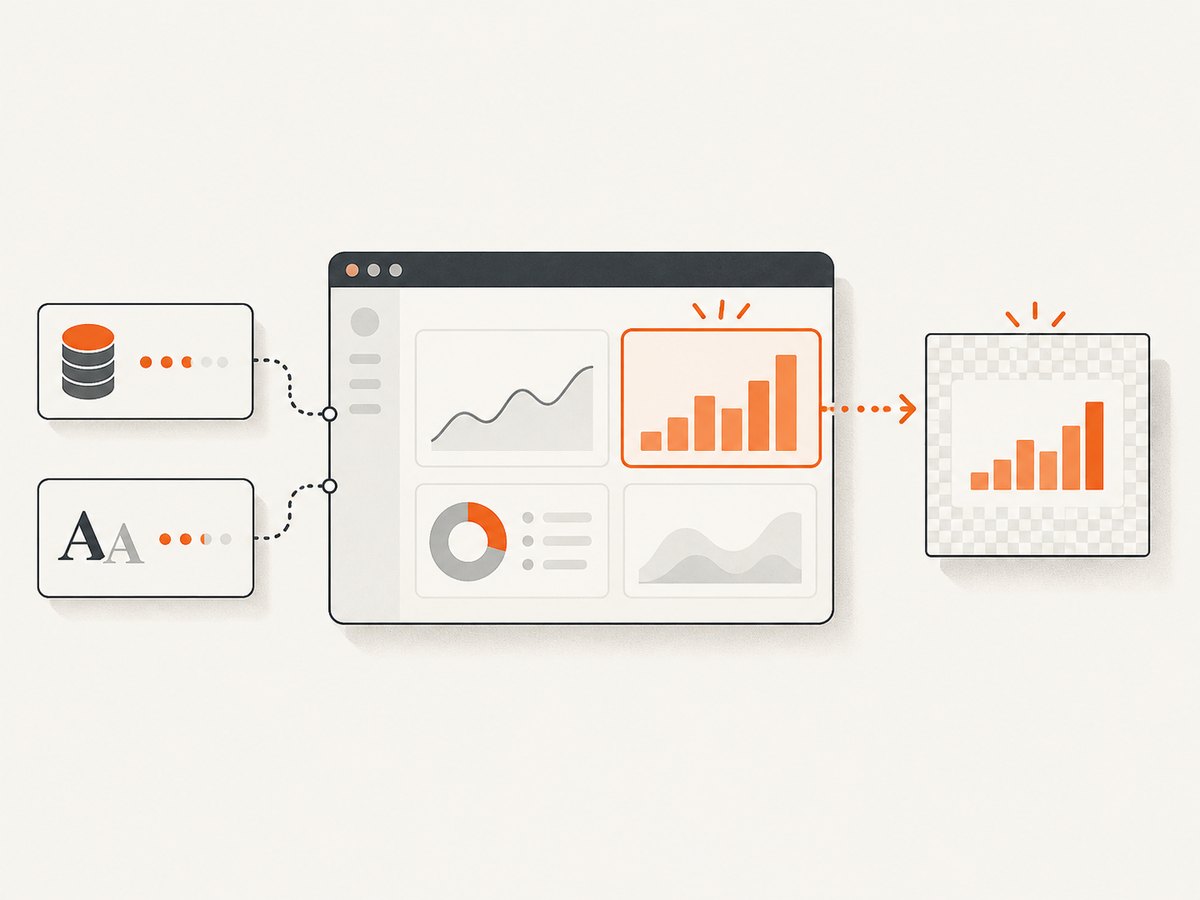
The important part is the readiness signal. A fixed setTimeout can be too early on a slow connection and unnecessarily late on a fast one. Connect capture to the Promise, event, or state transition that your application already uses when data and important assets are ready.
import html2canvas from 'html2canvas';

async function captureReport() {
  const target = document.querySelector('#report');
  if (!target) {
    throw new Error('Could not find #report');
  }

  // This must represent your app's real completion signal.
  await reportReady;

  const canvas = await html2canvas(target, {
    onclone(clonedDocument) {
      clonedDocument.querySelector('.capture-controls')?.remove();
    },
    useCORS: true,
    backgroundColor: '#ffffff'
  });

  const blob = await new Promise((resolve) =>
    canvas.toBlob(resolve, 'image/png')
  );

  if (!blob) {
    throw new Error('The browser could not create an image blob');
  }

  const downloadUrl = URL.createObjectURL(blob);
  const link = document.createElement('a');
  link.href = downloadUrl;
  link.download = 'report.png';
  link.click();
  URL.revokeObjectURL(downloadUrl);

  return canvas;
}
await html2canvas(...) matters: the function returns a Promise, and exporting before it resolves can produce incomplete output.
3. Wait for application data, fonts and images
Dynamic content can arrive through fetch requests, framework state updates, image loads, web fonts, or animations. Capture after the intended state has committed to the DOM.
React example
import { useEffect, useRef, useState } from 'react';
import html2canvas from 'html2canvas';

export function Report() {
  const reportRef = useRef(null);
  const [rows, setRows] = useState(null);

  useEffect(() => {
    fetch('/api/report')
      .then((response) => response.json())
      .then(setRows);
  }, []);

  async function saveImage() {
    if (!reportRef.current || !rows) return;
    if (document.fonts?.ready) await document.fonts.ready;
    await waitForImages(reportRef.current);

    const canvas = await html2canvas(reportRef.current, {
      useCORS: true,
      onclone(clone) {
        clone.querySelector('[data-capture-button]')?.remove();
      }
    });

    canvas.toBlob((blob) => {
      if (!blob) return;
      const url = URL.createObjectURL(blob);
      const a = document.createElement('a');
      a.href = url;
      a.download = 'report.png';
      a.click();
      URL.revokeObjectURL(url);
    }, 'image/png');
  }

  if (!rows) return <p>Loading…</p>;

  return (
    <>
      <section ref={reportRef} id="report">
        {rows.map((row) => <div key={row.id}>{row.label}: {row.value}</div>)}
      </section>
      <button data-capture-button onClick={saveImage}>Save image</button>
    </>
  );
}

function waitForImages(root) {
  return Promise.all([...root.querySelectorAll('img')].map((img) => {
    if (img.complete) return Promise.resolve();
    return new Promise((resolve) => {
      img.addEventListener('load', resolve, { once: true });
      img.addEventListener('error', resolve, { once: true });
    });
  }));
}
Vanilla JavaScript example
async function updateAndCapture() {
  const response = await fetch('/api/chart');
  const data = await response.json();
  renderChart(data); // updates #chart synchronously in this example

  await new Promise(requestAnimationFrame);
  await document.fonts?.ready;
  const canvas = await html2canvas(document.querySelector('#chart'));
  return canvas.toDataURL('image/png');
}
For a framework that batches updates, wait for its next render cycle or expose an explicit “render complete” Promise. If content is continuously animated, pause the animation or capture at a known frame.
4. Select the right region
Pass an element instead of the whole document when the user needs one component:
const card = document.querySelector('.invoice-card');
const canvas = await html2canvas(card, {
  width: card.scrollWidth,
  height: card.scrollHeight
});
To exclude an element, add the documented marker:
<button data-html2canvas-ignore>Edit</button>This is useful for controls, focus rings, loading indicators, or debug overlays that should not appear in the exported image.
5. Prepare a clean clone with onclone
onclone receives the cloned document used for rendering. Changes there do not modify the live page.

const canvas = await html2canvas(document.querySelector('#dashboard'), {
  onclone(clone) {
    clone.querySelectorAll('.toast, .chat-widget, .capture-toolbar')
      .forEach((node) => node.remove());

    const dashboard = clone.querySelector('#dashboard');
    if (dashboard) {
      dashboard.style.boxShadow = 'none';
      dashboard.style.animation = 'none';
    }
  }
});
Use this hook for capture-only layout adjustments, hiding transient UI, or disabling animation. Keep the changes limited to the cloned document so normal interaction remains unchanged.
6. Cross-origin images, CORS and iframes
Browsers enforce origin rules. useCORS: true asks the browser to load images with CORS, but the remote server must return an authorizing CORS header. html2canvas cannot bypass that policy.
const canvas = await html2canvas(target, {
  useCORS: true,
  proxy: 'https://your-trusted-proxy.example/canvas-resource'
});
Use a proxy only when you control or trust it and it is configured for the resources your page needs. allowTaint does not make a tainted canvas exportable; a canvas containing blocked cross-origin pixels may fail when calling toBlob() or toDataURL().
Same-origin iframe content can be traversed recursively. Cross-origin iframe contents are inaccessible to page JavaScript, and sandboxed frames without allow-same-origin are similarly restricted. Capture the frame from its own origin or use a browser automation workflow with appropriate permissions.
7. Important configuration options
| Option | Use | Notes |
|---|---|---|
onclone |
Modify the cloned document | Ideal for hiding controls or applying capture-only styles. |
useCORS |
Attempt CORS image loading | Works only when the asset server allows the request. |
proxy |
Load remote resources through a proxy | Requires a correctly configured, trusted proxy. |
scale |
Set output pixel density | Defaults to device pixel ratio; higher values increase memory use. |
width, height |
Set capture dimensions | Useful for a component or a deliberate crop. |
windowWidth, windowHeight |
Set the rendering viewport | Affects media queries and responsive layout. |
backgroundColor |
Choose the canvas background | Use a color or null for transparency where supported. |
data-html2canvas-ignore |
Exclude an element | Add the attribute in markup. |
Check the current configuration reference for exact defaults because library versions can change.
8. Full-page and large-element captures
For a document-sized capture, use the element’s scroll dimensions and matching viewport options:
const canvas = await html2canvas(document.documentElement, {
  width: document.documentElement.scrollWidth,
  height: document.documentElement.scrollHeight,
  windowWidth: document.documentElement.scrollWidth,
  windowHeight: document.documentElement.scrollHeight,
  scale: 1
});
Very large canvases can exceed browser or platform limits. Symptoms include clipping, a blank result, or failure during export. Reduce scale, capture sections separately, or render a smaller target. Browser limits vary, so avoid hard-coding one maximum dimension.
9. CSS fidelity and the screenshot boundary
html2canvas reads the DOM and supported computed styles, then paints its own canvas. It does not copy the browser’s final pixels. Unsupported CSS, complex filters, blending, some pseudo-elements, video frames, and browser chrome can differ from what users see. Review the project’s supported features before depending on a particular effect.
If a style is not reproduced, simplify it for the cloned document, provide a fallback style, or choose a pixel capture method. For a true browser screenshot or server-side output, the FAQ points to browser extension screenshot APIs and Puppeteer or Playwright.
10. Export formats and download handling
// PNG, lossless and suitable for text
canvas.toBlob(saveBlob, 'image/png');

// JPEG, smaller for photographic content
canvas.toBlob(saveBlob, 'image/jpeg', 0.85);

function saveBlob(blob) {
  if (!blob) throw new Error('Export failed');
  const url = URL.createObjectURL(blob);
  const link = document.createElement('a');
  link.href = url;
  link.download = 'capture.jpg';
  link.click();
  URL.revokeObjectURL(url);
}
Use PNG for sharp UI text and transparency, and JPEG when a smaller file matters more than lossless edges. WebP support depends on the browser; request it with canvas.toBlob() and provide a fallback if needed.
11. Troubleshooting checklist
| Symptom | Likely cause | Fix |
|---|---|---|
| New data is missing | Capture ran before the async update committed | Await the data/render completion signal, then wait for a render frame. |
| A selector returns nothing | Wrong selector or element not mounted | Check querySelector, component lifecycle, and conditional rendering. |
| Remote images are absent | Missing CORS permission | Enable useCORS and configure the asset server, or use a trusted proxy. |
toDataURL or toBlob fails |
Canvas is tainted by cross-origin pixels | Fix CORS or remove those assets; allowTaint does not make export safe. |
| Iframe content is blank | Frame is cross-origin or sandboxed | Capture within the frame’s origin or use browser automation. |
| CSS looks different | Property is unsupported or reconstructed differently | Check the supported-feature list and adjust styles in onclone. |
| Output is clipped | Viewport or element dimensions are too small | Set width/height and window dimensions from scroll sizes. |
| Output is blank or crashes | Canvas exceeds browser memory or size limits | Lower scale, reduce dimensions, or capture sections. |
| Fonts differ | Web fonts have not loaded | Await document.fonts.ready before capture. |
Node.js error such as document is not defined |
Running a browser-only library on the server | Use Puppeteer or Playwright for server-side screenshots. |
12. Performance, reliability and cost considerations
- Capture the smallest element that answers the requirement; full documents require more DOM traversal and memory.
- Use the lowest acceptable
scale. Device-pixel-ratio defaults can create very large canvases on high-density displays. - Wait for real readiness signals instead of long arbitrary delays. This reduces both race conditions and wasted waiting.
- Pause animations and remove expensive transient widgets in
onclone. - Handle image errors so one failed asset does not block your entire UI workflow.
- Release object URLs after downloads and avoid retaining large canvas objects longer than necessary.
- For repeated captures, debounce requests and consider whether a server-side or native browser screenshot is a better fit.
html2canvas runs in the user’s browser, so there is no API request charge from the library itself. Your costs are browser CPU, memory, bandwidth for assets, and any infrastructure used for a proxy or alternative rendering service.
13. Or skip the browser setup
If you need a clean screenshot from a URL instead of reconstructing a DOM in the user’s browser, ScreenshotNeo provides a GET endpoint that returns PNG, JPEG, WebP, or PDF. See the ScreenshotNeo API documentation.
curl -G "https://api.screenshotneo.com/v1/shot" -d access_key=YOUR_API_KEY --data-urlencode url=https://stripe.com -o shot.webpimport requests
r = requests.get("https://api.screenshotneo.com/v1/shot", params={"access_key": "YOUR_API_KEY", "url": "https://stripe.com"}, timeout=90)
open("shot.webp", "wb").write(r.content)const q = new URLSearchParams({ access_key: 'YOUR_API_KEY', url: 'https://stripe.com' });
const res = await fetch(`https://api.screenshotneo.com/v1/shot?${q}`);ScreenshotNeo removes cookie banners, newsletter popups and chat widgets before capture. Bot checks, blank pages and failed loads are never billed, and response headers identify the page verdict and whether it was billed. Its MCP server lets AI agents use take_screenshot, get_page_info and capture_pdf. The Free plan includes 1,000 screenshots each month with no card; paid plans start at $5 for 3,000 shots. Sign up for the free plan.
14. FAQ
Does html2canvas take a real screenshot?
No. It reconstructs an image from DOM and style information, so fidelity depends on supported properties and browser security rules.
Can I capture content after a button click?
Yes. Perform the click, await the state update and relevant resources, then call html2canvas.
Can html2canvas capture a cross-origin website?
Not freely. Images need CORS permission or a proxy, and cross-origin iframe contents remain inaccessible.
Is html2canvas suitable for Node.js?
No. It expects browser APIs. Use Puppeteer or Playwright for server-side browser rendering.
Why is my transparent background white?
Set an appropriate transparent background option where supported and verify that the target’s own CSS does not paint a background.
When should I choose ScreenshotNeo?
Choose it when you want a URL-based screenshot or PDF without shipping browser capture code, especially when cookie banners, popups, failed pages, billing behavior, or AI-agent access matter.


