How to Capture a Form with html2canvas on Submit
Capture a form when it is submitted, export the result as an image, and handle live field values, cross-origin images, styling, and browser limits.
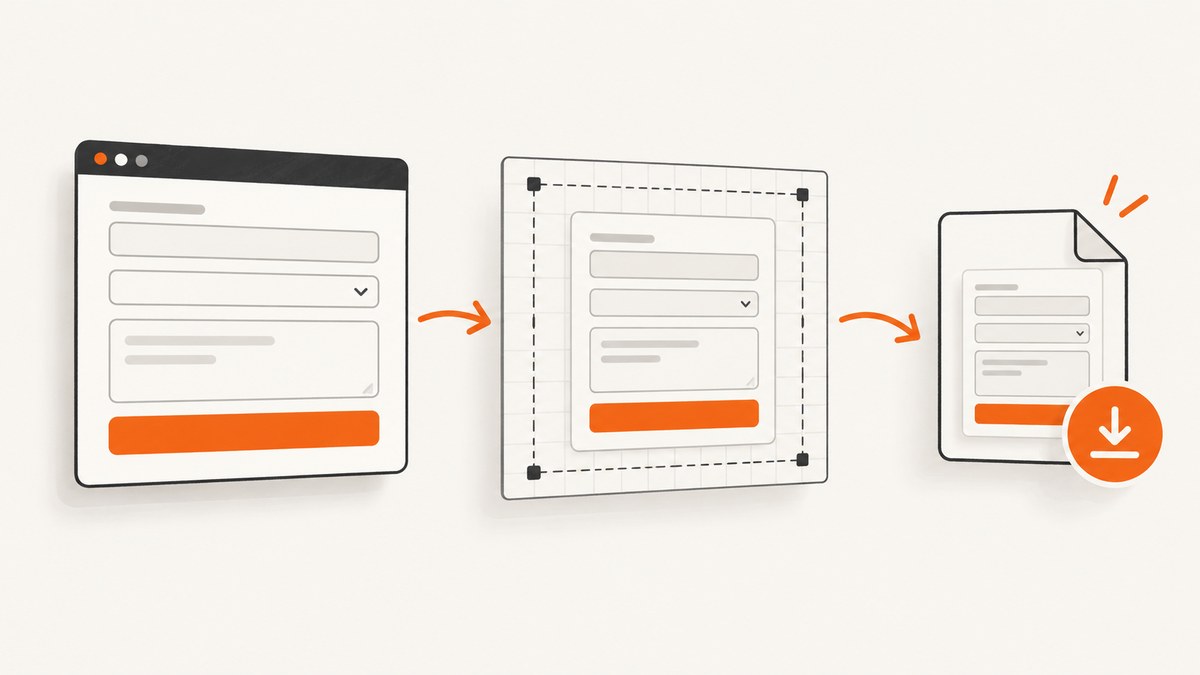
To capture a form with html2canvas when it is submitted, listen for the form’s submit event, call event.preventDefault() if the page should stay in place, and pass the element you want to render to html2canvas. The call returns a Promise that resolves to a canvas. Export that canvas with toBlob() or toDataURL(), then display it or download it.
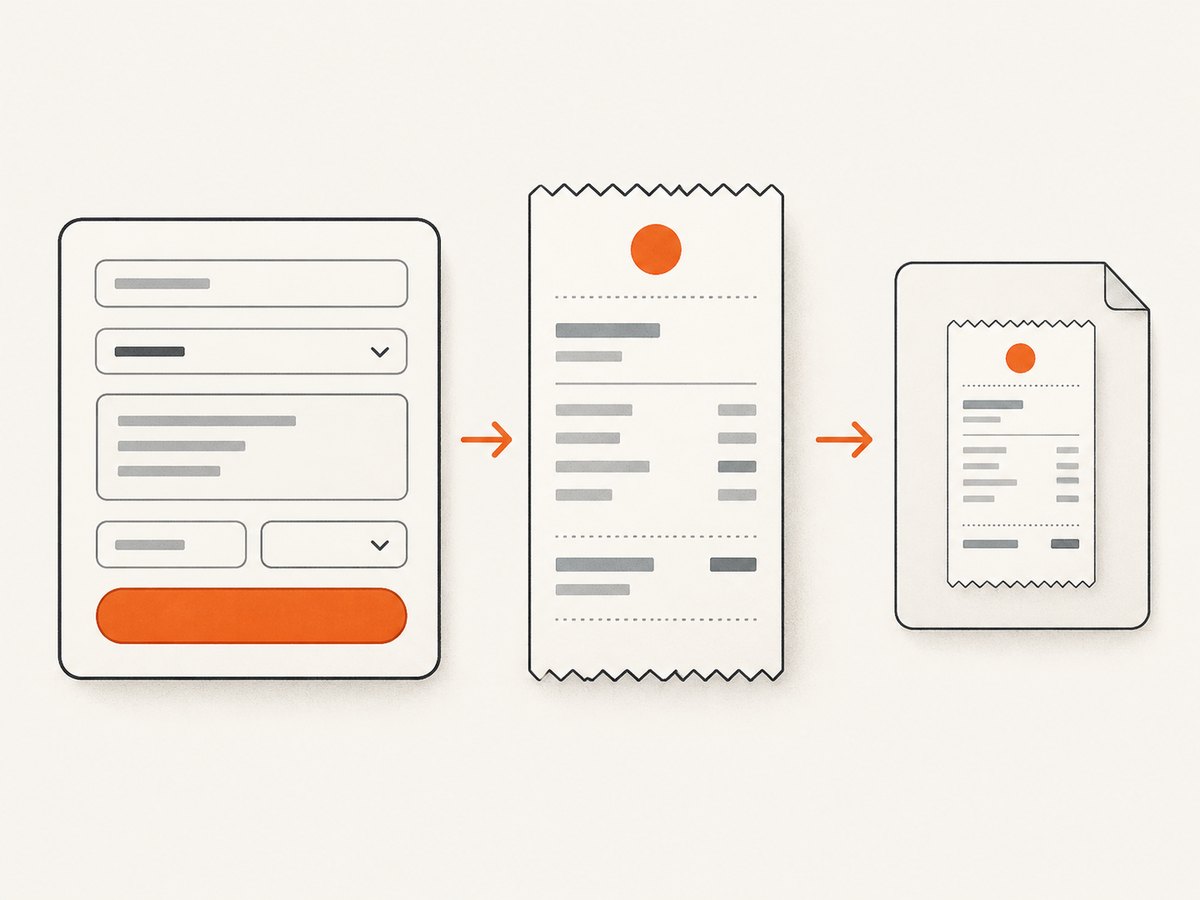
This example captures a dedicated receipt element and downloads a PNG. A separate receipt view is useful when the submitted values need to be dependable: it renders the submitted data as ordinary text instead of relying on how a browser control is reconstructed.
import html2canvas from 'html2canvas';

const form = document.querySelector('#order-form');
const receipt = document.querySelector('#receipt');

form.addEventListener('submit', async (event) => {
  event.preventDefault();

  const data = new FormData(form);
  document.querySelector('#receipt-name').textContent = String(data.get('name') ?? '');
  document.querySelector('#receipt-email').textContent = String(data.get('email') ?? '');

  try {
    const canvas = await html2canvas(receipt);
    const link = document.createElement('a');
    link.download = 'receipt.png';
    link.href = canvas.toDataURL('image/png');
    link.click();
  } catch (error) {
    console.error('Could not capture the form:', error);
  }
});
Install the package with npm install html2canvas in a project with a frontend build system, then import it as above. The project’s documentation describes its element-based API and options. Keep in mind that html2canvas reconstructs an image from the DOM; it does not take a native screenshot, and its output can differ from what the browser visibly paints.
1. Choose what the image should represent
There are two common goals, and they call for slightly different markup.
- A visual snapshot of the current form: capture the form or a containing element directly. This is the shortest path, but verify that current values for every control appear correctly in your target browsers.
- A dependable submitted receipt: copy validated submitted values into a dedicated receipt element, then capture that element. You control its labels, formatting, and text, and can keep form controls out of the image.
The second pattern is an implementation recommendation based on html2canvas’s DOM reconstruction model and a reported issue involving a stale input value in Firefox 124.0.2 and iOS 17 Safari with version 1.4.1. That report does not establish that every control fails or that every browser has the issue. Test the controls and browsers your application supports.
<form id="order-form">
  <label>Name <input name="name" required></label>
  <label>Email <input name="email" type="email" required></label>
  <button type="submit">Create receipt</button>
</form>

<section id="receipt" aria-live="polite">
  <h2>Order receipt</h2>
  <p>Name: <span id="receipt-name"></span></p>
  <p>Email: <span id="receipt-email"></span></p>
</section>
Use textContent to insert submitted values as text. Avoid interpolating user input into innerHTML; besides being unnecessary for a receipt, it can interpret input as markup. If the receipt is hidden before submission, do not use display: none during capture. Render it off-screen or reveal it temporarily, then restore its prior state after capture.
2. Capture the form directly
For a simple client-side image, attach the handler after the form is available in the document. Calling preventDefault() suppresses the browser’s normal navigation or submission. If you also need to send the form to a server, perform that request yourself in the handler after validation; preventing the default action means the browser will not submit it automatically.
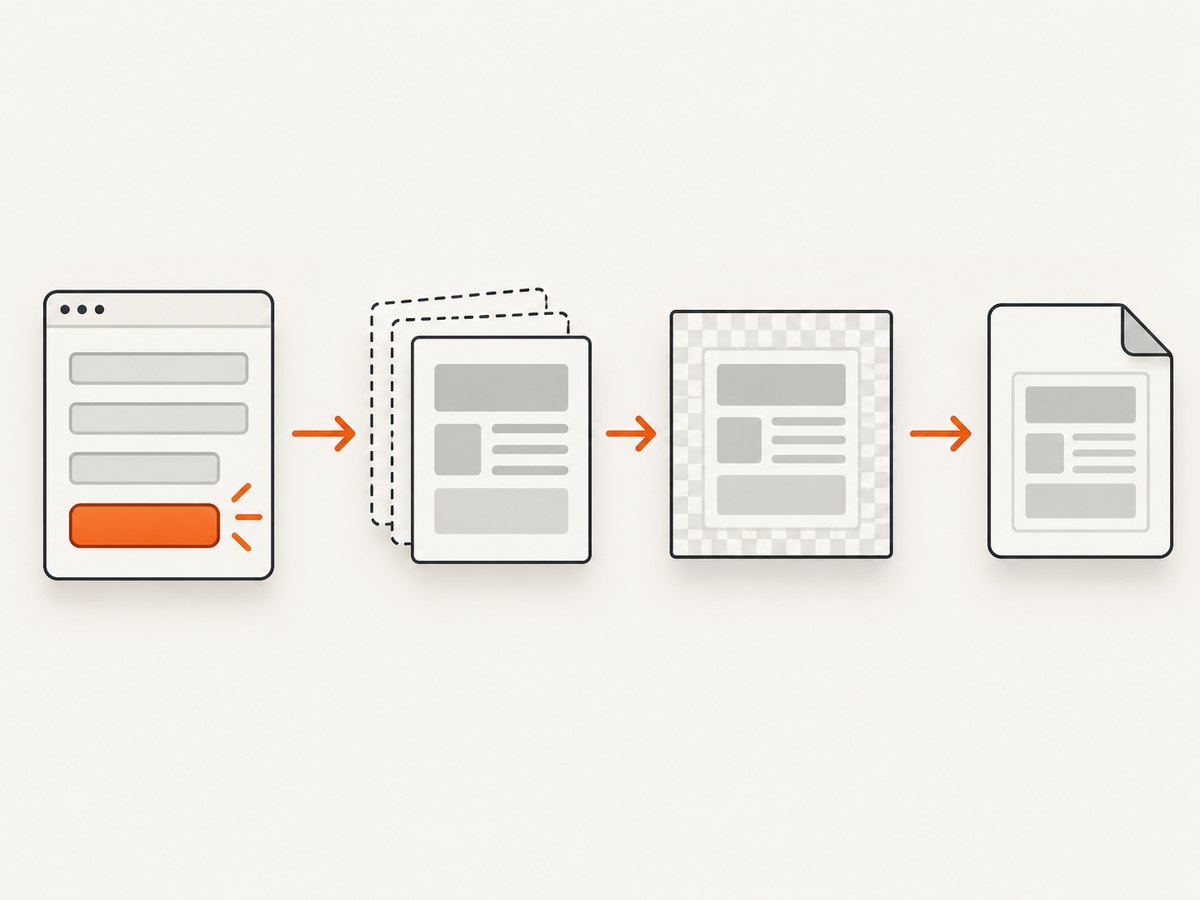
import html2canvas from 'html2canvas';

const form = document.querySelector('#my-form');
const target = document.querySelector('#form-card');

if (!(form instanceof HTMLFormElement) || !target) {
  throw new Error('Form or capture target was not found');
}

form.addEventListener('submit', async (event) => {
  event.preventDefault();

  if (!form.reportValidity()) return;

  try {
    const canvas = await html2canvas(target, {
      backgroundColor: '#ffffff',
      scale: window.devicePixelRatio || 1
    });

    const blob = await new Promise((resolve, reject) => {
      canvas.toBlob((result) => {
        if (result) resolve(result);
        else reject(new Error('Canvas export returned no image'));
      }, 'image/png');
    });

    const imageUrl = URL.createObjectURL(blob);
    const link = document.createElement('a');
    link.href = imageUrl;
    link.download = 'form.png';
    link.click();
    setTimeout(() => URL.revokeObjectURL(imageUrl), 1000);
  } catch (error) {
    console.error('Could not capture the form:', error);
  }
});
The HTML validation check is included to make the example’s intended flow explicit. Browsers normally prevent an invalid form’s submit event from firing, but applications with custom validation or programmatic submission should handle their own validation rules. Avoid starting multiple captures from repeated clicks: disable the submit button while a capture is running and re-enable it in a finally block.
3. Install and run the code
- Add html2canvas to the frontend project with
npm install html2canvas. - Give the form and capture target stable selectors, and ensure the script runs after those elements exist.
- Use a submit listener, prevent the default navigation if needed, and decide whether to capture the live form or a receipt view.
- Await html2canvas, then export the resulting canvas. Use a Blob URL for larger downloads; revoke the URL when finished.
- Test the exact form controls, CSS, images, browsers, and device sizes you support.
For a plain script tag without a bundler, the project publishes browser builds; follow the installation instructions in its official repository for the appropriate distribution and version. Do not assume the package can run in Node.js: it needs browser objects such as window and document.
4. Display the capture instead of downloading it
A canvas can be appended directly to the page for a preview. If you need an image element, convert to a Blob and use an object URL where possible. This avoids the large base64 string created by toDataURL().
const canvas = await html2canvas(target);
const preview = document.querySelector('#capture-preview');
preview.replaceChildren(canvas);

// Or create an img from a Blob:
canvas.toBlob((blob) => {
  if (!blob) return;
  const image = new Image();
  const objectUrl = URL.createObjectURL(blob);
  image.onload = () => URL.revokeObjectURL(objectUrl);
  image.src = objectUrl;
  preview.replaceChildren(image);
}, 'image/png');
For a small image or a data URL API, canvas.toDataURL('image/png') is convenient. It encodes the whole image into a string, so a Blob is often a better fit for larger captures or downloads. PNG is lossless and preserves crisp text; JPEG is usually smaller for photographic content but does not support transparency. WebP support depends on the browser and the consumer of the exported file.
5. Useful html2canvas options
Options affect the rendered result, but they cannot grant browser permissions or make unsupported CSS render correctly. Check the installed version’s documentation for the full option list and defaults. These settings are commonly relevant to form captures:
| Option | Use | Limit or note |
|---|---|---|
backgroundColor |
Set a known background, such as white. | Use null when a transparent background is desired and supported by the output path. |
scale |
Control output pixel density. A value based on devicePixelRatio produces sharper output on high-density screens. |
Larger scale increases canvas dimensions and memory use quickly. |
useCORS |
Attempt to load eligible cross-origin images with CORS. | The image server must send suitable CORS headers. This option does not bypass browser security. |
allowTaint |
Allow drawing a cross-origin image that may taint the canvas. | A tainted canvas cannot be safely exported with toBlob() or toDataURL(). |
width, height |
Set the capture dimensions. | Check clipping and layout when overriding the element’s natural dimensions. |
windowWidth, windowHeight |
Set the simulated viewport dimensions used during rendering. | Useful for some clipped or responsive layouts; test the result instead of assuming a universal canvas limit. |
ignoreElements |
Exclude elements using a predicate. | Useful for removing a button, spinner, or private field from the image. |
onclone |
Adjust the cloned document before rendering. | Use it for capture-only styling or to hide controls without changing the visible page. |
foreignObjectRendering |
Choose the foreign-object rendering path where supported. | Browser support and fidelity vary; compare output on target browsers. |
For a receipt, a small capture-specific stylesheet is often simpler than trying to reproduce a complex application screen. Use basic layout and typography for the image target, and keep interactive controls outside it.
6. Form values, images, and browser fidelity
Current values and control types
Check text inputs, password fields, textareas, selects, checkboxes, radio groups, and custom controls individually. For a receipt, map the accepted form data into ordinary text, and explicitly format booleans and selected choices. Do not capture secret fields such as passwords, payment details, or hidden tokens into an image unless the application has a clear, safe reason to do so.
Cross-origin images
An image hosted on another domain can be omitted or can make the canvas impossible to export if it taints the canvas. With useCORS: true, the remote host still needs to allow the request through appropriate CORS headers. If you control the asset, serve it from the same origin or configure its response. A carefully controlled server-side proxy is another possibility, but it must validate allowed hosts and URLs to avoid becoming an open proxy. html2canvas cannot override browser content policy.
CSS and fonts
html2canvas supports CSS selectively; it is not a pixel-perfect browser screenshot. If shadows, filters, complex positioning, or another style looks different, simplify the capture view or change the relevant CSS. Wait for web fonts and images before capture when the timing matters. For an image element, you can wait for loading with image.decode() where available, and handle rejection rather than blocking the entire form flow.
7. Reliability, performance, and cost
Capture runs in the user’s browser and uses memory for the cloned DOM, canvas pixels, and encoded output. Canvas memory grows with width × height × scale²; doubling the scale roughly quadruples the pixel area. Keep the target limited to the content required, avoid unnecessarily high scale, and use a Blob for larger exports. Browser canvas size limits vary by browser and device, so there is no single safe maximum that applies everywhere.
For reliability, make capture state visible: announce progress, disable duplicate submissions while working, catch capture and export errors, and offer a retry. If the image is an essential record, save the structured form data through your normal application flow as well; a client-side image alone is not a durable or authoritative record. html2canvas itself has no per-capture service charge, but the work consumes the visitor’s device resources and your application still pays any hosting or backend costs it already uses.
8. Troubleshooting
| Symptom | Likely cause | What to try |
|---|---|---|
| Nothing happens on submit | The selector did not find the form, script ran too early, or native validation blocked submission. | Check the element references, run the script after the DOM loads, and inspect browser console errors. |
| The page navigates before capture | The handler did not call preventDefault(), or it was registered on the wrong form. |
Attach a submit listener to the actual form and call event.preventDefault() synchronously at the start. |
| An old input value appears | The reconstructed image may not reflect the live control value in that browser or setup. | Verify state and browser; for reliable receipts, render submitted values into a dedicated preview as text. |
| Remote image is missing or export throws a security error | The image host did not allow CORS, leaving the canvas tainted or the image unavailable. | Use same-origin assets or configure suitable CORS headers; useCORS cannot bypass policy. |
| Styles differ from the visible page | The library implements CSS features selectively and reconstructs from DOM information. | Inspect supported CSS, simplify the capture view, and test the exact browser combination. |
| Long output is clipped or blank | Canvas dimensions may exceed a browser or device limit, or the capture viewport may not include the content. | Capture a smaller element, adjust dimensions or window size, lower scale, and test on target devices. |
| Download is empty or too large | Canvas export may have failed, or a large data URL can consume substantial memory. | Check the result from toBlob(), catch errors, reduce dimensions, and prefer Blob URLs for larger images. |
| Capture misses late content | Fonts, images, or asynchronous UI updates were not ready. | Wait for the content your view needs before calling html2canvas, with a timeout and a fallback for failed resources. |
9. Or skip the browser setup
If you need a screenshot of a public web page rather than a locally rendered form with unsaved values, ScreenshotNeo captures a URL with one API request. It is a website screenshot API and MCP server from Yorker Media. It cannot capture unsent local form state; submit or publish the page first if the target is only available in your browser.
curl -G "https://api.screenshotneo.com/v1/shot" -d access_key=YOUR_API_KEY --data-urlencode url=https://stripe.com -o shot.webpSee the ScreenshotNeo API documentation for the request options. Cookie banners, popups, and chat widgets are removed before the shot. Bot checks, blank pages, failed loads, timeouts, and cache hits are not billed. An MCP server lets AI agents use screenshot tools. The free plan includes 1,000 screenshots per month with no card; paid plans start at $5 for 3,000. Sign up for free and capture your first 1,000 screenshots a month without a card.
10. FAQ
Can html2canvas capture a form before it is submitted?
Yes. Call it from a button click or another event and pass the form or preview element. The submit event is useful when the snapshot should correspond to a submission.
Can I use html2canvas in Node.js?
Not as a server-side DOM screenshot tool. It relies on browser APIs such as window and document; use it in a browser page.
Can the image be a PDF?
html2canvas produces a canvas image. A PDF requires an additional PDF-generation step or a different capture workflow. For a web page PDF, ScreenshotNeo also supports PDF output with settings such as paper size and margins.
Does the captured PNG prove what the user submitted?
No. A client-side image can be altered and does not replace server-side validation or a stored submission record. Treat it as a convenience or presentation artifact unless your application adds an appropriate verification process.


