How to Capture Full-Page Screenshots Using Inspect Element
Capture an entire webpage with Chrome, Firefox, or Edge DevTools, troubleshoot common mistakes, and automate full-page shots with ScreenshotNeo.

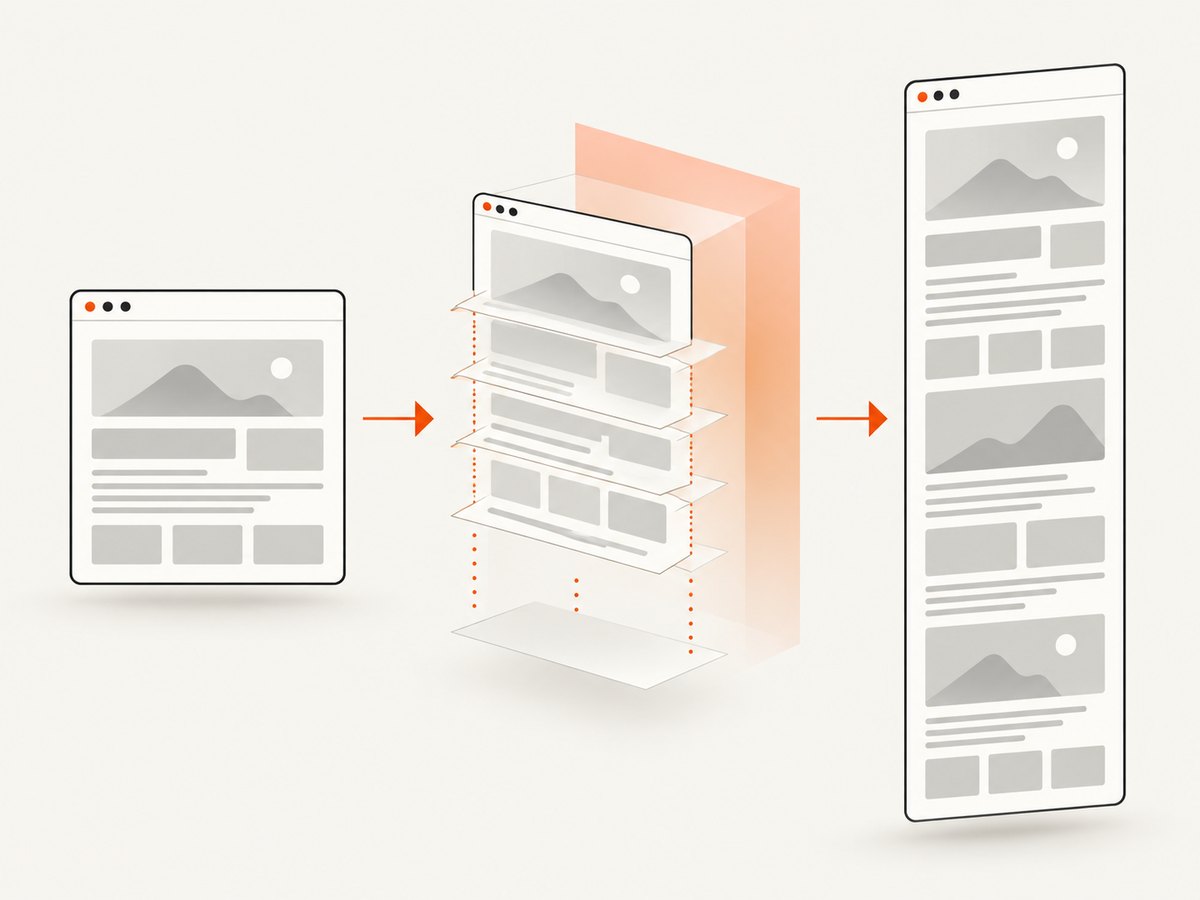
Short answer: Inspect Element opens your browser’s developer tools; it does not capture a page by itself. To save everything below the visible viewport, use the browser’s dedicated full-page command. In Chrome or Edge, open DevTools, enable Device Mode, open the toolbar’s More options menu, and choose Capture a full size screenshot. In Firefox, enable the full-page screenshot button in DevTools settings or run :screenshot --fullpage in the Web Console.
The distinction matters: Capture screenshot saves only the current viewport, while Capture a full size screenshot includes content that requires scrolling. This guide covers the exact workflow in each browser, element-only captures, dynamic pages, troubleshooting, automation, and a browser-free API option.
1. What Inspect Element does (and does not do)
“Inspect Element” is a shortcut into browser developer tools. It opens the Inspector or Elements panel, where you can examine HTML, edit CSS, view network requests, and run commands. The screenshot action is a separate DevTools feature.
There are three different capture scopes:
| Capture type | What you get | Typical use |
|---|---|---|
| Viewport | Only the pixels currently visible in the browser window | A quick bug report or visual reference |
| Full page | The complete scrollable document, including content below the fold | Archiving a landing page, documentation, or long article |
| Single element | One selected DOM node, such as a card or component | Design review or component documentation |
Browser documentation uses slightly different labels, but the rule is consistent: select the full-size or entire-page action when you need content below the viewport. Chrome documents both commands in Device Mode’s More options menu (Chrome DevTools documentation).
2. Chrome: capture the entire page
- Open the page you want to save.
- Open DevTools by right-clicking and choosing Inspect, or by using your operating system’s developer-tools shortcut.
- Turn on Device Mode by clicking the phone-and-tablet icon in the DevTools toolbar. You can also use the Device Mode shortcut shown in Chrome’s menus.
- Set the device preset, viewport width, and scale if you need a reproducible rendering. The full-page command uses the emulated viewport settings.
- Open the Device Mode toolbar’s More options menu (the three-dot button).
- Choose Capture a full size screenshot.
- Wait for Chrome to generate the image. It normally saves a PNG through the browser’s download flow.
Do not choose Capture screenshot when you need the entire document. That command captures only the visible viewport. If the page contains content that loads as you scroll, first scroll through it or otherwise trigger the lazy loading, then run the full-size capture.
Capturing a specific element in Chrome
To capture a component instead of the whole page, select the element in the Elements panel. Right-click the node and use the available screenshot option when your Chrome version exposes it. The result is bounded by that element’s rendered box, so it will not include unrelated content above or below it.
3. Firefox: enable the full-page screenshot tool
Firefox provides a dedicated screenshot button, but Mozilla says it is disabled by default. Enable it once before using the toolbar workflow.
- Open Developer Tools.
- Open DevTools Settings.
- Find Available Toolbox Buttons.
- Enable Take a screenshot of the entire page.
- Close settings, return to the page, and click the new screenshot button in the DevTools toolbar.
- Firefox saves the image in the browser’s Downloads directory.
Mozilla documents this workflow and the console alternative in Firefox DevTools: Taking screenshots.
Firefox Web Console command
Open the Web Console and run:
:screenshot --fullpageThe command supports options for delay, device pixel ratio, clipboard output, a filename, and selecting one element with a CSS selector. For example, this captures a named element after a short delay:
:screenshot --selector "main article" --delay 2000 --filename article.pngFirefox element capture
Open the Inspector’s HTML pane, select the node, open its context menu, and choose Screenshot Node. This is an element capture, not an entire-page capture. It is useful for a hero section, product card, or isolated component.
4. Edge: use Device Mode’s full-size action
Microsoft Edge follows the same basic route as Chrome:
- Open the target page and Edge DevTools.
- Enable Device Mode.
- Open More options in the Device Mode toolbar.
- Choose Capture a full size screenshot.
Edge’s Capture screenshot command is viewport-only. The full-size command includes content outside the current viewport, as described in Microsoft’s Edge DevTools documentation.
5. Prepare a page before capturing
A full-page command captures the page as it is rendered at that moment. Preparation prevents the most common surprises.
- Wait for dynamic content. Let fonts, images, charts, and client-side data finish loading.
- Trigger lazy images. Scroll through the document once if images load only near the viewport.
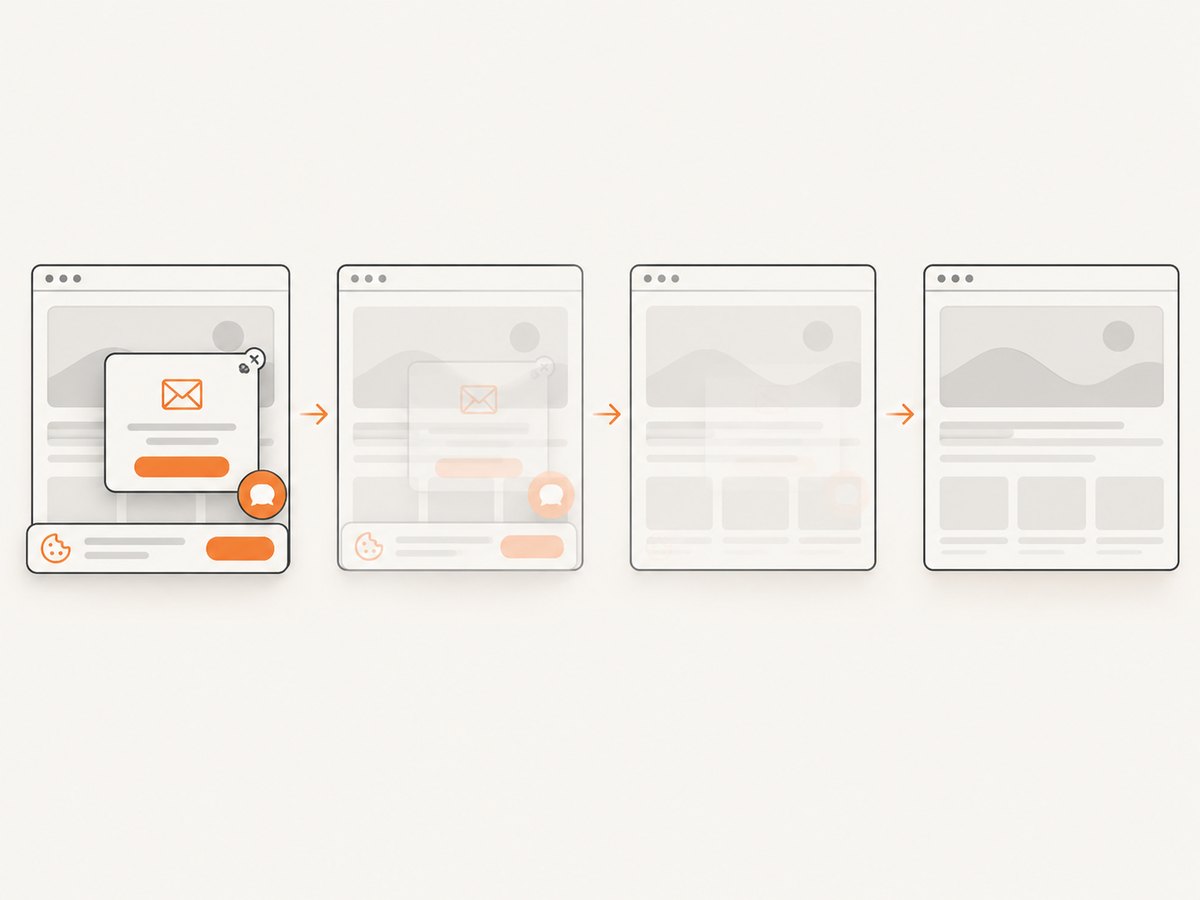
- Close overlays. Dismiss cookie dialogs, newsletter modals, chat bubbles, and login prompts that obscure content.
- Choose a stable viewport. Responsive layouts can change dramatically between desktop and mobile widths.
- Check sticky headers. A fixed header may repeat over every section in a stitched result.
- Disable transient animation where possible. A carousel or animated chart can produce inconsistent frames.
For pages that require authentication, sign in first and confirm that the session remains active while DevTools is open. Private content should not be uploaded to a third-party service unless your organization permits it.
6. Why a full-page result can look wrong
Browsers create a tall image from a document that may have complex layout behavior. Problems usually come from the page, the selected command, or content that was not ready.
| Symptom | Likely cause | Fix |
|---|---|---|
| Only the visible screen is saved | Viewport capture was selected | Use Capture a full size screenshot in Device Mode |
| Images are blank or missing | Lazy loading or slow requests | Scroll through the page, wait, then capture again |
| Cookie dialog covers the page | Consent banner remained open | Accept or dismiss it before capture |
| Sections overlap | Sticky or fixed-position CSS | Temporarily disable the fixed rule in the Inspector, or capture through an automation tool that can hide selectors |
| Fonts differ | Web fonts had not loaded or were blocked | Wait for fonts, check the Network panel, and retry |
| Page ends too early | Content is inside a nested scroll container | Capture the container element or scroll that container before capturing |
| Capture is extremely tall | Infinite scroll or an unbounded feed | Stop loading new items, capture a defined range, or use a PDF/page-range workflow |
7. Dynamic pages, iframes, and special cases
Lazy-loaded images and infinite scroll
A full-page screenshot does not guarantee that every lazy resource was requested. Scroll from top to bottom, pause at sections where images appear, and confirm that placeholders have been replaced. Infinite-scroll feeds have no natural end; decide how many items you want before capturing.
Nested scroll regions
Some dashboards keep the document short and put the actual content in a div with overflow: auto. The browser’s full-page command may capture the document but not every hidden row in that inner region. Inspect the scroll container and capture it as an element, or temporarily increase its height in the Styles panel.
Cross-origin iframes
An iframe may render correctly while remaining a separate document. Browser screenshot commands generally capture the rendered pixels, but an iframe’s own lazy loading, consent dialog, or scroll region can still affect the result. Test the frame at the target viewport and handle its content independently when necessary.
Very large documents
Long pages consume memory while being rasterized. Break an extremely long report into sections, use a PDF with page ranges, or automate captures in batches. A single giant PNG is harder to view and transfer than several bounded images.
8. A repeatable checklist
- Open the final URL, including query parameters.
- Confirm the correct account, locale, timezone, and responsive breakpoint.
- Dismiss consent and other overlays.
- Wait for fonts, images, and data.
- Trigger lazy loading by scrolling when needed.
- Select the full-size command, not the viewport command.
- Open the saved file and inspect the bottom, middle, and top sections.
- Record the browser, viewport, date, and URL if the screenshot is evidence or documentation.
9. Or skip the browser setup
For one-off work, DevTools is enough. For recurring captures, build pipelines, many URLs, or consistent rendering, an API removes the manual browser steps. ScreenshotNeo provides a GET endpoint for PNG, JPEG, WebP, or PDF screenshots, including full-page capture with lazy images loaded.
See the ScreenshotNeo API documentation for the complete parameter list. A minimal call is:
curl -G "https://api.screenshotneo.com/v1/shot" -d access_key=YOUR_API_KEY --data-urlencode url=https://stripe.com -o shot.webpPython
import requests

r = requests.get(
    "https://api.screenshotneo.com/v1/shot",
    params={"access_key": "YOUR_API_KEY", "url": "https://stripe.com"},
    timeout=90,
)
r.raise_for_status()
open("shot.webp", "wb").write(r.content)
Node.js
const q = new URLSearchParams({ access_key: 'YOUR_API_KEY', url: 'https://stripe.com' });
const res = await fetch(`https://api.screenshotneo.com/v1/shot?${q}`);
if (!res.ok) throw new Error(`HTTP ${res.status}`);
const buffer = Buffer.from(await res.arrayBuffer());
require('fs').writeFileSync('shot.webp', buffer);
ScreenshotNeo supports the options developers commonly need for this workflow: full-page capture, a CSS selector for one element, dark mode, device presets or any viewport, retina scale, custom CSS and JavaScript, click-before-capture, waits for a selector or delay or network idle, blocked ads and trackers, custom headers and cookies, user agents, Authorization, timezone, geolocation, transparent backgrounds, image resizing, configurable caching TTL, signed links, asynchronous jobs with signed webhooks, bulk capture for up to 100 URLs per call, a usage API, and an OpenAPI specification. PDF output includes paper size, margins, landscape mode, and page ranges.
Consent banners, newsletter popups, and chat widgets are removed before capture, with each cleanup step configurable. Bot checks or CAPTCHAs, blank pages, timeouts, failed loads, and cache hits are not billed; response headers identify the page verdict and whether the request was billed. The MCP server exposes take_screenshot, get_page_info, and capture_pdf for Claude, Cursor, and other MCP clients.
For cost planning, the Free plan includes 1,000 shots per month with no card. Paid plans start at $5 for 3,000 shots; higher plans are Starter $5/3,000, Growth $15/15,000, Pro $39/60,000, Scale $99/250,000, and Business $249/1,000,000. Yearly billing gives two months free, and every feature is available on every plan. Create a free ScreenshotNeo account and start with 1,000 screenshots a month without a card.
10. Performance, reliability, and cost notes
Browser workflow
Manual DevTools capture has no service charge and is ideal for occasional pages. Its repeatability depends on the browser profile, extensions, viewport, login state, network, and page timing. Record those variables when screenshots need to be compared over time.
Automated workflow
For scheduled jobs, use an explicit wait condition instead of a long arbitrary delay when possible. Cache stable pages with a TTL, batch independent URLs, and use asynchronous jobs with signed webhooks for large runs. Check verdict and billing headers so failed or non-content results are handled separately from successful images. Keep API keys on the server and set request timeouts appropriate for the page complexity.
11. Troubleshooting API captures
| Error or result | Cause | Fix |
|---|---|---|
| Unauthorized response | Missing or invalid access key | Send access_key and verify the key in your account |
| Blank result | Target returned no usable page | Inspect the verdict headers, verify the URL, and add an appropriate wait |
| Cookie banner remains | A cleanup step was disabled or the platform is unusual | Enable the relevant consent cleanup option or hide the selector with custom CSS |
| Element is missing | Selector ran before the element existed | Wait for the selector, then capture |
| Images are incomplete | Lazy resources were not ready | Use full-page mode with lazy images loaded and a network-idle or selector wait |
| Repeated charges are unexpected | Requests were not cached | Set a cache TTL for stable URLs and review usage headers and the usage API |
12. FAQ
Does Inspect Element automatically capture a full page?
No. It opens DevTools. You must select the browser’s full-size screenshot command afterward.
What is the difference between full-page and full-size?
They describe the same goal in the Chrome and Edge workflows: include the document outside the visible viewport.
Can I capture only one element?
Yes. Firefox offers Screenshot Node and a selector option; Chrome and ScreenshotNeo can also capture a selected element.
Why is Firefox’s button missing?
Enable Take a screenshot of the entire page under DevTools Settings and Available Toolbox Buttons.
Which format should I use?
PNG preserves sharp text and transparency, WebP is compact, JPEG is useful for photographic content, and PDF is better for paginated documents or printing.
Use DevTools when you need a quick, local capture. For repeatable full-page screenshots without manually opening a browser, try ScreenshotNeo’s API or MCP tools, starting with the free plan.


