How to Capture Mouseover States in Selenium Screenshots
Capture reliable Selenium screenshots of tooltips, menus, and hover effects by moving to the right target, waiting for rendering, and saving the result.
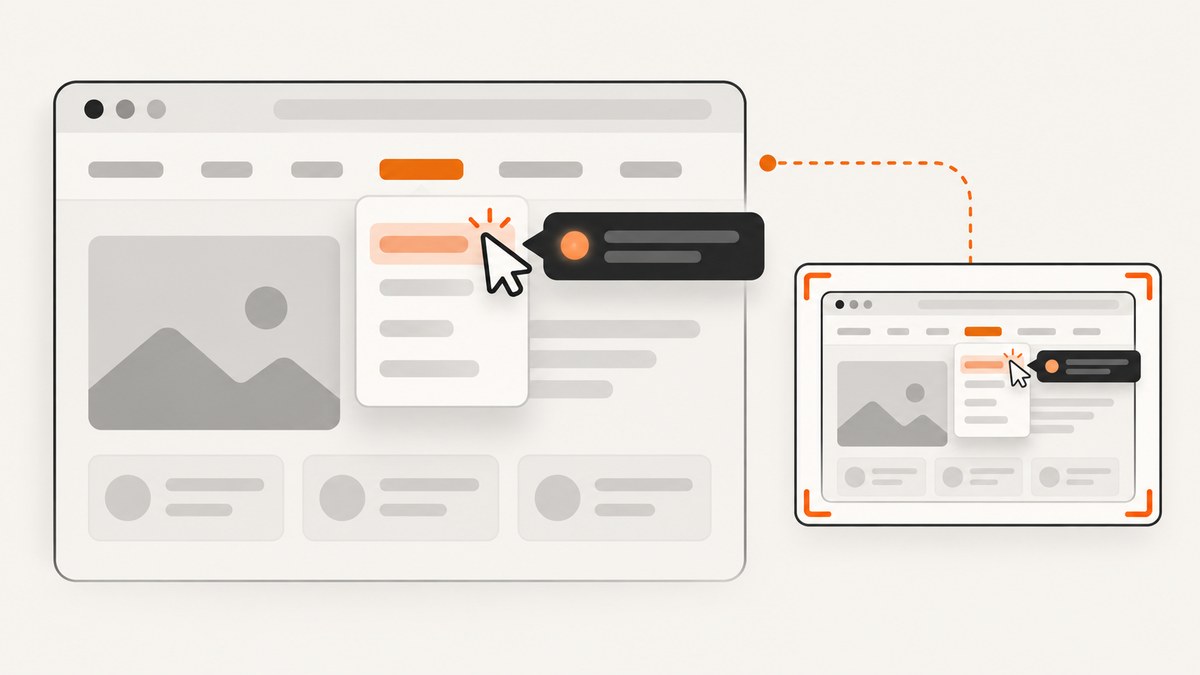
To capture a mouseover state in Selenium, locate the element that triggers the state, scroll it into the viewport, move the pointer with Selenium’s Actions API, wait for the tooltip or menu to render, and then save the browser window as an image. The essential Python pattern is:
from selenium.webdriver.common.by import By
from selenium.webdriver.common.action_chains import ActionChains

hover_target = driver.find_element(By.CSS_SELECTOR, "[data-testid='menu']")
ActionChains(driver).move_to_element(hover_target).pause(0.5).perform()
saved = driver.save_screenshot("artifacts/menu-hover.png")
assert saved
The pointer move normally targets the element’s in-view center. The target must be in the viewport, and a pause is necessary when the hover interface appears after CSS transitions, JavaScript, or a delayed network request. Selenium’s official mouse-actions documentation describes this operation as moving to the in-view center and states that an element outside the viewport causes the command to error.
What a Selenium mouseover screenshot actually captures
A WebDriver screenshot records the browser’s current rendered state. It does not ask the page to “draw” a hover state separately. Selenium first changes the pointer position; the page’s normal :hover CSS rules and mouse event handlers then run; the screenshot captures whatever has finished rendering at that instant.
This distinction explains most missing-hover bugs. A screenshot taken immediately after move_to_element can precede a transition or a tooltip inserted by JavaScript. A screenshot taken while the target is off-screen can fail before the pointer move. A screenshot can also be correct while the tooltip is outside the viewport or hidden behind another layer.
| Decision | Default | Use another option when |
|---|---|---|
| Pointer location | Element center | The trigger is a child region or narrow hotspot; use an offset. |
| Synchronization | Short action-chain pause | The UI has a known condition; wait for that selector or state instead. |
| Capture scope | Full browser window | You need a focused artifact and your binding supports element screenshots. |
| Artifact naming | Deterministic path | Parallel tests need a worker or test-case suffix. |
Set up a reliable Selenium capture
1. Start a driver with a deliberate viewport
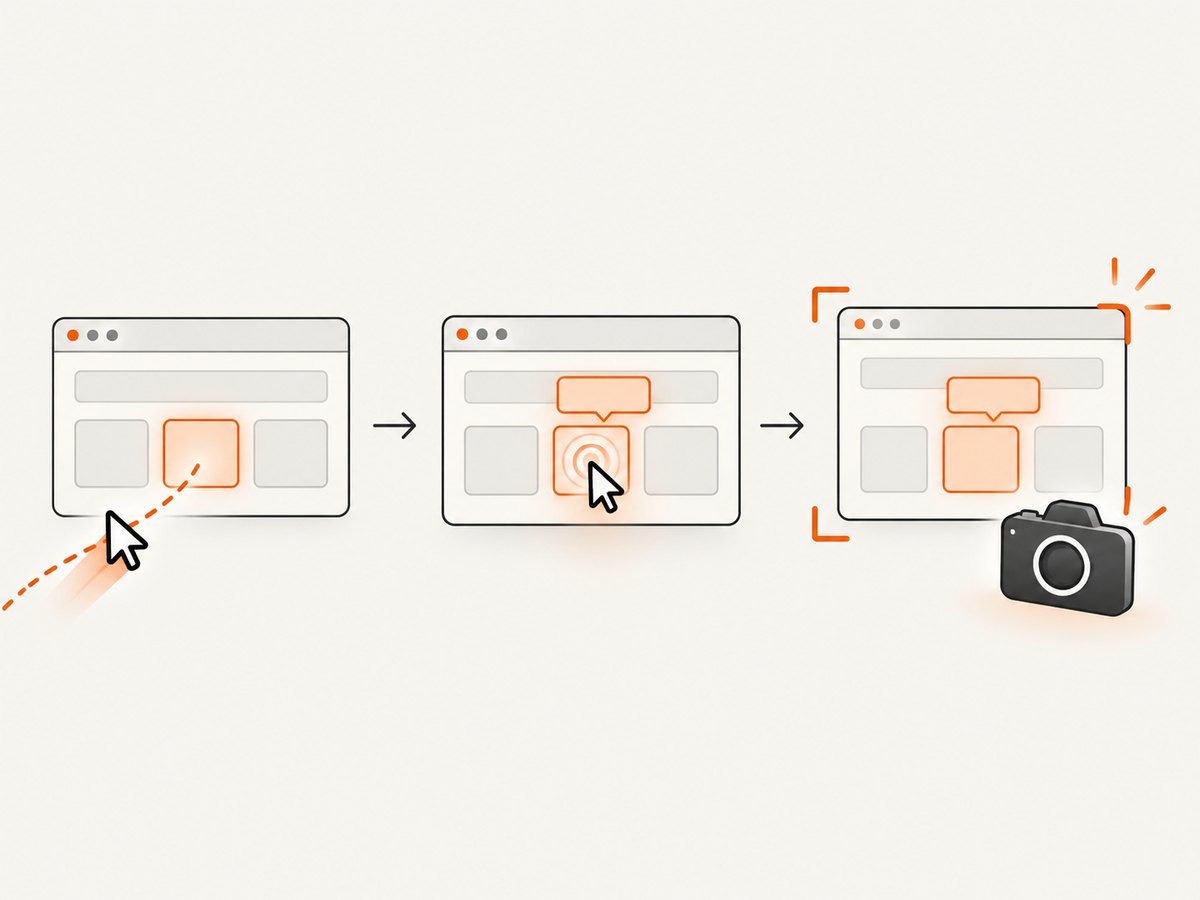
A stable viewport makes hover hit testing and visual comparisons repeatable. The following complete example uses Python, Chrome, and Selenium 4. It creates an output directory, loads a page, and sets a fixed window size.
from pathlib import Path
from selenium import webdriver
from selenium.webdriver.chrome.options import Options

artifacts = Path("artifacts")
artifacts.mkdir(exist_ok=True)

options = Options()
options.add_argument("--window-size=1440,1000")
# options.add_argument("--headless=new")  # Enable in CI if required

driver = webdriver.Chrome(options=options)
try:
    driver.get("https://example.com")
    # Perform the hover and screenshot steps here.
finally:
    driver.quit()
Use the same browser version, viewport, device scale, fonts, and page data when screenshots are compared in CI. Headless and headed sessions can have different font rendering or available window dimensions, so standardize the mode used for your baseline images.
2. Locate the hover target with a stable selector
Prefer a test-specific attribute such as data-testid, an accessible role, or a stable ID. Avoid selectors based on generated class names. If the page contains several matching controls, select the one whose state you intend to document.
from selenium.webdriver.common.by import By

hover_target = driver.find_element(By.CSS_SELECTOR, "[data-testid='pricing-menu']")
If the element is rendered later, wait for its presence and visibility rather than inserting an arbitrary long sleep.
from selenium.webdriver.support.ui import WebDriverWait
from selenium.webdriver.support import expected_conditions as EC

wait = WebDriverWait(driver, 15)
hover_target = wait.until(
    EC.visibility_of_element_located((By.CSS_SELECTOR, "[data-testid='pricing-menu']"))
)
3. Put the target in the viewport
Selenium’s documented mouse move requires an in-view element. Scroll the target into a predictable position before moving the pointer.
driver.execute_script(
    "arguments[0].scrollIntoView({block: 'center', inline: 'center'});",
    hover_target,
)
Centering the element reduces cases where a sticky header covers it. After scrolling, re-query the element if the page rebuilds its DOM during scroll; an old WebElement reference can become stale.
4. Move to the center and wait for the state
ActionChains.move_to_element moves to the in-view center. Chain pause before perform so the pointer movement and delay are executed as one action sequence.
from selenium.webdriver.common.action_chains import ActionChains

ActionChains(driver).move_to_element(hover_target).pause(0.5).perform()
Choose the pause from the interface’s behavior. A CSS transition may need a few hundred milliseconds. A tooltip populated by a request needs a condition that confirms its content, not merely a larger sleep.
tooltip = wait.until(
    EC.visibility_of_element_located((By.CSS_SELECTOR, "[role='tooltip']"))
)
# A small settling pause can still be useful for the final transition.
ActionChains(driver).pause(0.1).perform()
When the state has no unique selector, compare a short pause with a longer pause while debugging. Save both artifacts and inspect whether the visual state changes.
5. Save and verify the screenshot
output = artifacts / "pricing-menu-hover.png"
saved = driver.save_screenshot(str(output))
if not saved:
    raise IOError(f"Selenium could not write {output}")
print(output.resolve())
The Python Chromium WebDriver API documents that save_screenshot returns True on success and False for an I/O error. Use an absolute path in CI logs when diagnosing missing artifacts.
Hovering a precise hotspot with an offset
The center is the correct default, but some controls react only to a child icon, a corner, or a narrow hit area. Selenium provides move_to_element_with_offset; offsets are relative to the element’s in-view center.
hotspot = driver.find_element(By.CSS_SELECTOR, "[data-testid='chart']")
driver.execute_script(
    "arguments[0].scrollIntoView({block: 'center'});", hotspot
)
ActionChains(driver).move_to_element_with_offset(hotspot, 80, -20).pause(0.5).perform()
driver.save_screenshot("artifacts/chart-hotspot.png")
Keep offsets tied to the actual hit area and document why they exist. Responsive layouts can change the element’s dimensions, so an offset that works at one viewport may miss at another. If possible, hover the child element directly instead of relying on coordinates.
Capturing menus, tooltips, and animated states
CSS-only menus
For a menu controlled by :hover, the center move is usually enough. Wait until the submenu is visible, then capture.
menu = wait.until(EC.visibility_of_element_located((By.CSS_SELECTOR, ".menu")))
ActionChains(driver).move_to_element(menu).pause(0.3).perform()
submenu = wait.until(EC.visibility_of_element_located((By.CSS_SELECTOR, ".menu .submenu")))
driver.save_screenshot("artifacts/submenu.png")
JavaScript tooltips
Tooltips often appear only after a timer. Wait for the tooltip node or its text. Do not locate the tooltip before hovering if the application creates it lazily.
target = wait.until(EC.element_to_be_clickable((By.CSS_SELECTOR, "[aria-describedby]")))
ActionChains(driver).move_to_element(target).pause(0.4).perform()
tooltip = wait.until(EC.visibility_of_element_located((By.CSS_SELECTOR, "[role='tooltip']")))
assert tooltip.text.strip()
driver.save_screenshot("artifacts/tooltip.png")
Animated transitions
Waiting for visibility does not prove that opacity or position has finished changing. For deterministic visual tests, use the application’s transition duration as a short settling pause, or disable animations in a test-only stylesheet.
driver.execute_script("""
const style = document.createElement('style');
style.textContent = `*, *::before, *::after {
  animation-duration: 0s !important;
  animation-delay: 0s !important;
  transition-duration: 0s !important;
  transition-delay: 0s !important;
}`;
document.head.appendChild(style);
""")
Disable animations only when the purpose is to verify the final state. If the article or test must document the animation itself, leave it enabled and wait for a known endpoint.
Full-window versus element screenshots
driver.save_screenshot captures the current browser window. That is useful when a menu overlays surrounding content or when you need evidence of the complete layout. Some Selenium bindings also expose element.screenshot(path), which focuses on the element’s rendered rectangle.
tooltip.screenshot("artifacts/tooltip-only.png")
Element capture is not a substitute for full-page capture: an overlay can extend beyond the element’s box, and a descendant may be clipped. Compare both scopes when debugging a missing state. A browser-window screenshot also does not automatically mean a full document screenshot; viewport height and browser capabilities determine what is included.
JavaScript Selenium example
With Selenium’s JavaScript bindings, use the WebDriver actions builder and then save the window.
const { Builder, By } = require('selenium-webdriver');

(async function captureHover() {
  const driver = await new Builder().forBrowser('chrome').build();
  try {
    await driver.manage().window().setRect({ width: 1440, height: 1000 });
    await driver.get('https://example.com');
    const target = await driver.findElement(By.css("[data-testid='menu']"));
    await driver.executeScript(
      "arguments[0].scrollIntoView({block:'center', inline:'center'});",
      target
    );
    await driver.actions().move({ origin: target }).pause(500).perform();
    await driver.takeScreenshot().then((png) =>
      require('fs').writeFileSync('artifacts/menu-hover.png', png, 'base64')
    );
  } finally {
    await driver.quit();
  }
})();
Binding method names vary by Selenium release, so consult the versioned Actions API reference when adapting this example.
Common failures and fixes
| Symptom | Likely cause | Fix |
|---|---|---|
| Move command errors that the element is not in view | The target is below the viewport or covered by layout changes. | Scroll with scrollIntoView, wait for visibility, and re-find stale elements. |
| Screenshot shows the normal page | The capture ran before the hover state rendered. | Add an action-chain pause or wait for the tooltip/menu selector. |
| Wrong menu opens | The selector matches multiple controls or the pointer lands on a neighbor. | Use a unique selector, inspect the element rectangle, or use a documented offset. |
| Tooltip is clipped | It extends outside the viewport or an ancestor has overflow clipping. | Capture a larger viewport, scroll differently, or inspect the full-window shot. |
| Hover disappears before capture | Moving the pointer to another element or a screenshot helper changes focus. | Take the screenshot immediately after the wait and avoid extra pointer actions. |
| Element becomes stale | React, Vue, or another framework replaced the node after scroll or hover. | Locate it again immediately before the action. |
| File is missing | The path is relative to an unexpected working directory or lacks write access. | Use Path.resolve(), create the directory, and check the Boolean return value. |
| Flaky visual diffs | Fonts, animations, time, ads, or network content vary between runs. | Pin the viewport and data, disable animations for final-state tests, and wait on meaningful conditions. |
| Headless result differs | Headless browser dimensions or rendering differ from headed mode. | Set an explicit window size and use one mode consistently for baselines. |
Performance and reliability checklist
- Reuse one driver for related captures when isolation permits; browser startup is usually more expensive than an additional page navigation.
- Set explicit page-load and script timeouts so a broken page does not consume an unbounded test worker.
- Wait for the state you need instead of sleeping for several seconds on every test.
- Use deterministic URLs, test data, viewport dimensions, and artifact names.
- Capture diagnostic HTML, console logs, and the target rectangle when a hover test fails.
- Close each driver in a
finallyblock so a failed capture does not exhaust CI resources. - Run retries only for known transient network failures; retries can hide real selector or timing defects.
For a large screenshot set, separate navigation, interaction, and image-writing timing in your logs. This shows whether the bottleneck is page load, hover rendering, or disk I/O. Keep screenshot files out of the primary test assertion path when storage is slow, but always retain a failing artifact.
Or skip the browser setup
If you need screenshots of many URLs rather than a browser-level interaction test, ScreenshotNeo provides a website screenshot API. Its clean-shot workflow accepts consent banners as a visitor and removes more than 60 known consent platforms, newsletter popups, and chat widgets before capture; each step can be turned off. Bot checks, blank pages, timeouts, failed loads, and cache hits are not billed, and the response identifies the result with X-Page-Verdict and X-Billed headers.
See the ScreenshotNeo API documentation for all options. A basic call is:
curl -G "https://api.screenshotneo.com/v1/shot" -d access_key=YOUR_API_KEY --data-urlencode url=https://stripe.com -o shot.webpimport requests
r = requests.get("https://api.screenshotneo.com/v1/shot", params={"access_key": "YOUR_API_KEY", "url": "https://stripe.com"}, timeout=90)
open("shot.webp", "wb").write(r.content)const q = new URLSearchParams({ access_key: 'YOUR_API_KEY', url: 'https://stripe.com' });
const res = await fetch(`https://api.screenshotneo.com/v1/shot?${q}`);ScreenshotNeo includes full-page capture with lazy images loaded, CSS-selector element capture, dark mode, device presets and custom viewports, retina scale, PDF output, custom CSS and JavaScript, clicks, selector or network-idle waits, request blocking, headers, cookies, user agents, authorization, timezone and geolocation, transparent backgrounds, resizing, TTL caching, signed links, asynchronous jobs with signed webhooks, bulk capture for 100 URLs per call, a usage API, and an OpenAPI spec. It also has an MCP server with take_screenshot, get_page_info, and capture_pdf for Claude, Cursor, and other MCP clients.
You get 1,000 screenshots per month free with no card. Paid plans start at $5 for 3,000 shots, and every feature is available on every plan. Create a free ScreenshotNeo account.
Cost and capture strategy
A local Selenium run consumes your own browser and compute resources; the practical cost is the CI time, storage, and maintenance of drivers and dependencies. It is a good fit when the hover interaction itself is what you are testing, when authentication is tightly coupled to your test environment, or when you need browser events and assertions.
An API is useful when the input is a URL and the output is an image or PDF. ScreenshotNeo’s clean-only billing and cache-hit handling can make repeated documentation or monitoring captures easier to budget. Use a TTL when a page can be reused, and use asynchronous jobs or bulk capture for large batches. Check the verdict and billing headers in your pipeline so failed navigation is visible in logs.
FAQ
Does Selenium need a real mouse for hover?
No. WebDriver’s Actions API sends a pointer move to the browser. The page receives the resulting hover and mouse events as it would for a normal pointer.
How long should I pause?
Use the shortest delay that covers the interface’s transition, or wait for a selector that proves the state is ready. A fixed delay alone is less reliable when network timing varies.
Can I capture a tooltip outside the viewport?
The target must be in view for the documented move. The tooltip itself may still be clipped by the viewport or an ancestor’s overflow; adjust the viewport or inspect the full-window capture.
Why does an offset work locally but fail in CI?
Offsets depend on the element’s dimensions and center. Different viewport sizes, zoom, fonts, or responsive breakpoints can move the hotspot. Fix those inputs or hover a stable child element.
Is an API screenshot equivalent to a Selenium hover screenshot?
No. Selenium exercises a pointer interaction in a browser session. An API capture is better for URL-based rendering and repeatable page options; use a browser test when the interaction itself is under test.


