How to Capture Overflowing Content With html2canvas
Capture full pages and scrollable elements with html2canvas, avoid clipped output, handle browser limits, and choose safer alternatives when canvases get too large.
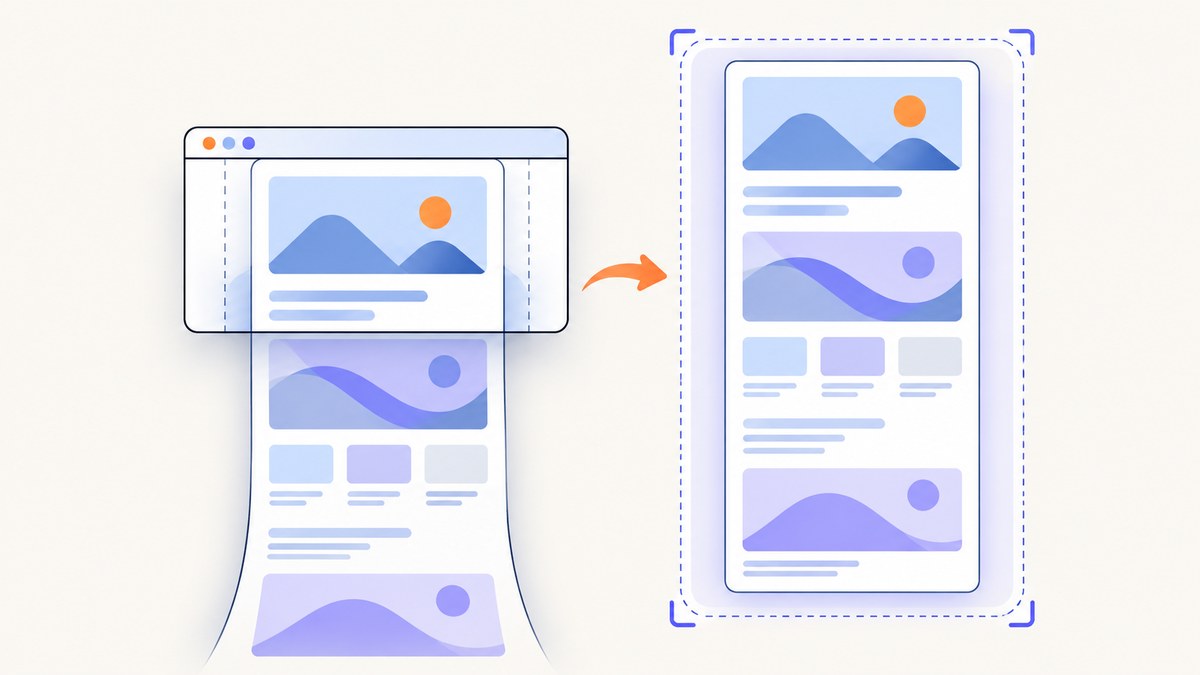
html2canvas can capture content that extends beyond the visible viewport, but it will not automatically turn every overflowing element into a full-page image. The reliable approach is to measure the element’s scrollWidth and scrollHeight, then pass those values as the rendering window:
const element = document.querySelector('#capture');
const canvas = await html2canvas(element, {
  windowWidth: element.scrollWidth,
  windowHeight: element.scrollHeight,
});
windowWidth and windowHeight control the virtual browser window used while html2canvas reconstructs the page. They are different from width and height, which set the output canvas dimensions. This distinction is the key to preventing screenshots that stop at the viewport or cut off the bottom of a scrollable region. The official FAQ and configuration reference document this behavior (FAQ; configuration reference).
Install html2canvas and capture an overflowing element
html2canvas runs in a browser because it needs window, document, styles, fonts, and image loading APIs. Install it in your frontend project:
npm install html2canvasHere is a complete browser example. It waits for the target element’s layout, renders its complete scroll area, and downloads a PNG.
import html2canvas from 'html2canvas';

async function captureOverflowingElement() {
  const element = document.querySelector('#capture');
  if (!element) throw new Error('Missing #capture element');

  // Call this after dynamic content, images, and fonts have finished loading.
  const canvas = await html2canvas(element, {
    windowWidth: element.scrollWidth,
    windowHeight: element.scrollHeight,
    backgroundColor: '#ffffff',
    useCORS: true,
    scale: window.devicePixelRatio,
  });

  const link = document.createElement('a');
  link.download = 'overflowing-content.png';
  link.href = canvas.toDataURL('image/png');
  link.click();
}

document.querySelector('#capture-button')
  .addEventListener('click', captureOverflowingElement);
A minimal page might look like this:
<button id="capture-button">Capture</button>
<div id="capture" style="width: 720px; height: 280px; overflow: auto">
  <div style="height: 1400px; padding: 24px">
    Content that extends below the scrollable viewport
  </div>
</div>
The browser guide explains the browser-only requirement (getting started). A Node.js process cannot call html2canvas directly without a browser environment such as Playwright or Puppeteer.
Capture the whole document
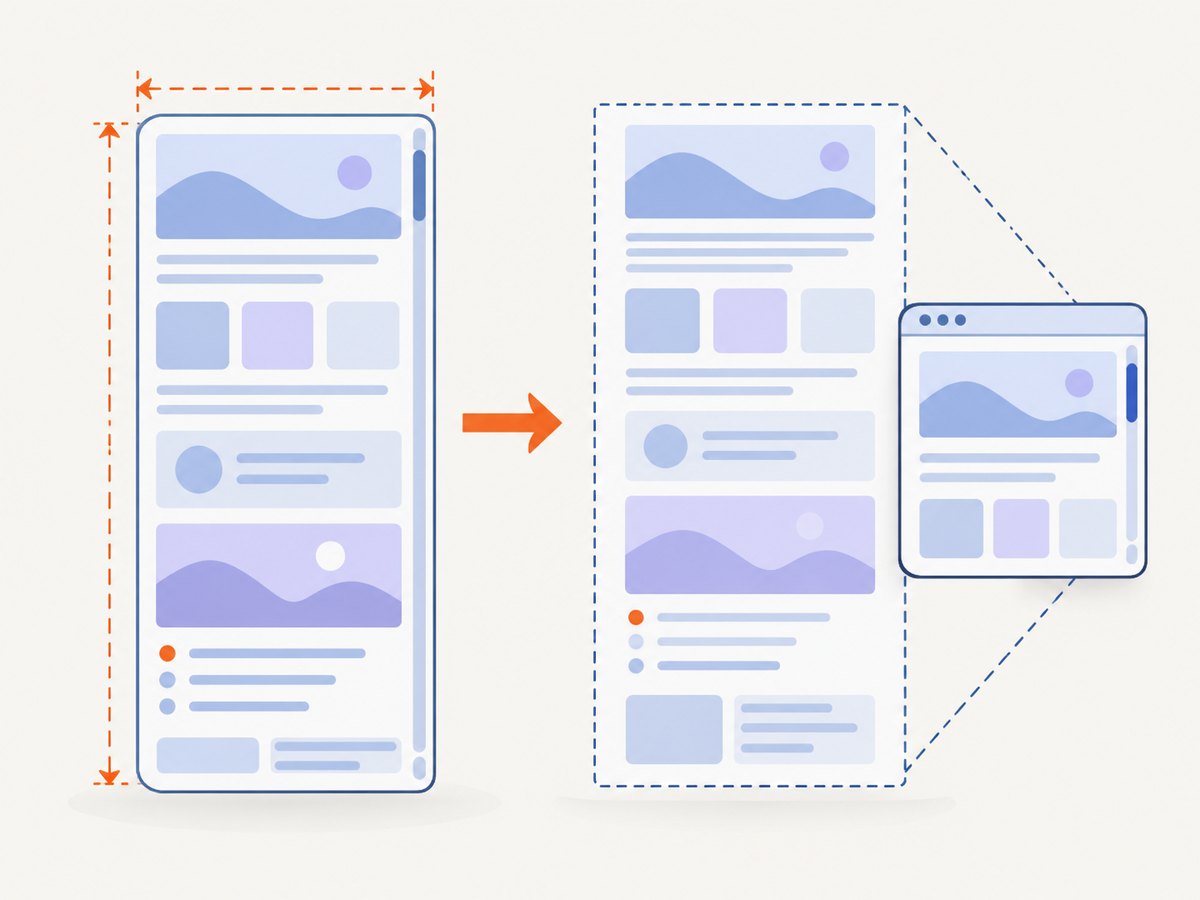
For a page rather than a child element, measure the document after layout has settled. Different layouts place the largest dimension on document.documentElement or document.body, so use the maximum:
import html2canvas from 'html2canvas';

async function captureDocument() {
  await document.fonts?.ready;

  const root = document.documentElement;
  const body = document.body;
  const width = Math.max(root.scrollWidth, body?.scrollWidth || 0);
  const height = Math.max(root.scrollHeight, body?.scrollHeight || 0);

  const canvas = await html2canvas(root, {
    windowWidth: width,
    windowHeight: height,
    width,
    height,
    x: 0,
    y: 0,
    scrollX: 0,
    scrollY: 0,
  });

  canvas.toBlob((blob) => {
    if (!blob) throw new Error('Could not encode canvas');
    const url = URL.createObjectURL(blob);
    const link = document.createElement('a');
    link.href = url;
    link.download = 'full-page.png';
    link.click();
    URL.revokeObjectURL(url);
  }, 'image/png');
}
Set width and height only when you want to make the output bounds explicit. Leave them out when the element’s rendered bounds are sufficient. x and y crop the rendered area; they do not expand the virtual window.
Scrollable divs, clipped CSS, and cloned DOM changes
A scrollable child is usually the easiest case: select that child, not its parent, and use its own scroll dimensions.
const panel = document.querySelector('.results-panel');
const canvas = await html2canvas(panel, {
  windowWidth: panel.scrollWidth,
  windowHeight: panel.scrollHeight,
});
If the child depends on overflow: hidden, fixed heights, collapsed accordions, or a virtualized list, change the temporary cloned document with onclone. The live page is not modified.
const panel = document.querySelector('.results-panel');
const canvas = await html2canvas(panel, {
  windowWidth: panel.scrollWidth,
  windowHeight: panel.scrollHeight,
  onclone: (clonedDocument) => {
    const clonedPanel = clonedDocument.querySelector('.results-panel');
    if (!clonedPanel) return;
    clonedPanel.style.height = 'auto';
    clonedPanel.style.maxHeight = 'none';
    clonedPanel.style.overflow = 'visible';
  },
});
Use onclone for capture-only changes such as expanding a container, opening an accordion, hiding a blinking cursor, or removing a sticky toolbar. Keep application state changes out of the live DOM.
Wait for fonts, images, and dynamic content
Measure dimensions only after the content that determines layout has loaded. Otherwise, you can measure a short placeholder and capture before images or fonts expand the page.
async function waitForCaptureReady(root) {
  await document.fonts?.ready;
  const images = [...root.querySelectorAll('img')];
  await Promise.all(images.map((img) => {
    if (img.complete) return img.decode?.().catch(() => {});
    return new Promise((resolve) => {
      img.addEventListener('load', resolve, { once: true });
      img.addEventListener('error', resolve, { once: true });
    });
  }));
  // Allow framework-rendered content and layout effects to settle.
  await new Promise((resolve) => requestAnimationFrame(() =>
    requestAnimationFrame(resolve)
  ));
}

const element = document.querySelector('#capture');
await waitForCaptureReady(element);
const canvas = await html2canvas(element, {
  windowWidth: element.scrollWidth,
  windowHeight: element.scrollHeight,
});
Options that matter for overflowing captures
| Option | Use | Important detail |
|---|---|---|
windowWidth, windowHeight |
Set the virtual rendering window | Defaults to window.innerWidth and window.innerHeight; they can change responsive media queries. |
width, height |
Set output canvas dimensions | They define the rendered output region, not the browser window. |
x, y |
Crop a region | Apply after choosing a sufficient rendering window. |
scrollX, scrollY |
Control capture scroll position | Review these when fixed or sticky elements appear misplaced. |
scale |
Control pixel density | Defaults to devicePixelRatio; lower it to reduce memory use. |
useCORS |
Request cross-origin images with CORS | The image server must send a suitable Access-Control-Allow-Origin header. |
proxy |
Route image requests through a proxy | Use when you control a same-origin or permitted proxy. |
onclone |
Adjust the temporary document | Changes do not affect the visible page. |
ignoreElements |
Skip nodes programmatically | Return true for controls, ads, or transient UI. |
data-html2canvas-ignore |
Skip marked nodes | Add the attribute to elements that should not appear. |
Transparent output is possible with backgroundColor: null. For JPEG, use canvas.toDataURL('image/jpeg', 0.9); PNG preserves transparency, while JPEG does not.
Fixed and sticky elements
Fixed elements are positioned relative to the viewport used for rendering. When you enlarge windowHeight, a header can appear at a different location than it does on screen. Sticky elements can also repeat or remain attached to an unexpected edge. Set scrollX and scrollY deliberately, and use onclone to change position: sticky or hide repeated navigation if it is not part of the desired image.
const canvas = await html2canvas(element, {
  windowWidth: element.scrollWidth,
  windowHeight: element.scrollHeight,
  scrollX: 0,
  scrollY: 0,
  onclone: (doc) => {
    doc.querySelectorAll('.sticky-toolbar').forEach((node) => {
      node.style.position = 'static';
    });
  },
});
Cross-origin images and iframes
html2canvas cannot bypass browser security rules. For images on another origin, useCORS: true works only when that origin opts in with the correct CORS response header. Otherwise, configure a permitted proxy or serve the asset from your own origin. A cross-origin iframe cannot be rendered because its contentDocument is inaccessible. Same-origin iframes can be traversed recursively. These limits are described in the project FAQ and documentation (FAQ; proxy guidance).
const canvas = await html2canvas(element, {
  windowWidth: element.scrollWidth,
  windowHeight: element.scrollHeight,
  useCORS: true,
  // proxy: 'https://your.example/proxy', // only if you operate a suitable proxy
});
Browser canvas limits and very tall pages
An oversized canvas can become blank or partly rendered without a useful exception. The html2canvas FAQ gives rough guidance of about 32,767 pixels for the maximum dimension in Chrome/Chromium, Firefox, and desktop Safari, with lower limits on iOS. Actual limits vary by browser, operating system, hardware, and browser version.
When the content is larger than a safe canvas:
- Capture sections or tiles instead of one huge image.
- Lower
scale, for example from2to1. - Keep each tile below the browser’s practical width and height limits.
- Stitch tiles in a worker or server process if one final image is required.
const canvas = await html2canvas(element, {
  windowWidth: element.scrollWidth,
  windowHeight: element.scrollHeight,
  scale: 1,
});
Tiling requires careful handling of overlaps, sticky elements, and repeated backgrounds. For a production pipeline, a browser screenshot service can avoid shipping this browser-dependent work to every client.
CSS fidelity and what html2canvas cannot reproduce
html2canvas reconstructs an image from DOM and style information; it does not take a native screenshot of the browser compositor. The project states that every CSS property must be implemented manually, so it will never have full CSS support (supported features). Filters, complex effects, unusual blend modes, and some layout features can differ from what the user sees. Test the exact browser and content combinations your application supports.

Or skip the browser setup
If you need a repeatable server-side shot, ScreenshotNeo accepts one GET request and returns PNG, JPEG, WebP, or PDF. Its full-page capture loads lazy images, and you can capture one element with a CSS selector, set a viewport or device preset, choose retina scale, add custom CSS or JavaScript, wait for a selector, delay, or network idle, and hide selectors.
Cookie and consent banners are accepted and removed before capture, along with more than 60 known consent platforms, newsletter popups, and chat widgets. Bot checks, blank pages, timeouts, failed loads, and cache hits are not billed; response headers identify the page verdict and billing result. An MCP server provides take_screenshot, get_page_info, and capture_pdf for Claude, Cursor, and other MCP clients. See the ScreenshotNeo API documentation for all options.
curl -G "https://api.screenshotneo.com/v1/shot" -d access_key=YOUR_API_KEY --data-urlencode url=https://stripe.com -o shot.webpimport requests
r = requests.get("https://api.screenshotneo.com/v1/shot", params={"access_key": "YOUR_API_KEY", "url": "https://stripe.com"}, timeout=90)
open("shot.webp", "wb").write(r.content)const q = new URLSearchParams({ access_key: 'YOUR_API_KEY', url: 'https://stripe.com' });
const res = await fetch(`https://api.screenshotneo.com/v1/shot?${q}`);ScreenshotNeo includes 1,000 shots per month on its free plan with no card. Paid plans start at $5 for 3,000 shots; yearly billing gives two months free, and every feature is available on every plan. Create a free ScreenshotNeo account.
Troubleshooting checklist
The bottom is cut off
Cause: the virtual window still matches the viewport, or dimensions were measured before content loaded. Fix: wait for fonts, images, and dynamic rendering, then pass the target’s scrollWidth and scrollHeight as windowWidth and windowHeight.
The result is blank
Cause: a canvas dimension or memory limit, an unloaded asset, or an unsupported rendering feature. Fix: lower scale, tile the capture, inspect browser console errors, and test without filters or complex effects.
Only the visible part of a scrollable div appears
Cause: the element’s CSS clipping remains in the cloned document. Fix: use onclone to set its cloned height to auto, remove max-height, and set overflow: visible.
Images are missing or the canvas is tainted
Cause: cross-origin images do not grant CORS access. Fix: enable useCORS only when the origin sends the required header, use a permitted proxy, or serve the image from the same origin.
An iframe is empty
Cause: it is cross-origin. Fix: render the iframe from its own origin or use a browser capture service that can navigate to the complete page.
Sticky navigation repeats
Cause: the enlarged virtual viewport changes sticky positioning. Fix: set scrollX/scrollY explicitly and modify or hide the sticky node in onclone.
The screenshot does not match the browser
Cause: html2canvas is a DOM reconstruction and lacks full CSS support. Fix: simplify unsupported effects, verify computed styles, or use a native browser screenshot workflow.
Performance, reliability, and cost considerations
- Measure late: waiting for fonts and images prevents retries caused by changing dimensions.
- Control pixels:
scale: 1uses less memory than a high device-pixel ratio; increase it only when output sharpness requires it. - Capture narrowly: an element is cheaper and more reliable than an entire document when the user needs one panel.
- Use tiling for extremes: several moderate canvases are safer than one canvas near browser limits.
- Keep work off the main thread when possible: encoding and stitching large images can make the page unresponsive.
- Client-side cost: html2canvas is open-source code running in the visitor’s browser, but it consumes their CPU, memory, and bandwidth.
- API cost: ScreenshotNeo bills only clean shots; bot checks, blank pages, timeouts, failed loads, and cache hits are not billed, and the response identifies the verdict and billing result.
FAQ
Can html2canvas capture an element taller than the viewport?
Yes. Select the element and set the rendering window to its scrollWidth and scrollHeight. Browser canvas limits still apply.
Should I use width or windowWidth?
Use windowWidth to give html2canvas a virtual layout window. Use width to set the output region or crop dimensions.
Does html2canvas capture a cross-origin iframe?
No. Browser same-origin policy prevents access to a cross-origin iframe’s document.
Why does responsive content change when I capture it?
windowWidth can activate different media queries. Choose a width that matches the layout you intend to document.
Is html2canvas available in Node.js?
Not directly. It depends on browser APIs. Use it in a browser or use a browser automation or screenshot service for server-side jobs.


