How to Capture Part of a PDF as a Screenshot
Capture a visible section of a PDF on Windows or Mac with a rectangular selection, Preview, or Acrobat Snapshot, then save or paste it as an image.
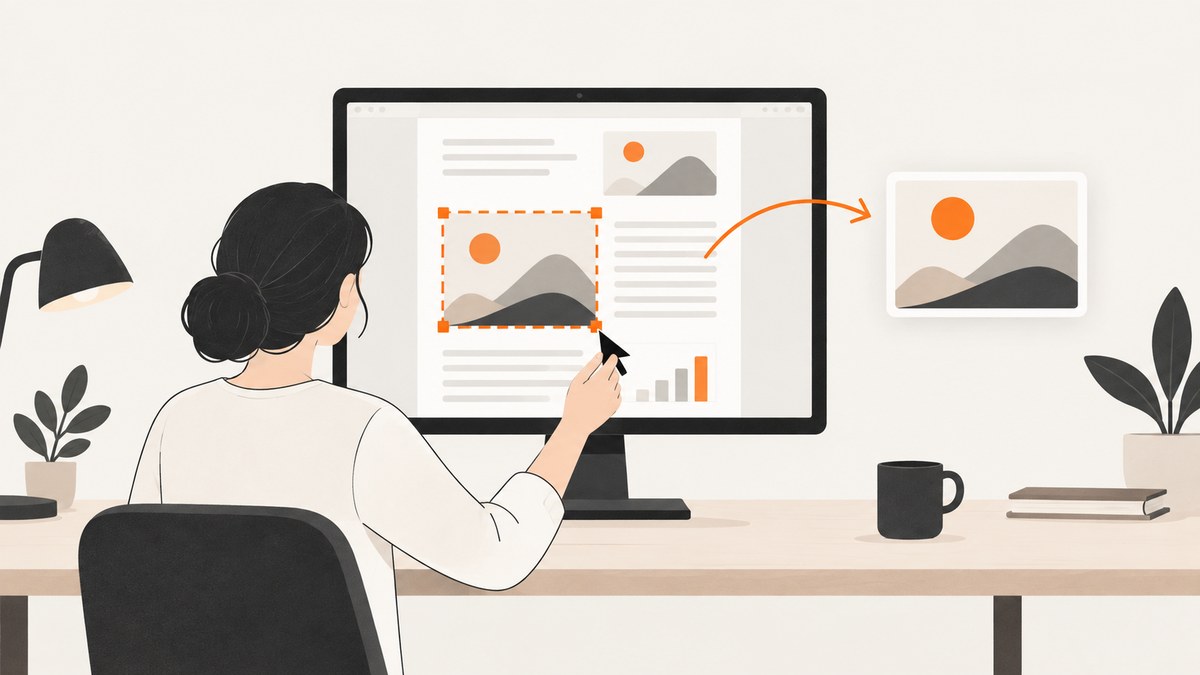
To screenshot part of a PDF, show the page area you need and make a rectangular screen selection around it. On Windows 10 or 11, press Windows+Shift+S, choose Rectangle, and drag over the PDF. On Mac, press Shift-Command-4 and drag, or use Preview’s File > Take Screenshot > From Selection. In Adobe Acrobat Reader, choose Edit > More > Take A Snapshot, drag the rectangle, then paste the copied image.
These methods capture what is visible on screen. If you need a high-resolution crop from a PDF file, a specific page area at exact coordinates, or a repeatable capture in an application, use a PDF extraction or rendering workflow instead of a screen selection. This guide covers both the quick desktop steps and the tradeoffs that affect quality.
1. Choose the method that fits
| Method | Best for | Result | Limit to know |
|---|---|---|---|
| Windows Snipping Tool | Any visible PDF on Windows | Selection copied to Snipping Tool; copy or save it | Captures screen pixels at current zoom and display scale |
| macOS Screenshot | Any visible PDF on Mac | Image file saved to the configured location | May need to change the default save location |
| macOS Preview selection | PDF already open in Preview | Selected area opens as an image for markup | Selection must be visible on screen |
| Acrobat Reader Snapshot | PDF already open in Acrobat | Selected area copied to clipboard | Document restrictions may prevent copying |
For most one-off tasks, use the operating system’s rectangular selection. Use Acrobat Snapshot when you are already reading in Acrobat and want to paste the selection directly into another application. Use a file-based PDF tool when exact dimensions, high resolution, or automation matter.
2. Capture a PDF section on Windows 10 or 11
- Open the PDF and navigate to the page containing the area.
- Set a useful zoom level. Make the text large enough to read in the final image, and keep the whole target region visible.
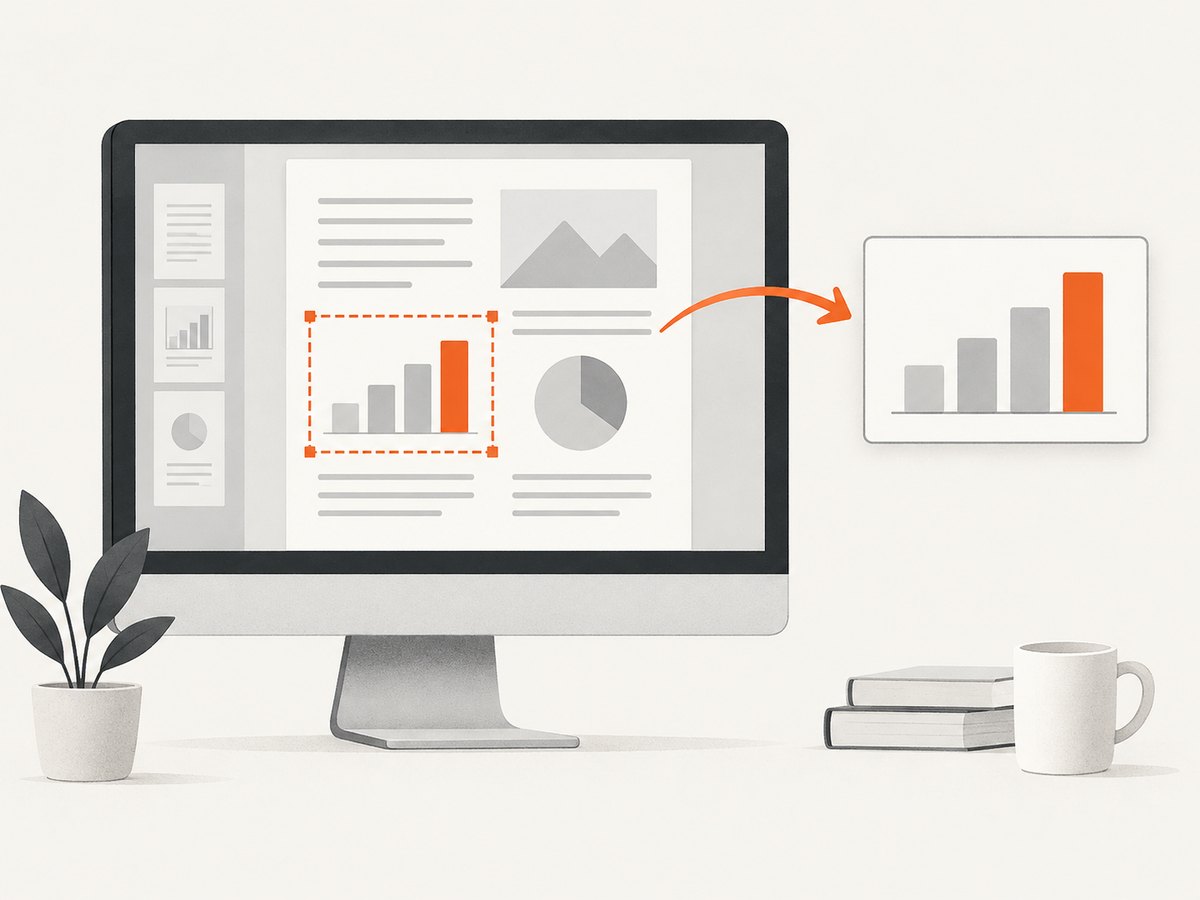
- Press Windows logo key + Shift + S. The capture overlay appears.
- Select Rectangle if it is not already selected.
- Drag from one corner of the desired area to the opposite corner, then release.
- Open the Snipping Tool notification or window to review the capture. Use its annotation or crop controls if needed.
- Press Ctrl+C to copy the image, or Ctrl+S to save it. Choose a common image format such as PNG when preserving text and sharp edges is important.
Snipping Tool supports rectangle, freeform, window, and full-screen captures, and can capture all or part of the screen. A delay is useful when you need a menu or transient control to remain visible before the capture begins. Microsoft describes the tool as a way to make a snapshot of words or images from all or part of the PC screen, then edit, save, and share it: Microsoft Snipping Tool instructions.
Windows tips for a cleaner crop
- Hide toolbars and side panels first if they crowd the page. You can also capture a little extra space and crop afterward.
- For a narrow column or diagram, increase PDF zoom until the target is legible, then select only that area.
- If the selection overlay opens on the wrong monitor, move the PDF window to the desired display before using the shortcut.
- Save the capture promptly. Clipboard contents can be replaced when you copy something else.
3. Capture a PDF section on Mac
Use Preview’s From Selection command
- Open the PDF in Preview and display the relevant page.
- Choose File > Take Screenshot > From Selection.
- Drag from one corner across the area you want, then release.
- Preview opens the result as an image. Mark it up if needed, then save or copy it into another application.
This is convenient when you want the selection to open in Preview for review and markup. Keep the selection within the visible page area; if the PDF is zoomed too far out, the resulting image will contain small text.
Use the system screenshot shortcut
- Bring the PDF page to the front and position the desired area on screen.
- Press Shift-Command-4. The pointer changes to a crosshair.
- Drag over the PDF region and release. The screenshot is saved to the configured location, which is the desktop by default.
- Open the saved image to crop, annotate, or share it.
On macOS Mojave 10.14 or later, Shift-Command-5 opens the Screenshot app, where you can change screenshot options, including the save location. Apple’s instructions cover capturing the entire screen, a window, or a selected portion: Apple: Take a screenshot on your Mac.
4. Use Adobe Acrobat Reader’s Snapshot tool
- Open the PDF in Acrobat Reader and navigate to the page.
- Check whether the document allows copying. Restrictions can disable selection or copying.
- Choose Edit > More > Take A Snapshot.
- Drag a rectangle around the content. Acrobat copies the area as an image.
- Switch to the destination app and paste with Ctrl+V on Windows or Command+V on Mac. Save it from that app if you need a standalone image file.
Acrobat’s Snapshot tool is PDF-specific and places the selected area on the clipboard for pasting. See Adobe’s Snapshot instructions. If the command is unavailable or copying is blocked, the PDF’s permissions may be responsible; use a permitted export workflow or ask the document owner for an unrestricted copy.
5. Get a sharper or exact crop
A screenshot records display pixels, not the PDF’s original vector data. The same PDF can produce different-sized captures depending on the monitor resolution, display scaling, zoom, and the size of the selected rectangle. For a presentation or quick reference, this is usually adequate. For print, OCR, archival use, or a repeatable crop, render the PDF page at a chosen resolution and crop the rendered image.
A file-based workflow has three steps: identify the page, render it at a chosen resolution, and crop by pixel coordinates. Coordinate conventions differ between PDF libraries: some use a bottom-left origin in PDF points, while image crop functions commonly use a top-left origin in pixels. Check the library’s documentation and confirm the crop against a preview before processing a batch. PDF page rotation and crop boxes can also affect coordinates.
Consider these details when selecting a workflow:
- Text clarity: Raise the zoom or render resolution. Avoid enlarging a small screenshot afterward; that scales existing pixels without restoring detail.
- Page rotation: A rotated page can make the expected crop coordinates appear transposed. Normalize or account for rotation before cropping.
- Transparency and background: A screen capture includes the viewer’s rendered background. A renderer may preserve or flatten transparency according to its settings.
- Large pages: Rendering a full page at very high resolution uses more memory. Render only the needed page and crop region when the library supports it.
- Text extraction: If the goal is to reuse words rather than show their appearance, copy or extract text instead of making an image. Scanned pages may need OCR.
6. Troubleshooting
| Problem | Likely cause | Fix |
|---|---|---|
| The capture is blank or shows another window | The PDF was not the frontmost window, or the selection crossed a window boundary | Bring the PDF forward, close overlays, and repeat the selection. |
| Text is too small or blurry | The PDF was displayed at low zoom or the monitor supplied few pixels for the selected area | Increase zoom and recapture. For consistently high resolution, render the PDF page to an image at a chosen resolution. |
| The saved image cannot be found on Mac | Screenshot location is configured somewhere other than the desktop | Open Screenshot options with Shift-Command-5 and check the save destination. |
| Acrobat Snapshot is unavailable | The menu location differs by version, or the document disallows copying | Look under Edit > More, check document permissions, or use the system screenshot method if allowed. |
| Nothing pastes after Snapshot | The clipboard was replaced, or the destination app does not accept image paste | Repeat Snapshot and paste immediately into an image-capable app; save the pasted image there. |
| The selection misses a menu or tooltip | The interface disappeared before the capture | Use Snipping Tool’s delay on Windows, or prepare the interface and use the macOS Screenshot controls. |
| A crop is shifted in a script | Page rotation, crop-box offsets, or coordinate origin was overlooked | Inspect the rendered page, normalize rotation, and verify whether coordinates are in PDF points or image pixels. |
7. Repeatable website captures with an API
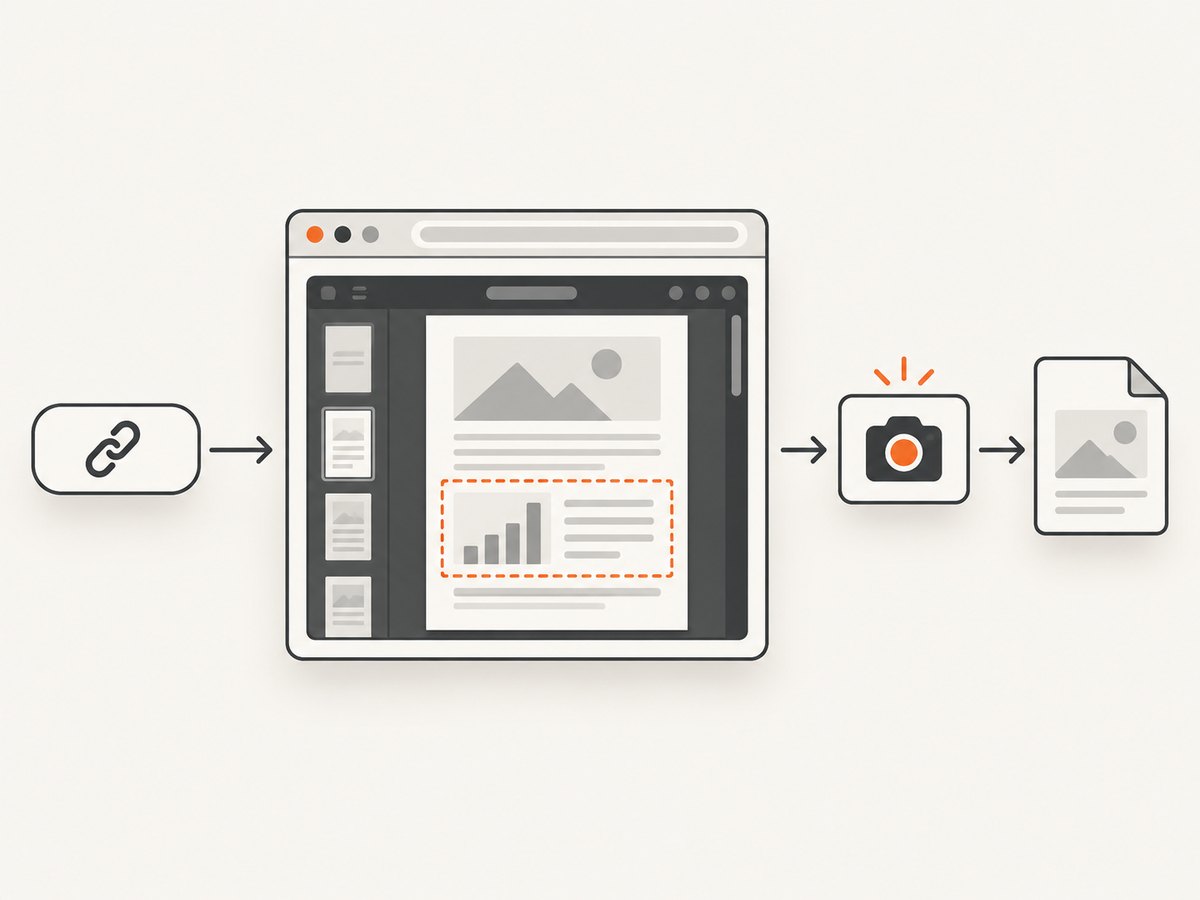
If the source is a web page that displays a PDF, or you need recurring screenshots of a page, a browser screenshot API can automate the browser setup. ScreenshotNeo is a website screenshot API and MCP server from Yorker Media. A single GET request accepts a URL and returns an image or PDF. It can capture a selected page element by CSS selector, as well as full pages; that is useful when a web viewer exposes the region you need as an element. It does not replace a desktop selection for an arbitrary local PDF open in Preview or Acrobat.
Or skip the browser setup
Use this one-call example for a web page. See the ScreenshotNeo API documentation for request options.
curl -G "https://api.screenshotneo.com/v1/shot" \
  -d access_key=YOUR_API_KEY \
  --data-urlencode url=https://stripe.com \
  -o shot.webp
ScreenshotNeo accepts cookie or consent banners like a visitor and removes more than 60 known consent platforms, newsletter popups, and chat widgets before capture; each of those steps can be turned off. Bot checks, blank pages, timeouts, failed loads, and cache hits cost nothing, and response headers report the page verdict and whether the capture was billed. Its MCP server offers take_screenshot, get_page_info, and capture_pdf tools for Claude, Cursor, and other MCP clients. The free plan includes 1,000 screenshots a month with no card; paid plans start at $5 for 3,000. Every feature is available on every plan.
Create a free ScreenshotNeo account to get 1,000 screenshots per month with no card.
8. Performance, reliability, and cost
Desktop selection is immediate and has no service usage charge, but it depends on what is visible and readable on your display. For frequent captures, standardize the viewer, zoom, display scaling, and save format so images are consistent. A file-rendering workflow adds processing time and memory use, especially at high resolution or across many pages. Process only required pages, and avoid rendering enormous images when a smaller output meets the need.
For API capture, costs depend on the selected plan and usage. ScreenshotNeo’s listed monthly plans are Free: 1,000 shots; Starter: $5 for 3,000; Growth: $15 for 15,000; Pro: $39 for 60,000; Scale: $99 for 250,000; and Business: $249 for 1,000,000. Yearly billing gives two months free. The billing behavior for clean captures and cache hits is described above; check the API response’s billing headers when tracking usage. For reliable automated capture, set an appropriate request timeout, handle unsuccessful responses, and save output only after checking that the response is an image or PDF rather than an error payload.
9. FAQ
Can I screenshot a PDF page without capturing the whole screen?
Yes. Use a rectangular selection: Windows+Shift+S, macOS Shift-Command-4, Preview’s From Selection, or Acrobat Snapshot.
Does a screenshot include selectable PDF text?
No. A screenshot is an image. Use text selection or extraction when you need editable text; OCR can help with a scanned page.
Can I capture a PDF that is longer than one screen?
A rectangular screen capture only includes the visible area. Scroll and capture additional sections, or use a PDF rendering workflow that targets the page content.
Which method is best for pasting into a document?
Acrobat Snapshot copies directly to the clipboard. Snipping Tool can also copy its capture. macOS Shift-Command-4 saves an image file that you can insert.
Can ScreenshotNeo capture a local PDF open on my computer?
ScreenshotNeo takes screenshots of web URLs. It is suited to web pages and browser-accessible content, not selecting a region of a local PDF in a desktop reader.