How to Capture Screenshots of Different URLs with CasperJS
Loop through URLs in CasperJS, wait for each page, and save uniquely named screenshots. Includes legacy caveats and a modern API option.

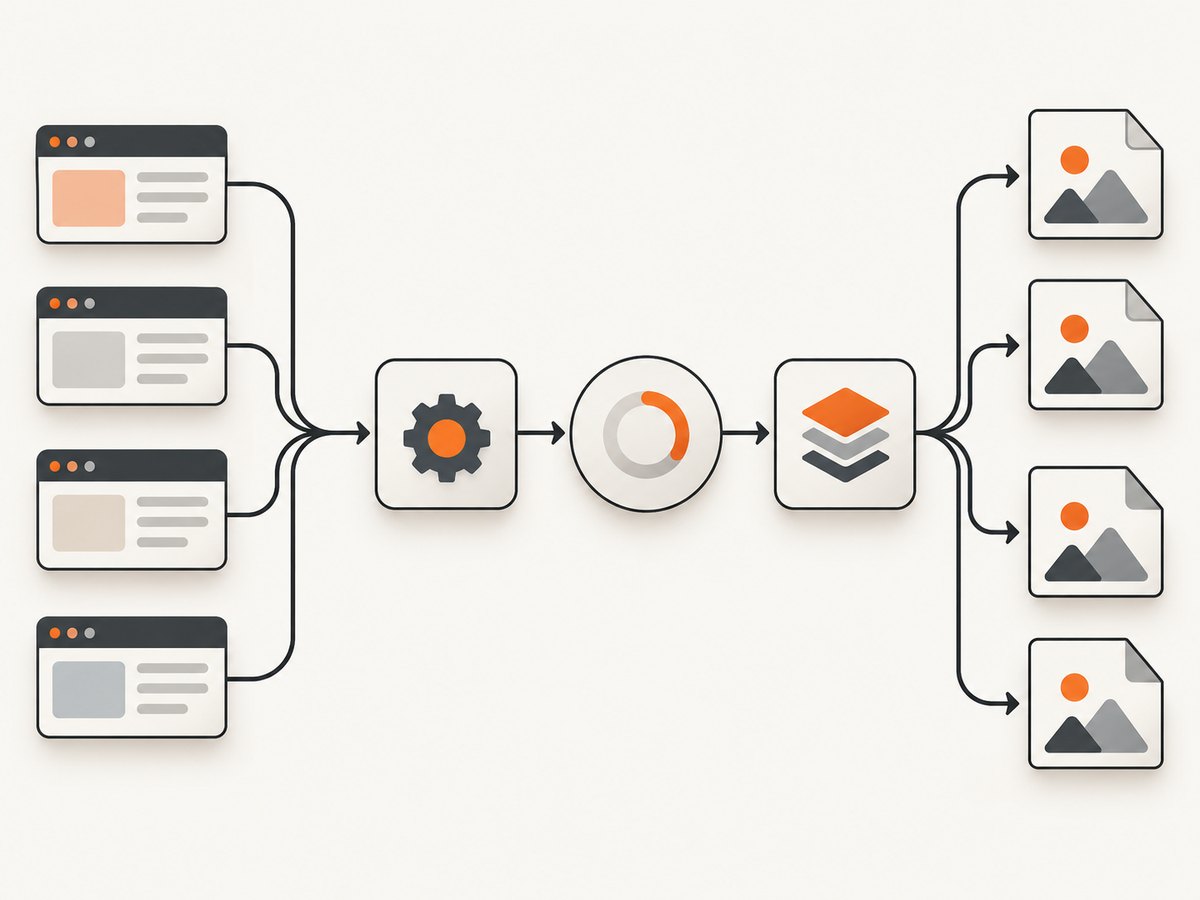
Direct answer: Put your URLs in an array, add one ordered CasperJS step per URL with each(), open each address with thenOpen(), and call capture() after navigation. Include the loop index or a sanitized hostname in every filename so one page cannot overwrite another.
This approach is mainly for maintaining an existing CasperJS script. The CasperJS project says it is no longer actively maintained and recommends continued use only for certain legacy PhantomJS 1.9 production tests. Treat the script below as an adaptation of the documented iteration and capture APIs, and verify callback arguments against the CasperJS version in your repository.
1. Install and prepare CasperJS
CasperJS is a navigation and testing utility that runs on PhantomJS or SlimerJS. Pin the version used by your legacy project and run it with the matching runtime; the project repository notes that versions through 1.1-beta3 do not support PhantomJS 2.0 and newer. SlimerJS is described as experimental in the project documentation.
npm install -g casperjs
casperjs --version
For a repeatable job, keep the URL list in source control and write captures to a dedicated directory:
mkdir -p screenshots
2. Capture one screenshot for every URL
The following combines the documented each(), thenOpen(), and capture() methods. It opens URLs in order and writes a distinct PNG for each one.
var casper = require('casper').create();
var urls = [
    'https://example.com/',
    'https://example.org/'
];

casper.start().each(urls, function (self, url, index) {
    self.thenOpen(url, function () {
        this.capture('screenshots/screenshot-' + index + '.png');
    });
});

casper.run();
Save it as capture.js and run:
casperjs capture.jsYou should get screenshot-0.png, screenshot-1.png, and so on. The numeric name is deliberately safe for arbitrary URLs. If you prefer readable names, derive them from the hostname but replace characters outside A-Z, a-z, 0-9, period, underscore, and hyphen.
3. Use reliable filenames and record failures
A URL can contain slashes, query strings, Unicode, or characters that are invalid in a filename. An index avoids those problems. You can also log the URL immediately before opening it:
var casper = require('casper').create({
    verbose: true,
    logLevel: 'warning'
});
var urls = [
    'https://example.com/',
    'https://example.org/products?sort=price'
];

casper.start().each(urls, function (self, url, index) {
    self.echo('Opening ' + url);
    self.thenOpen(url, function () {
        if (!this.exists('body')) {
            this.die('No body element loaded for ' + url, 1);
        }
        this.capture('screenshots/page-' + index + '.png');
    });
});

casper.run(function () {
    this.echo('Finished ' + urls.length + ' URL(s).');
    this.exit();
});
Keep the URL and output path together in a manifest if another process needs to match images back to inputs. Do not use the current page title as a filename without sanitizing it; titles can be empty, duplicated, or contain path separators.
4. Wait for dynamic content before capture
thenOpen() means navigation has completed according to the runtime; it does not guarantee that JavaScript-rendered content is visible. Add a condition-based wait when you know which element signals readiness. The API documents waitFor() with a default timeout of 5,000 ms.
var casper = require('casper').create();
var urls = ['https://example.com/dashboard'];

casper.start().each(urls, function (self, url, index) {
    self.thenOpen(url);
    self.waitFor(
        function check() {
            return this.exists('.dashboard-ready');
        },
        function done() {
            this.capture('screenshots/dashboard-' + index + '.png');
        },
        function timeout() {
            this.echo('Readiness condition timed out: ' + url, 'ERROR');
        },
        10000
    );
});

casper.run();
Prefer a selector or other observable condition over a fixed sleep. Use a delay only when the page has no reliable readiness marker:
casper.thenOpen(url);
casper.wait(2000, function () {
    this.capture(outputPath);
});
Keep expectations realistic for this old stack: modern browser APIs, bot checks, strict TLS settings, and client-side frameworks may not behave as they do in current browsers.
5. Choose the capture method
| Need | CasperJS method | Notes |
|---|---|---|
| Whole page or rectangle | capture(targetFilepath, [clipRect, imgOptions]) |
Pass a clipping rectangle for a region; image options include format and quality. |
| One element | captureSelector(targetFile, selector [, imgOptions]) |
Captures the area containing the selected element. |
| Image data in memory | captureBase64(format[, area]) |
Returns encoded data instead of writing a file. Documented formats include BMP, JPG/JPEG, PNG, PPM, TIFF, XBM, and XPM. |
For file output with quality control:
this.capture(
    'screenshots/hero-' + index + '.jpg',
    { top: 0, left: 0, width: 1200, height: 700 },
    { format: 'jpg', quality: 85 }
);
The documented quality range is 1 to 100. Confirm the exact option names supported by the image backend bundled with your CasperJS version.
6. Full example with a selector capture
var casper = require('casper').create();
var pages = [
    { url: 'https://example.com/', name: 'example-home' },
    { url: 'https://example.org/', name: 'example-org' }
];

casper.start().each(pages, function (self, page) {
    self.thenOpen(page.url);
    self.waitForSelector('body', function () {
        this.captureSelector(
            'screenshots/' + page.name + '.png',
            'body'
        );
    }, function () {
        this.echo('body did not appear for ' + page.url, 'ERROR');
    }, 10000);
});

casper.run();
7. Troubleshooting
- Only one image exists: filenames are being reused. Include the loop index or a unique sanitized name.
- Blank or half-rendered image: capture occurs before client-side content appears. Wait for a readiness selector or use a short delay.
- Timeout from
waitFor(): the selector never appeared, the page failed to load, or the timeout is too short. Inspect the selector in the target page and log navigation errors. - Navigation errors or TLS failures: the legacy PhantomJS/SlimerJS engine may not support the site’s TLS, JavaScript, or browser requirements. Check the runtime version and test the URL in that engine.
- Unexpected callback values:
each()callback behavior can vary with the maintained CasperJS version. Compare the callback signature with that version’s API documentation. - Element capture is empty: the selector may match a hidden element, an iframe boundary, or content that has not loaded. Wait for visibility and capture the containing page when cross-frame content is involved.
- Output directory error: create the directory before running CasperJS and use a writable path.
8. Performance, reliability, and cost considerations
Sequential steps are predictable and reduce load on the target site, but a long URL list takes roughly the sum of each navigation, wait, and image write. Avoid unnecessary fixed delays. Reuse one CasperJS process for the list, keep captures at the smallest required dimensions, and write files locally before uploading them in a separate stage.
For repeatable jobs, pin CasperJS and its runtime, log each input URL and output path, treat timeout and missing-selector events as failures, and rerun failed URLs separately. CasperJS itself does not provide a current browser compatibility guarantee, so validate representative pages before making it part of a production pipeline.
CasperJS has no hosted per-shot billing in this workflow; your costs are the machine, storage, and maintenance required to run the legacy browser stack. A hosted capture API can remove that browser setup.
9. Or skip the browser setup
ScreenshotNeo provides a GET endpoint for a PNG, JPEG, WebP, or PDF screenshot. It removes cookie and consent banners, newsletter popups, and chat widgets before capture. Bot checks, blank pages, failed loads, timeouts, and cache hits are not billed, and response headers report the page verdict and billing result. Its MCP server includes take_screenshot, get_page_info, and capture_pdf tools for Claude, Cursor, and other MCP clients.

See the ScreenshotNeo API documentation for all options.
cURL
curl -G "https://api.screenshotneo.com/v1/shot" -d access_key=YOUR_API_KEY --data-urlencode url=https://example.com -o shot.webpPython
import requests
r = requests.get("https://api.screenshotneo.com/v1/shot", params={"access_key": "YOUR_API_KEY", "url": "https://example.com"}, timeout=90)
open("shot.webp", "wb").write(r.content)
Node.js
const q = new URLSearchParams({ access_key: 'YOUR_API_KEY', url: 'https://example.com' });
const res = await fetch(`https://api.screenshotneo.com/v1/shot?${q}`);
ScreenshotNeo supports full-page and element captures, device presets, custom viewports, waits, headers, cookies, user agents, JavaScript, custom CSS, blocking rules, caching, signed links, asynchronous jobs, webhooks, bulk capture for up to 100 URLs per call, and a usage API. Every feature is available on every plan. The Free plan includes 1,000 screenshots per month with no card; paid plans start at $5 for 3,000.
Create a free ScreenshotNeo account and start with 1,000 screenshots a month at no charge.
10. FAQ
Can CasperJS capture several URLs in parallel?
The documented pattern is an ordered sequence of steps. Keep it sequential unless you have a specific reason to run multiple CasperJS processes and can handle the extra resource use.
How do I capture only a chart or card?
Use captureSelector() with the element’s CSS selector, after waiting for that element to be ready.
Can I return Base64 instead of creating files?
Yes. Use captureBase64(format[, area]) and pass the returned string to your storage or API layer.
Should a new project start with CasperJS?
Usually no. The project is no longer actively maintained. Keep it for compatible legacy automation, or use a maintained browser tool or a hosted screenshot API for new work.


